How to Find Your Way Around the Seller Dashboard
Overview
Your Dashboard is the left sidebar you see everywhere on Cohart once you sign in — the control center for your art business, from your first upload to your final payout.
- Who it’s for — sellers: artists, galleries, and studios running an inventory on Cohart.
- What it controls — every business tool lives behind one sidebar item: your public profile and messages, your Link in bio page, your AI Gallery, your custom website, your event listings, your artwork inventory, the artists you manage, your sales and shipping, your analytics, your marketing email and contacts, your promotion codes, your private views, your referral earnings, your financial accounts, and your subscription plan.
- Where the effects appear — clicking a sidebar item swaps the main panel on the right; the sidebar itself stays put so you can jump between tools without losing your place.
- What you end up with — a map of every icon in the sidebar, what each one is for, and which detailed guide to open next for the full workflow.
Steps
1. Sign in and open your Dashboard
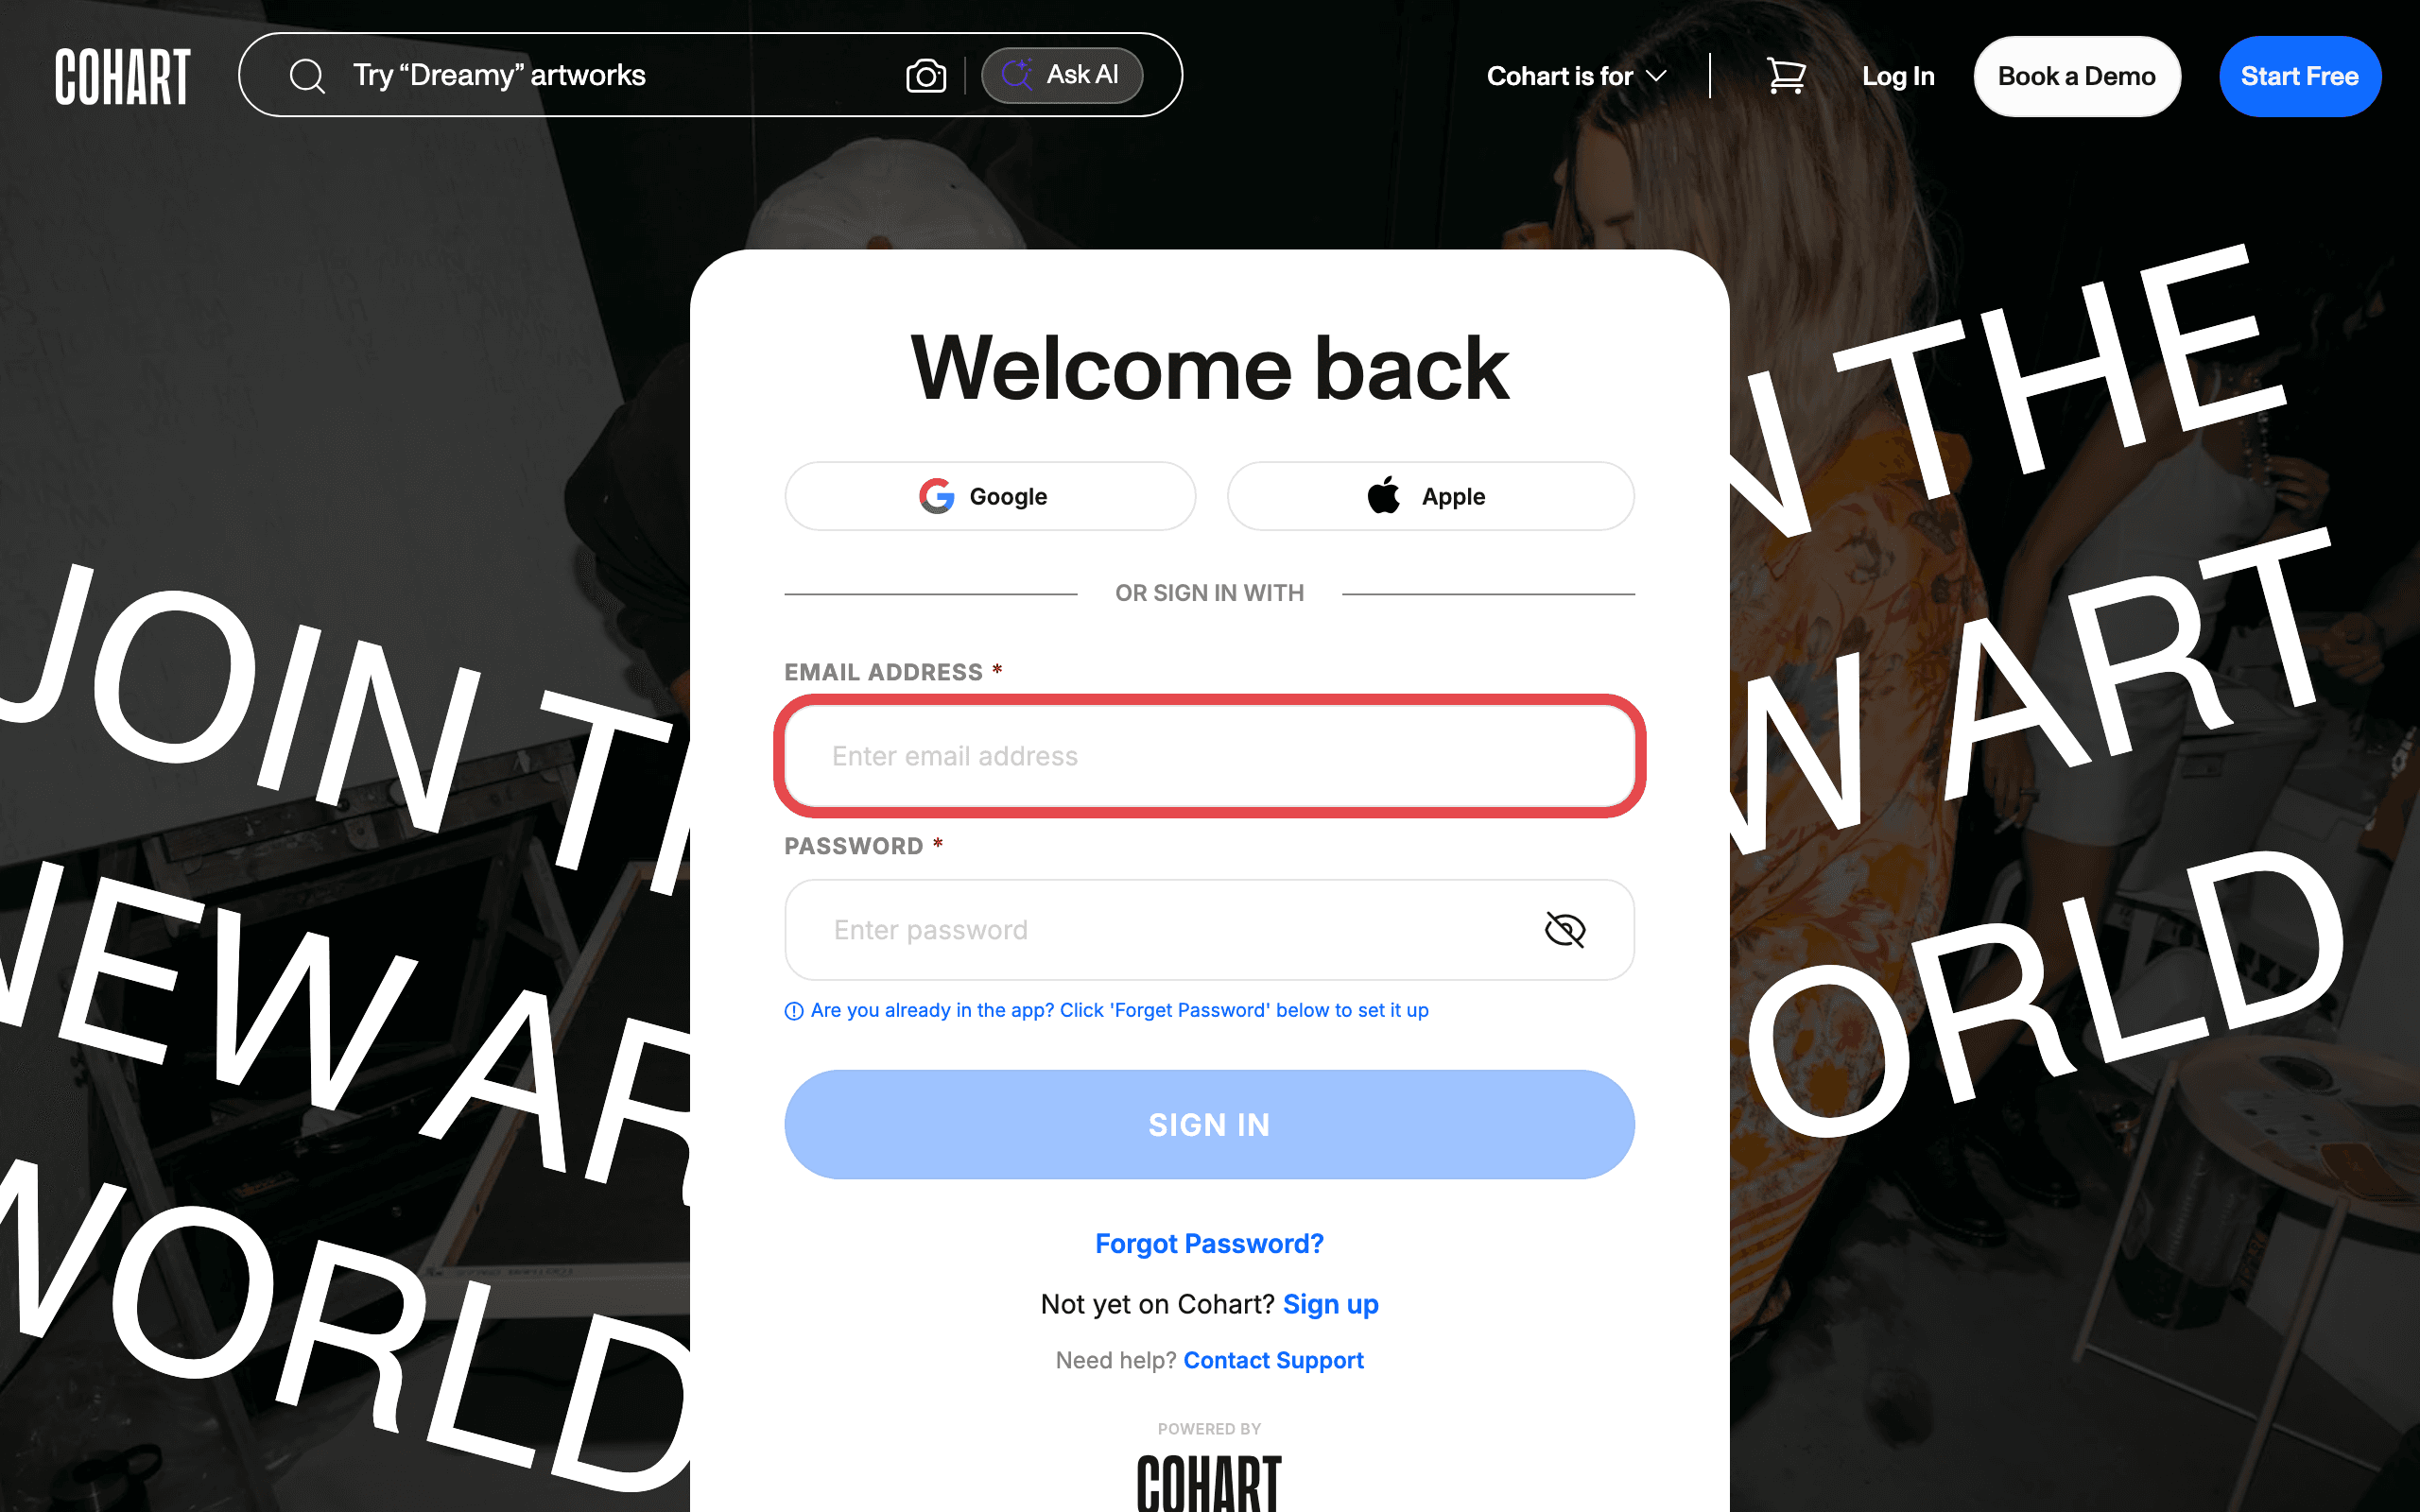
Go to the Cohart sign-in page and sign in with your email address and password, or use Google or Apple. Once you are signed in, the left sidebar is your Dashboard — it appears on every page and stays open as you move between tools. You can also reach your public profile from your avatar in the top-right corner, then use the same sidebar from there.
2. See the Dashboard sidebar
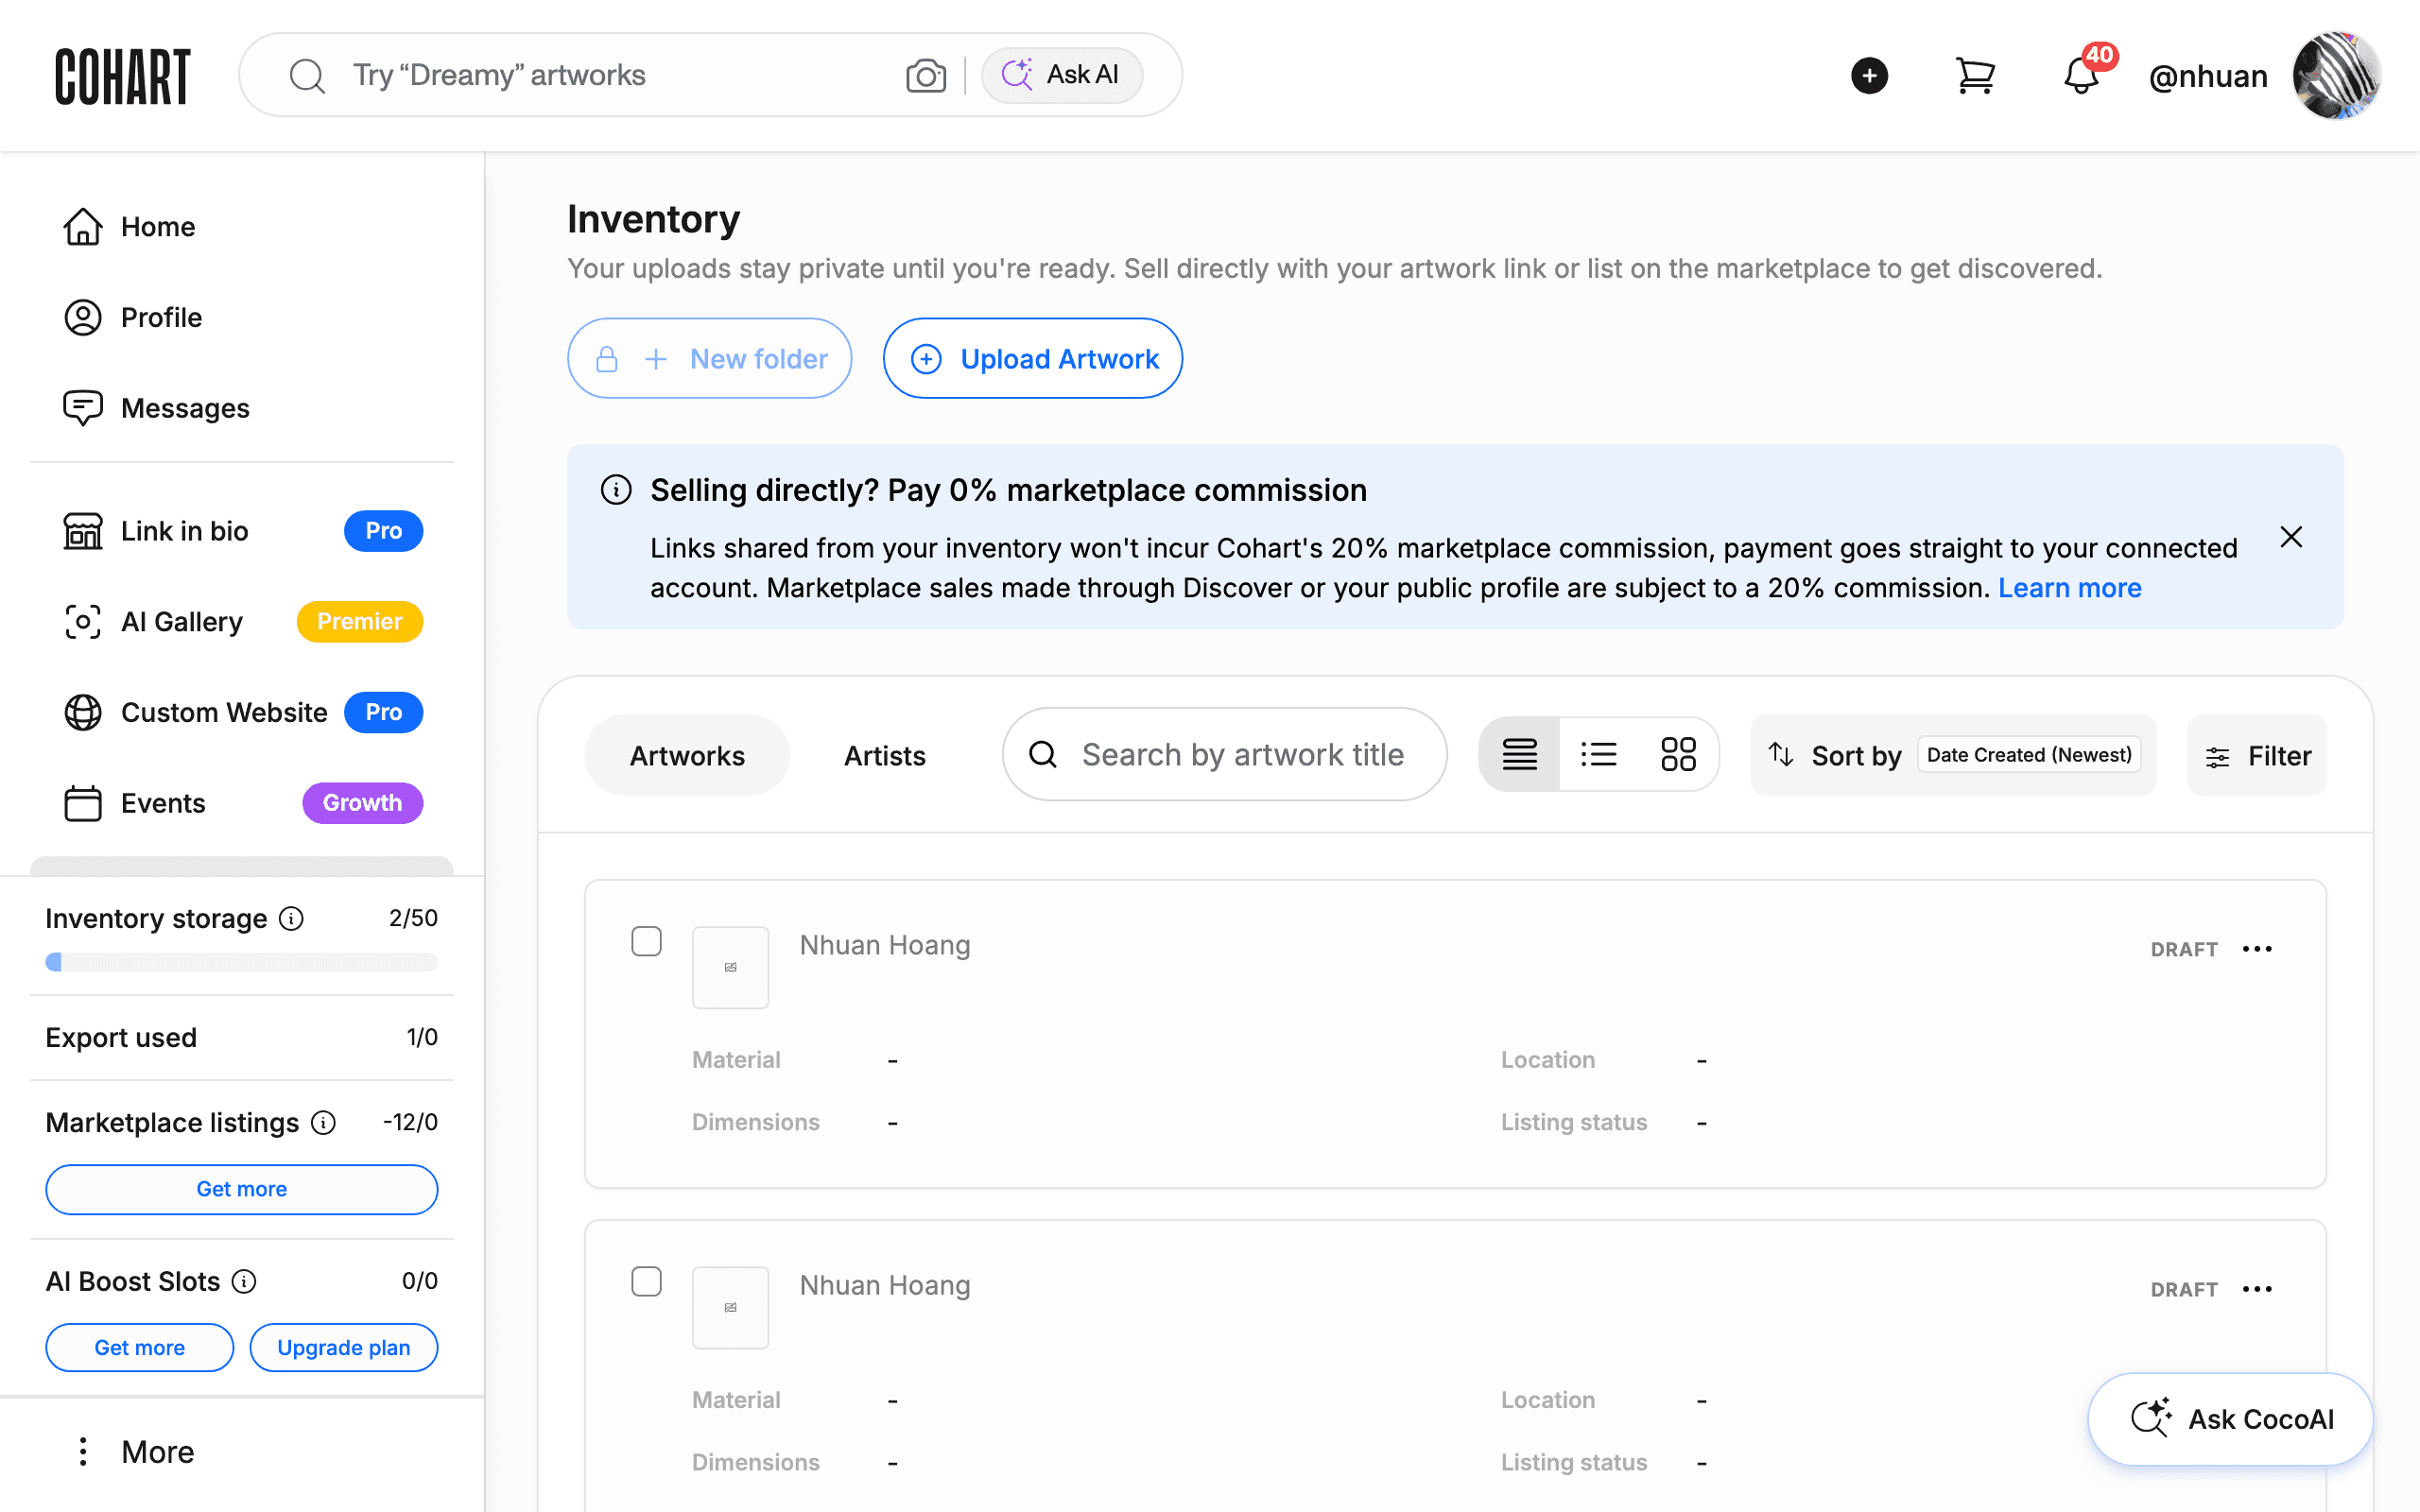
After signing in you land on a business page (most sellers land on Inventory) with the sidebar running down the left side of the screen. Everything below is one of its sections, in the order they appear from top to bottom.
3. Open Home
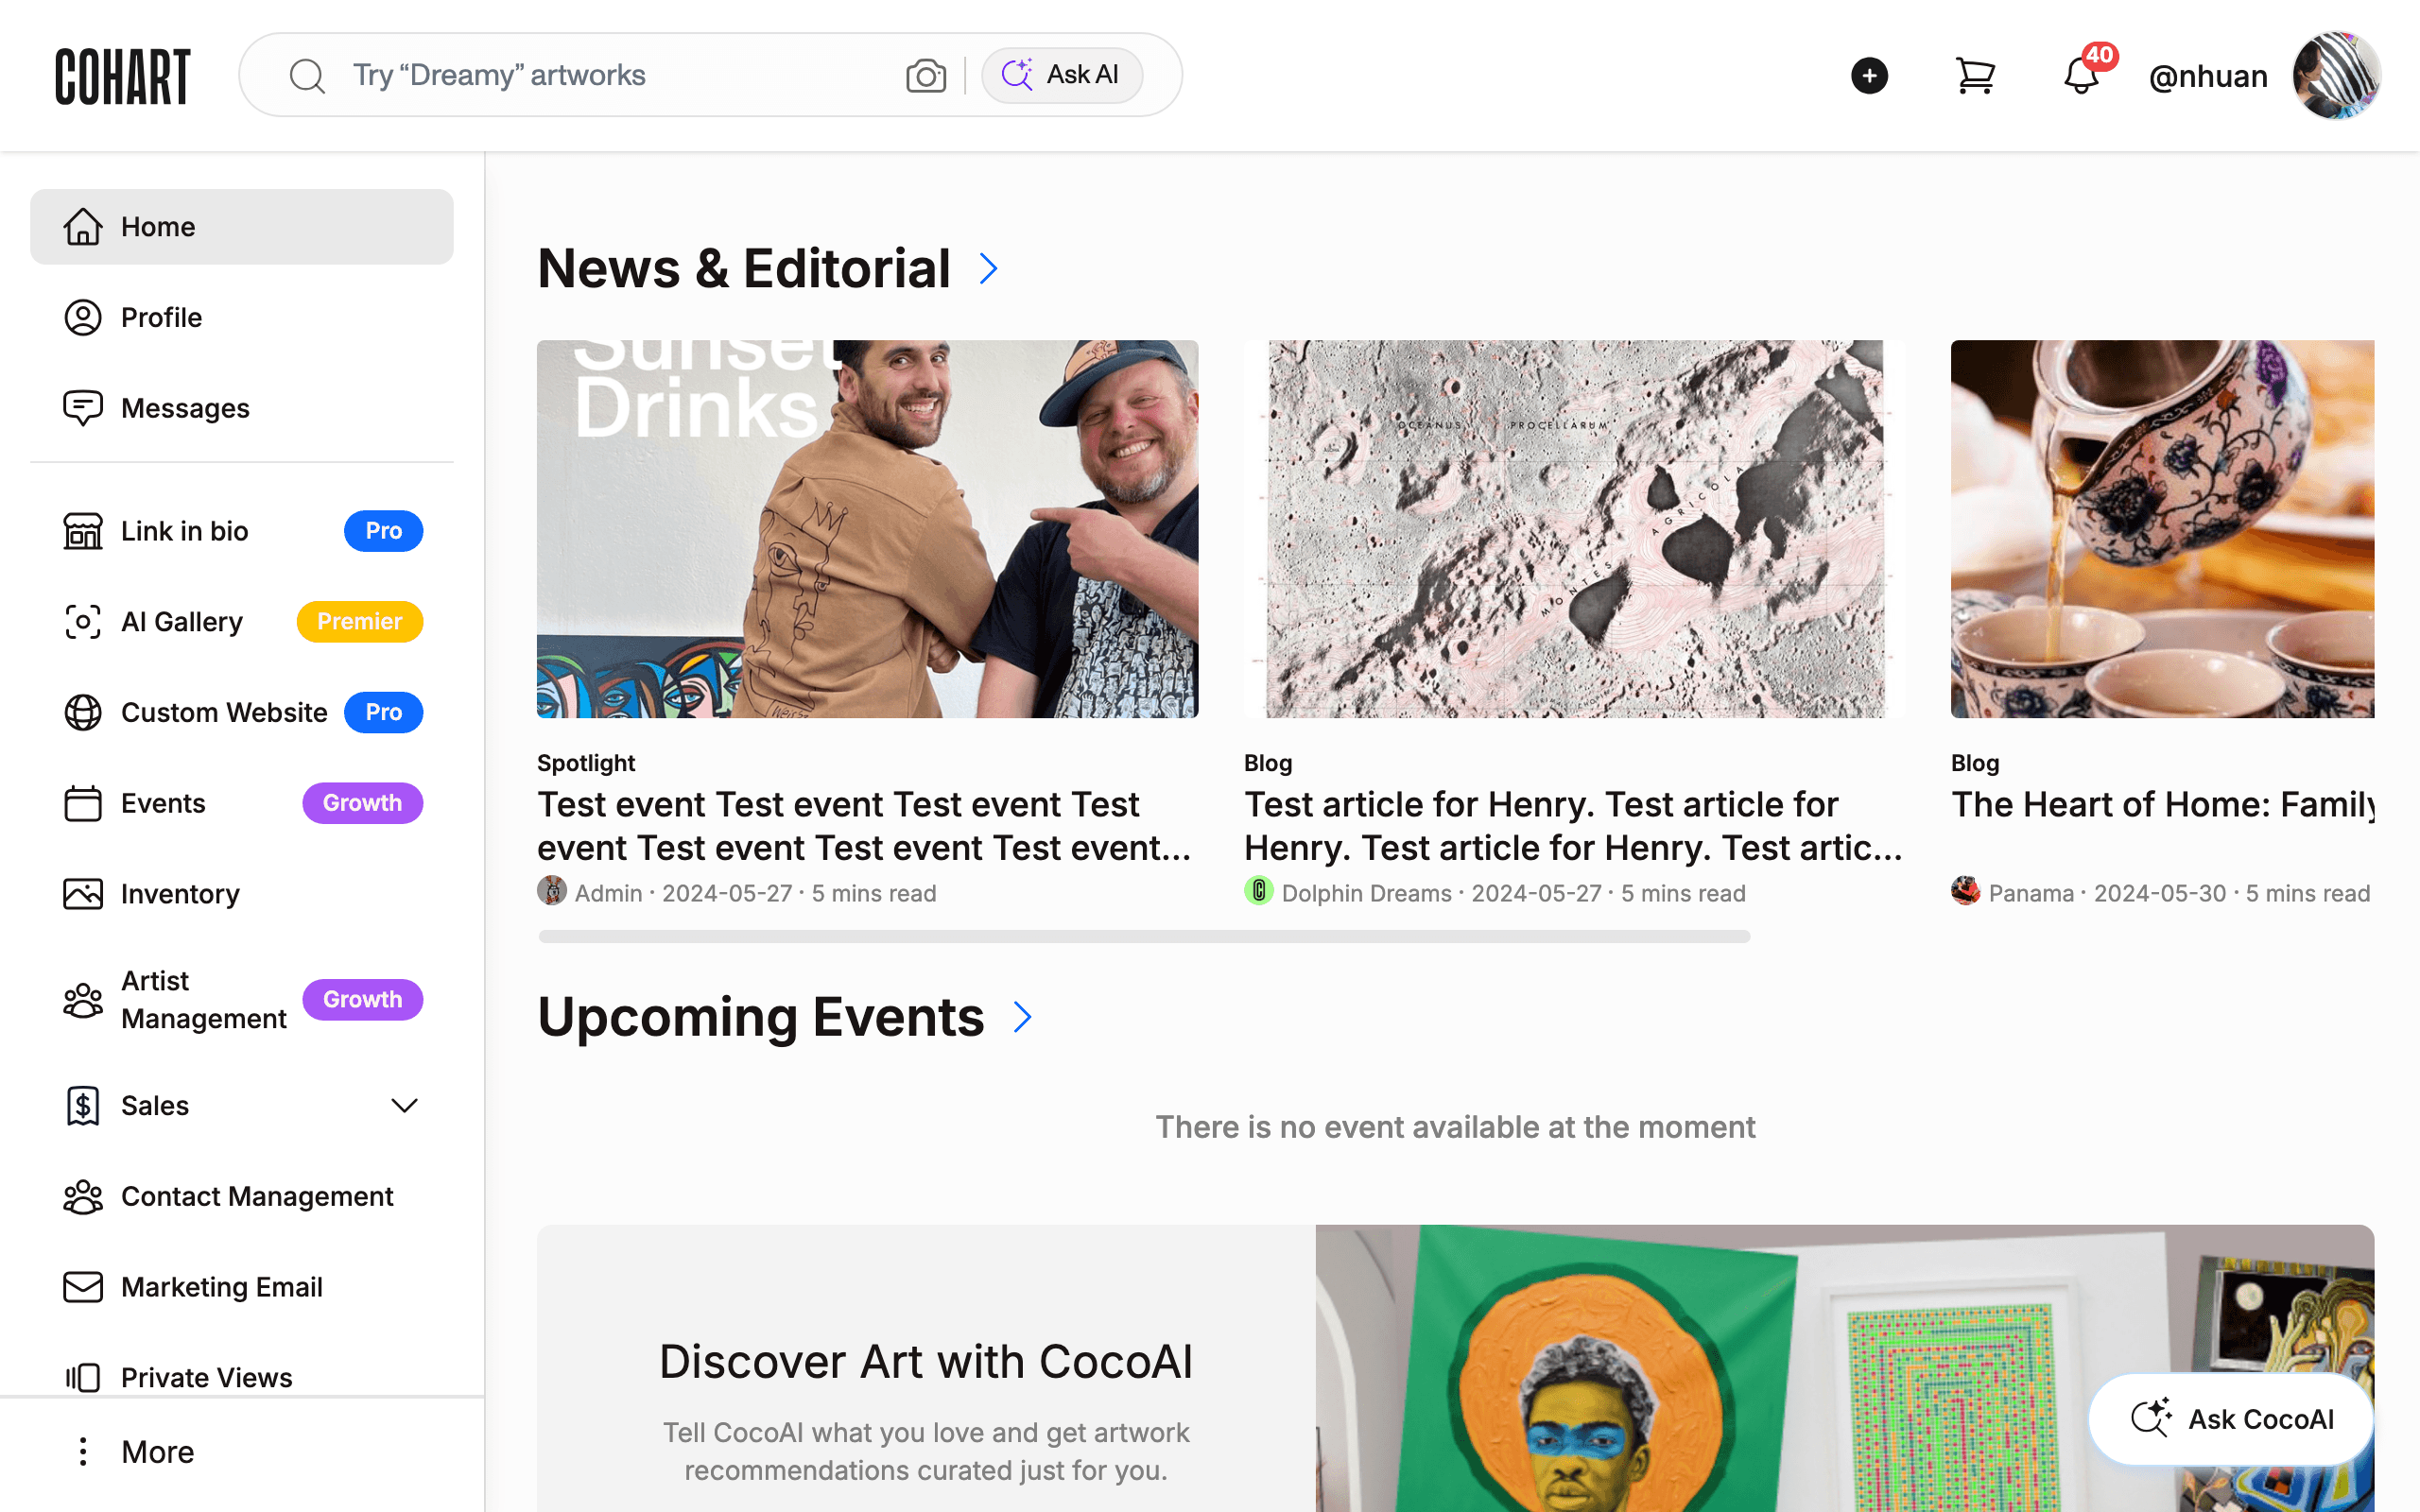
Home is your starting point: open calls and opportunities, news and editorial, upcoming events, and artists near you. See How to Use the Homepage Dashboard for a full walkthrough of each section.
4. Open Profile
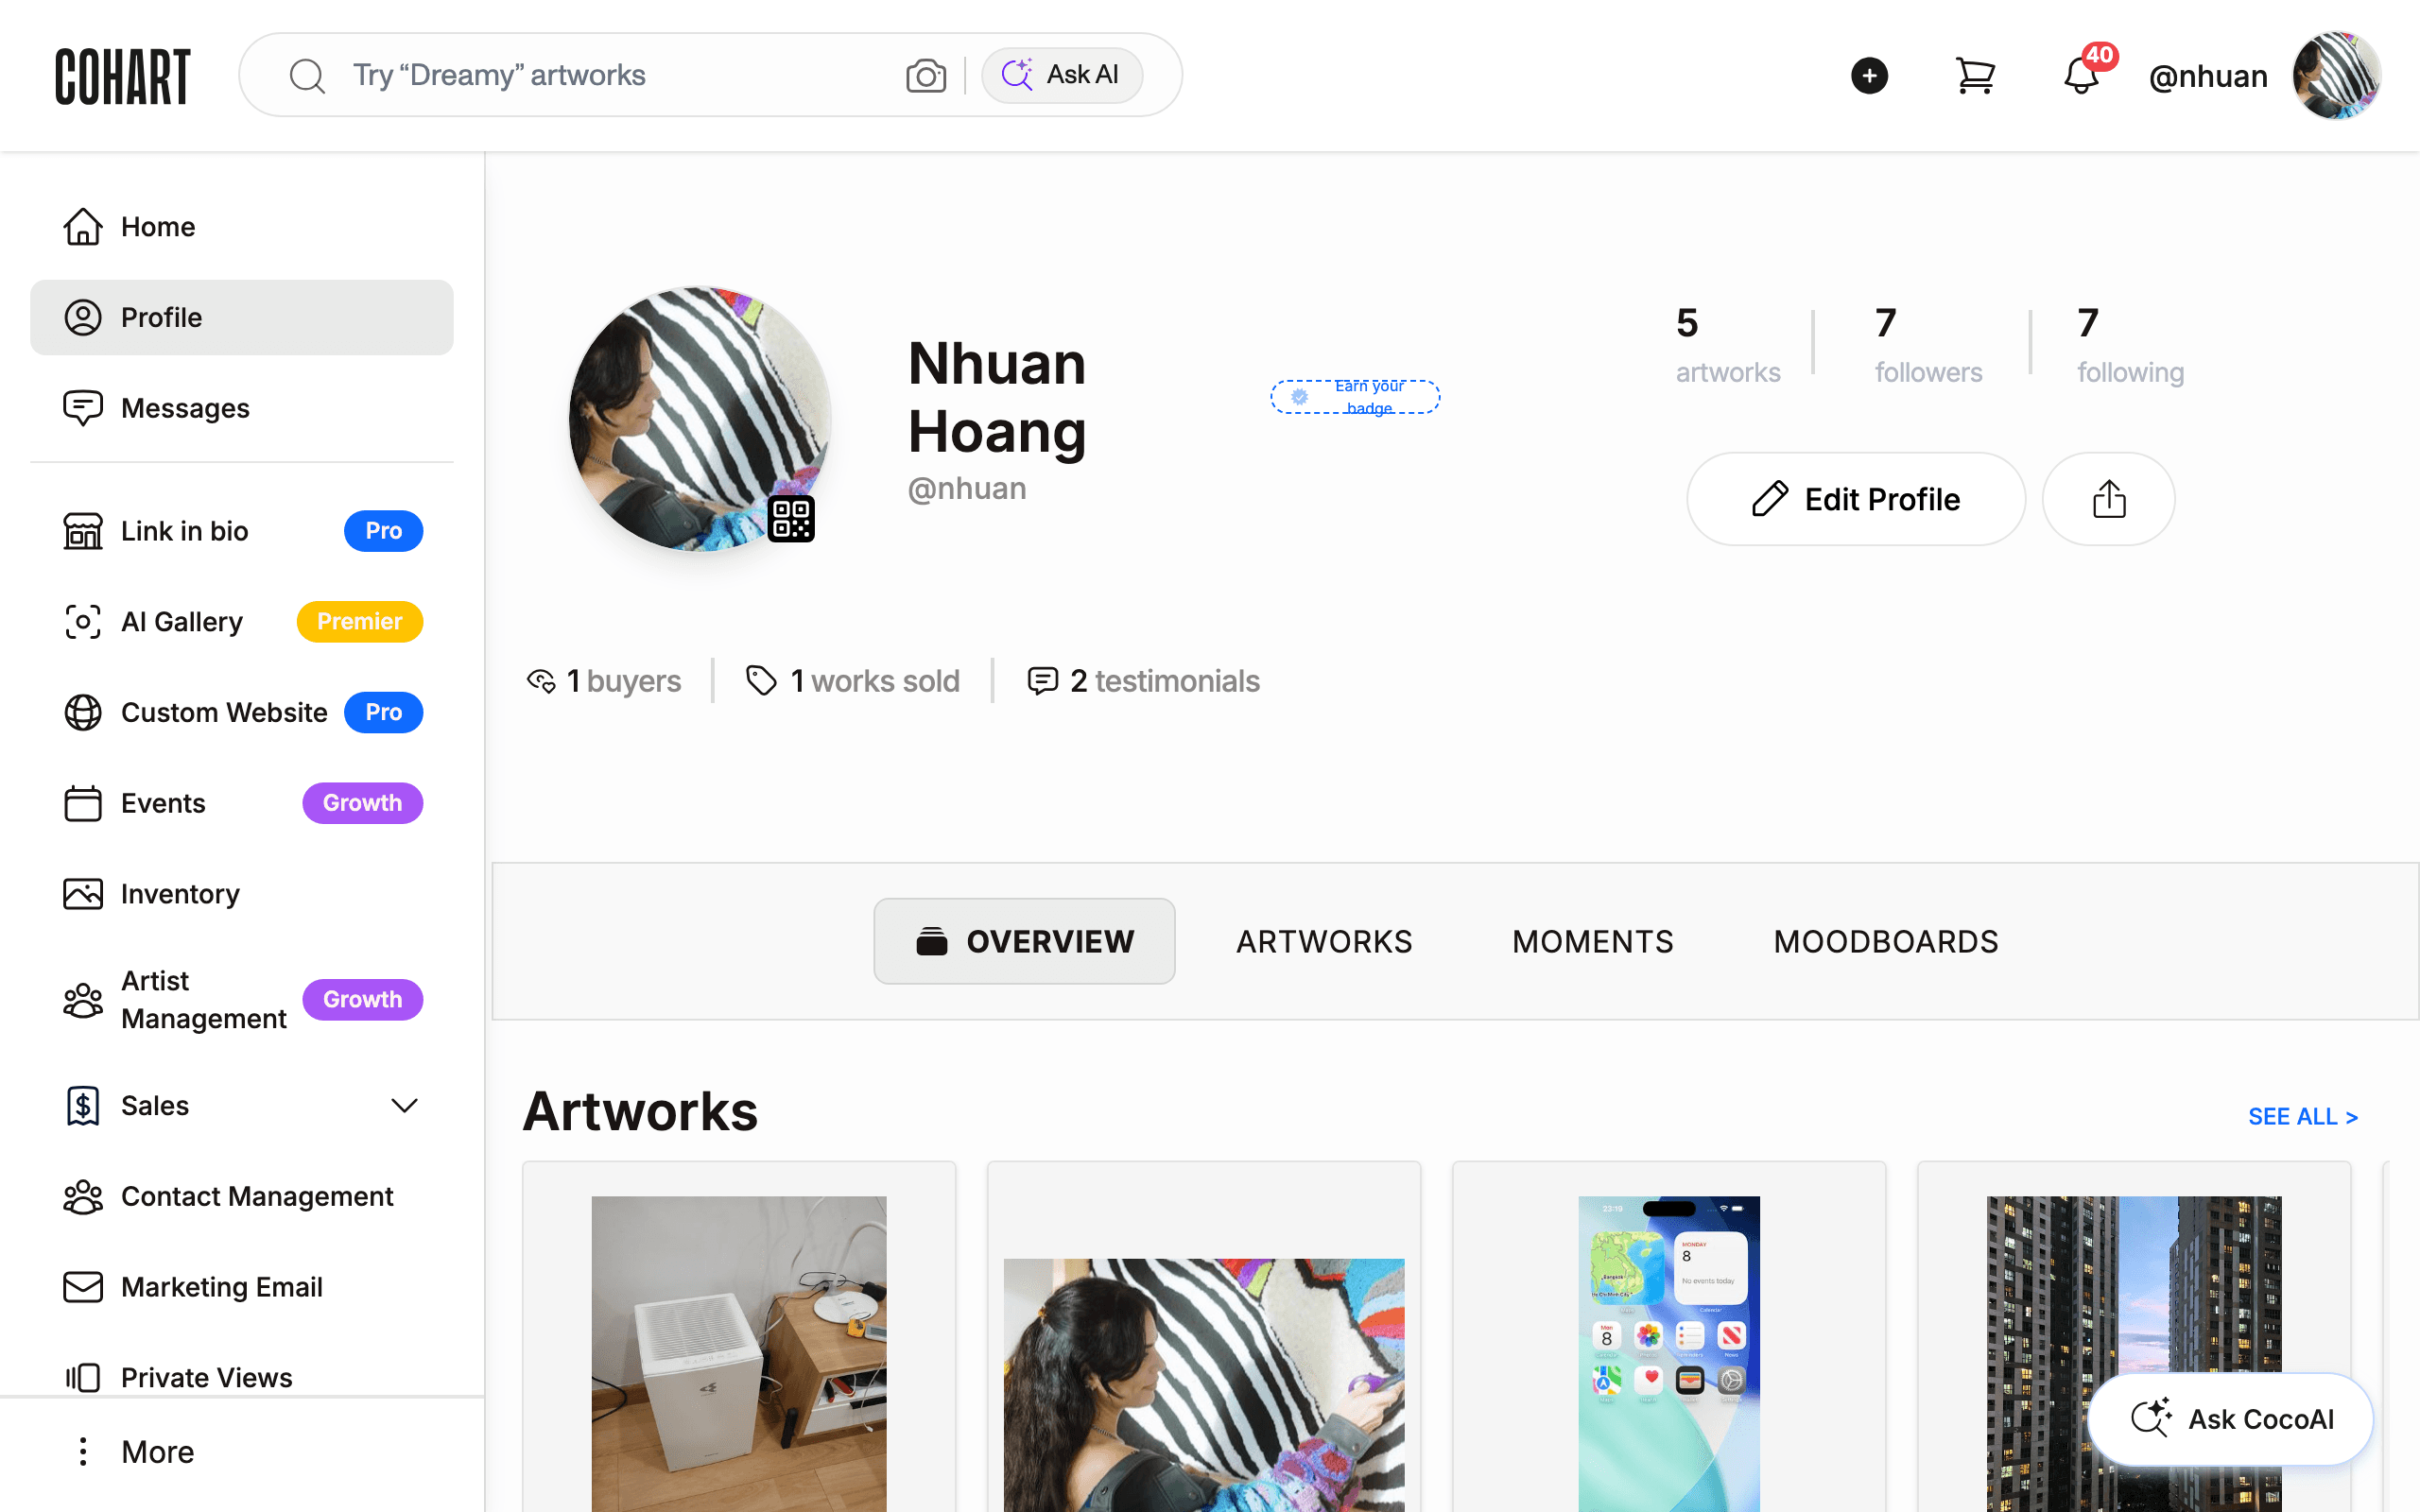
Profile is your public-facing page: your bio, your artworks, your followers, and your moments and moodboards. See How to Manage Your Public Profile to edit it.
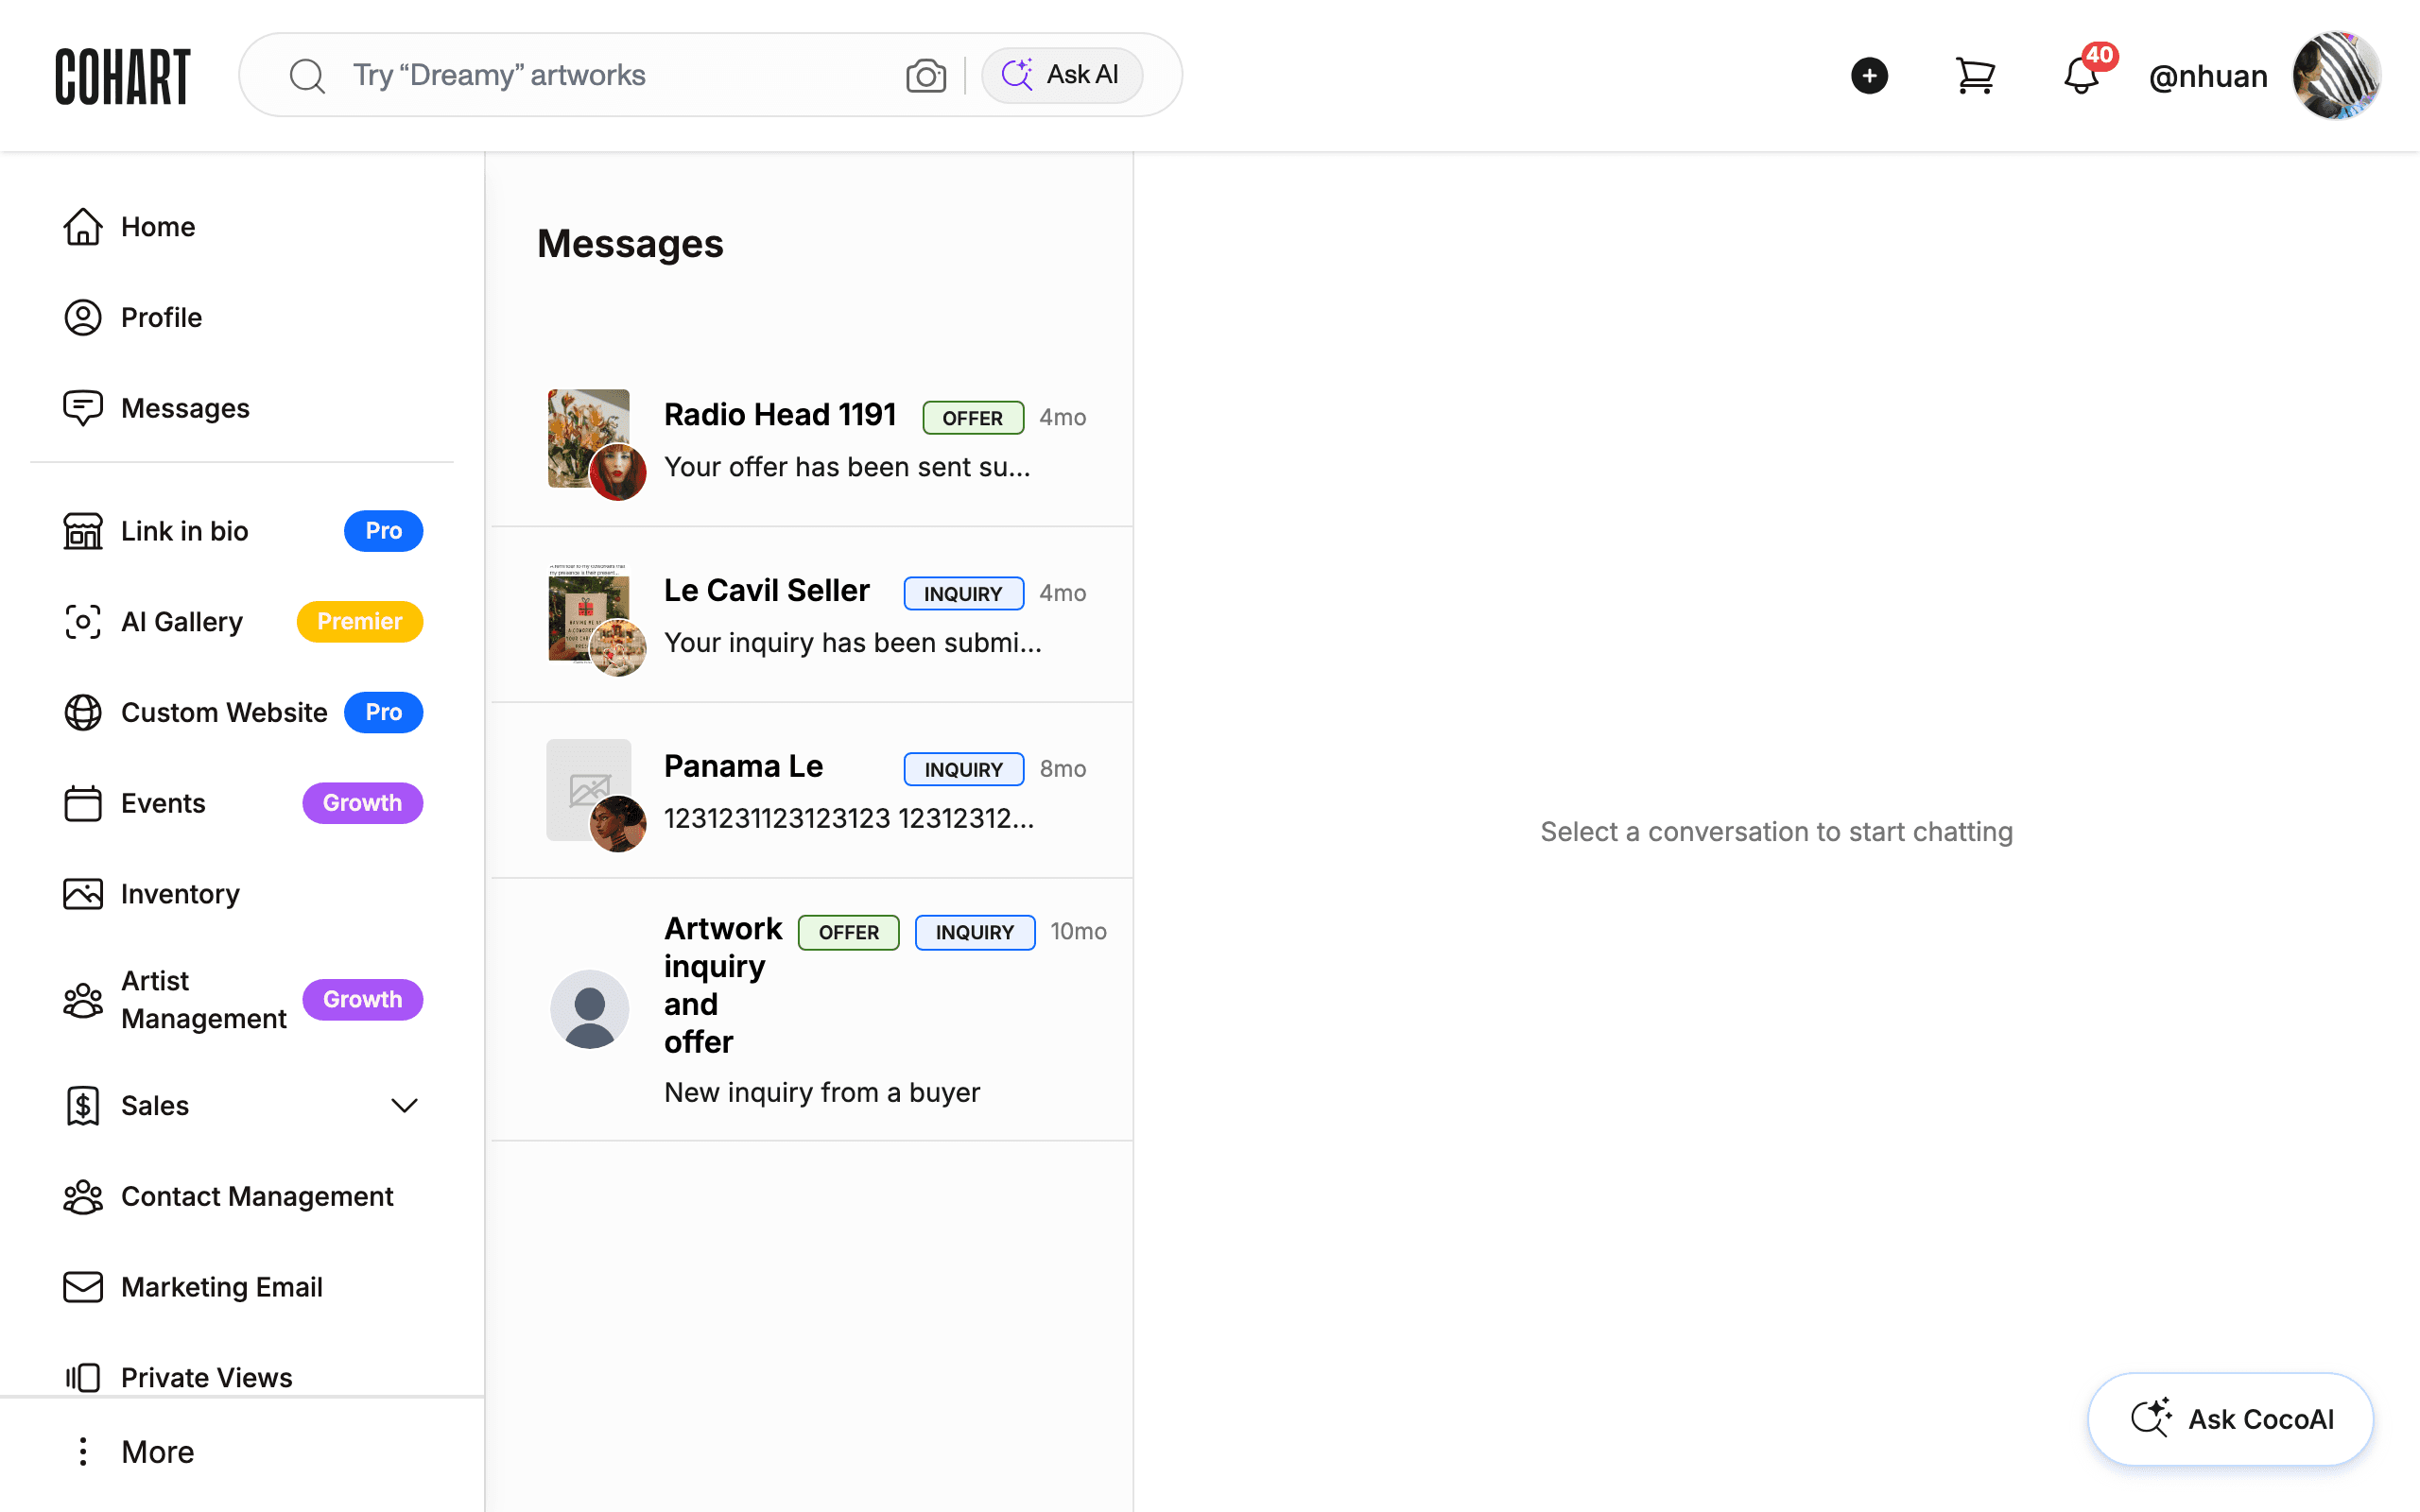
5. Open Messages
Messages holds your conversations with other Cohart users, including buyers asking about your work. See How to Use Messages to Chat with Buyers and Collectors for the full flow.
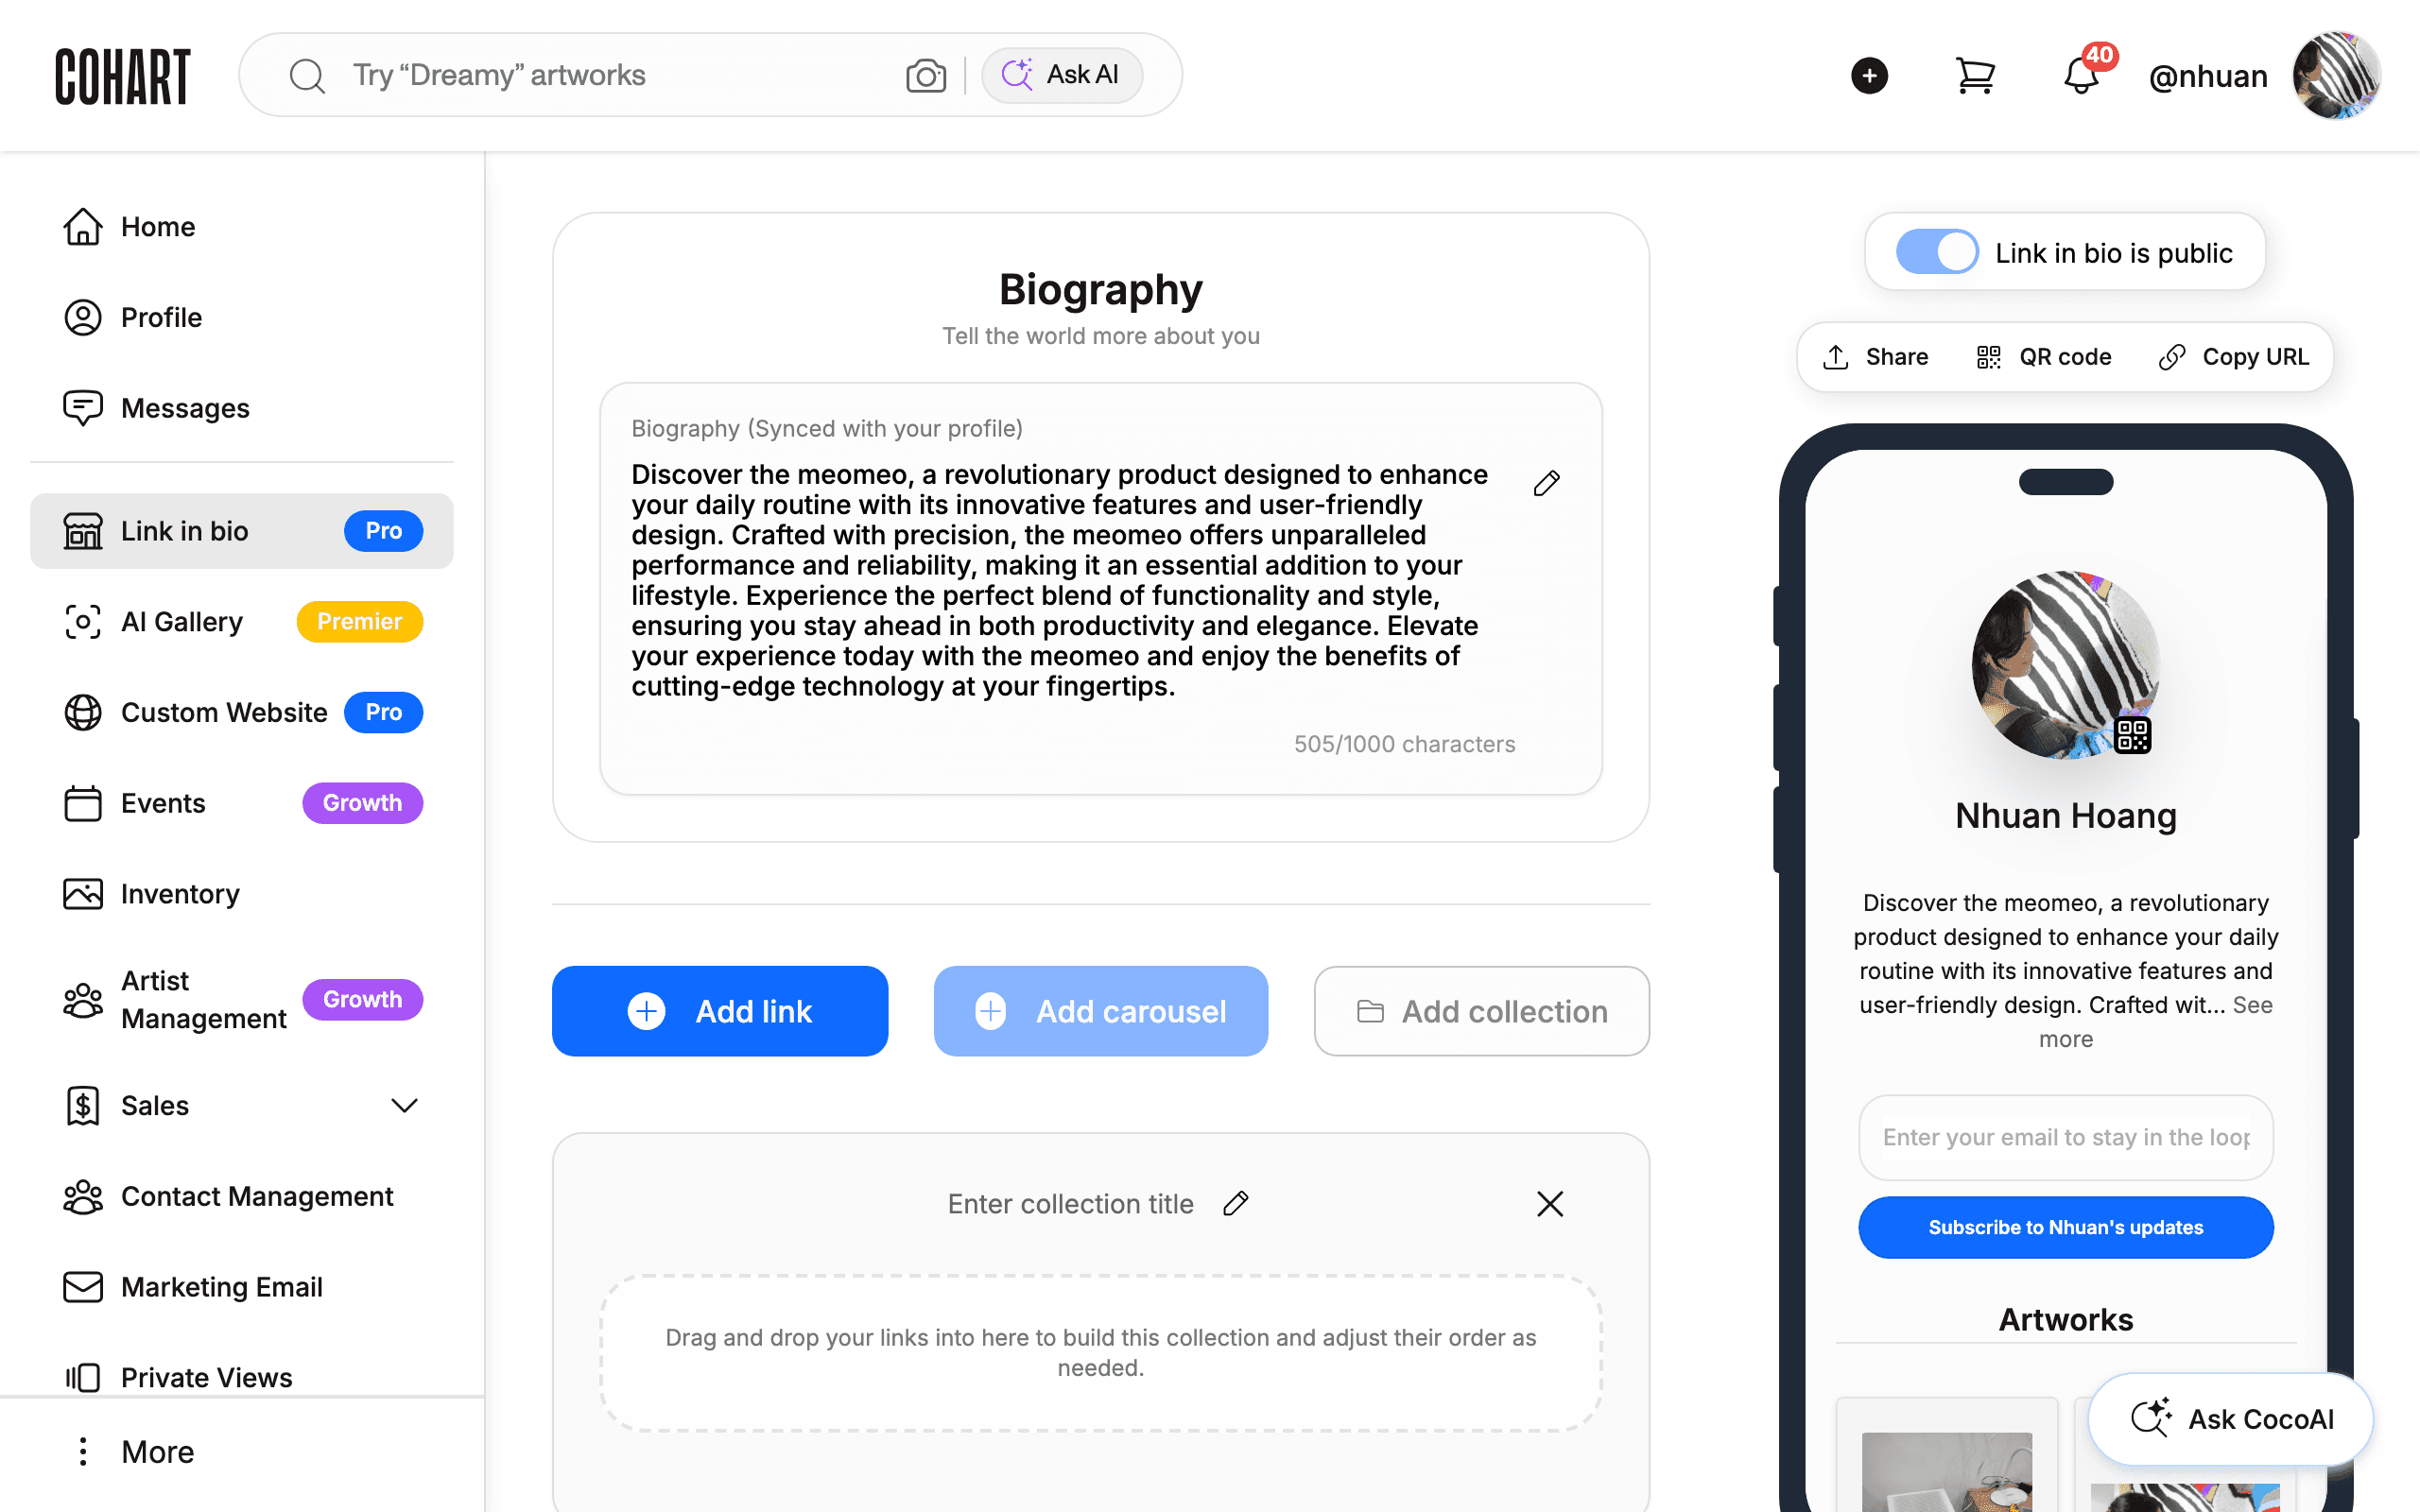
6. Open Link in bio
Link in bio builds a shareable page featuring your artworks, links to projects or exhibitions, and a mailing-list signup for collectors. See How to Set Up Your Storefront Profile for the full setup.
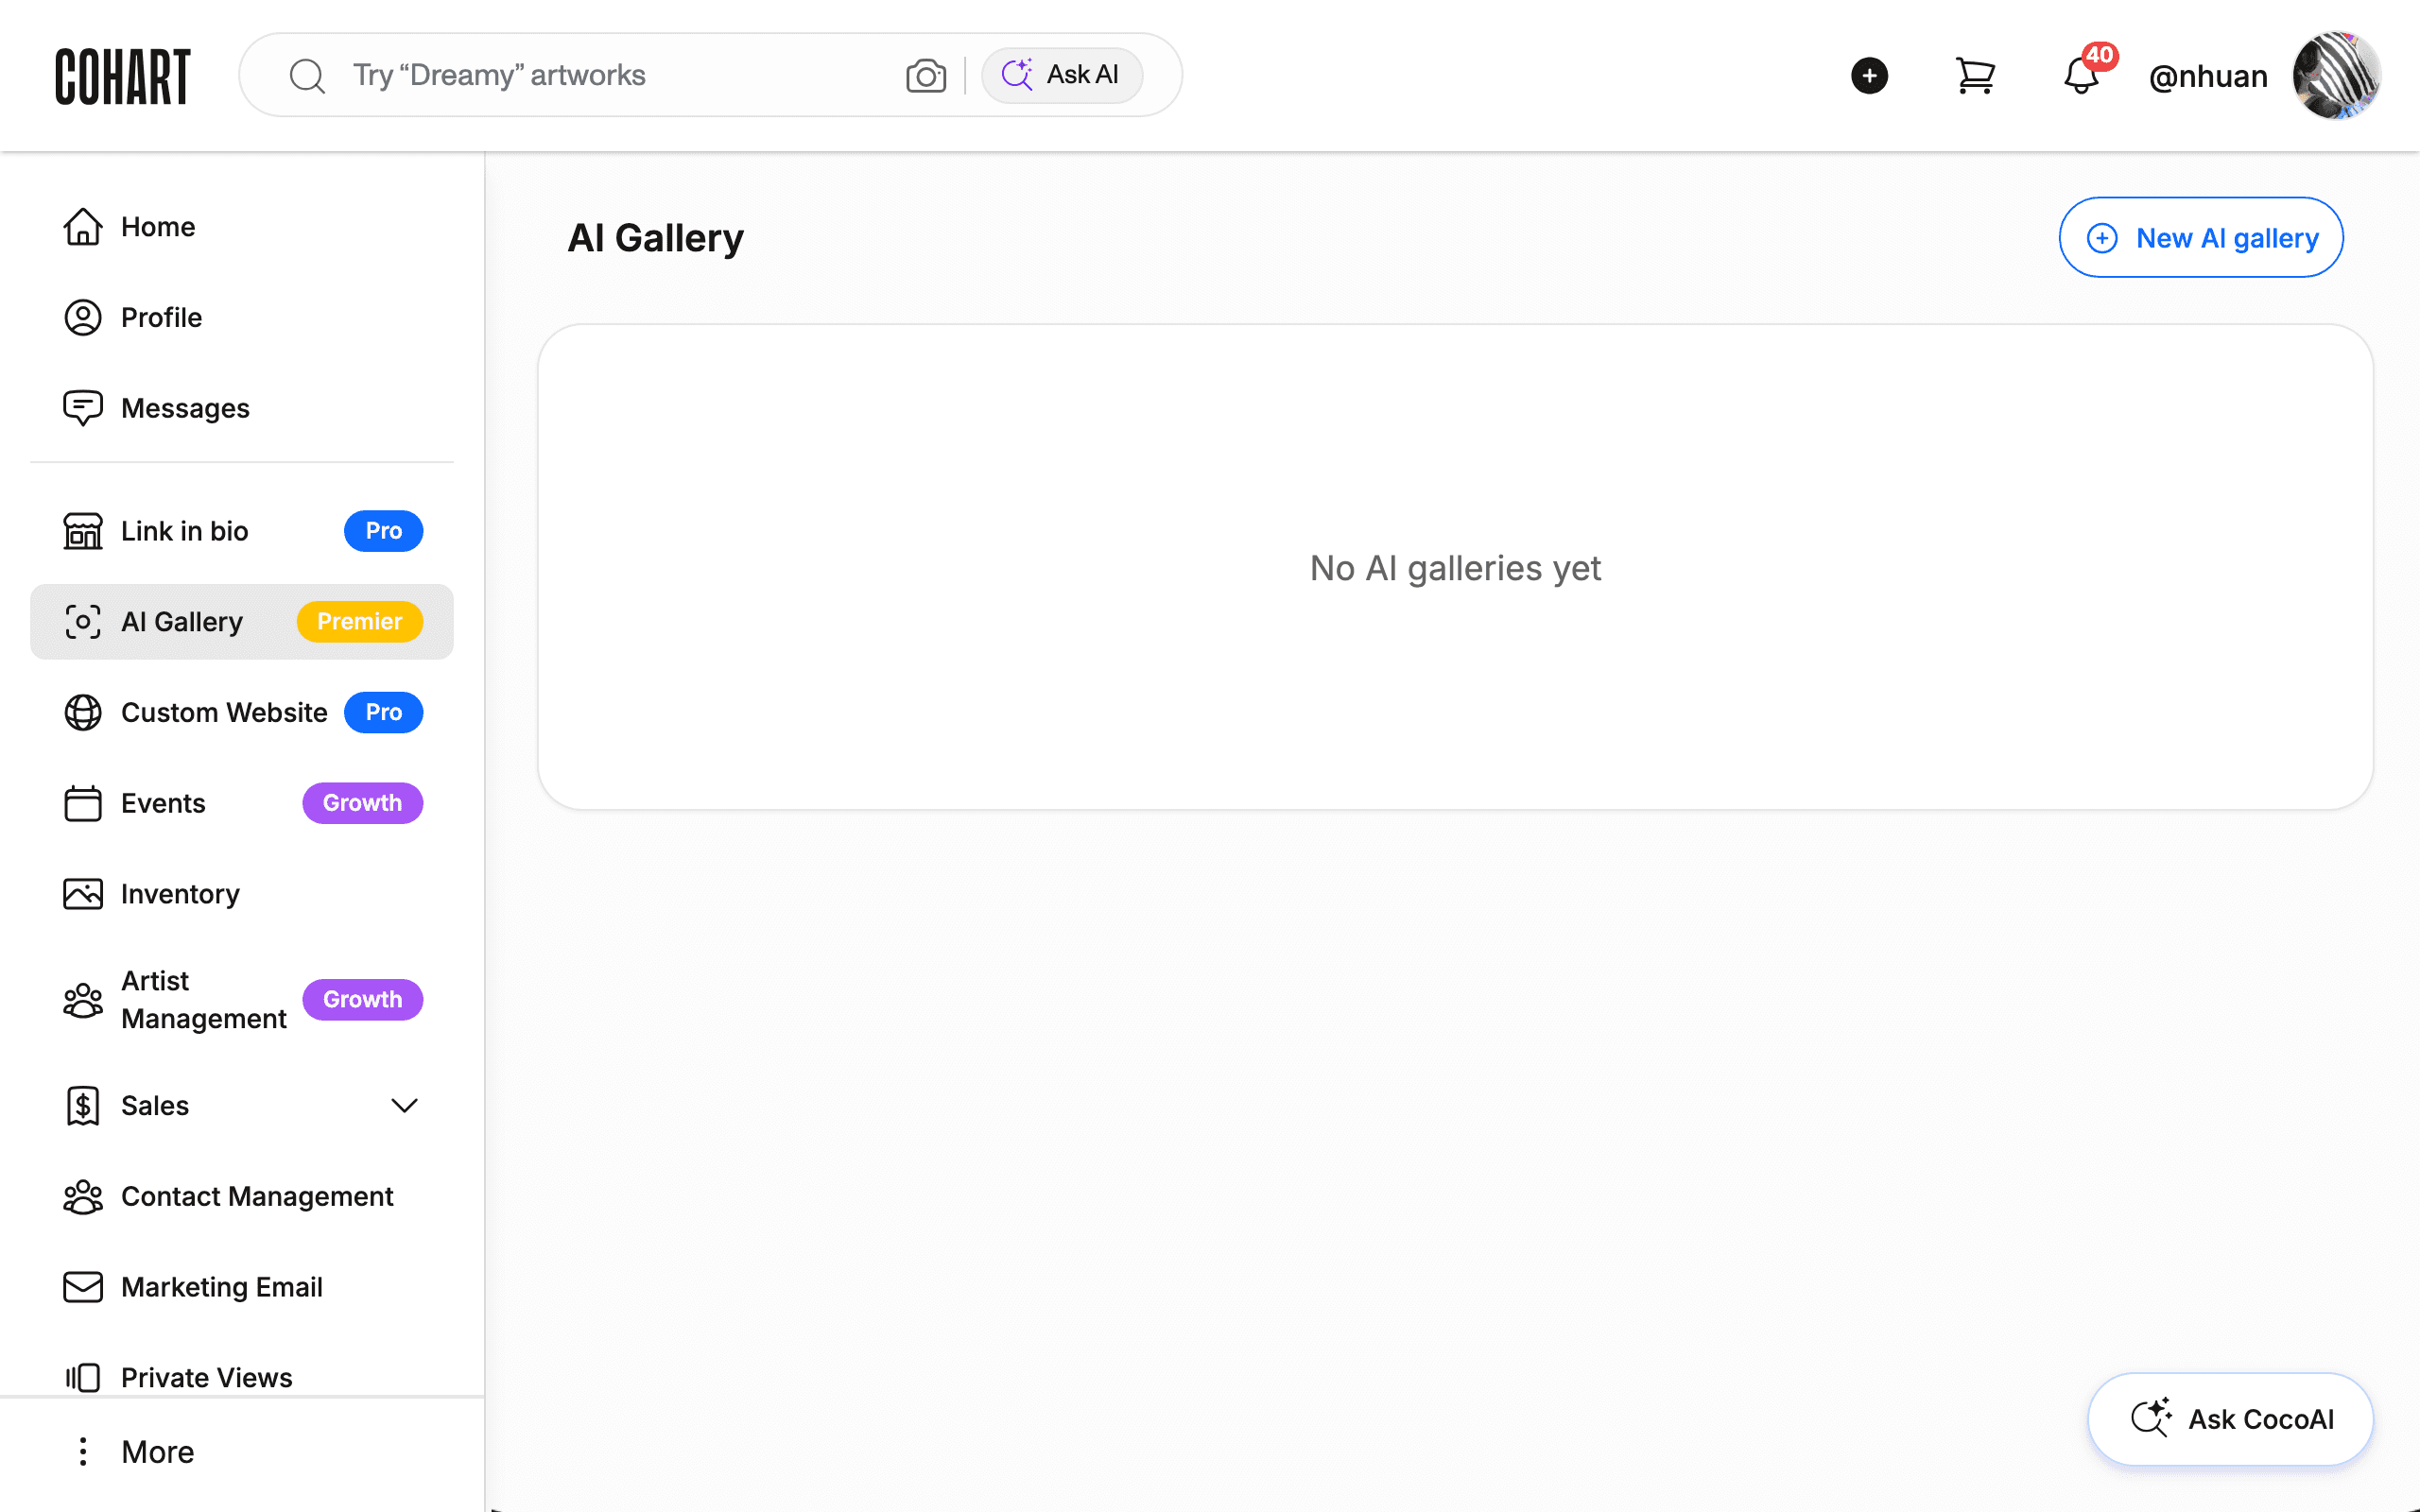
7. Open AI Gallery
AI Gallery lets you generate a curated online gallery from your inventory. See How to Set Up an AI Gallery for the full setup.
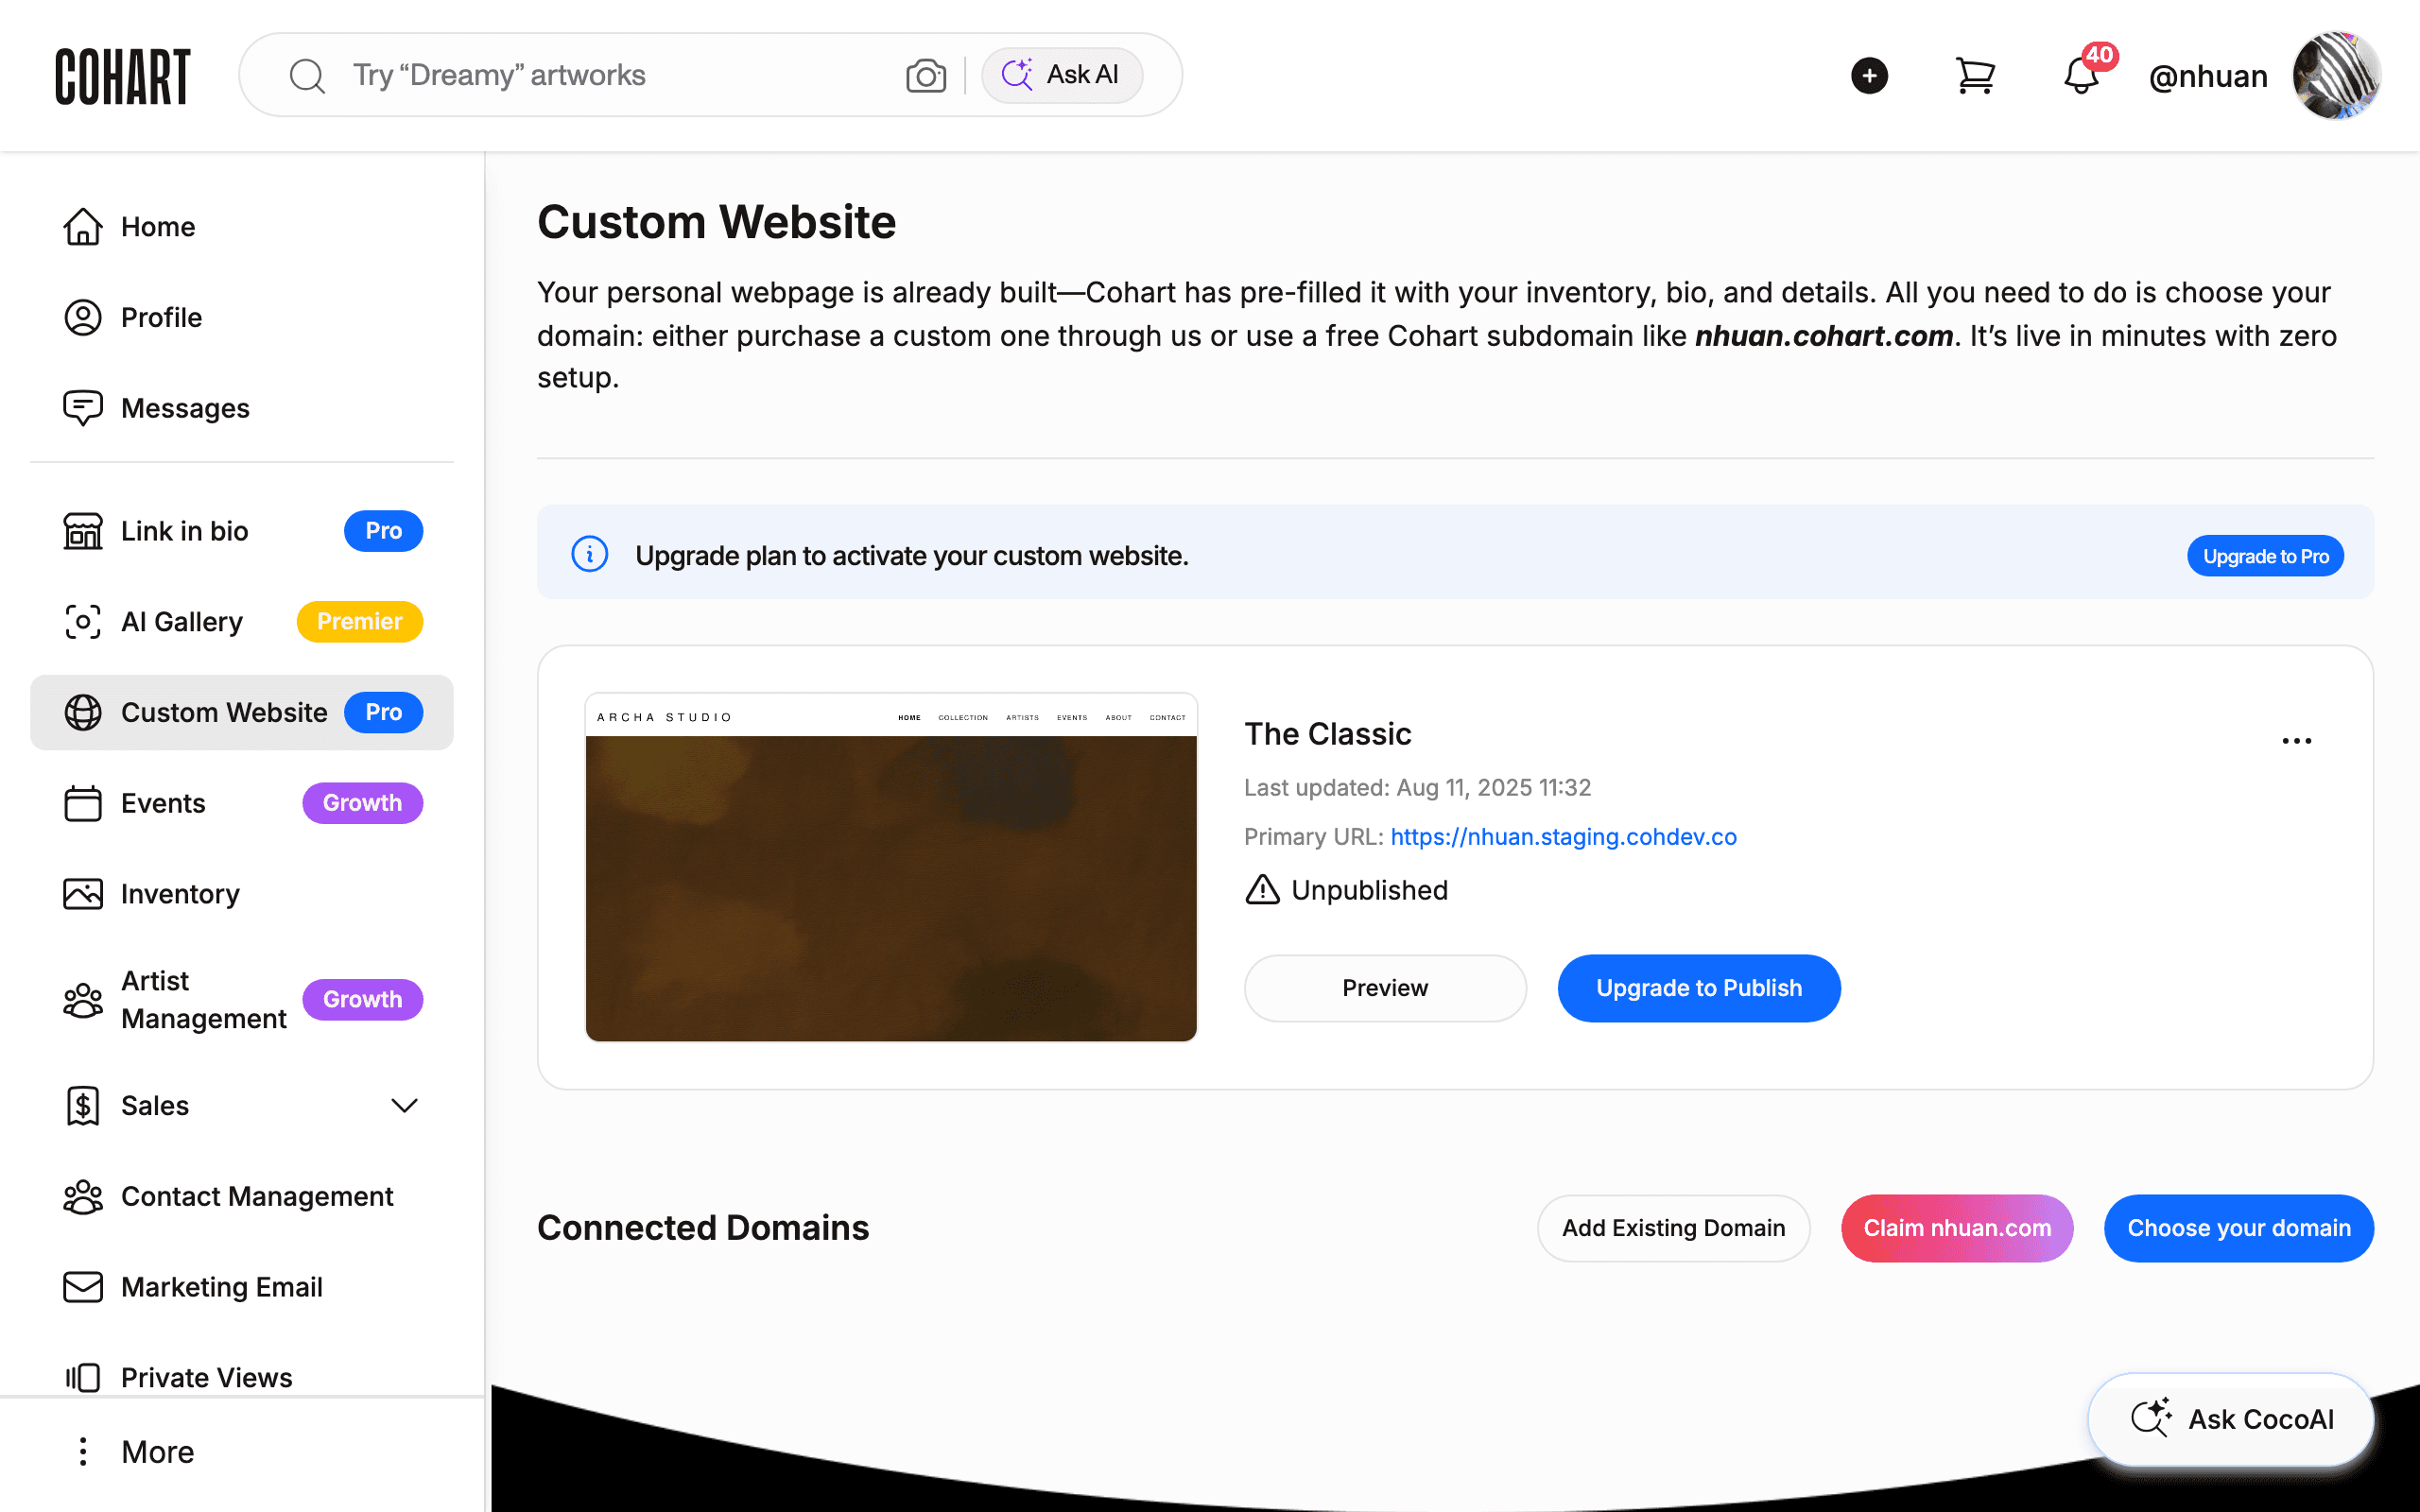
8. Open Custom Website
Custom Website turns your inventory into a standalone website that stays up to date as your inventory changes, with the option to connect your own domain. See How to Set Up and Publish Your Custom Website and How to Connect a Custom Domain to Your Custom Website for the full setup.
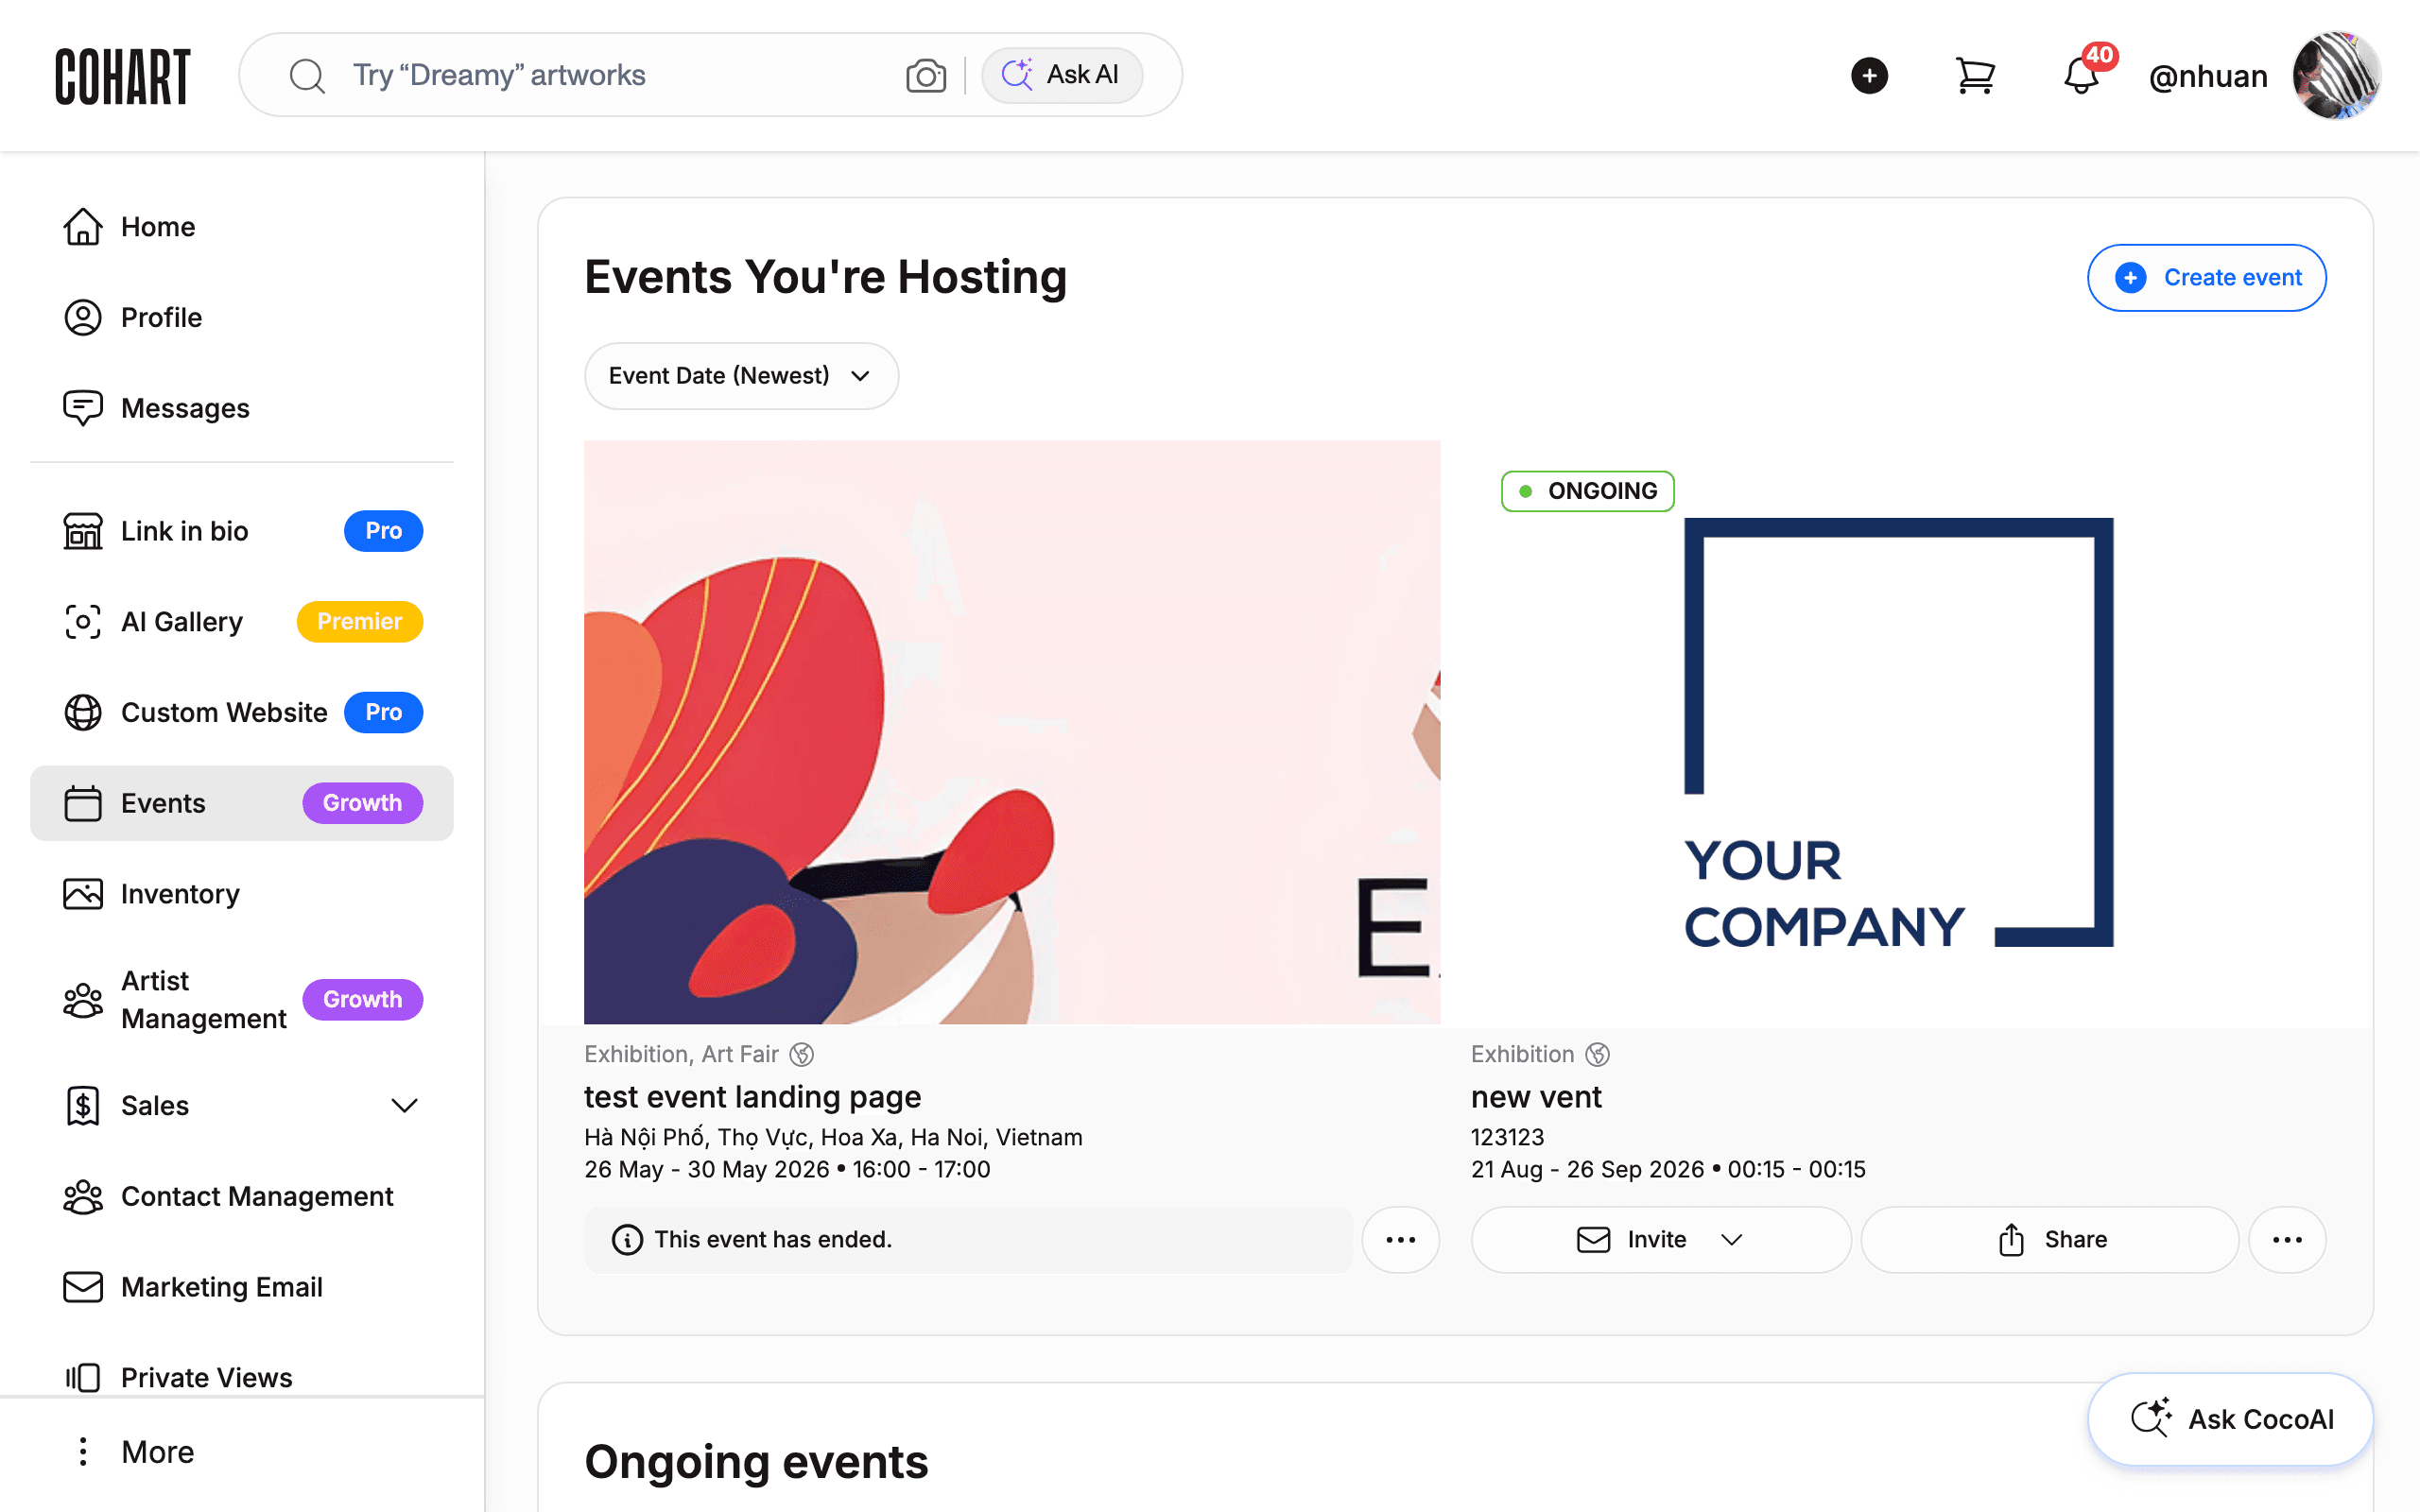
9. Open Events
Events is where you create and manage exhibitions, openings, artist talks, and ticketed experiences. See How to Create a New Event on Cohart: Gallery Openings, Exhibitions, Art Fairs, and Talks and How to Manage an Event for the full workflow.
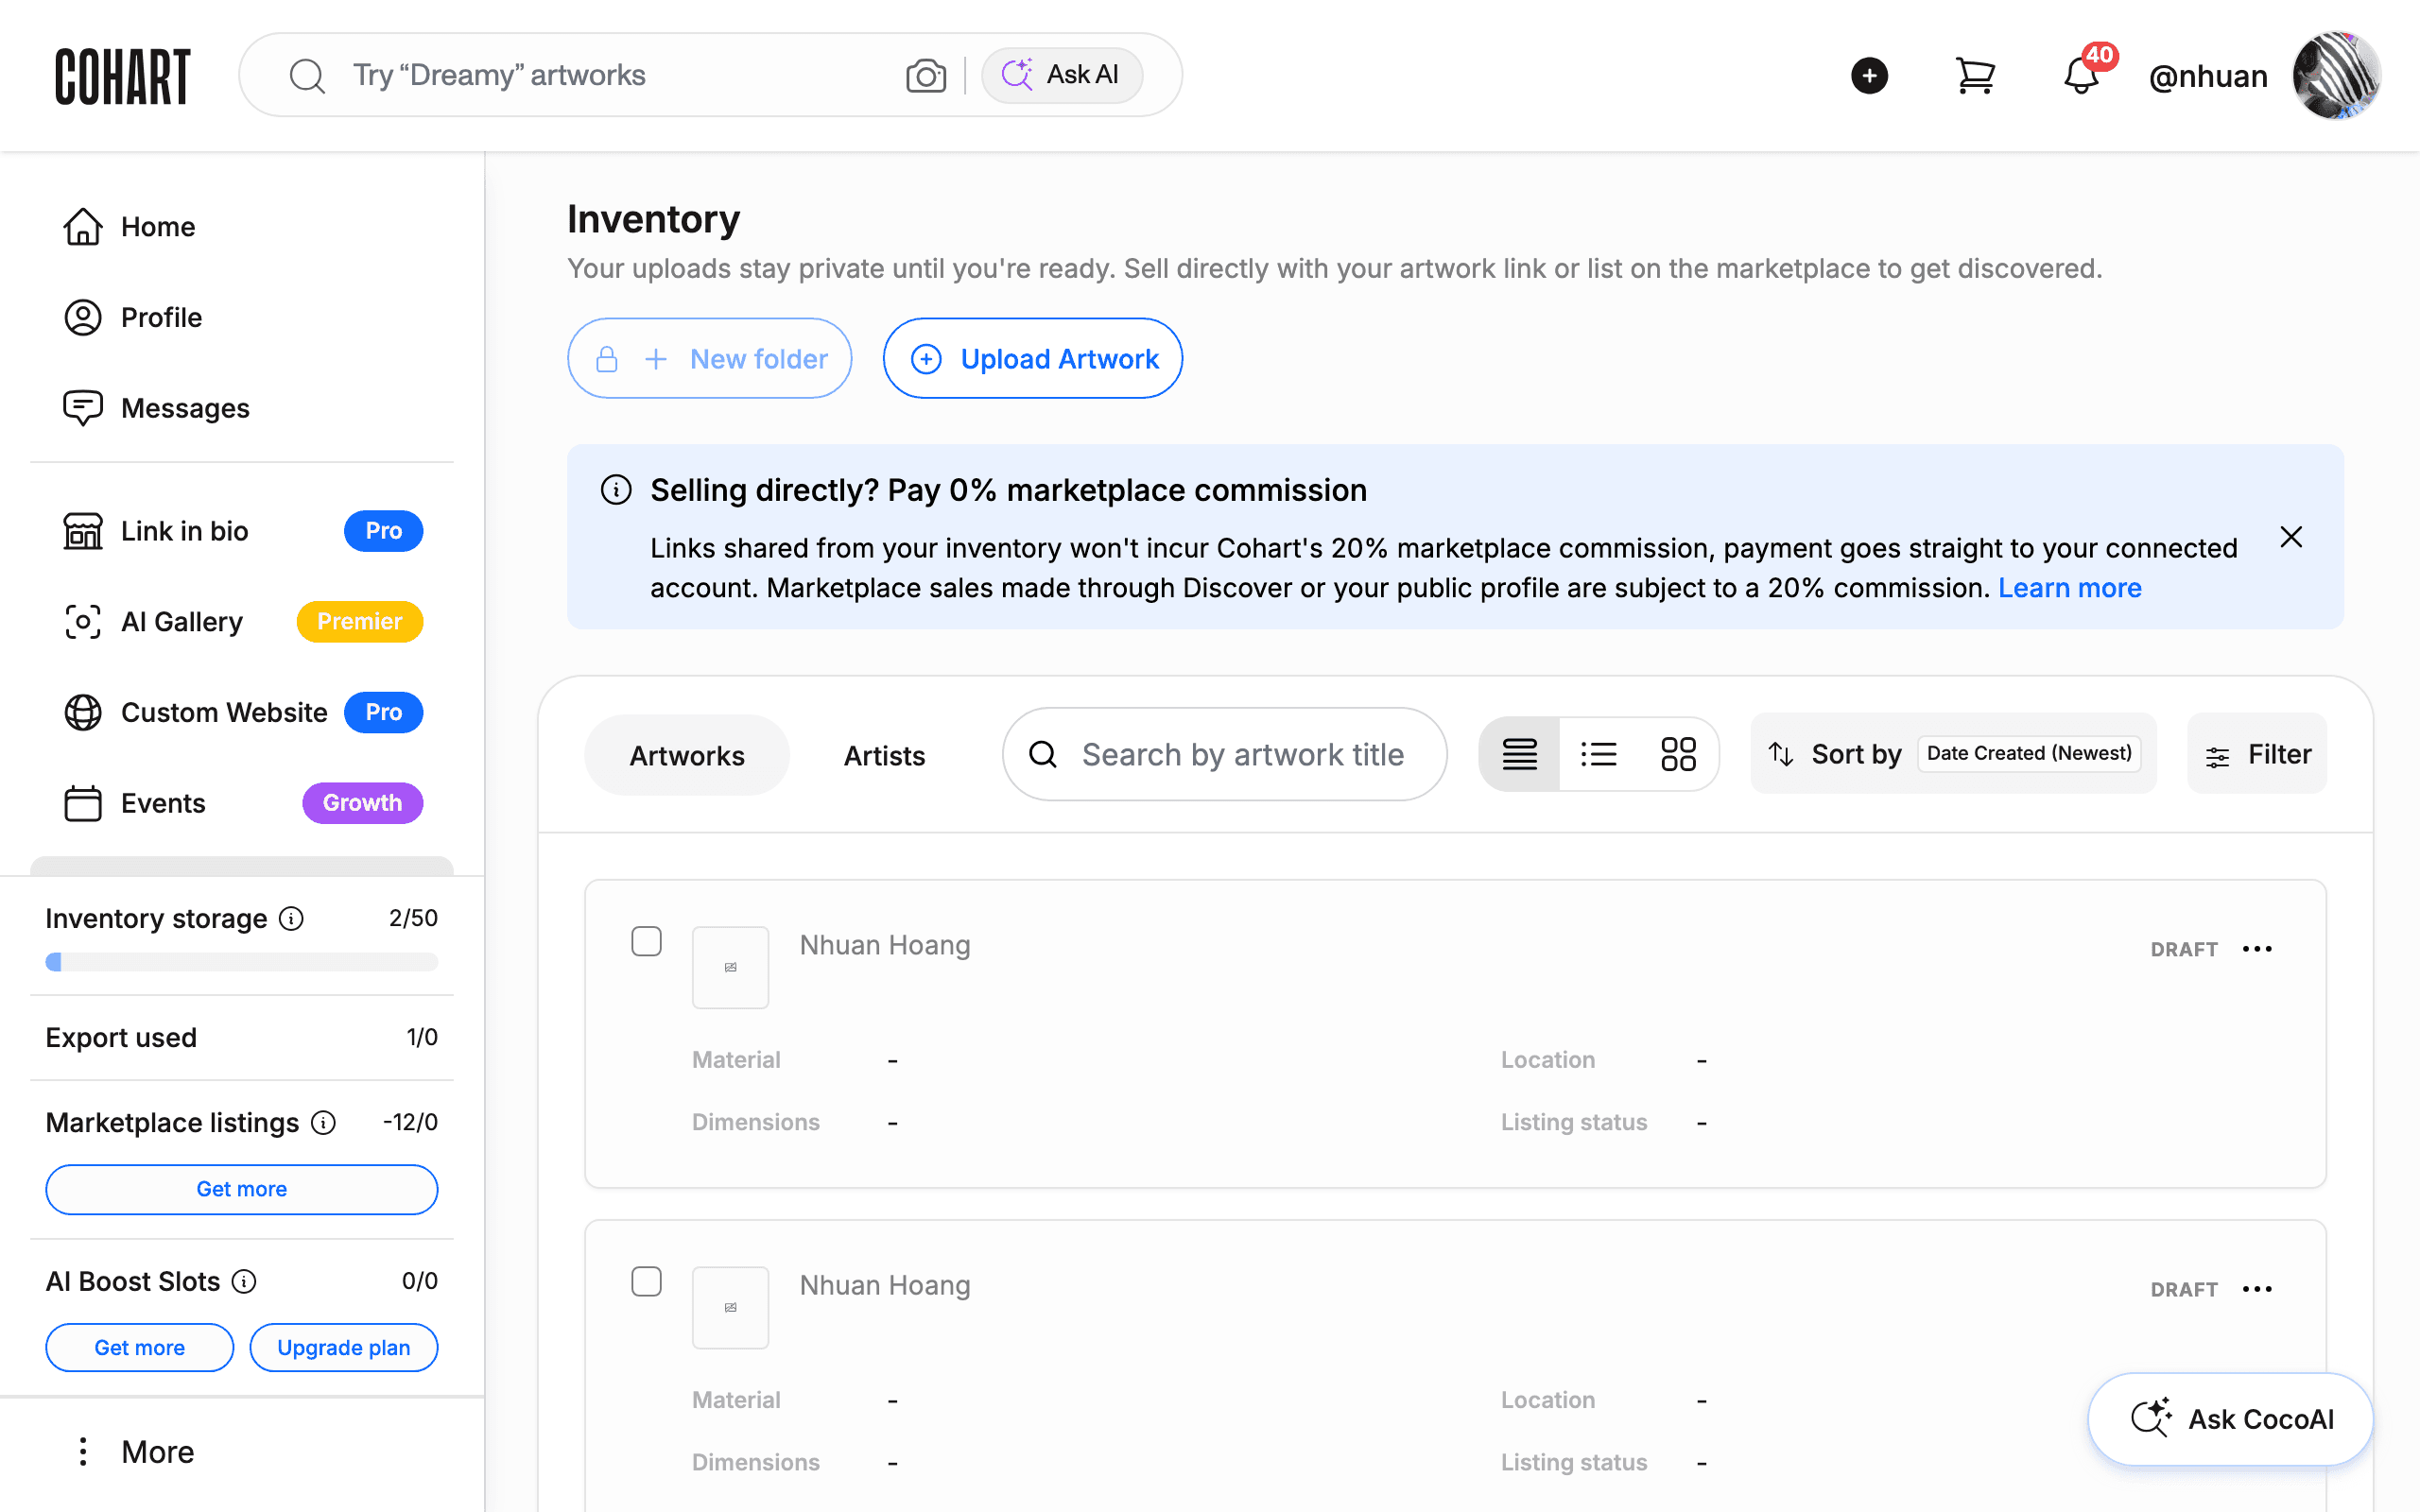
10. Open Inventory
Inventory is where you upload and edit artworks, manage pricing and availability, and control which pieces are visible publicly or listed on Cohart Discover. See How to Upload an Artwork, How to Bulk Upload Artworks to Your Inventory from a Spreadsheet, How to Organize Artworks into Folders, and How to Use Other Artwork Features for the full set of tools.
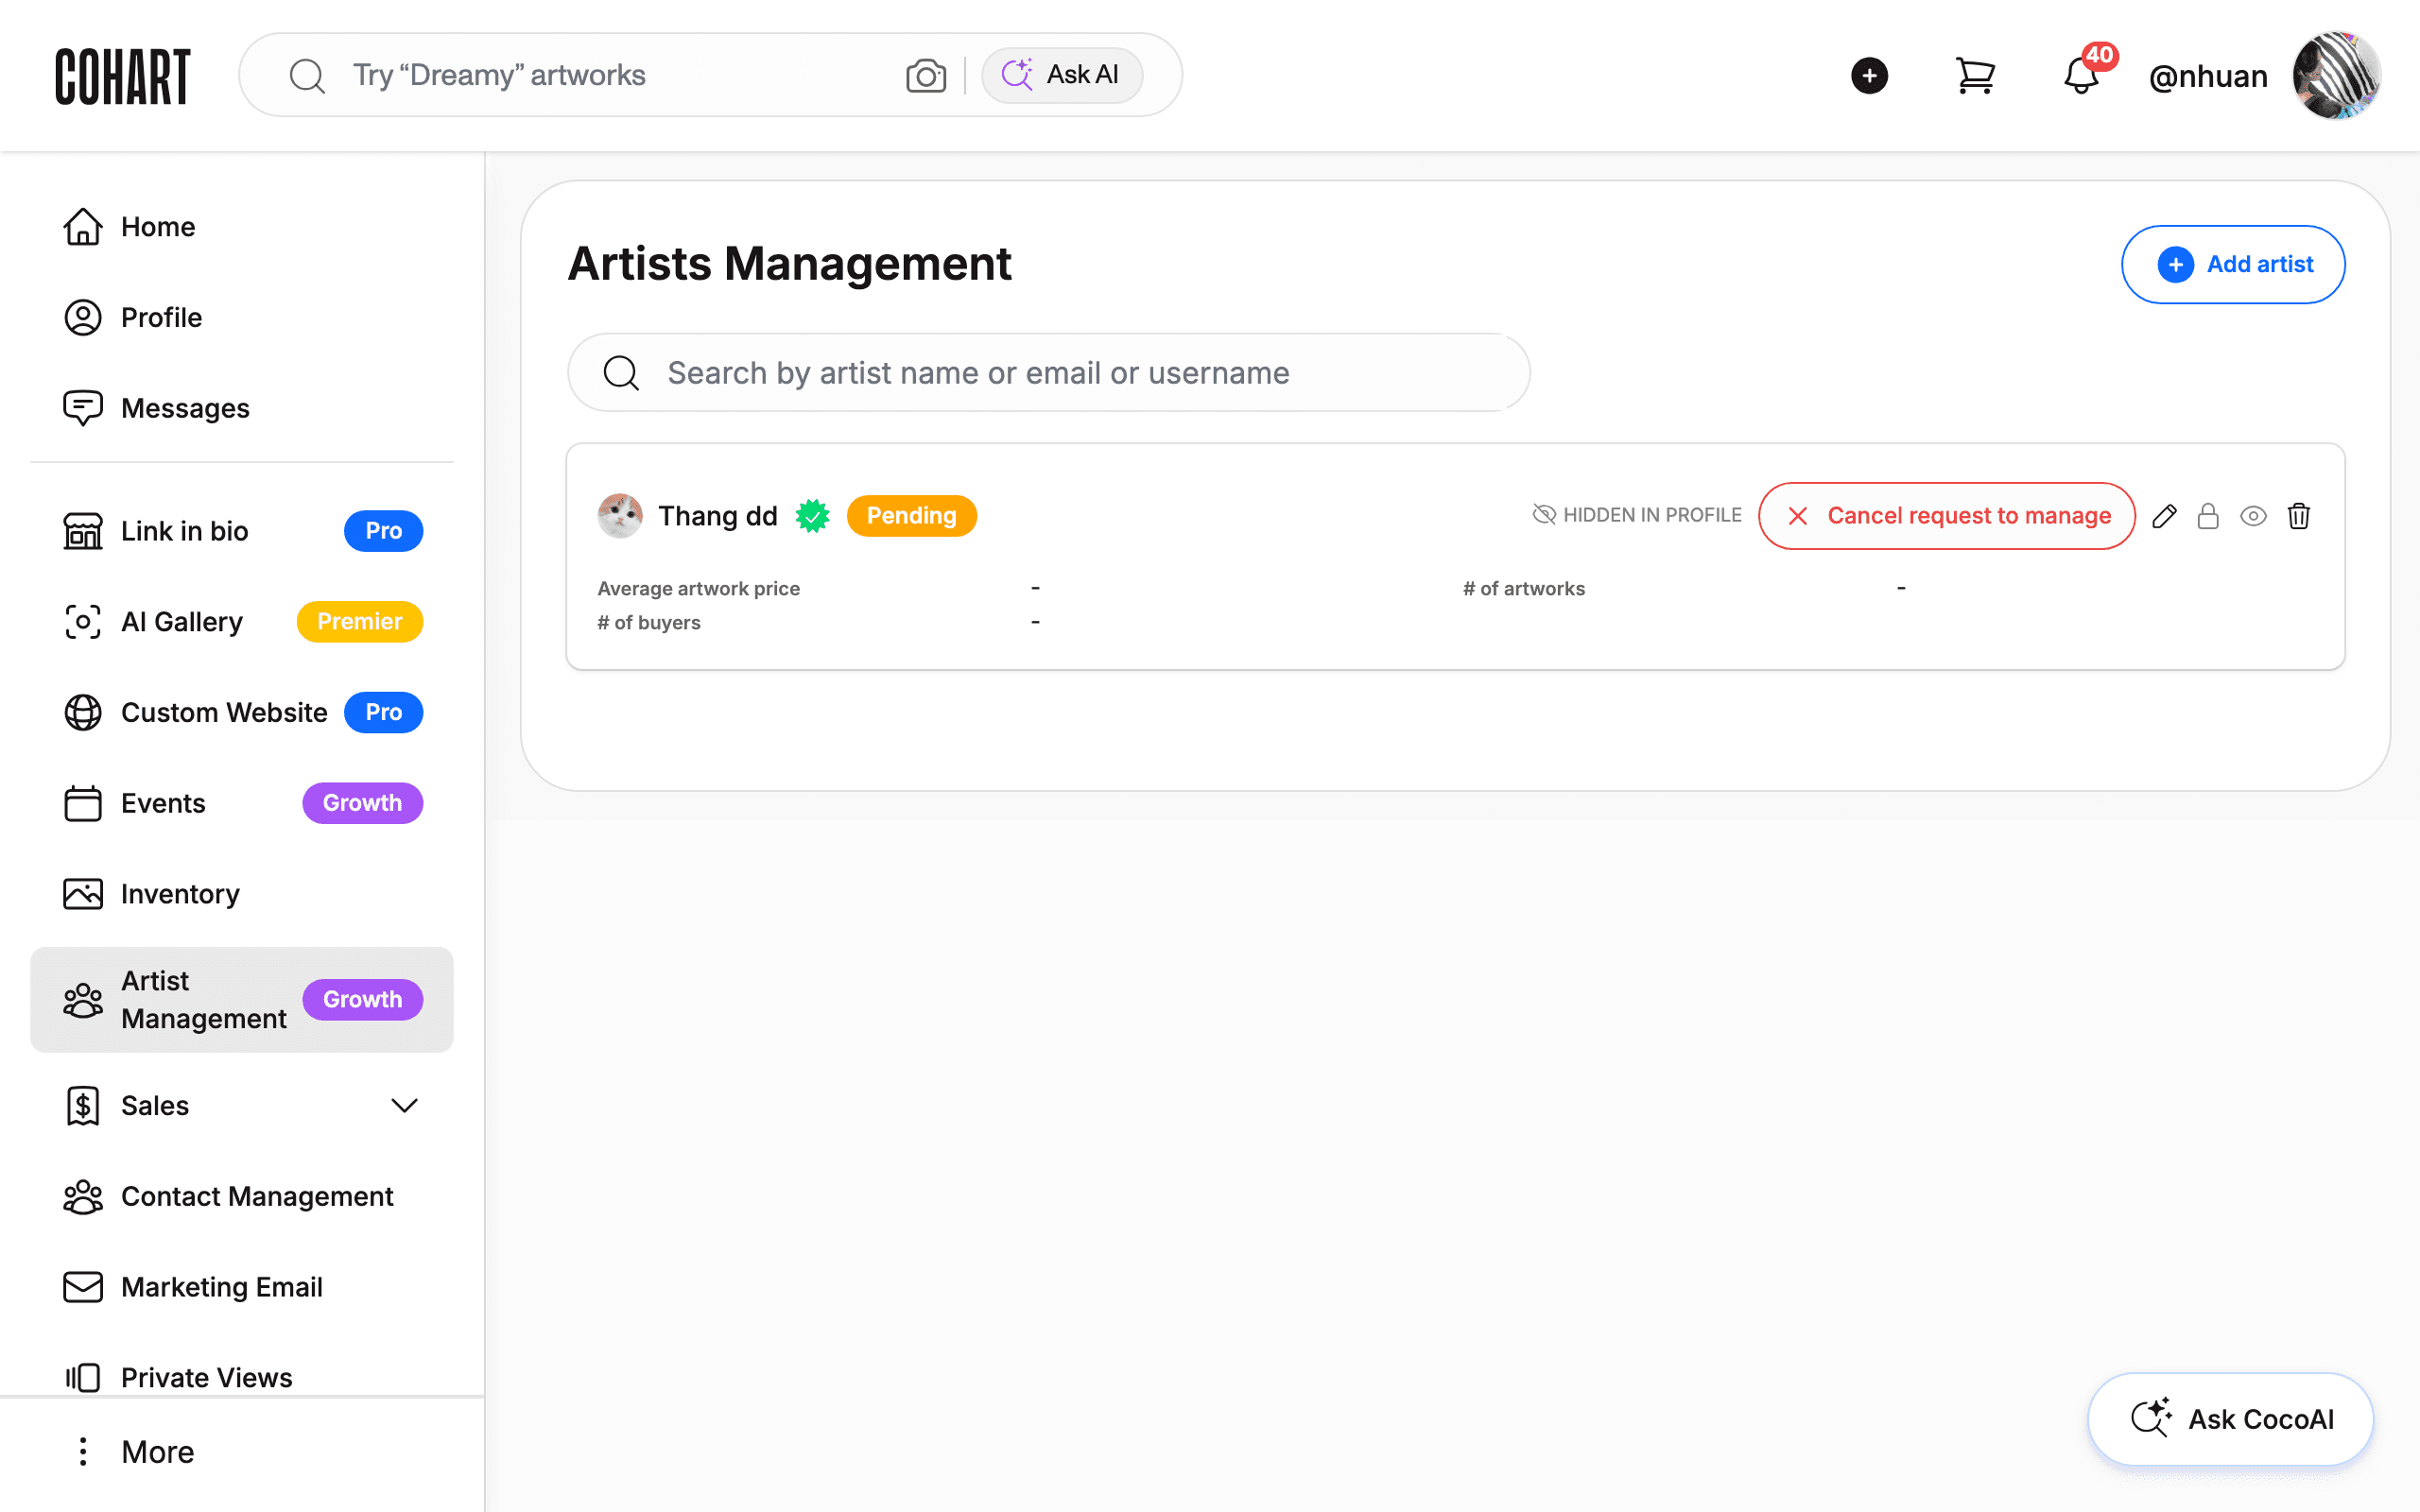
11. Open Artist Management
Artist Management lets galleries and studios request to manage artist profiles on their behalf. See How to Manage Artists for the full workflow.
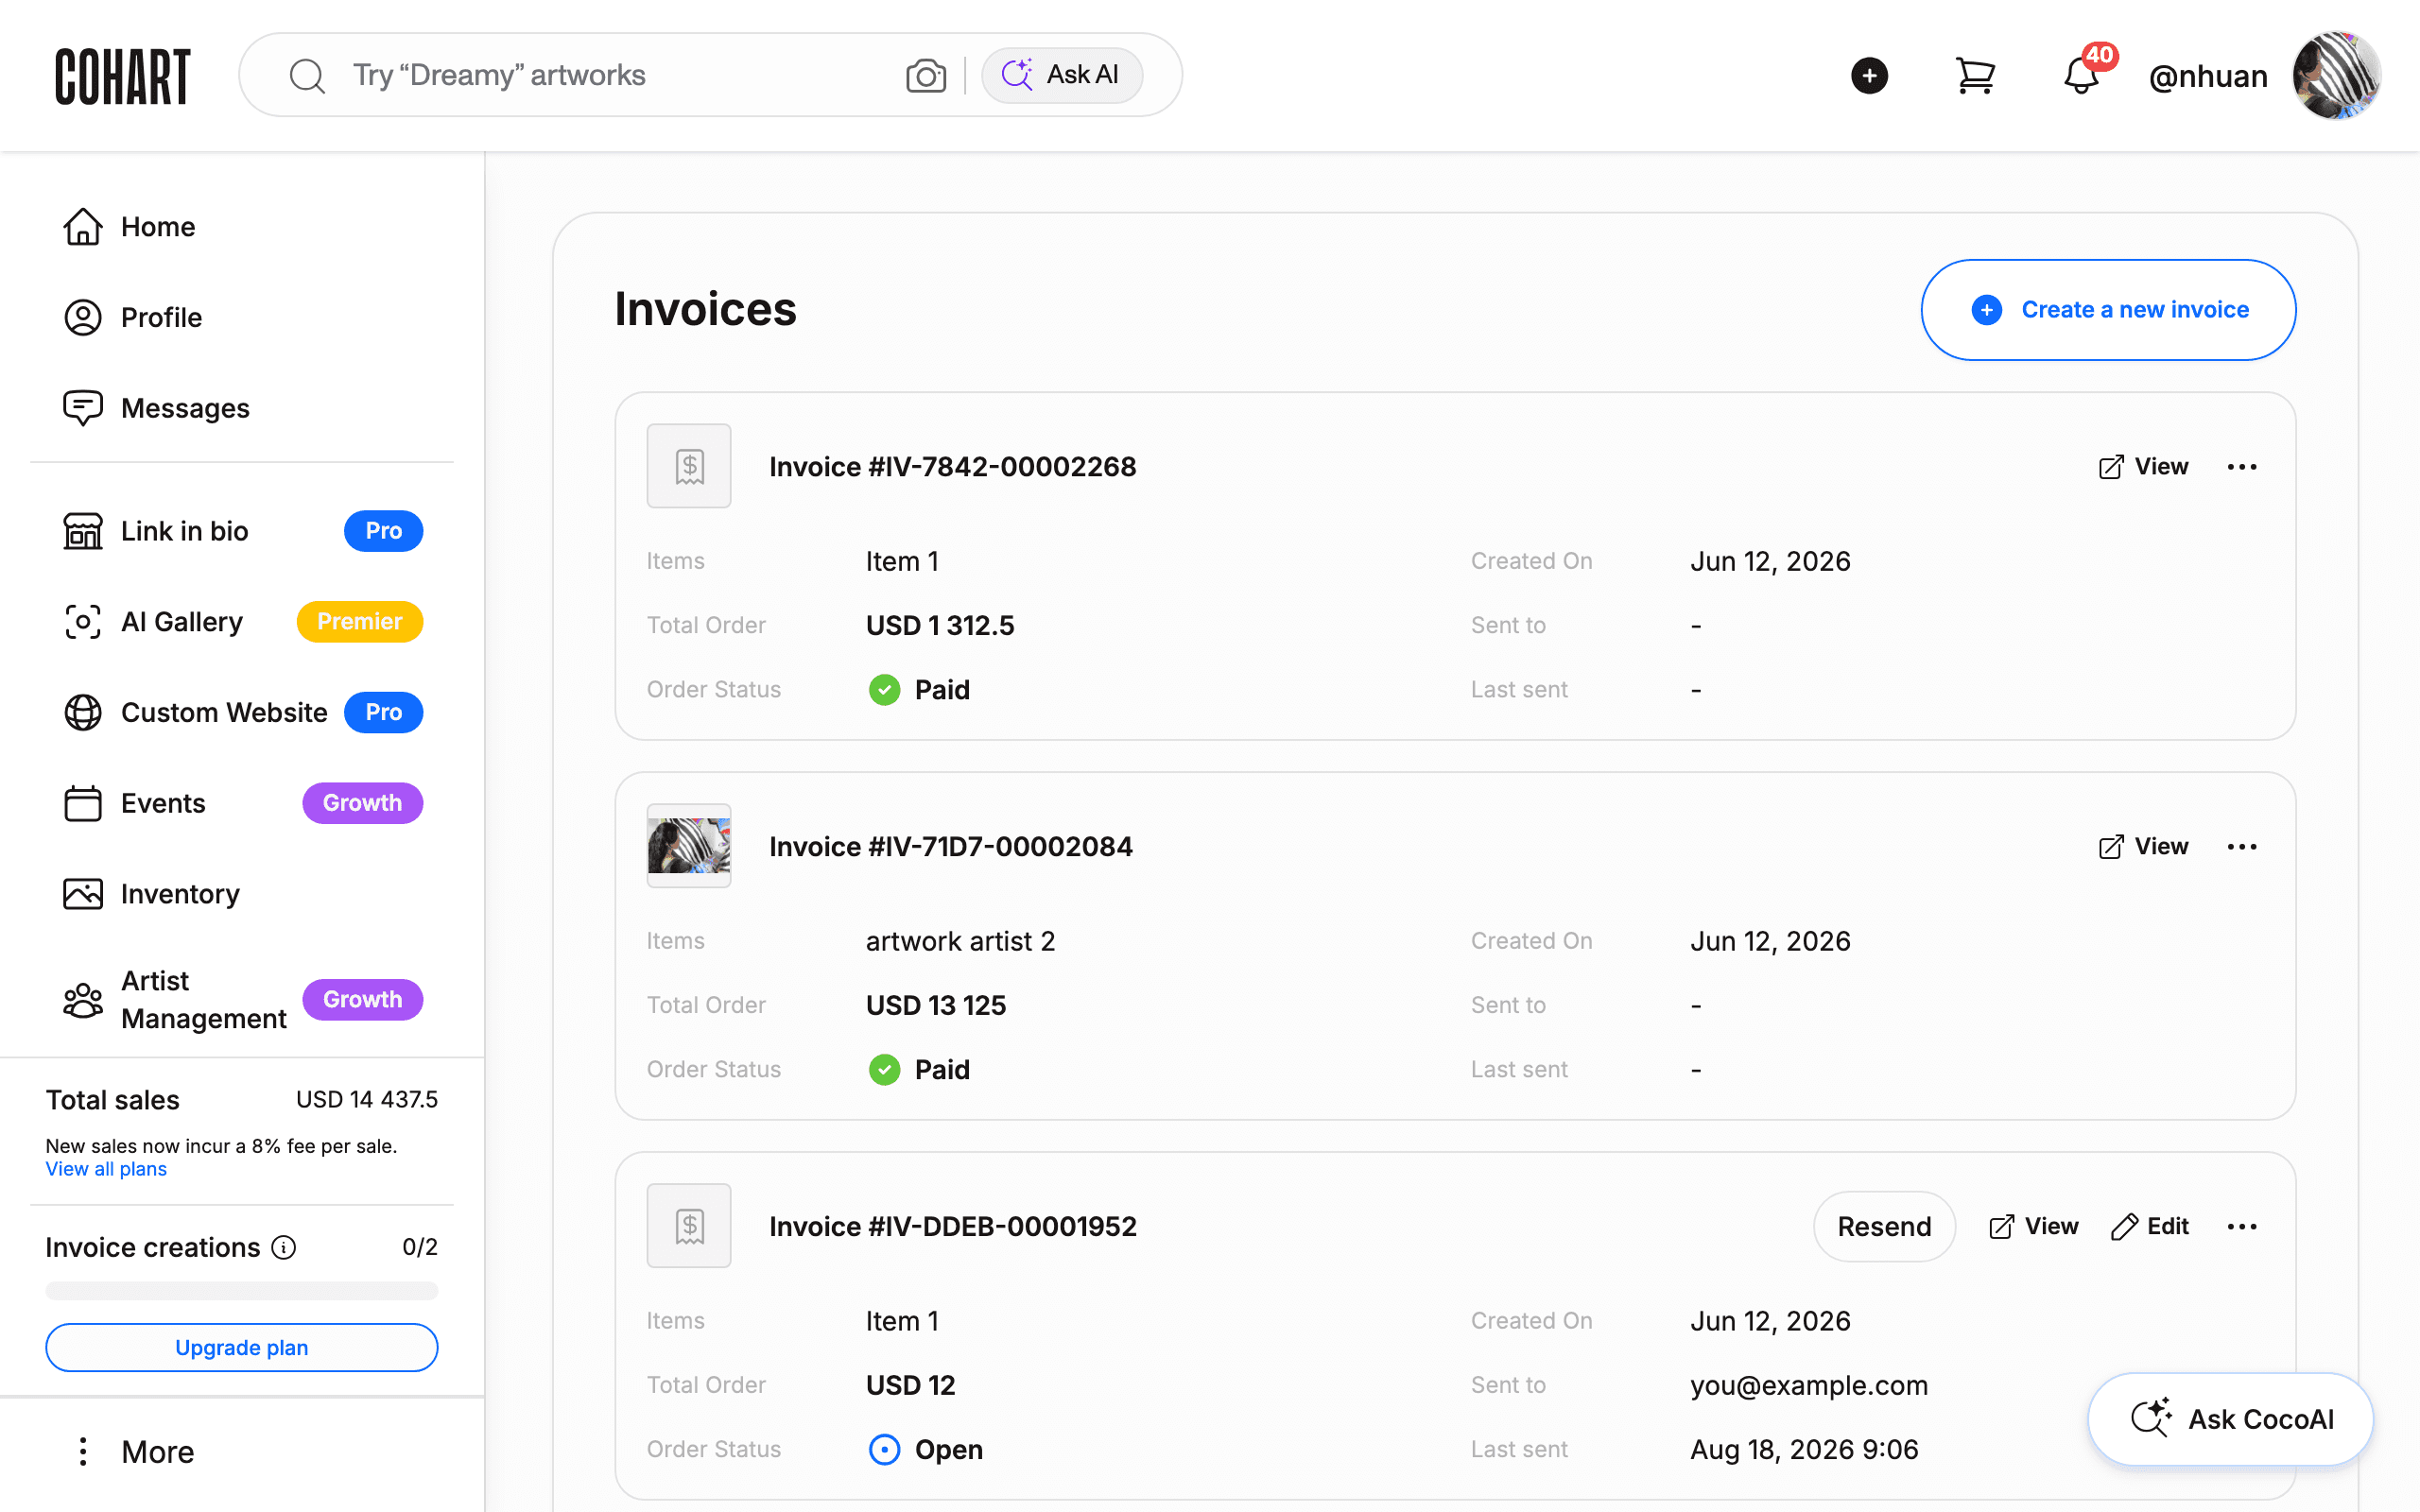
12. Open Sales
Sales expands into four pages: Invoices, Sales Record, Shipping, and Transactions. Use it to send custom invoices, review completed sales and payout status, prepare shipments, and track your own transaction history. See How to Create an Invoice on Cohart, How to Manage Invoices, How to Manage Sales, How to Add a Sale Record, How to Prepare Shipping Products, How to Create a Custom Shipping Label, and How to Manage Your Own Sales Transactions for the full workflows.
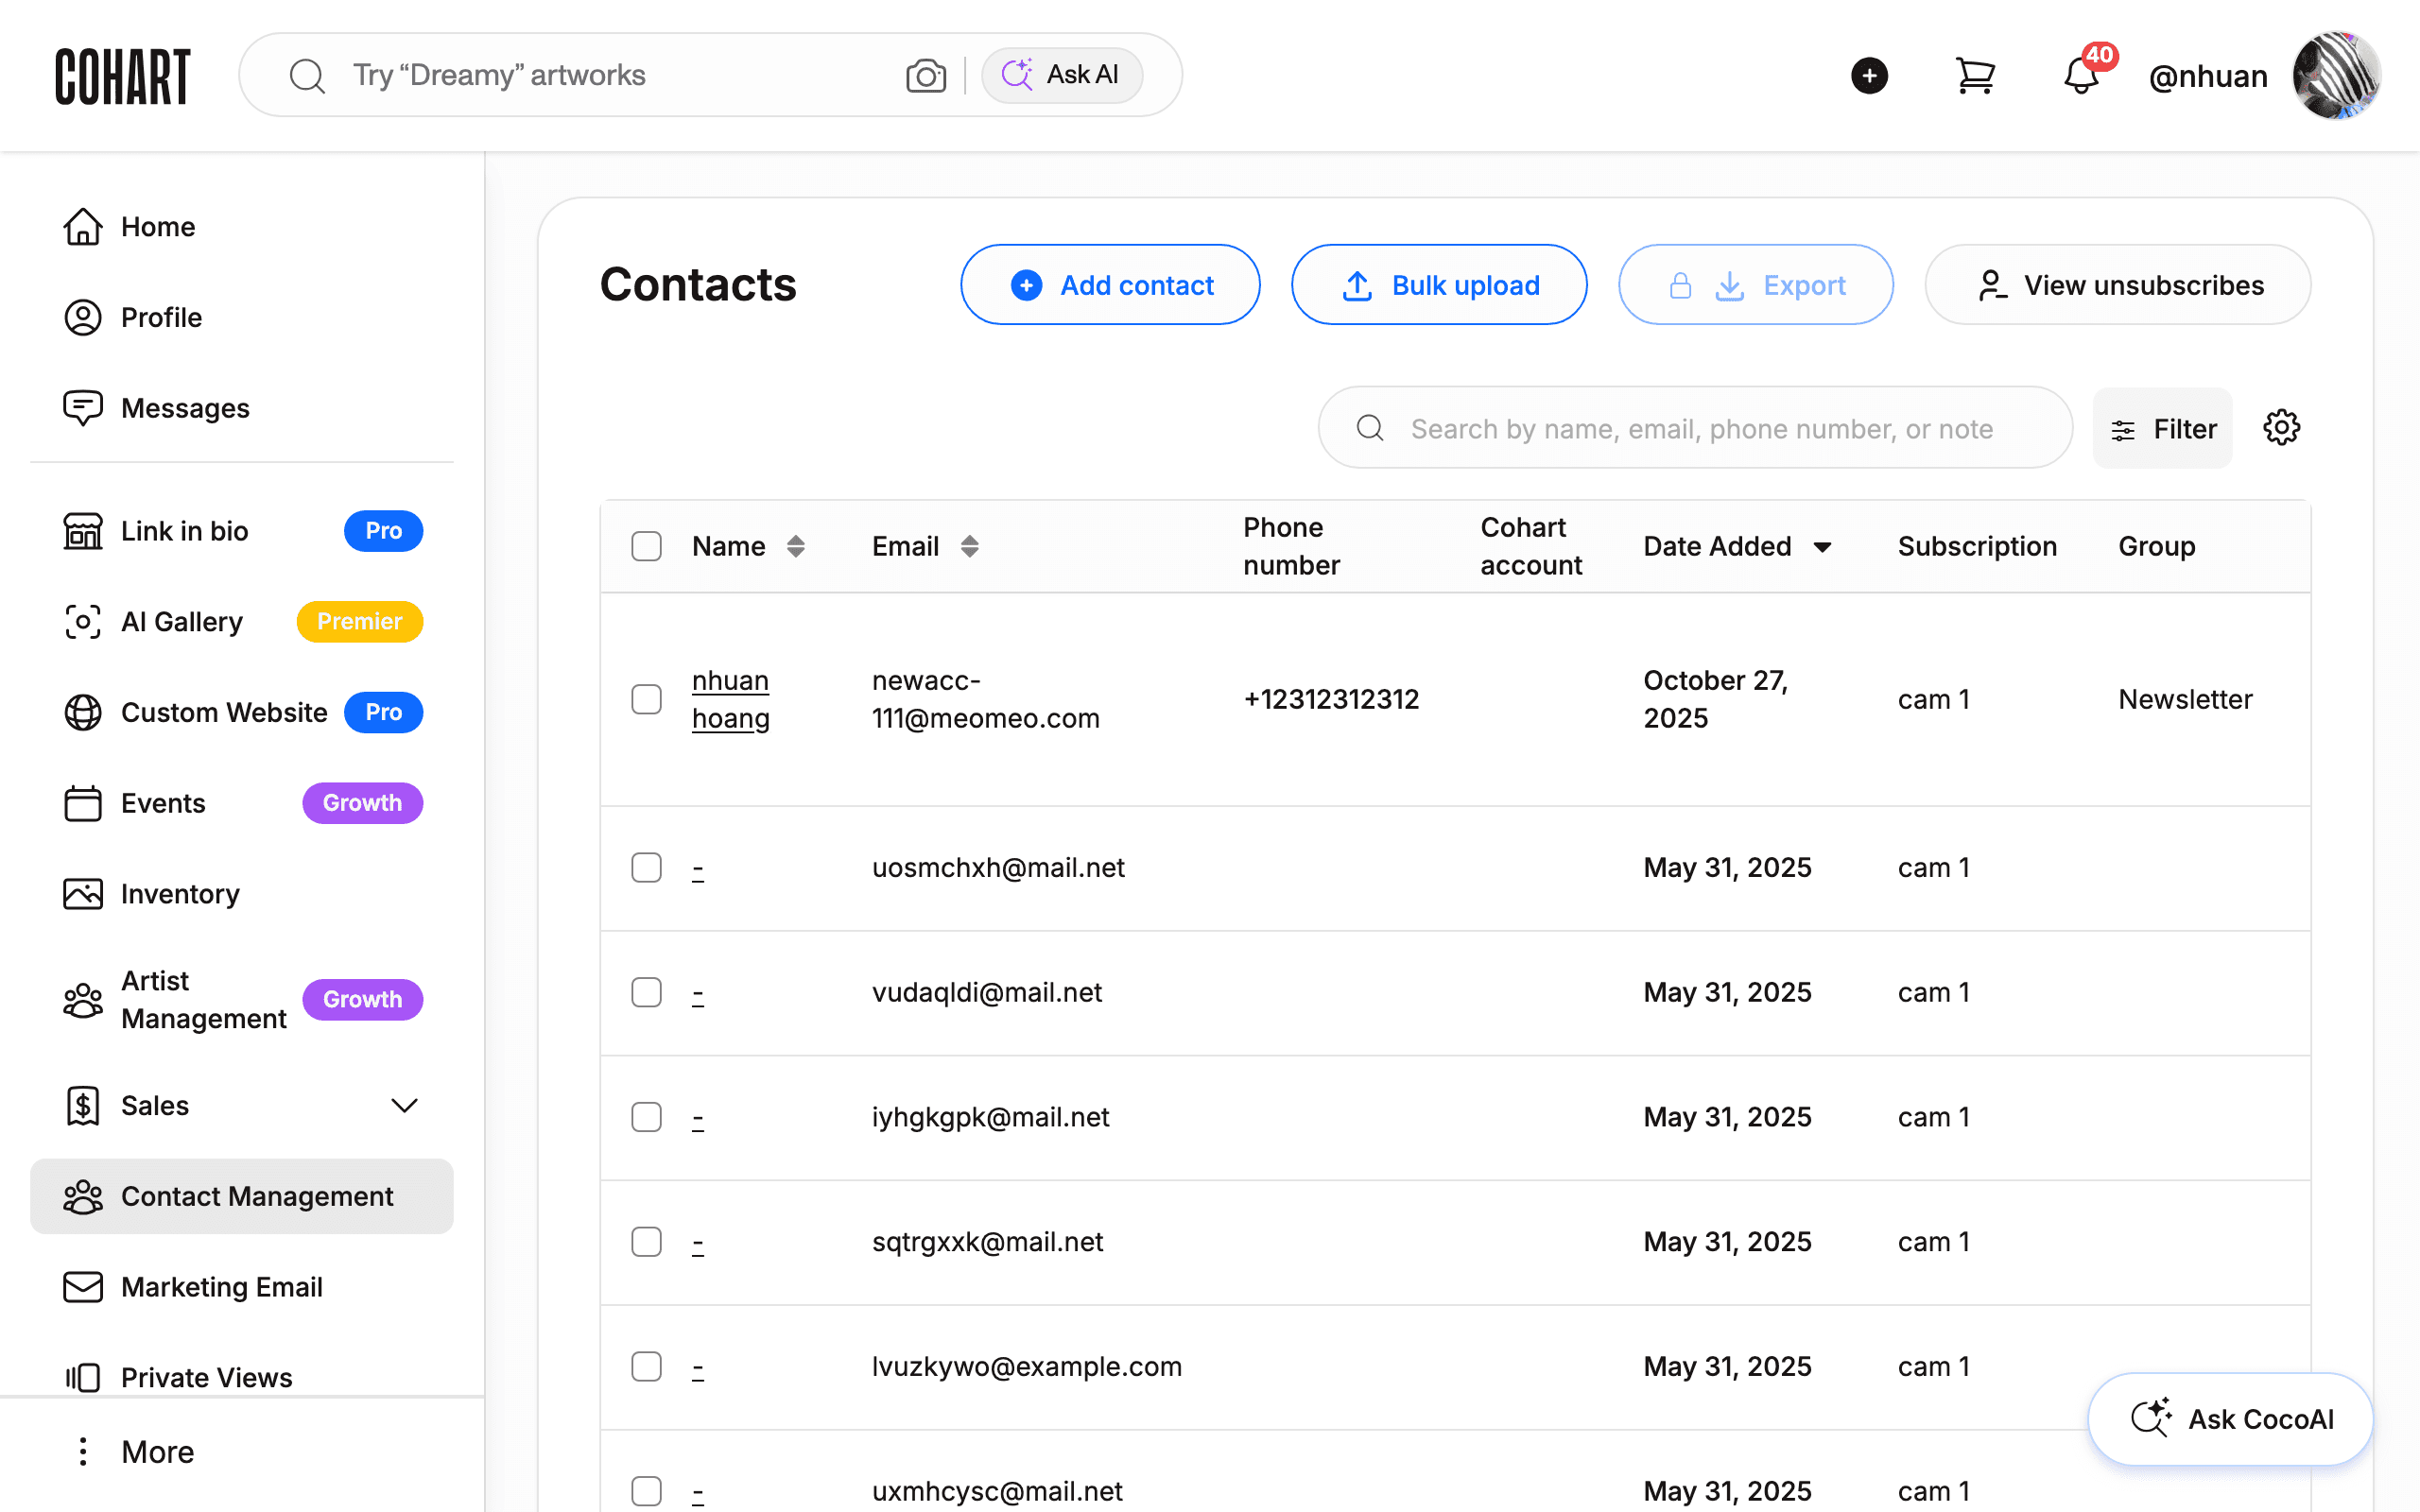
13. Open Contact Management
Contact Management is where you organize collectors, subscribers, and clients into groups, add notes, and build mailing lists. See How to Manage and Export Your Contacts, How to Add a Contact, and How to Bulk Upload Contacts from a CSV File for the full workflows.
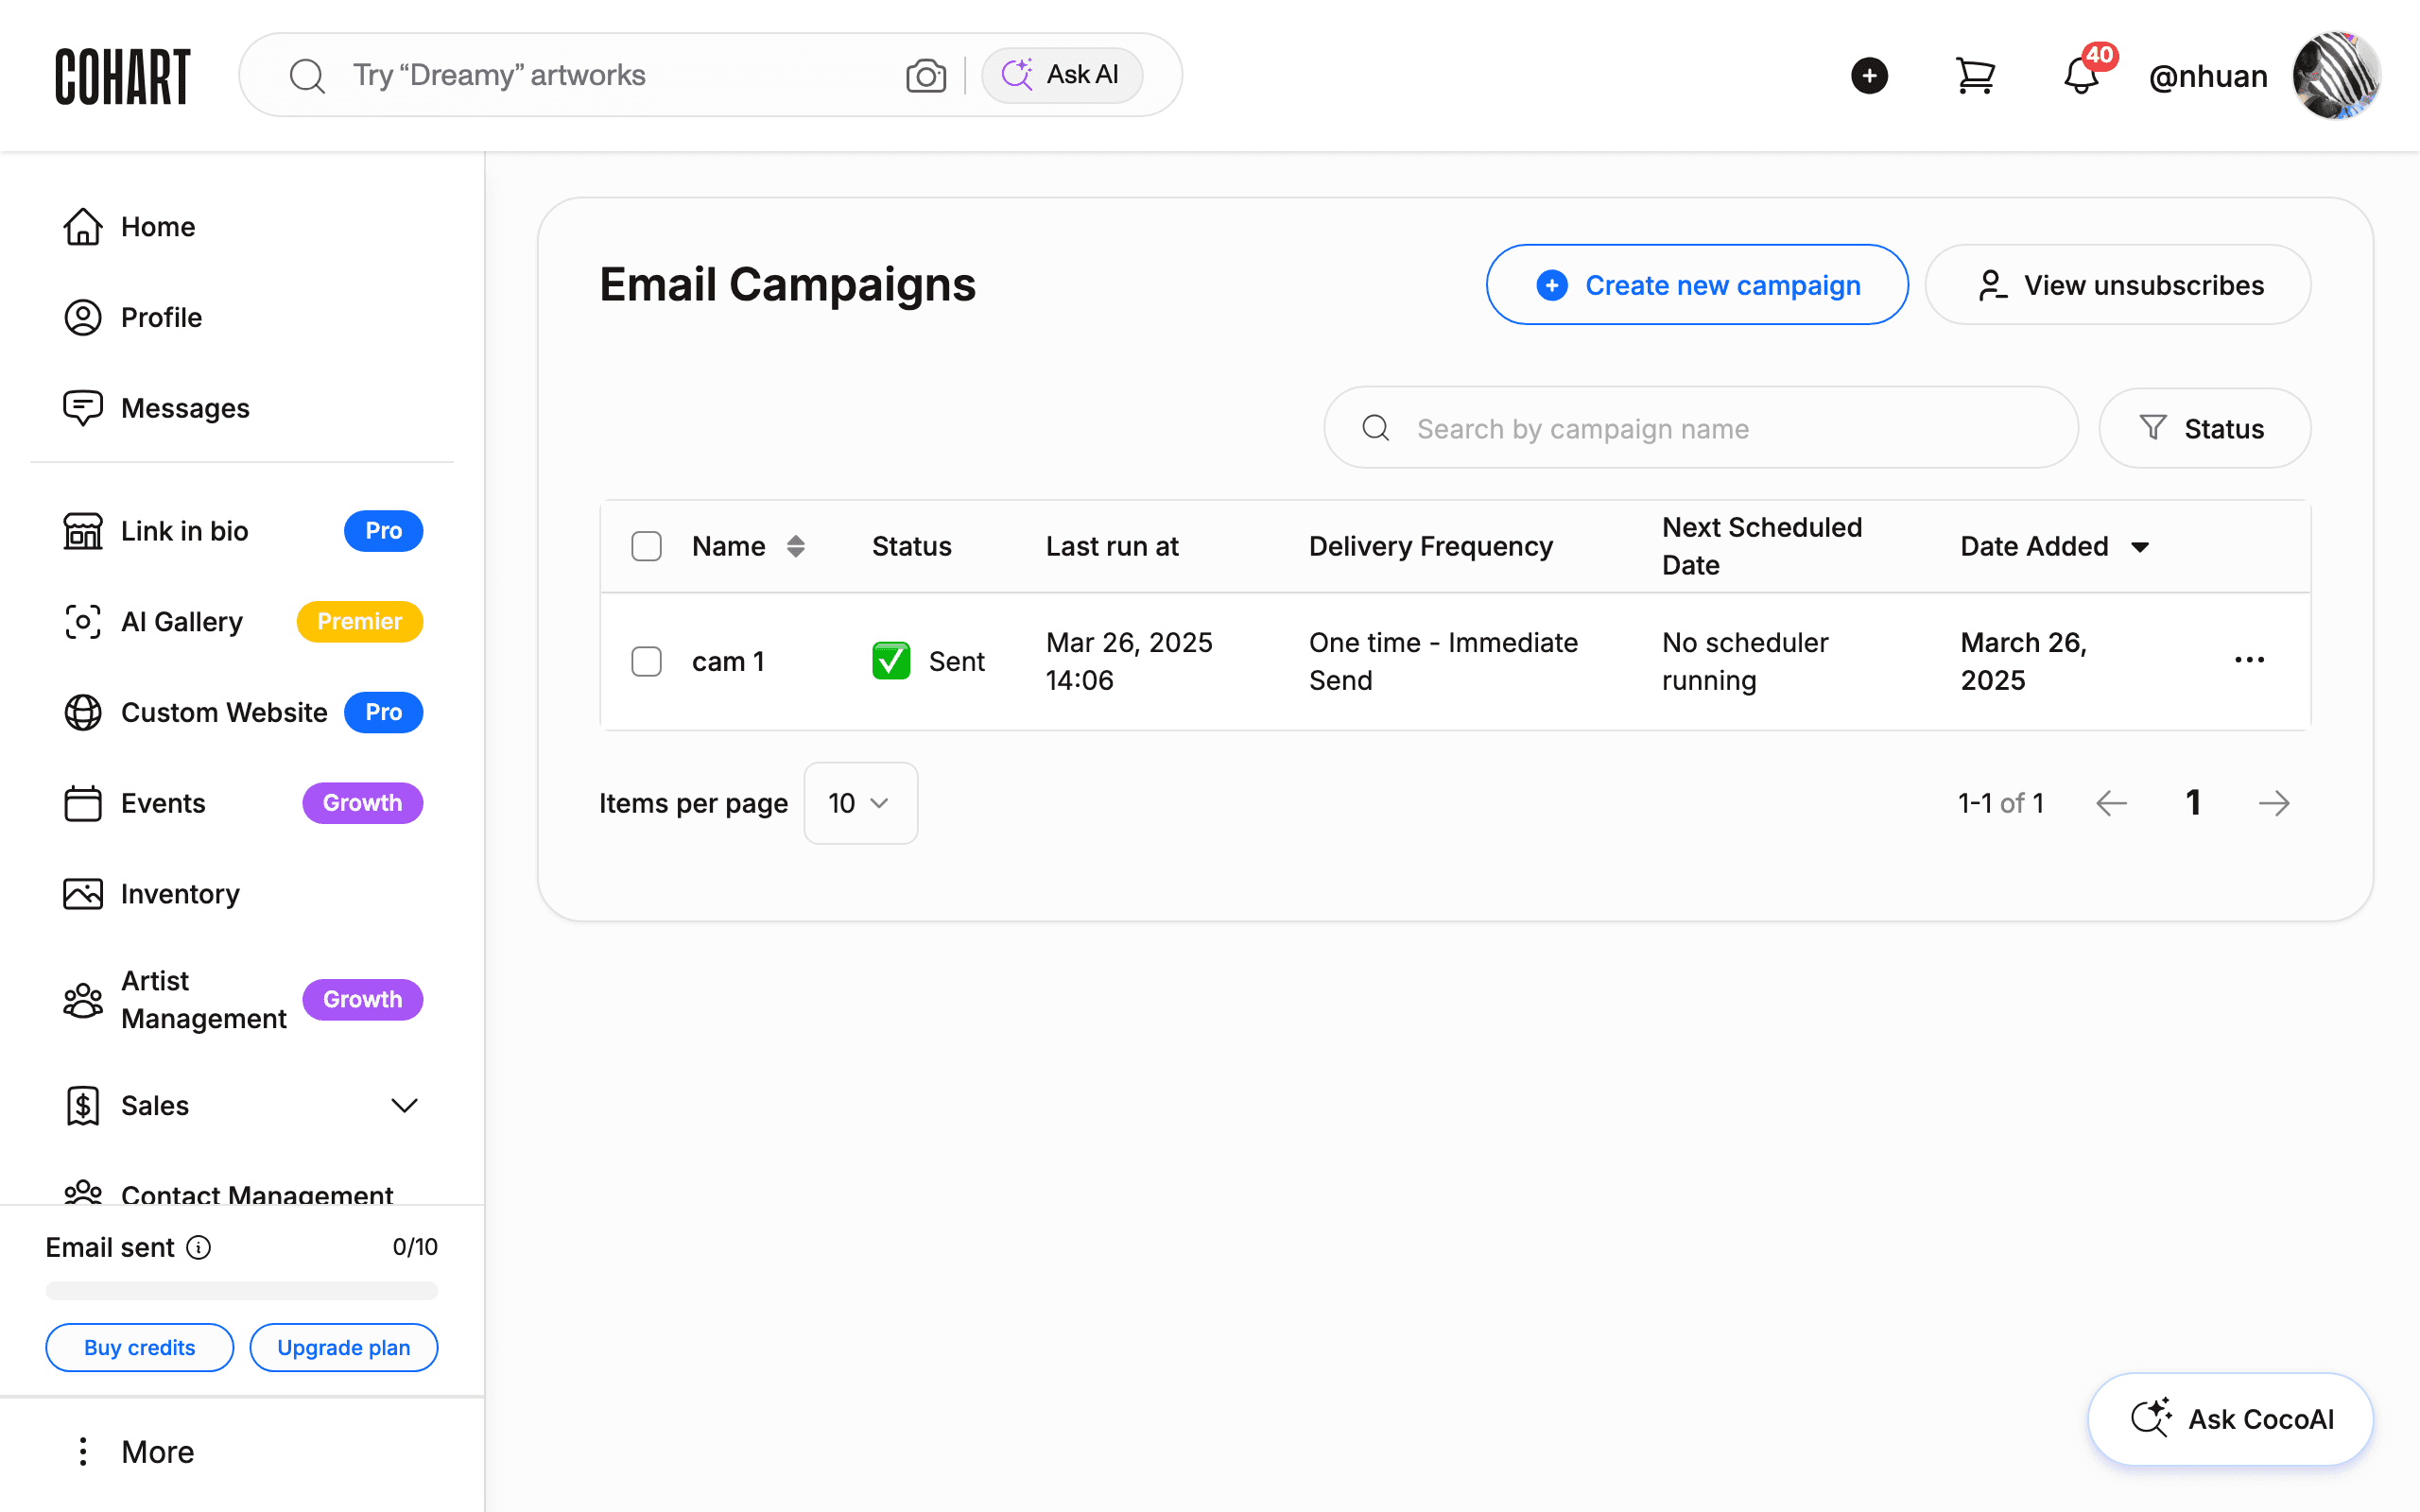
14. Open Marketing Email
Marketing Email is where you create, schedule, and send email campaigns to your collectors and subscribers to announce exhibitions, new works, or studio updates. See How to Create a Marketing Email Campaign and How to View a Marketing Email Campaign’s Details for the full workflow.
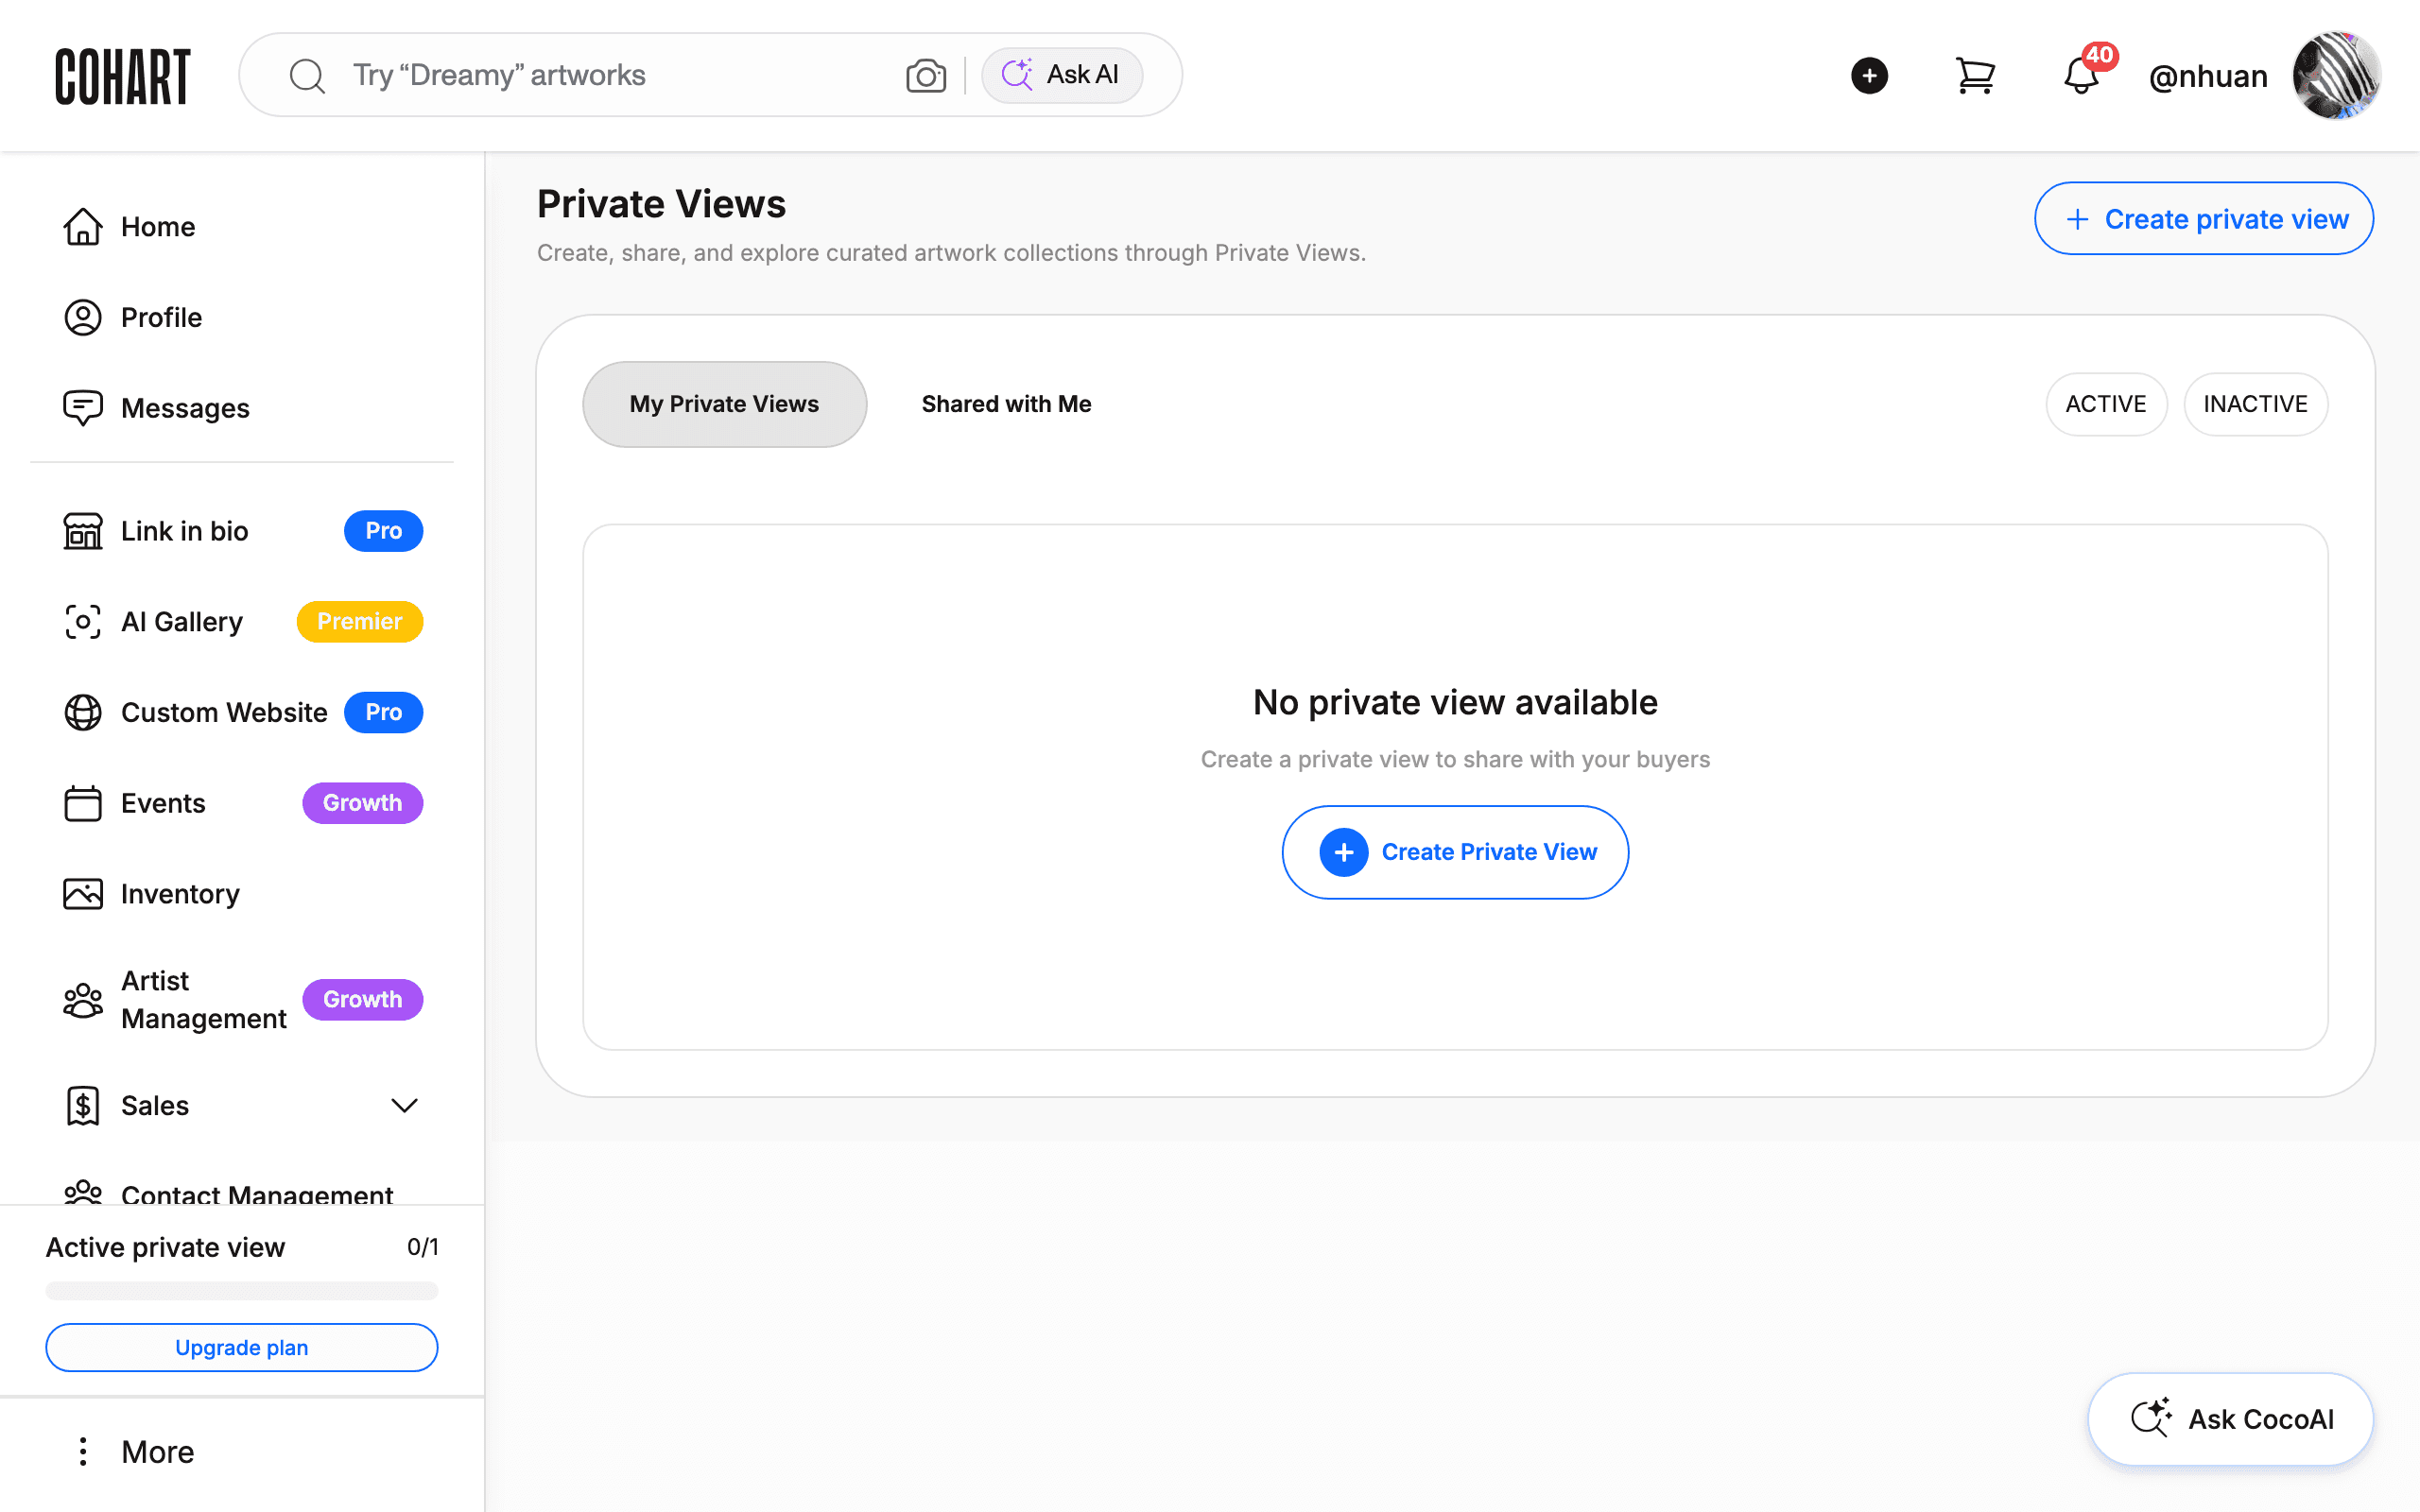
15. Open Private Views
Private Views lets you build curated artwork collections to share privately with collectors, advisors, or clients. See How to Create a Private View and How to Edit, Manage, and Share an Existing Private View for the full workflow.
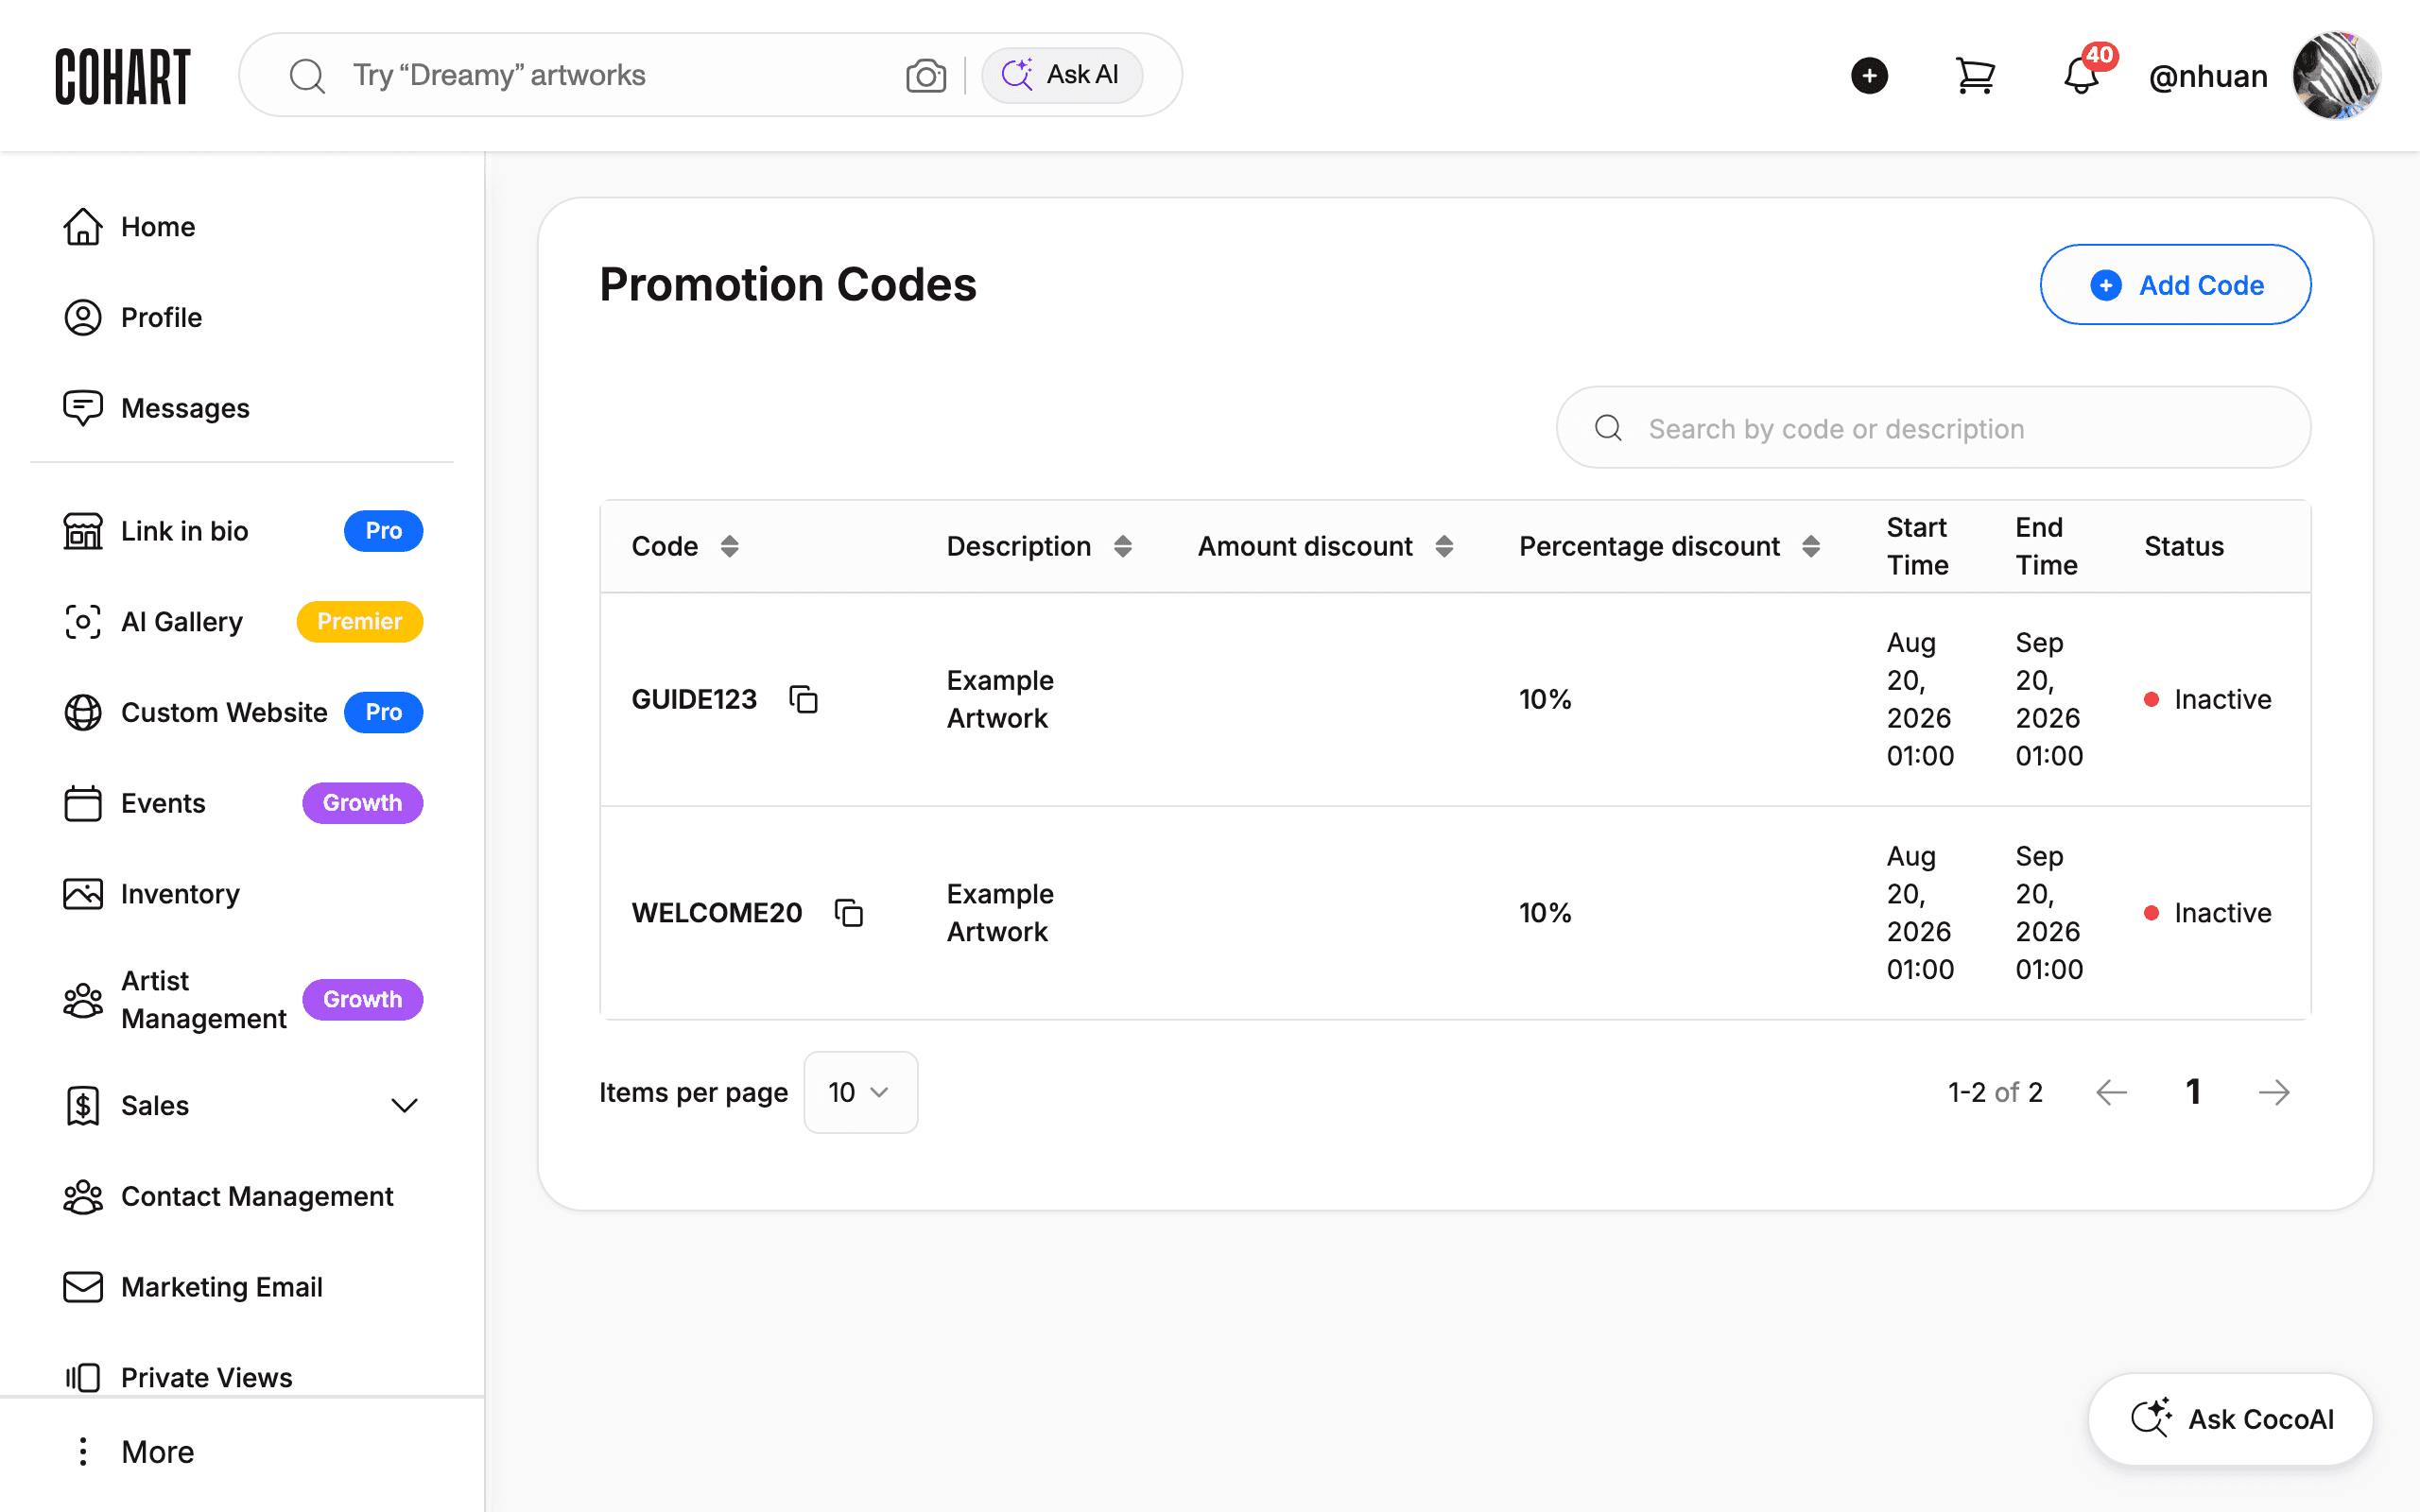
16. Open Promotions
Promotions is where you create discount codes to share directly or include in your email campaigns. See How to Create and Send Promotion Codes for the full workflow.
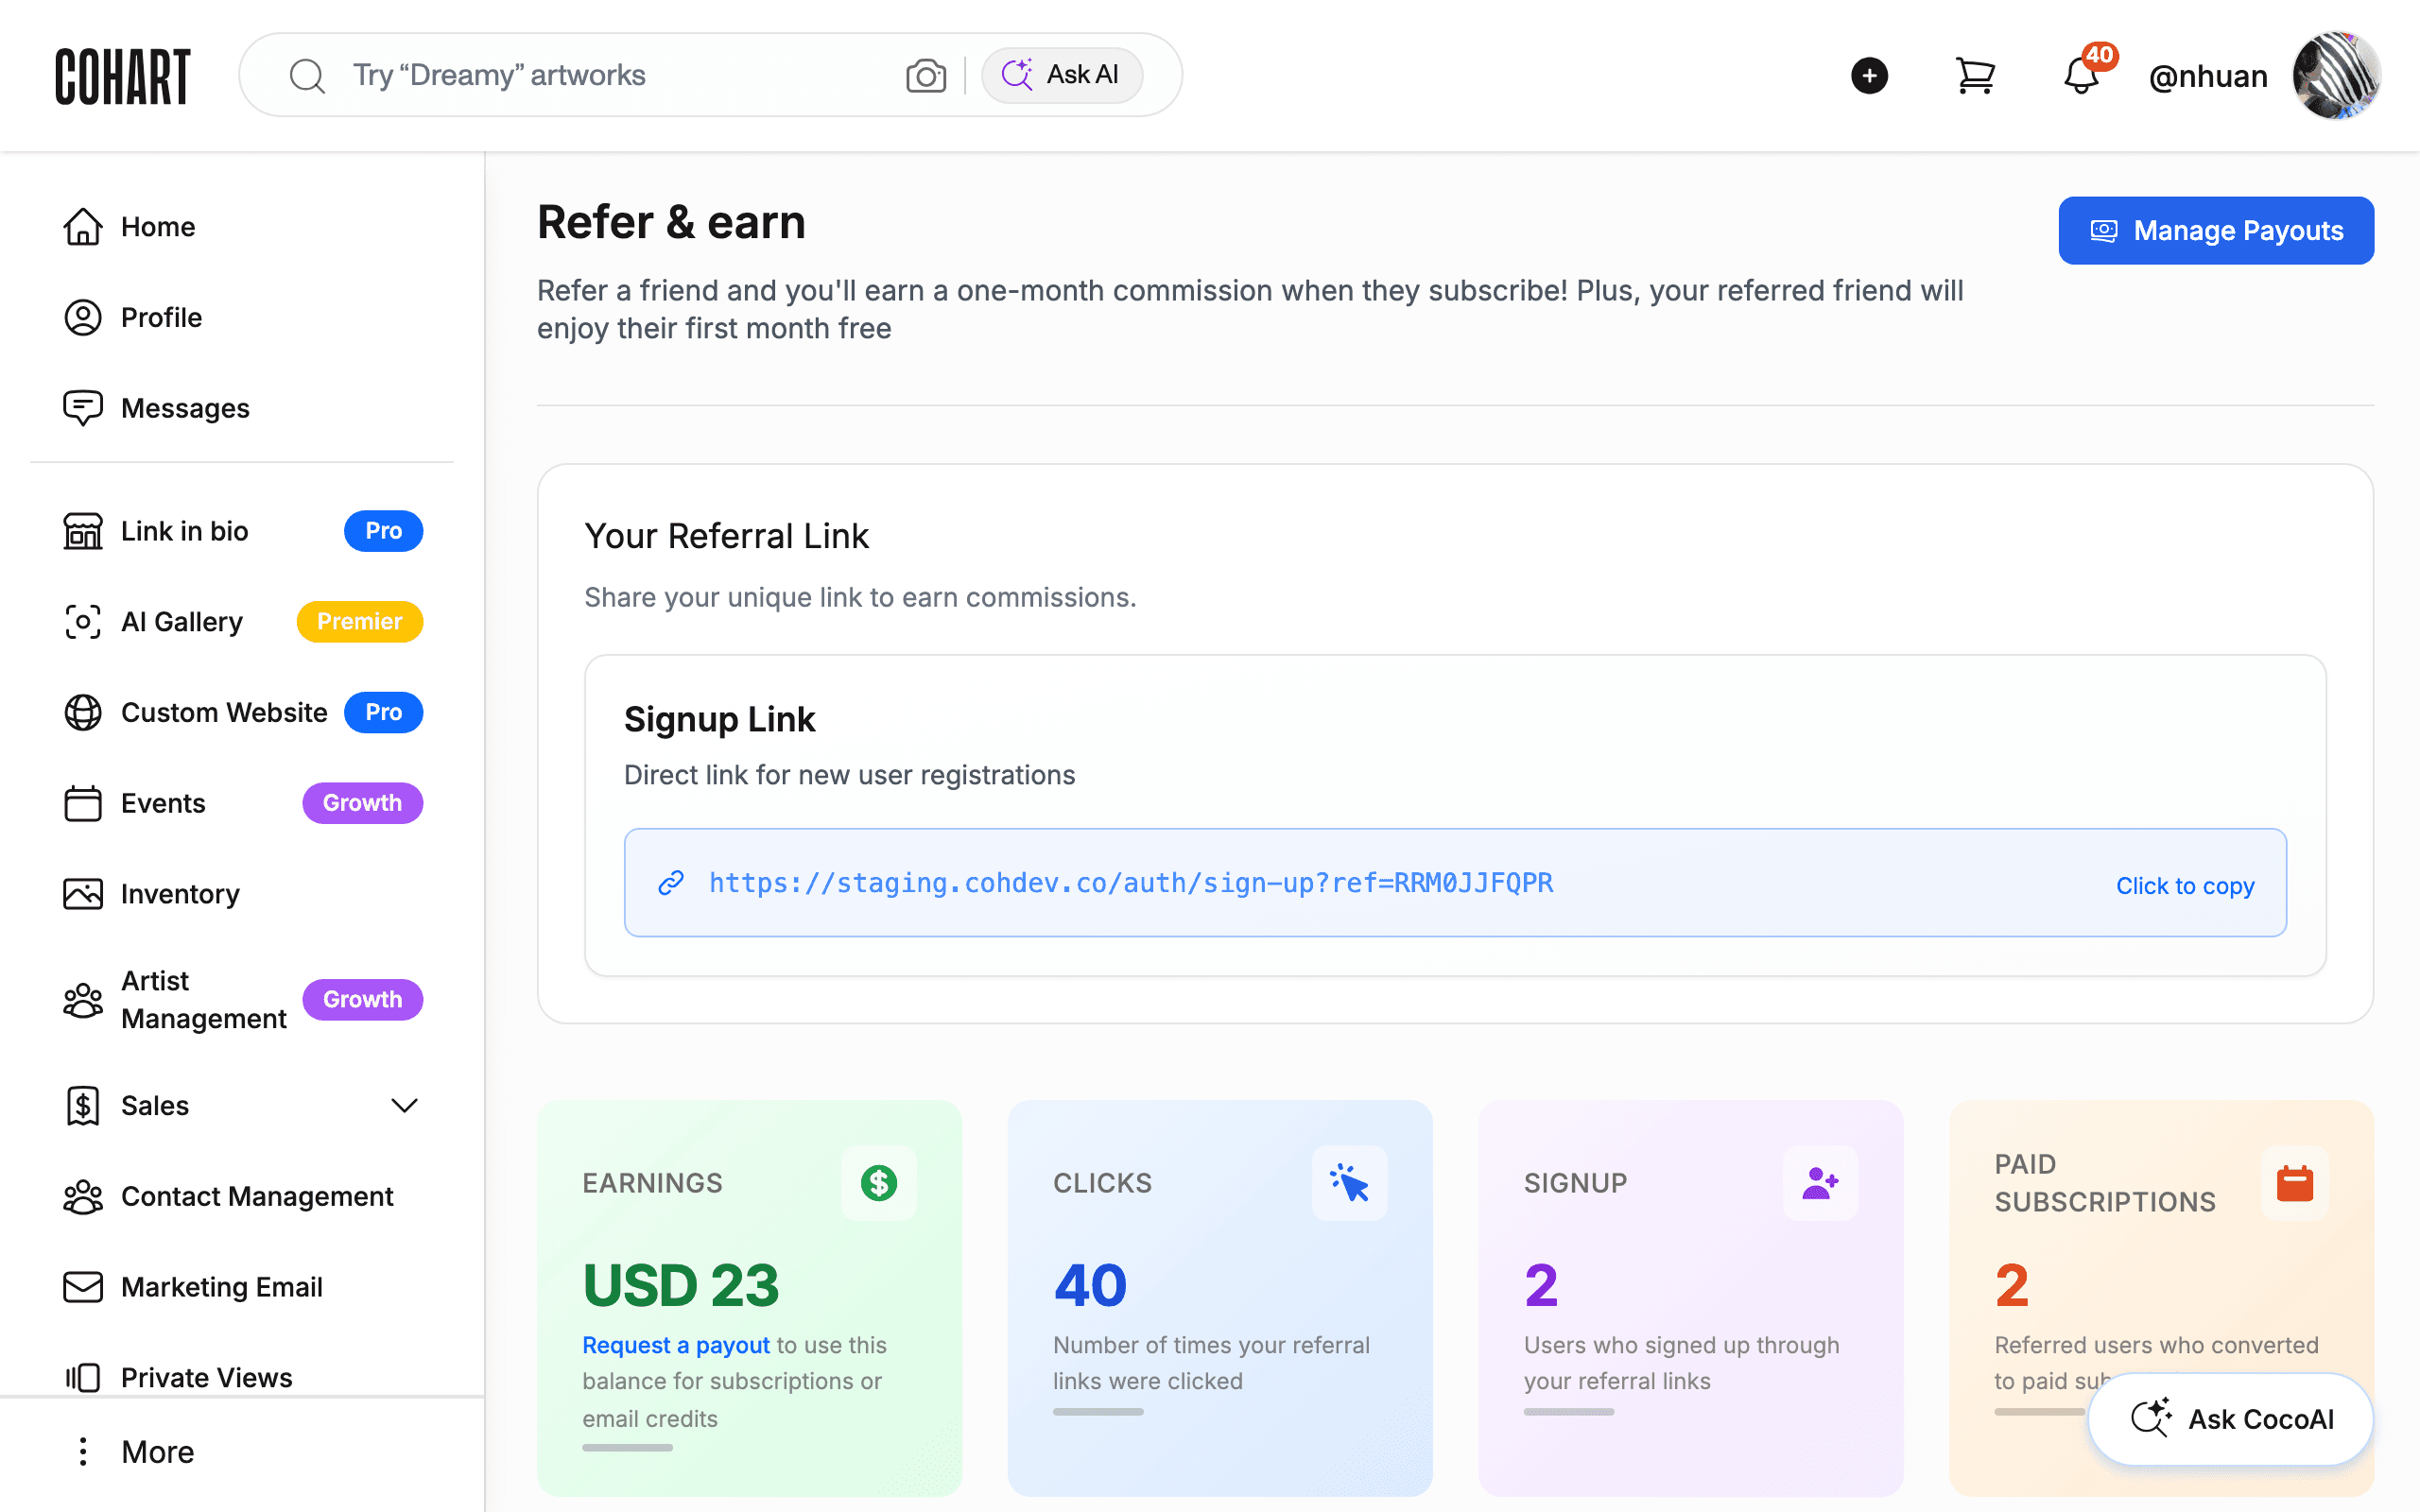
17. Open Refer & earn
Refer & earn gives you a referral link that earns you a commission when someone you refer subscribes, and tracks your clicks, signups, and paid conversions. See How to Refer a Friend and Earn Award Credits for the full workflow.
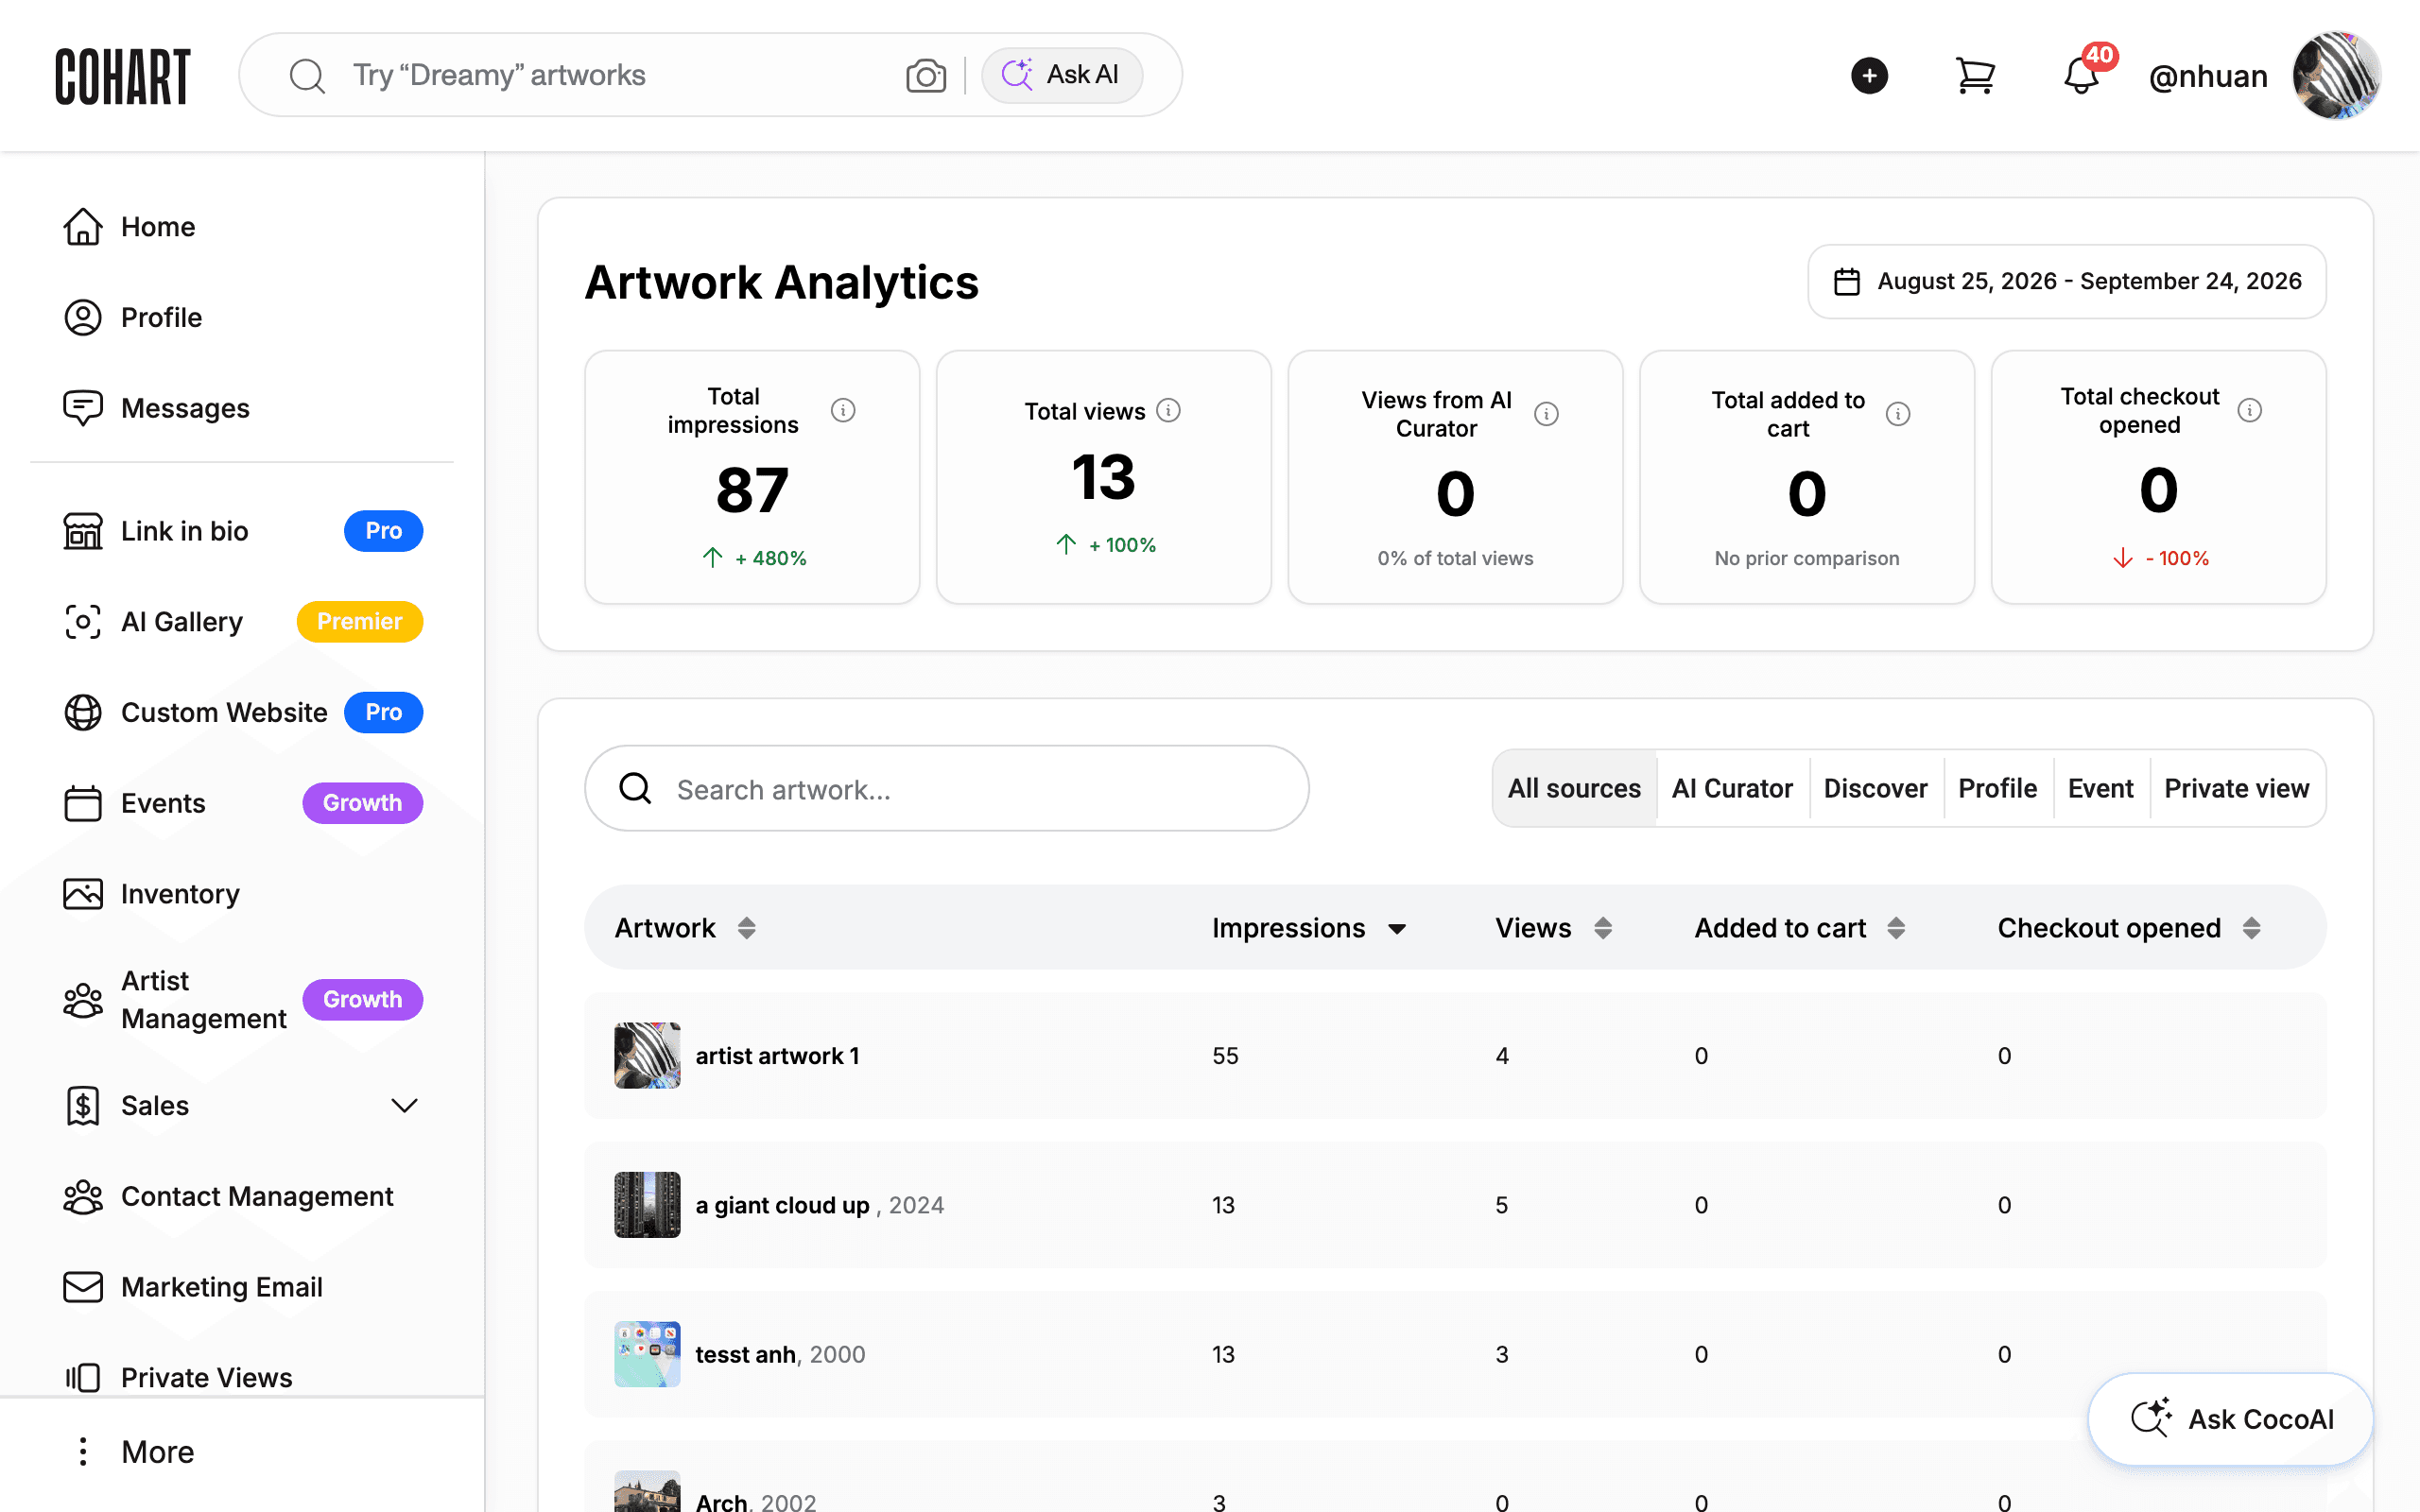
18. Open Artwork Views
Artwork Views is your artwork analytics: impressions, views, adds to cart, and checkouts opened, broken down by source. See How to View Artwork Analytics for the full walkthrough.
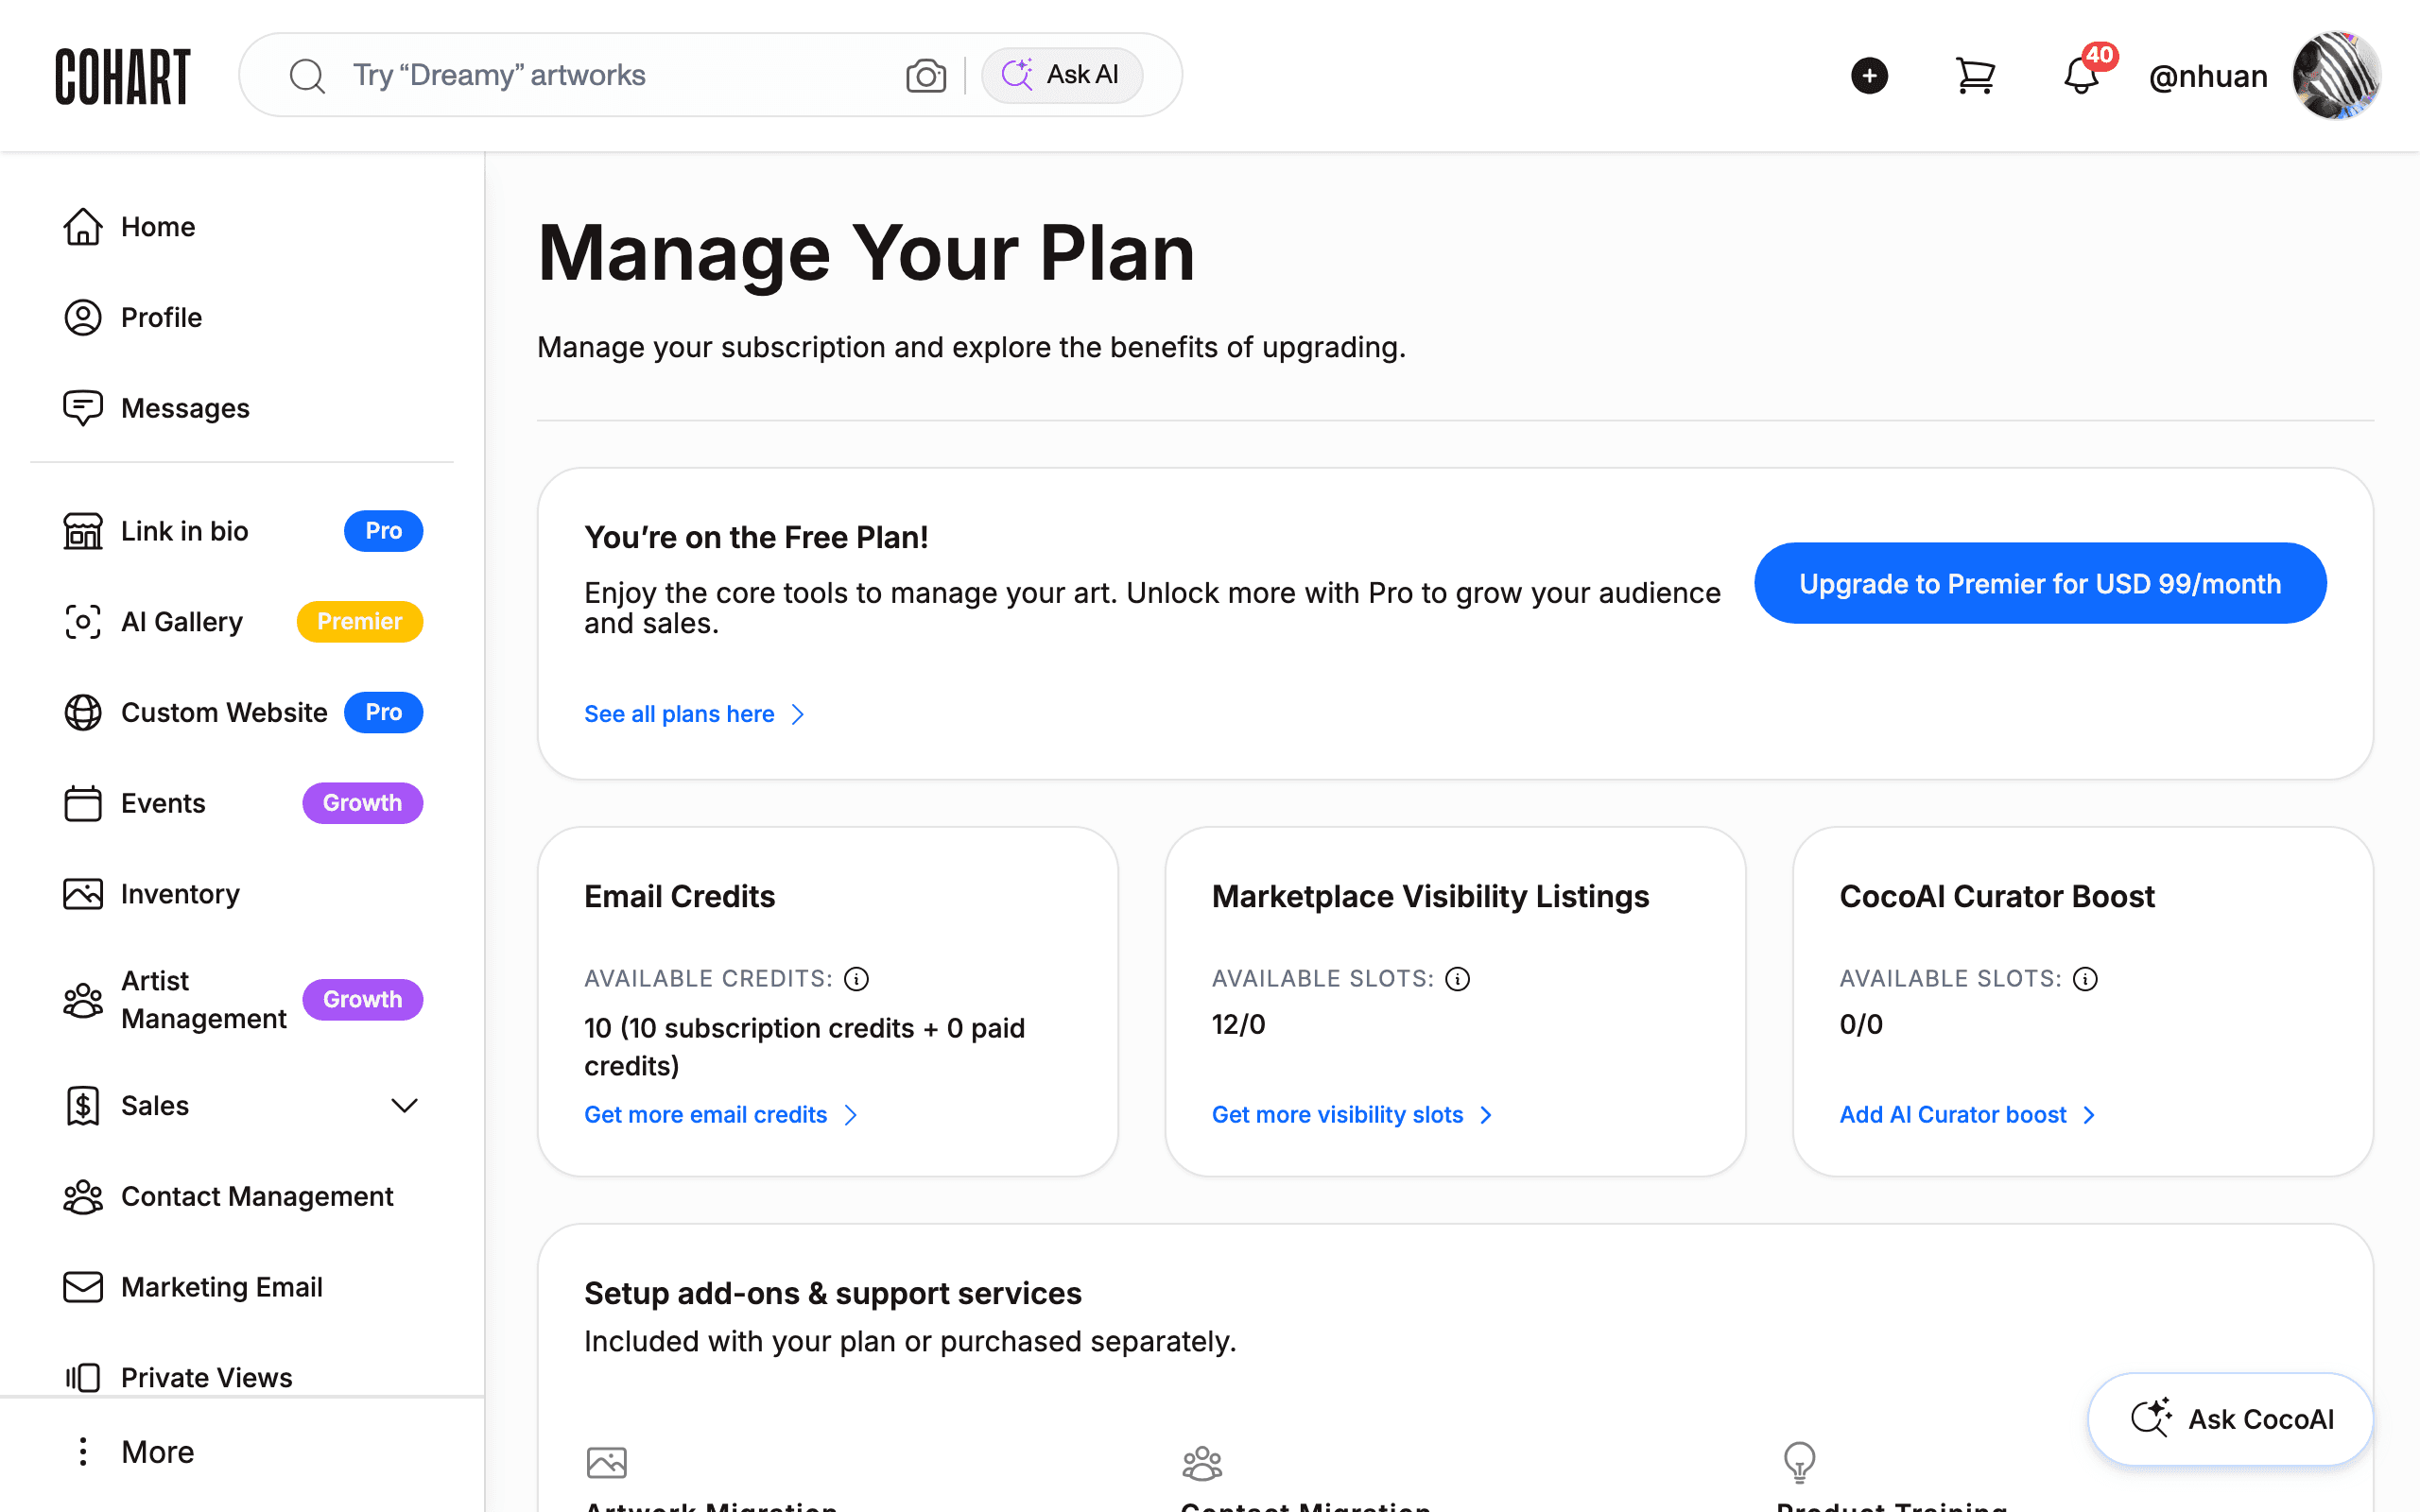
19. Open Manage Plan
Manage Plan shows your current membership, lets you compare and upgrade plans, and manages your Email Credits, Marketplace Visibility Listings, and CocoAI Curator Boost slots. See How to Subscribe to a Pro, Growth, or Premier Plan and Raise Your Artwork Limit, How to List Artworks in the Marketplace and Get Them on the Discover Page, How to Boost Artworks in CocoAI Curator, How to Check Your Selling Fees on Cohart, and How to Buy Additional Support Services for the full details.
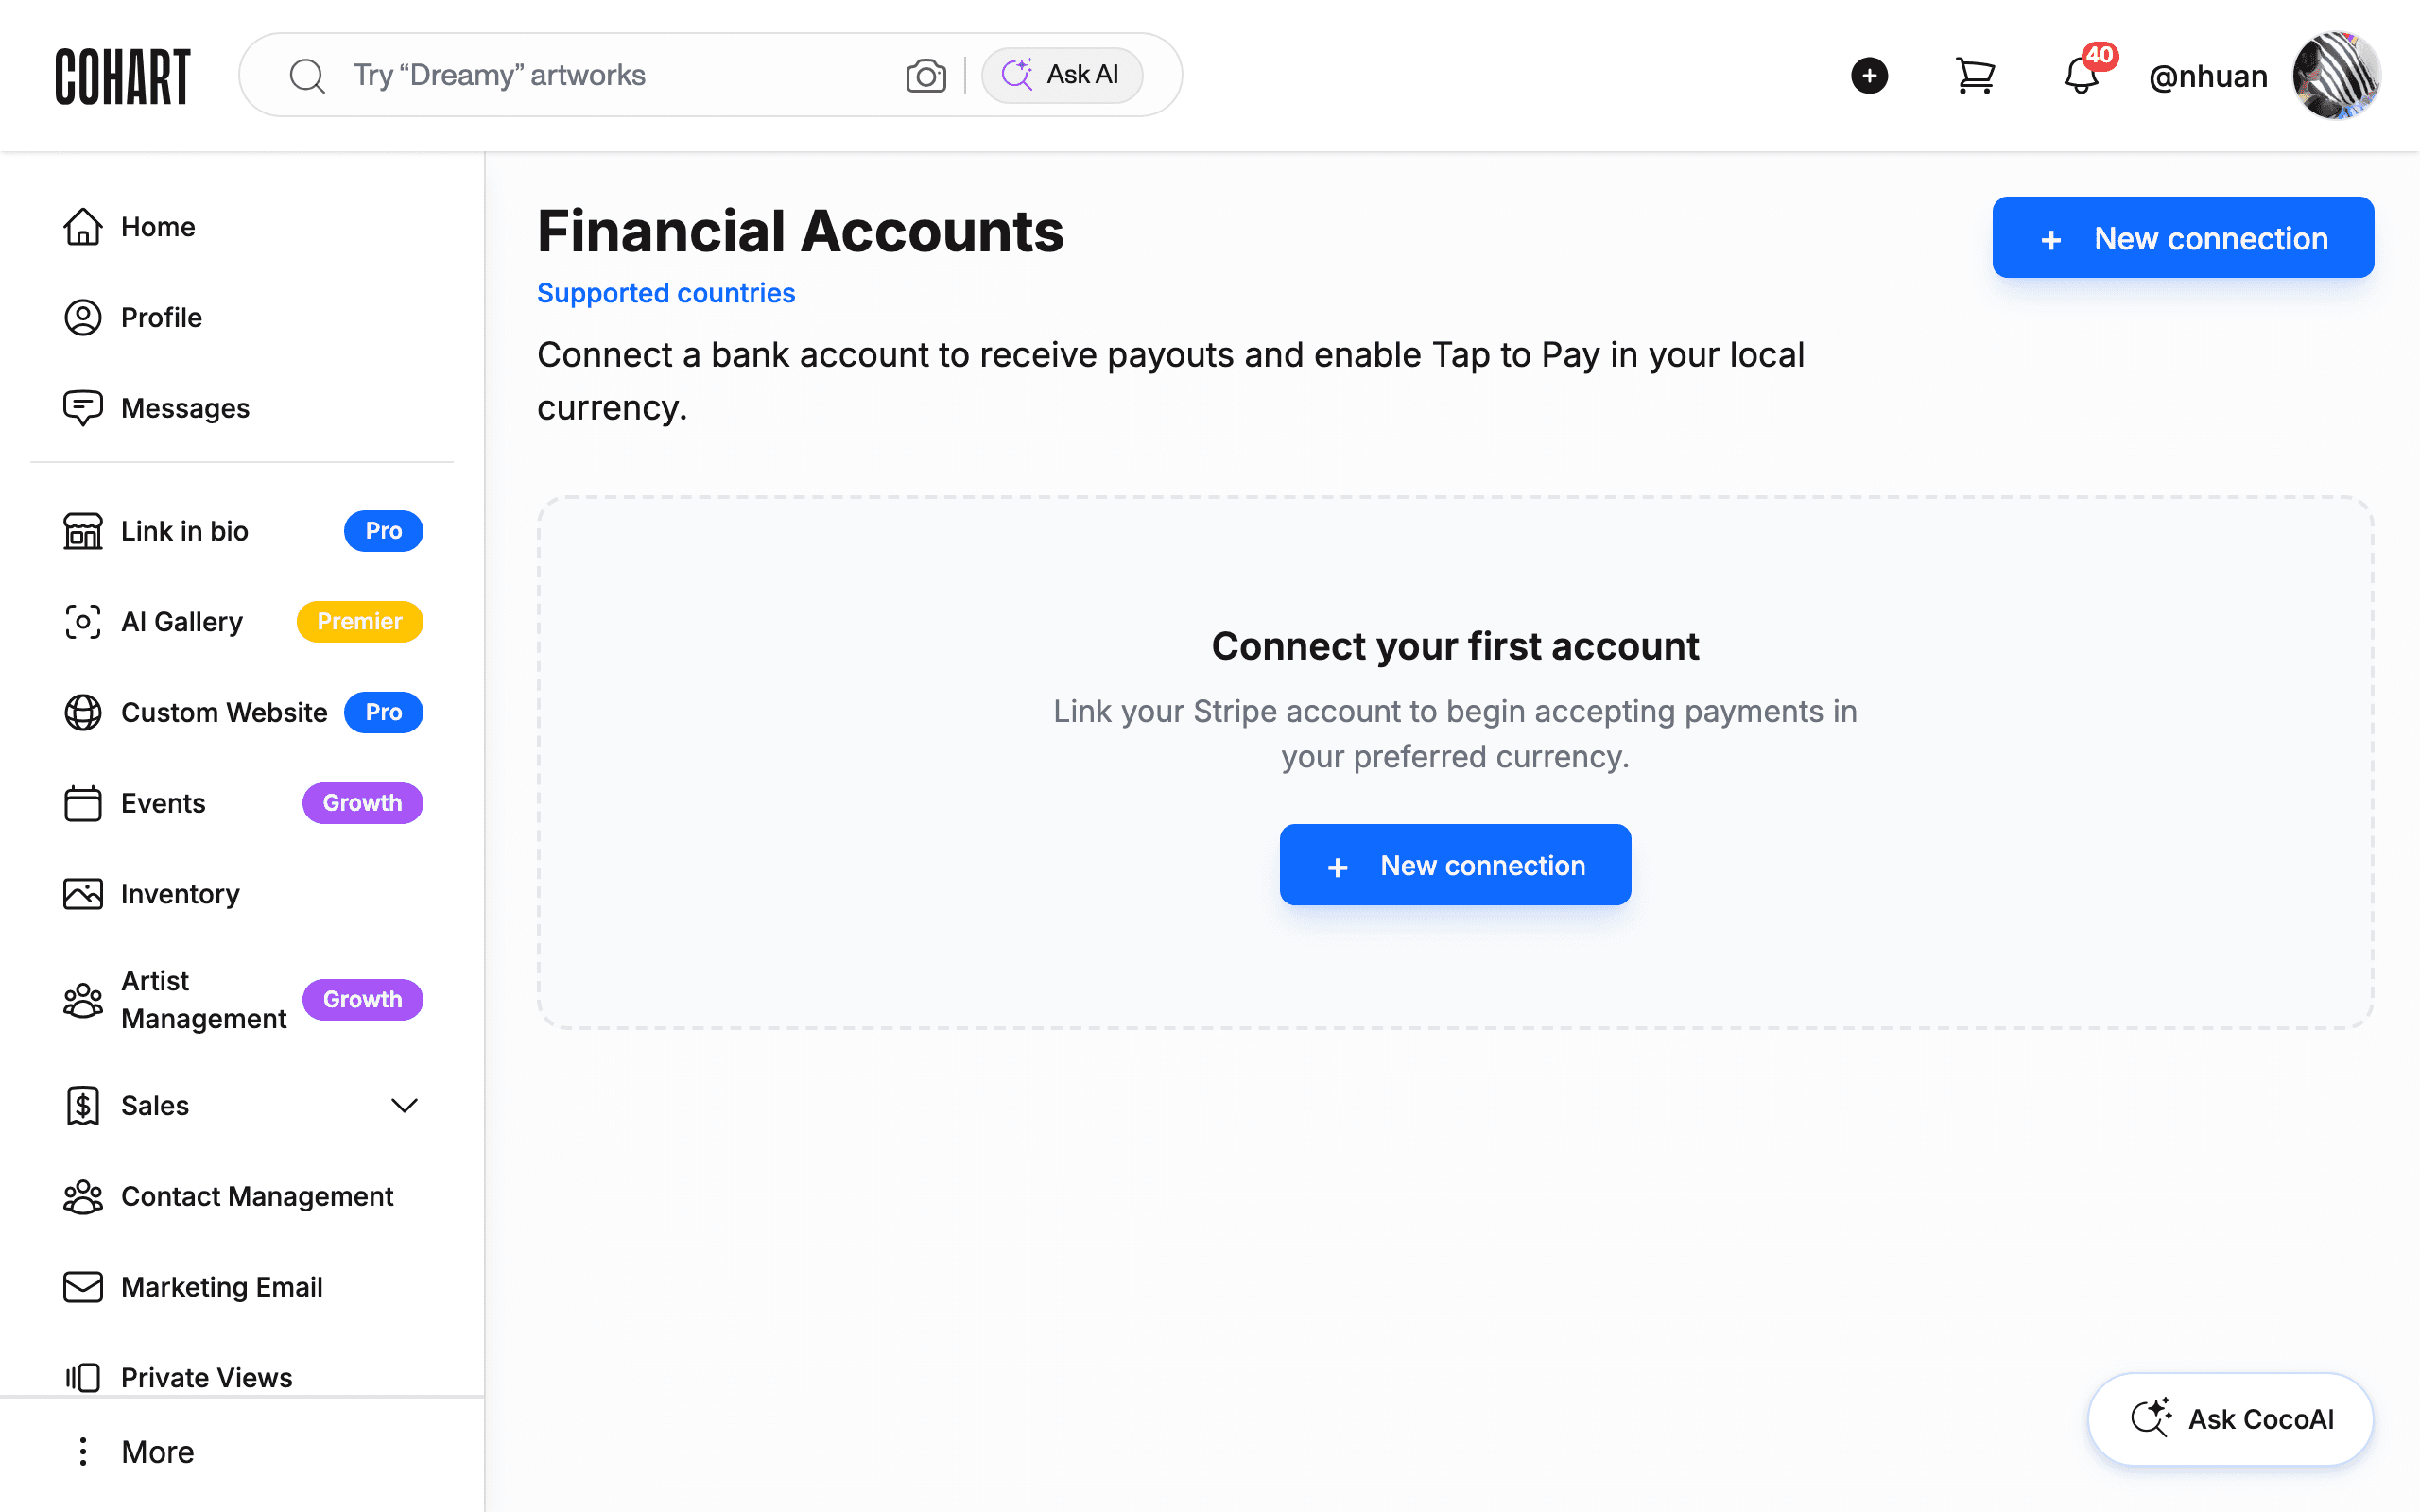
20. Open Financial Accounts
Financial Accounts is where you connect a bank account to receive payouts and enable Tap to Pay in your local currency. See How to Connect Your Bank Account and Manage the Currencies You Sell In for the full setup.
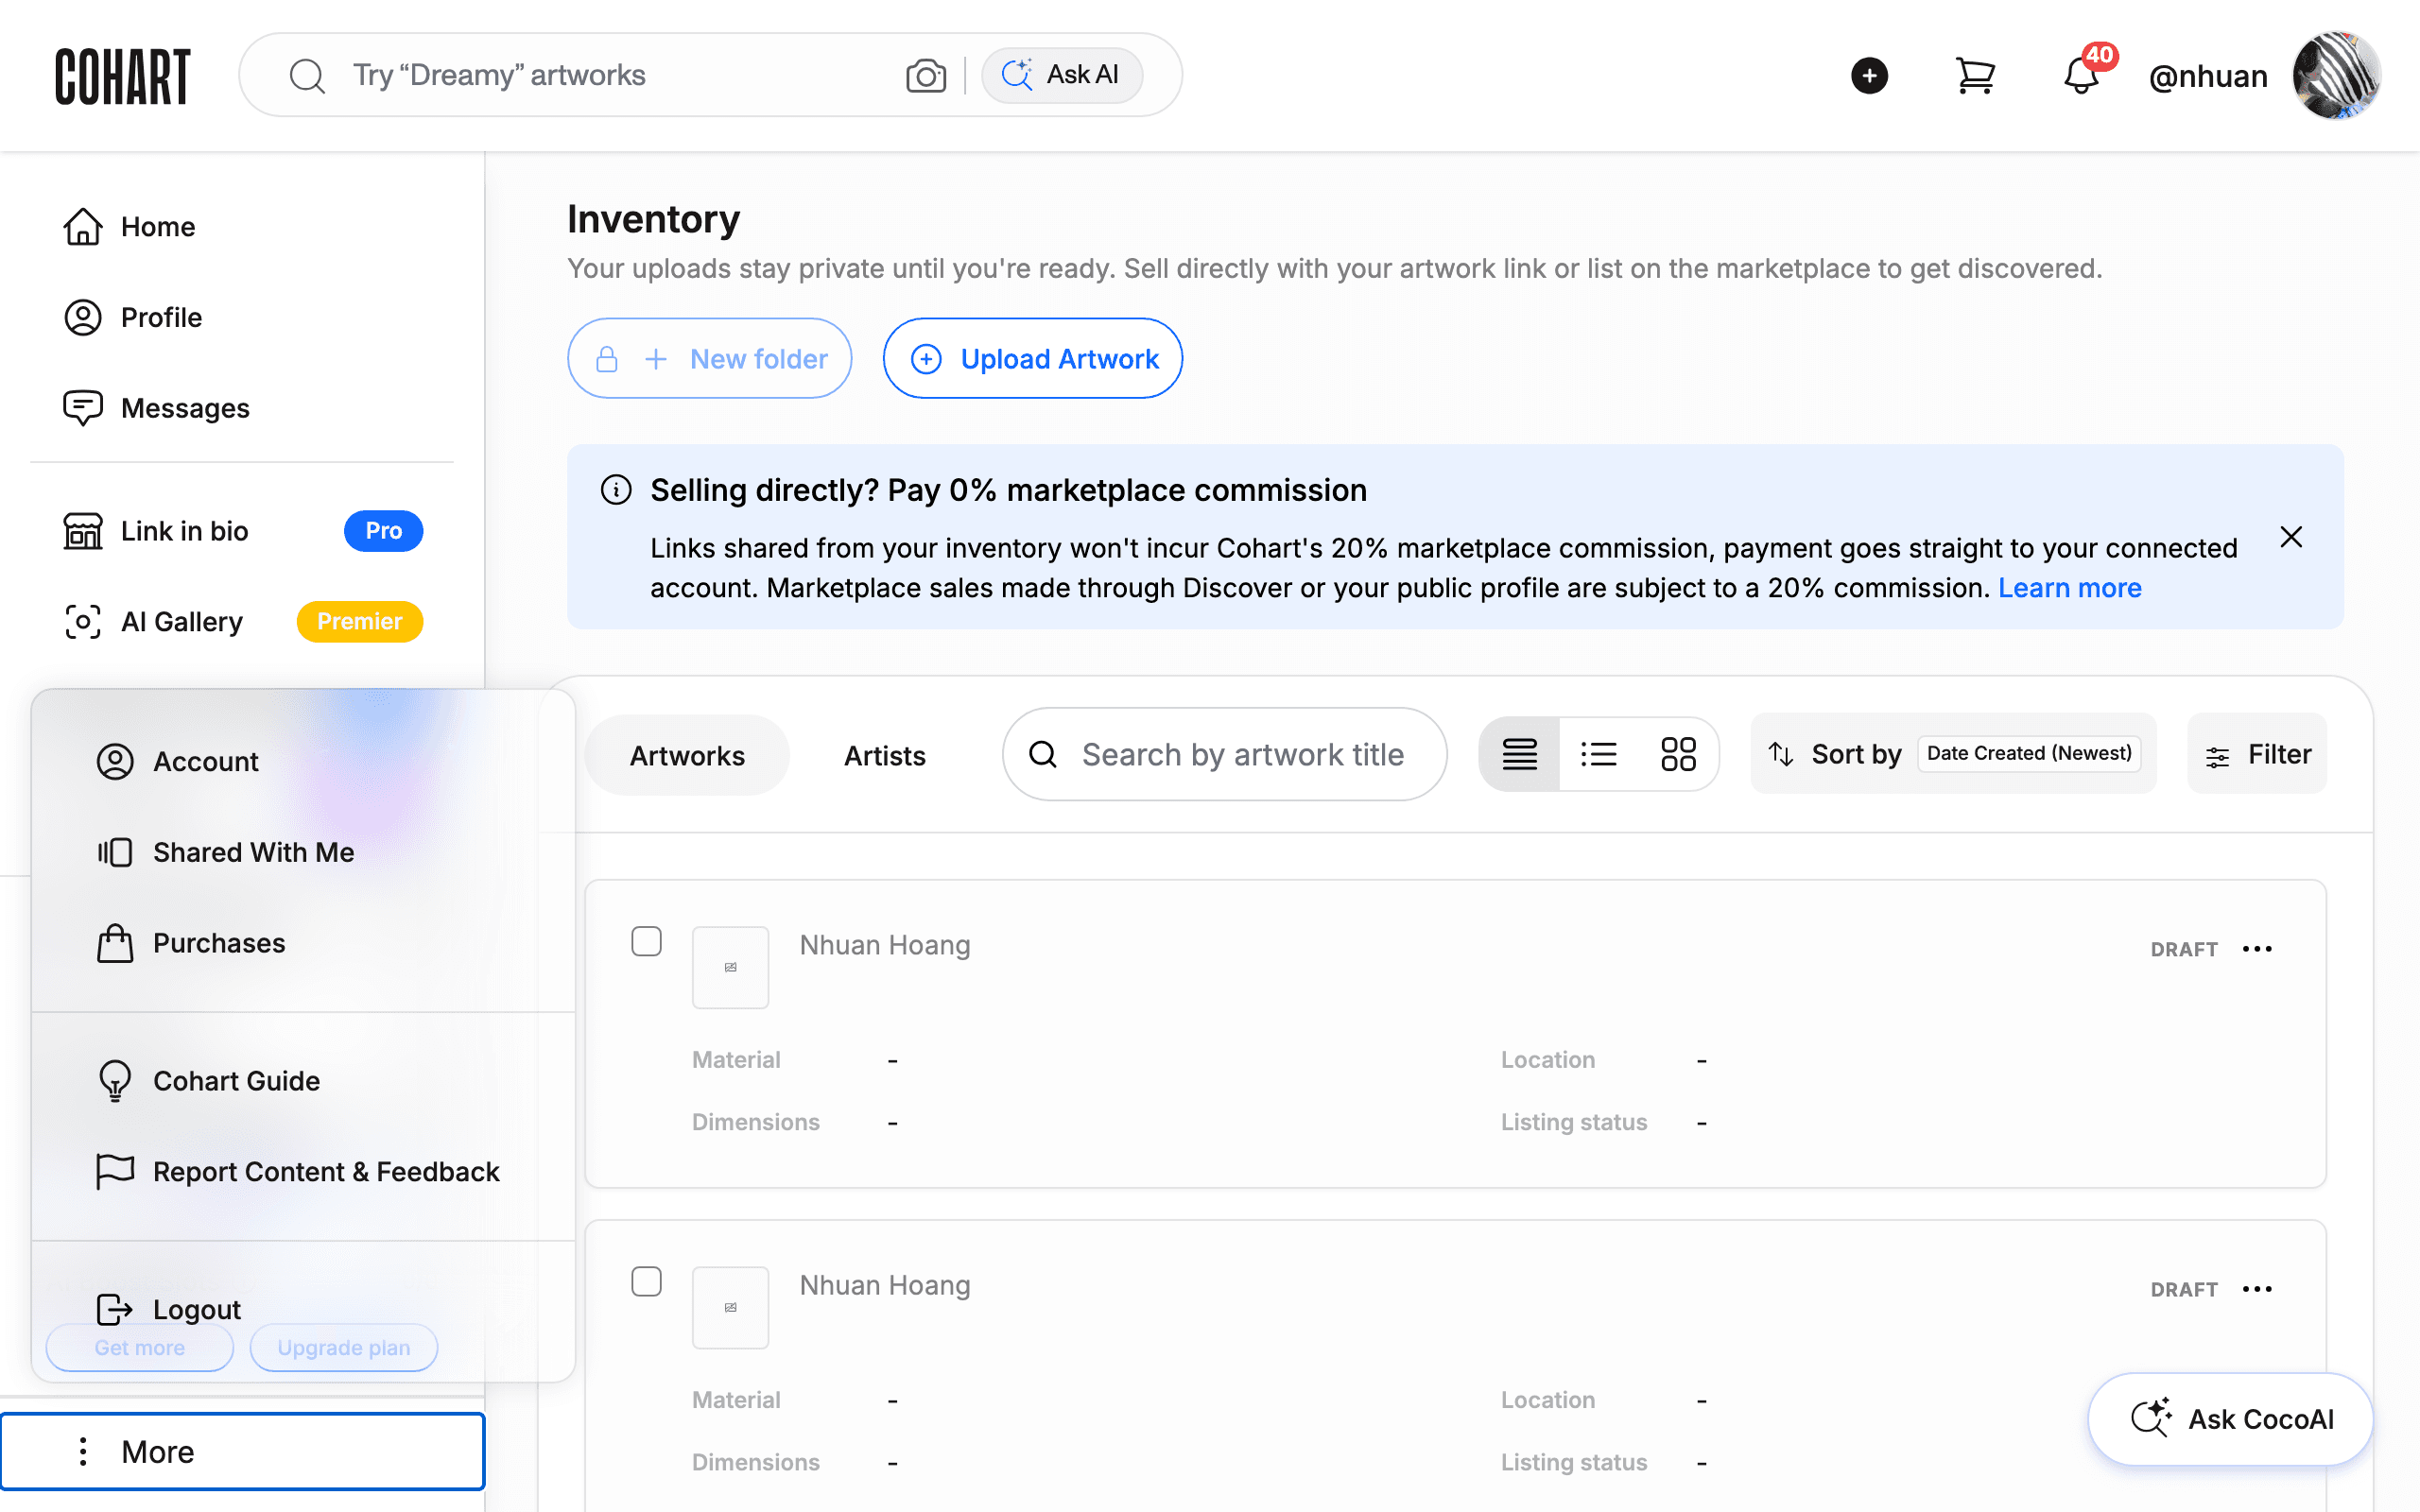
21. Open More for account settings
Scroll to the bottom of the sidebar and click More. The menu that opens holds Account, Shared With Me, Purchases, Cohart Guide, Report Content & Feedback, and Logout. Click Account to manage your sign-in methods, password, and account deletion. See How to Manage Your Account Settings for the full workflow.
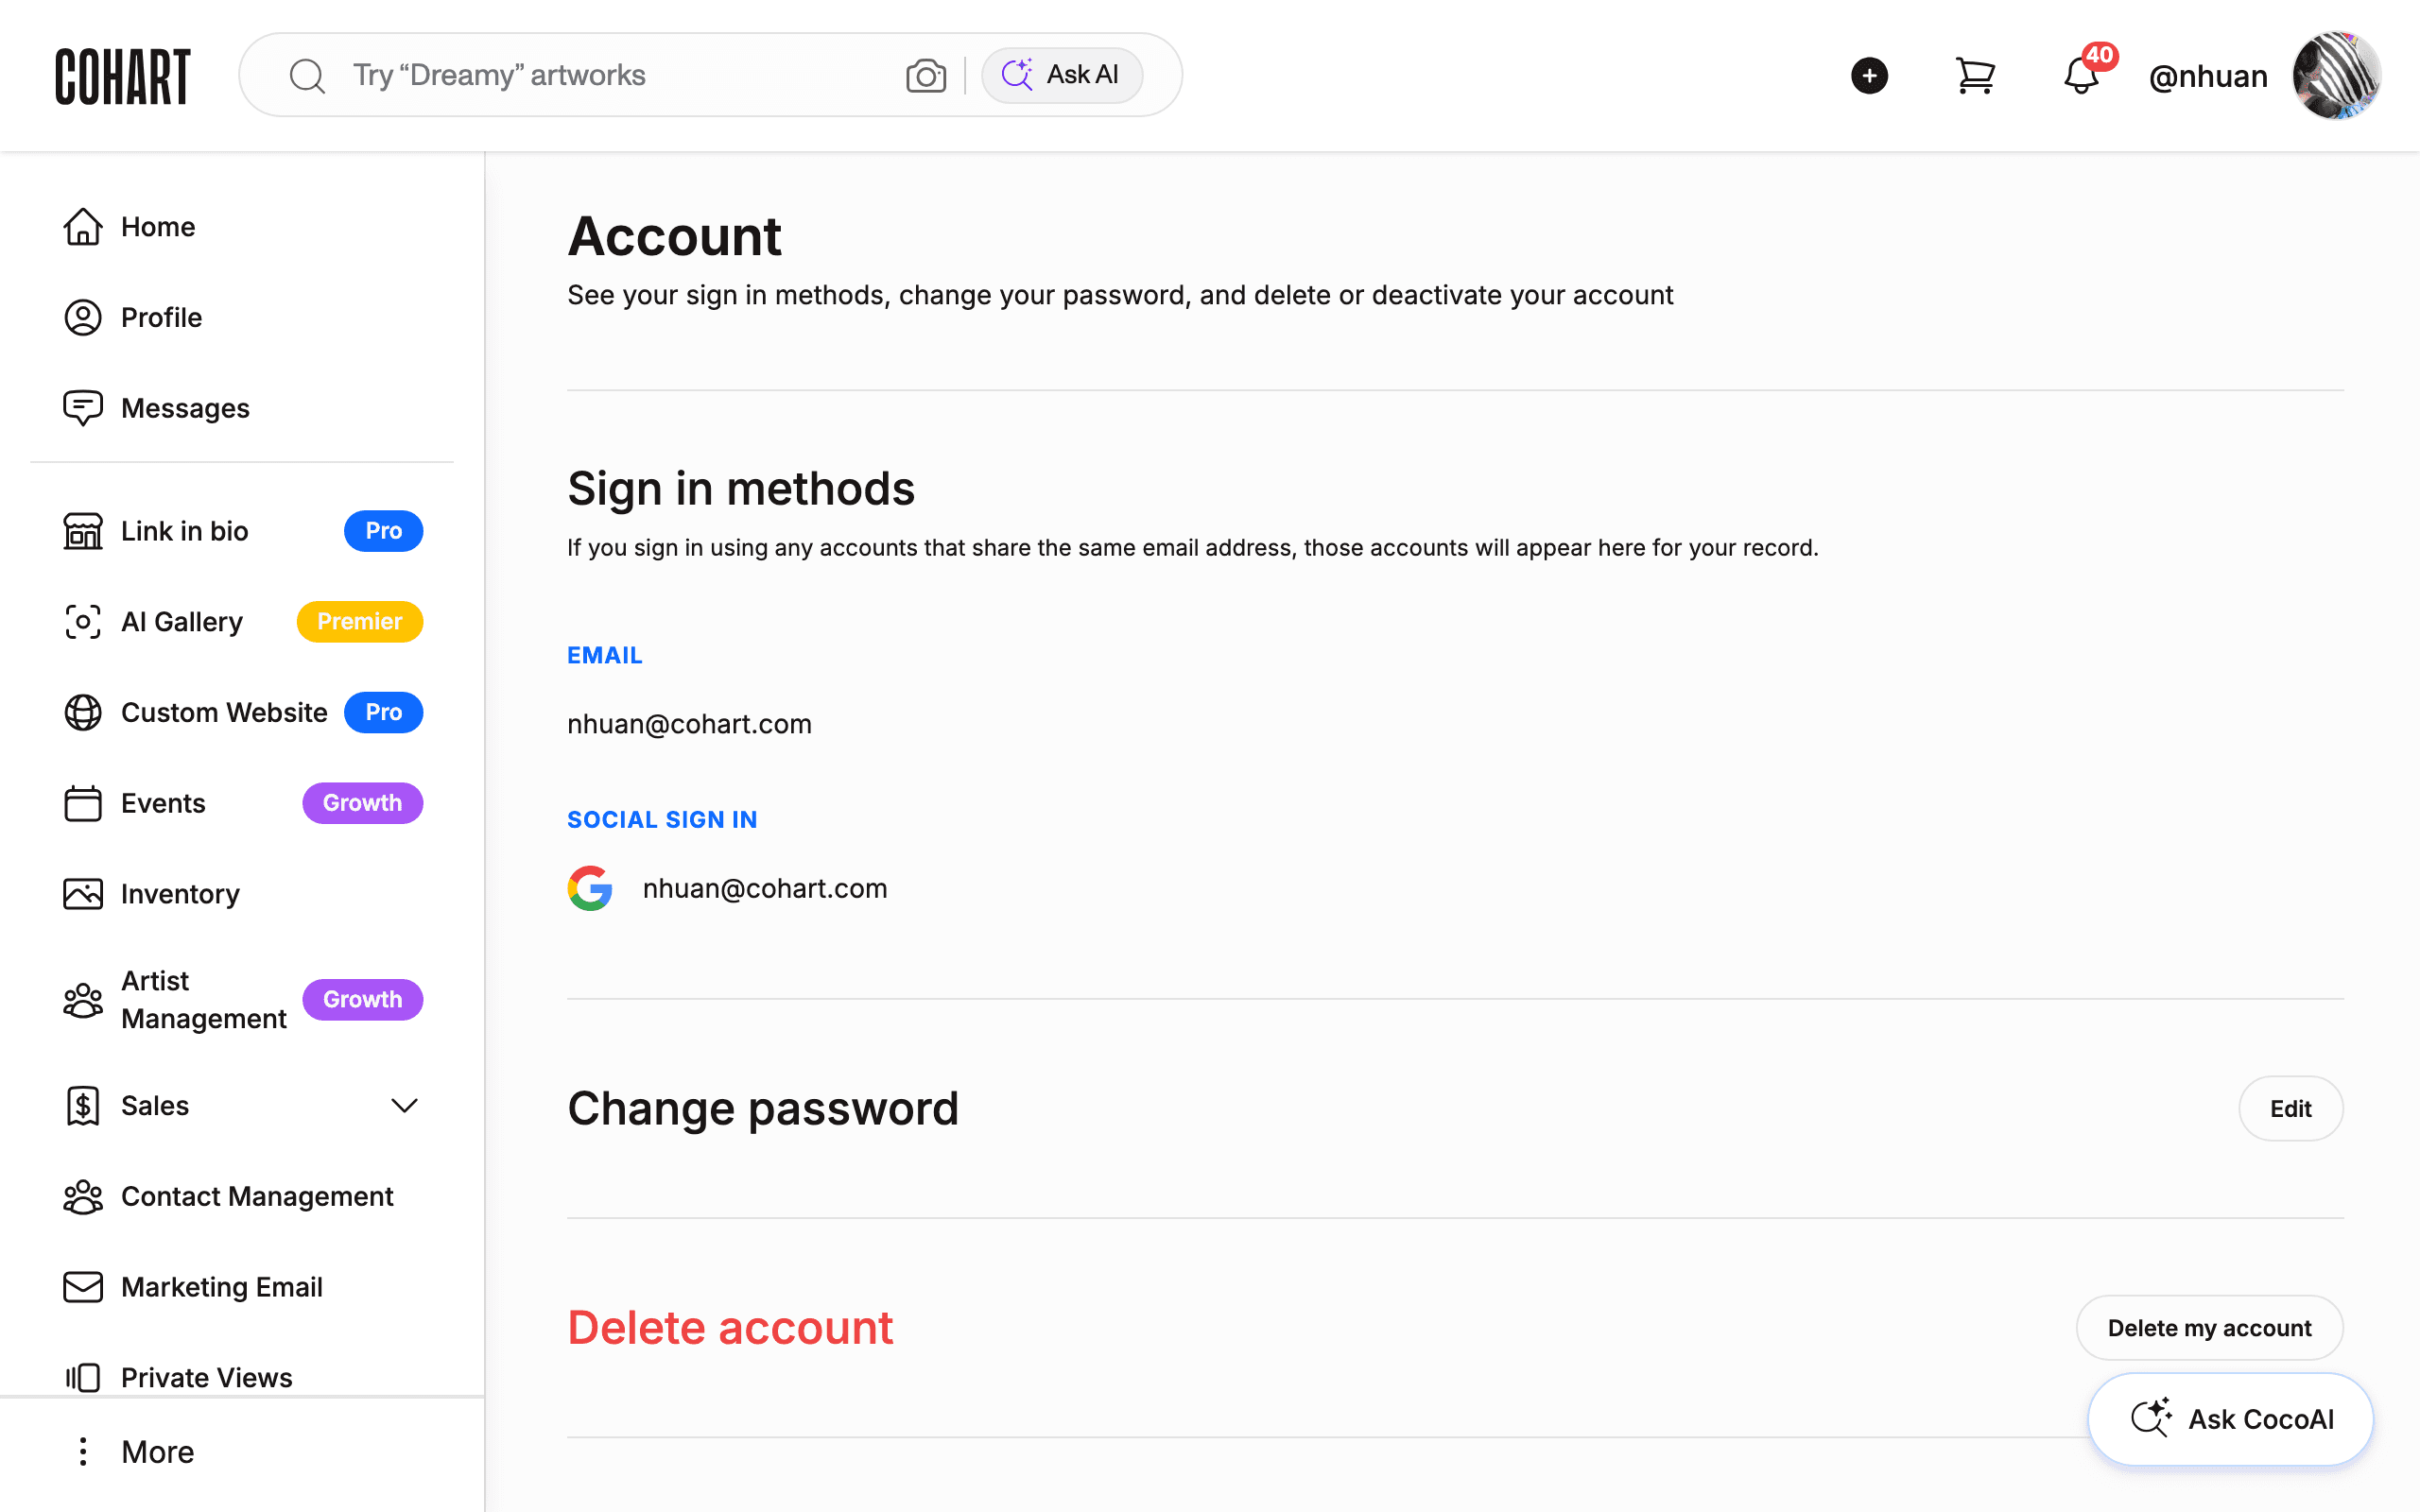
22. Confirm you reached Account
Account opens on your sign-in methods, a Change password control, and Delete account, with the same sidebar still visible on the left so you can jump straight to any other section.
Tips
- The sidebar order is fixed but the badges next to each item change. Labels like Pro, Growth, and Premier mark features that need a higher plan — you can still open the page, but some actions inside it are gated until you upgrade from Manage Plan.
- Stat bars sit between the icon list and More. Widgets like Inventory storage, Marketplace listings, and AI Boost Slots show usage against your plan’s limits and link straight to Get more or Upgrade plan.
- Bookmark the sections you use daily. Sales and Inventory are the two most-visited pages for most sellers — the sidebar keeps them one click away from anywhere in the Dashboard.
Troubleshooting
- A sidebar item shows a plan badge and the page looks locked → the feature requires a higher membership tier → open Manage Plan to compare plans and upgrade.
- Sales doesn’t expand when you click it → the click landed outside the label → click directly on the word Sales or the chevron next to it to reveal Invoices, Sales Record, Shipping, and Transactions.
- You can’t find Account settings → it isn’t a top-level sidebar icon → scroll to the bottom of the sidebar, click More, then click Account.
- A page shows an empty state (for example “No AI galleries yet” or “No private view available”) → you haven’t created anything in that section yet → use the Create or Add button on that page to get started.