How to Create a Custom Shipping Label
You will create a shipping label for a package that is not linked to a sale or invoice, using the Create a shipping label form on your Shipping page.
Step 1 — Sign in
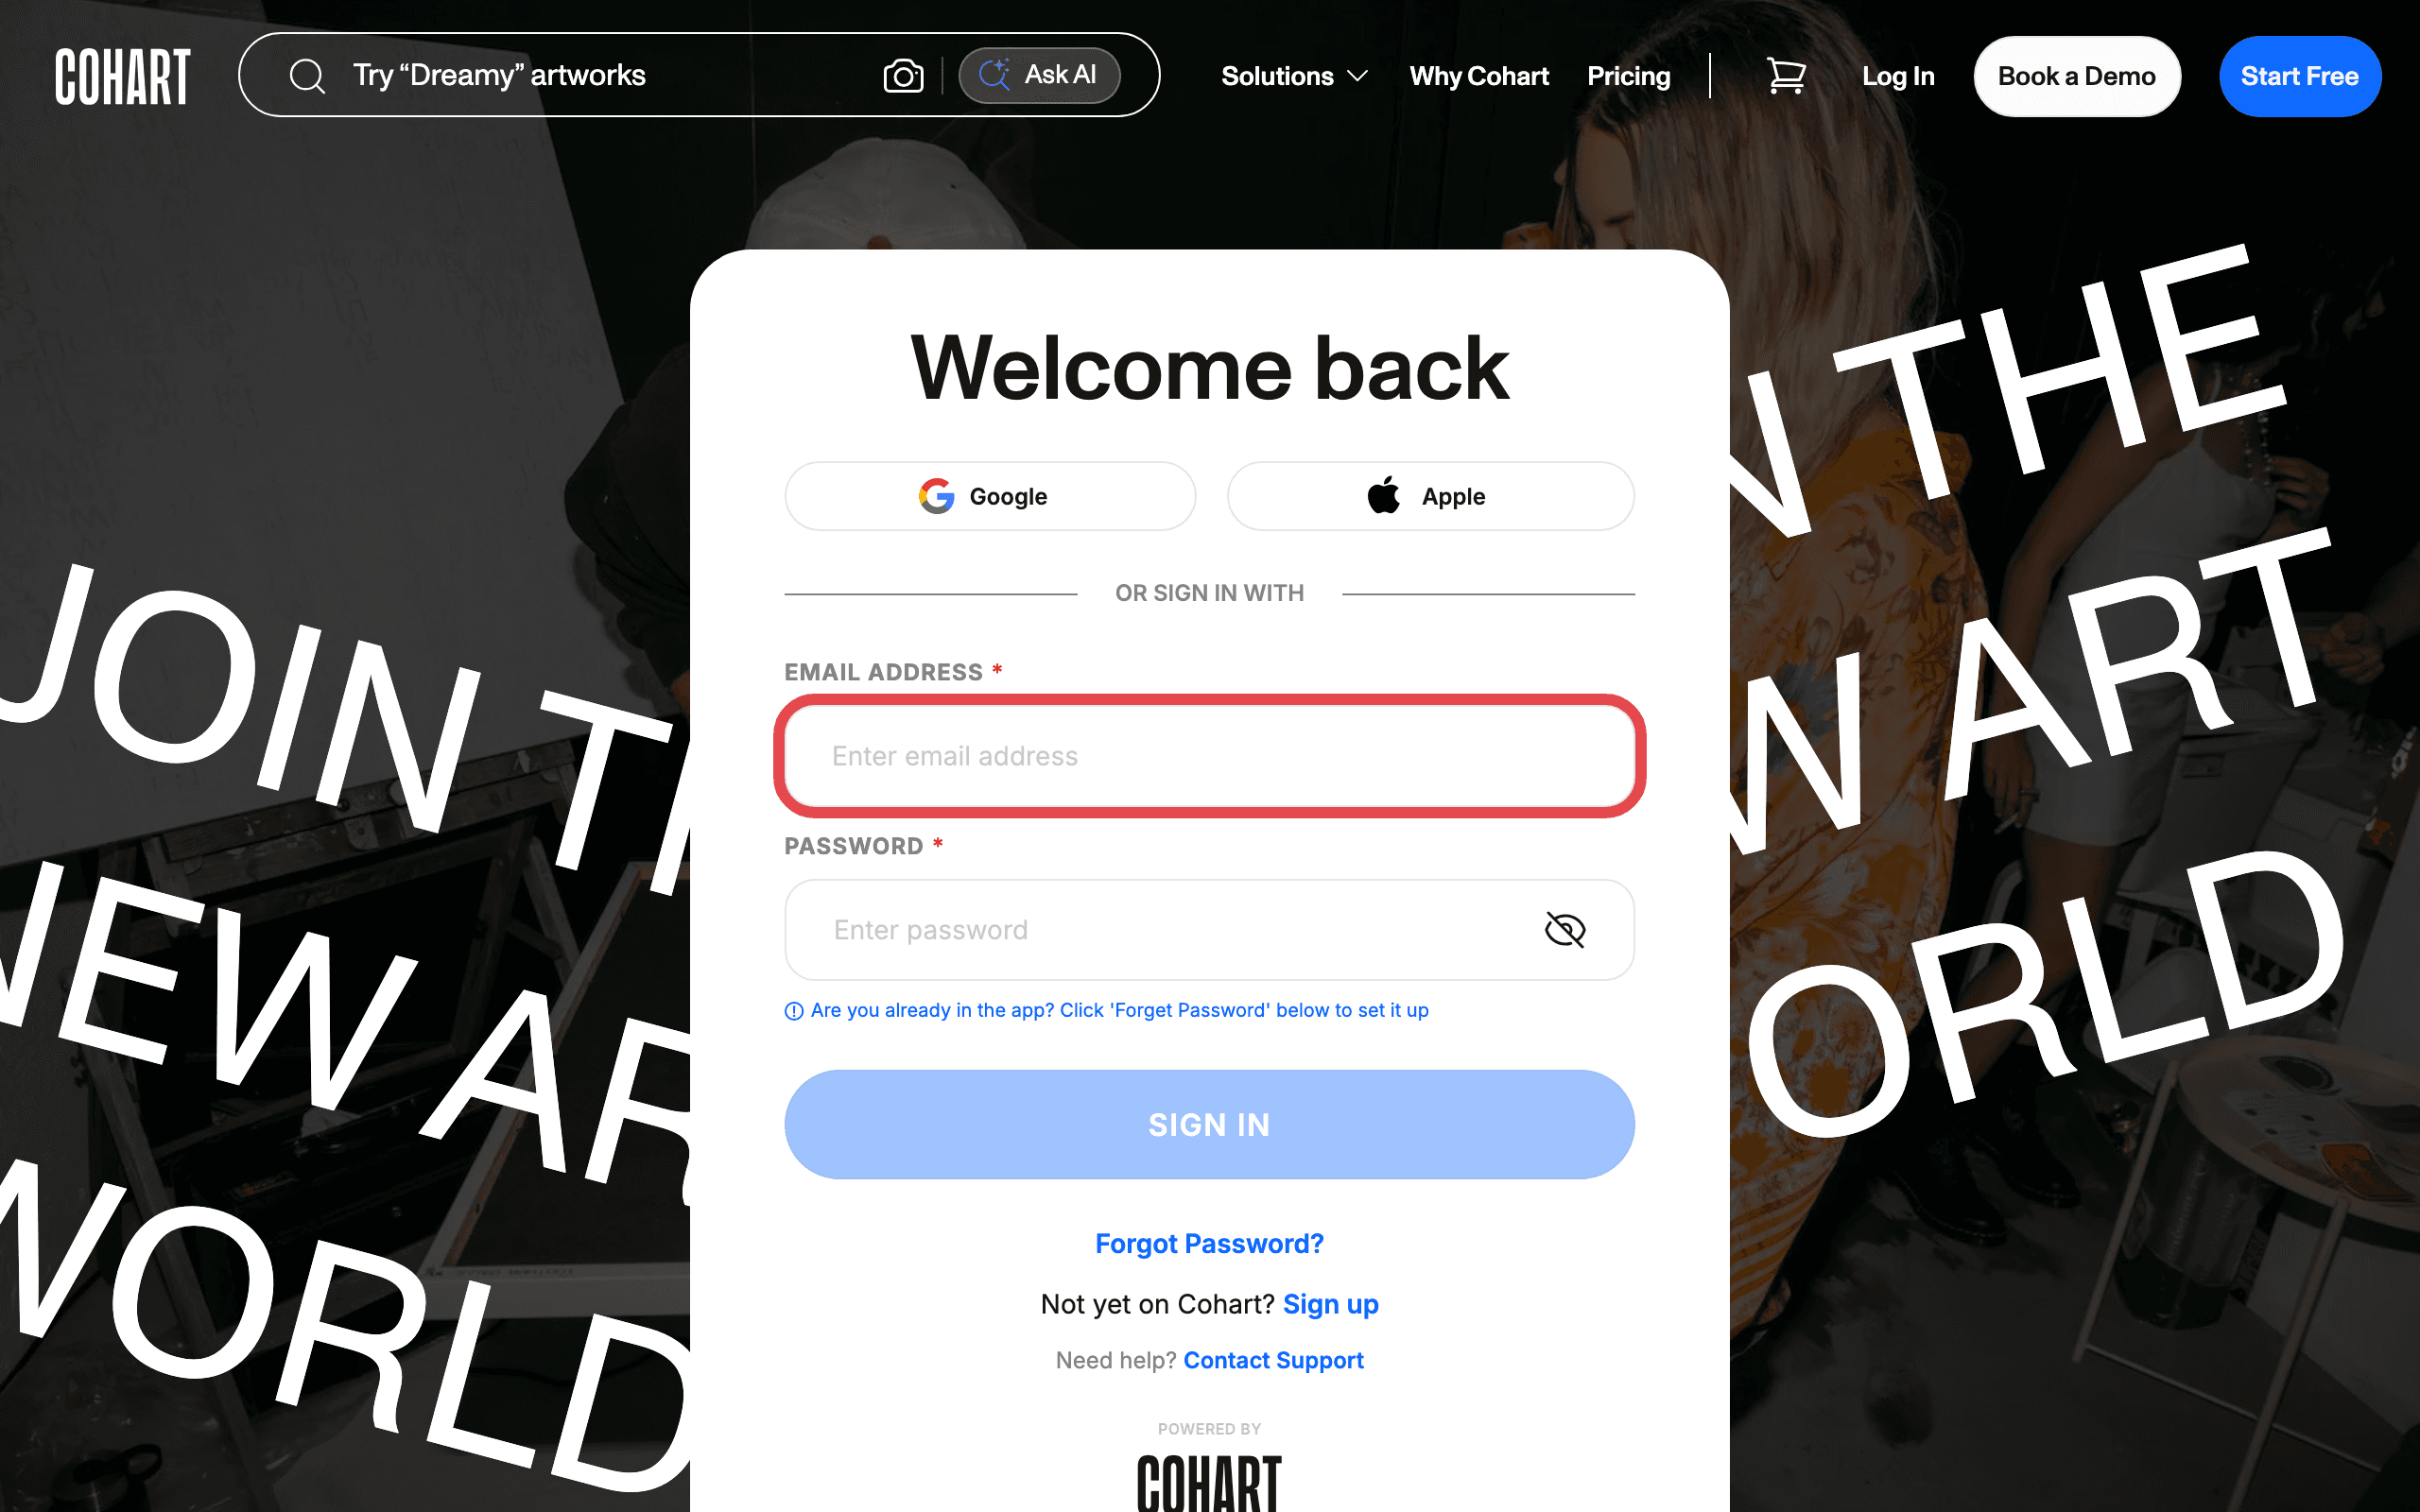
Open the sign-in page at staging.cohdev.co/auth/login . You can also reach it by clicking Log In on the homepage.
You have three ways to sign in:
- Google — click the Google button.
- Apple — click the Apple button.
- Email and password — enter your email in Enter email address and your password in Enter password, then click SIGN IN.
Step 2 — Open the Sales menu
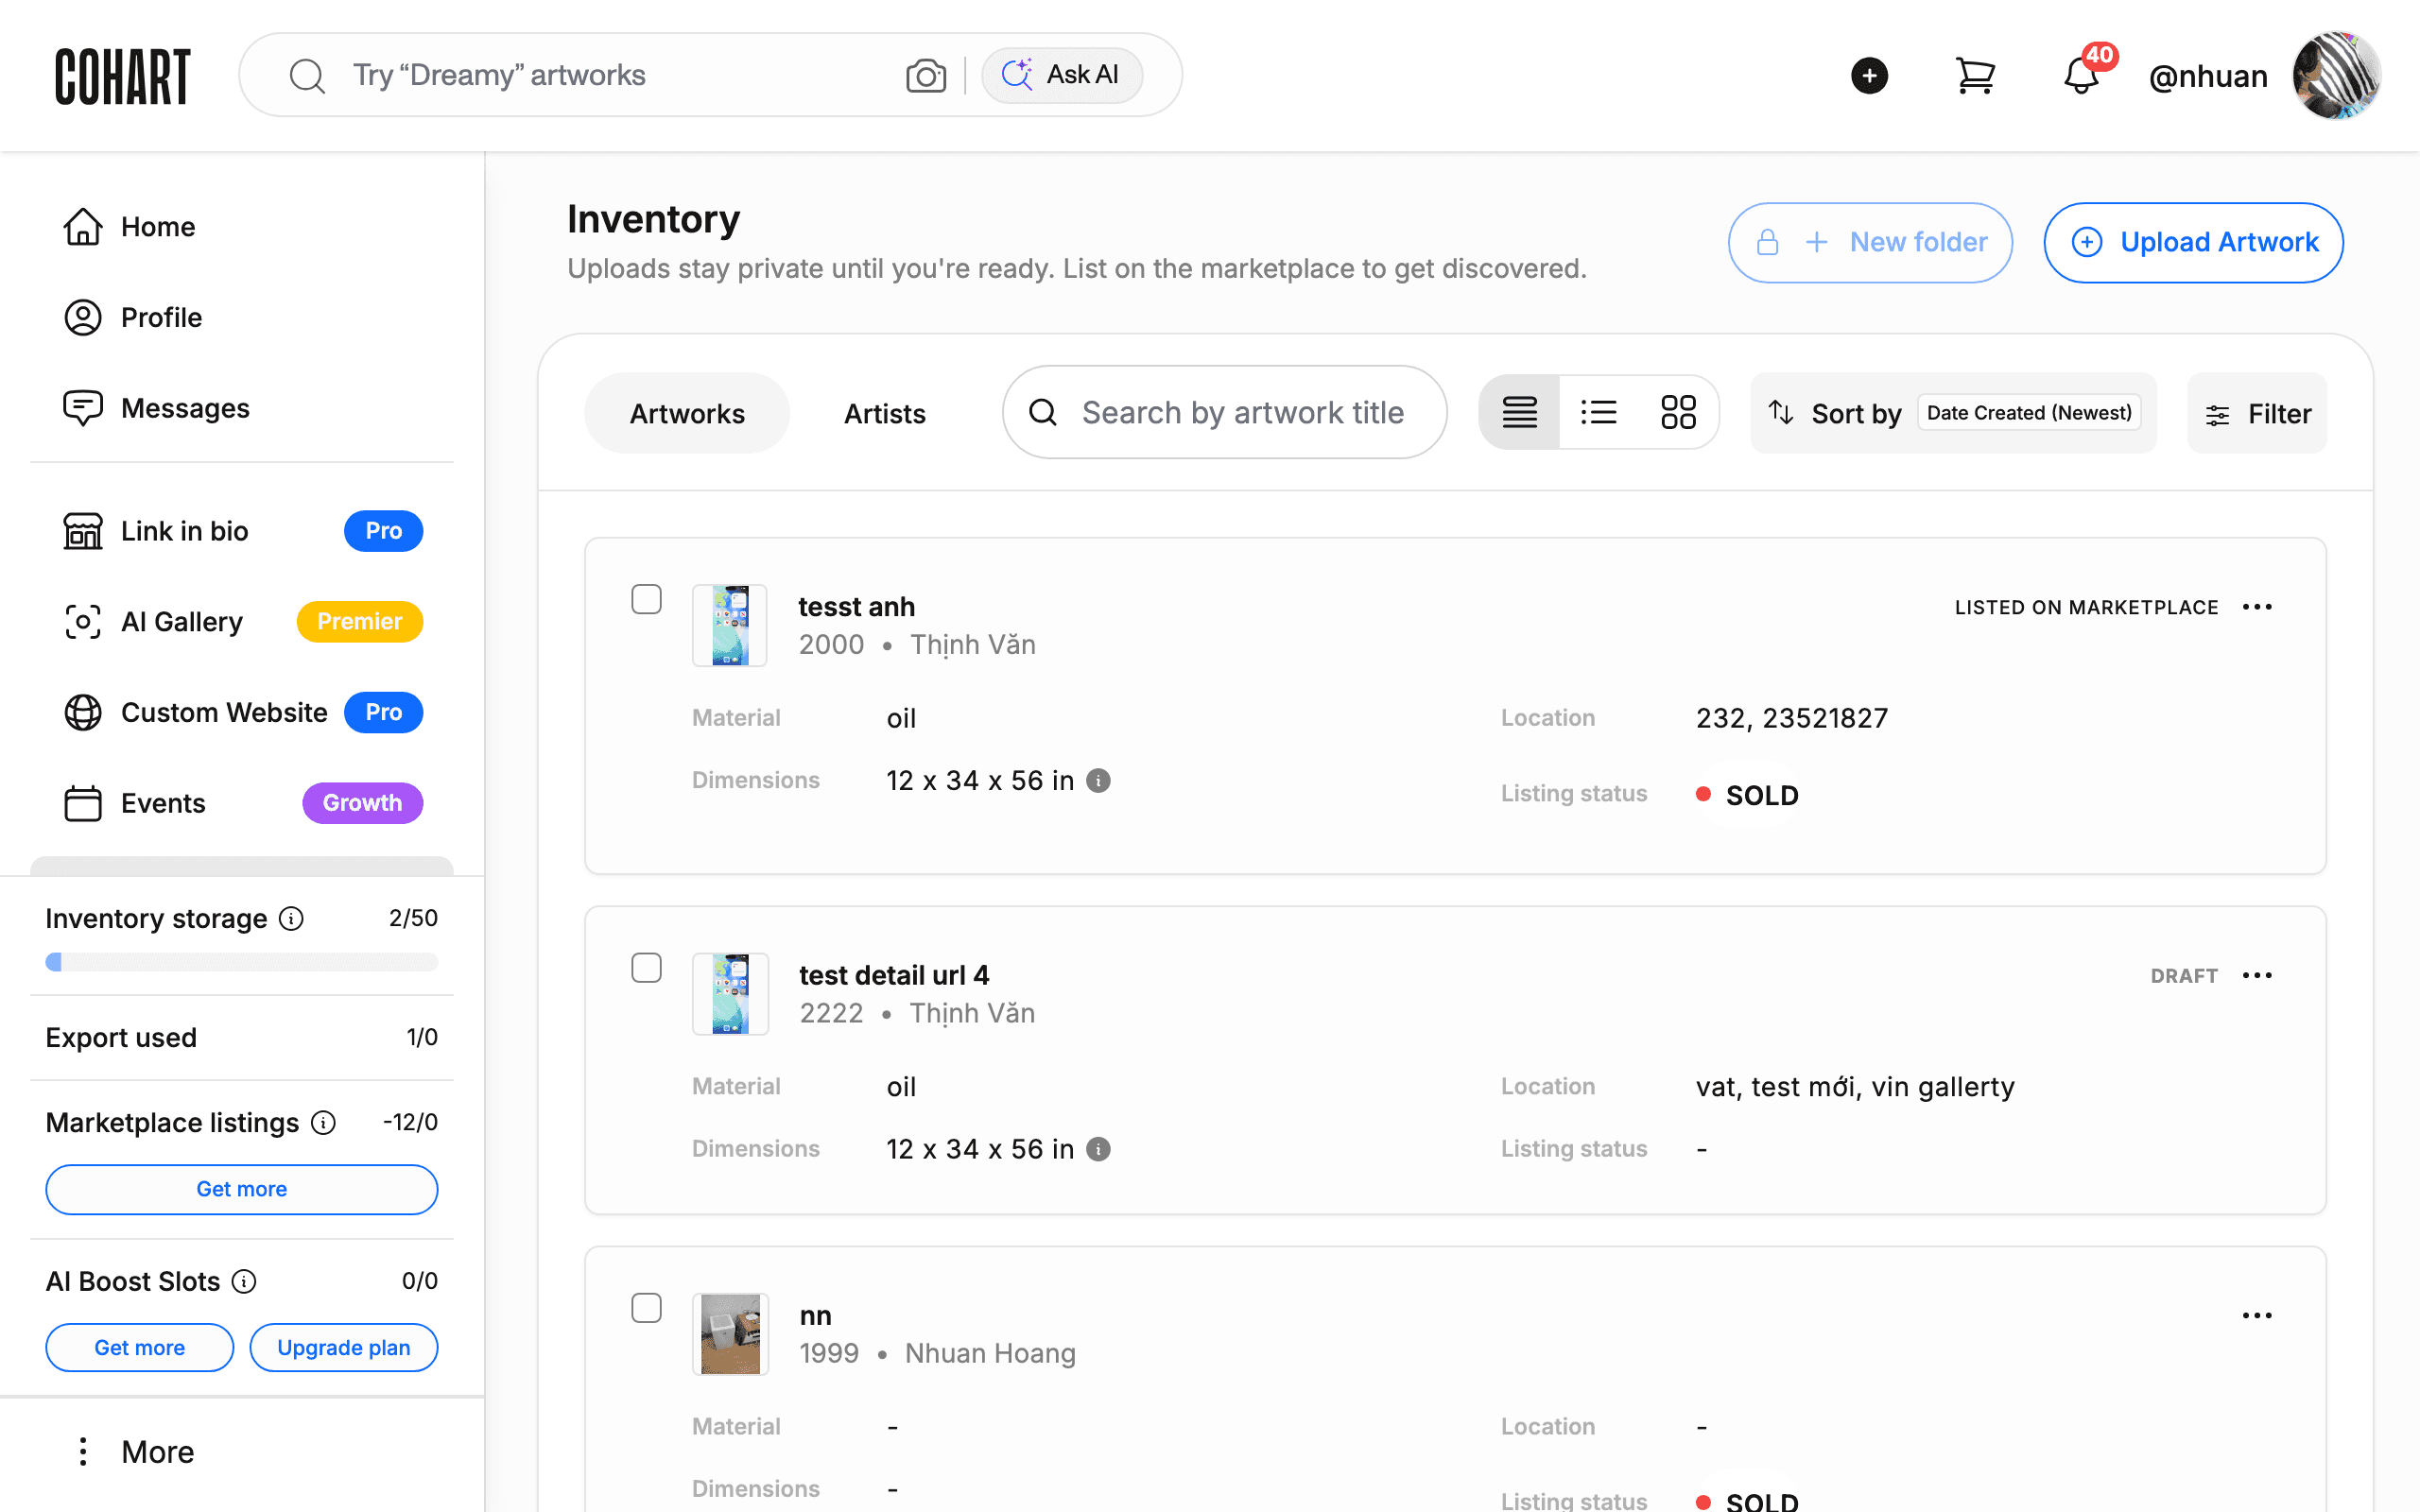
After signing in you land on your dashboard. In the left-hand navigation, click Sales.
Step 3 — Open Shipping
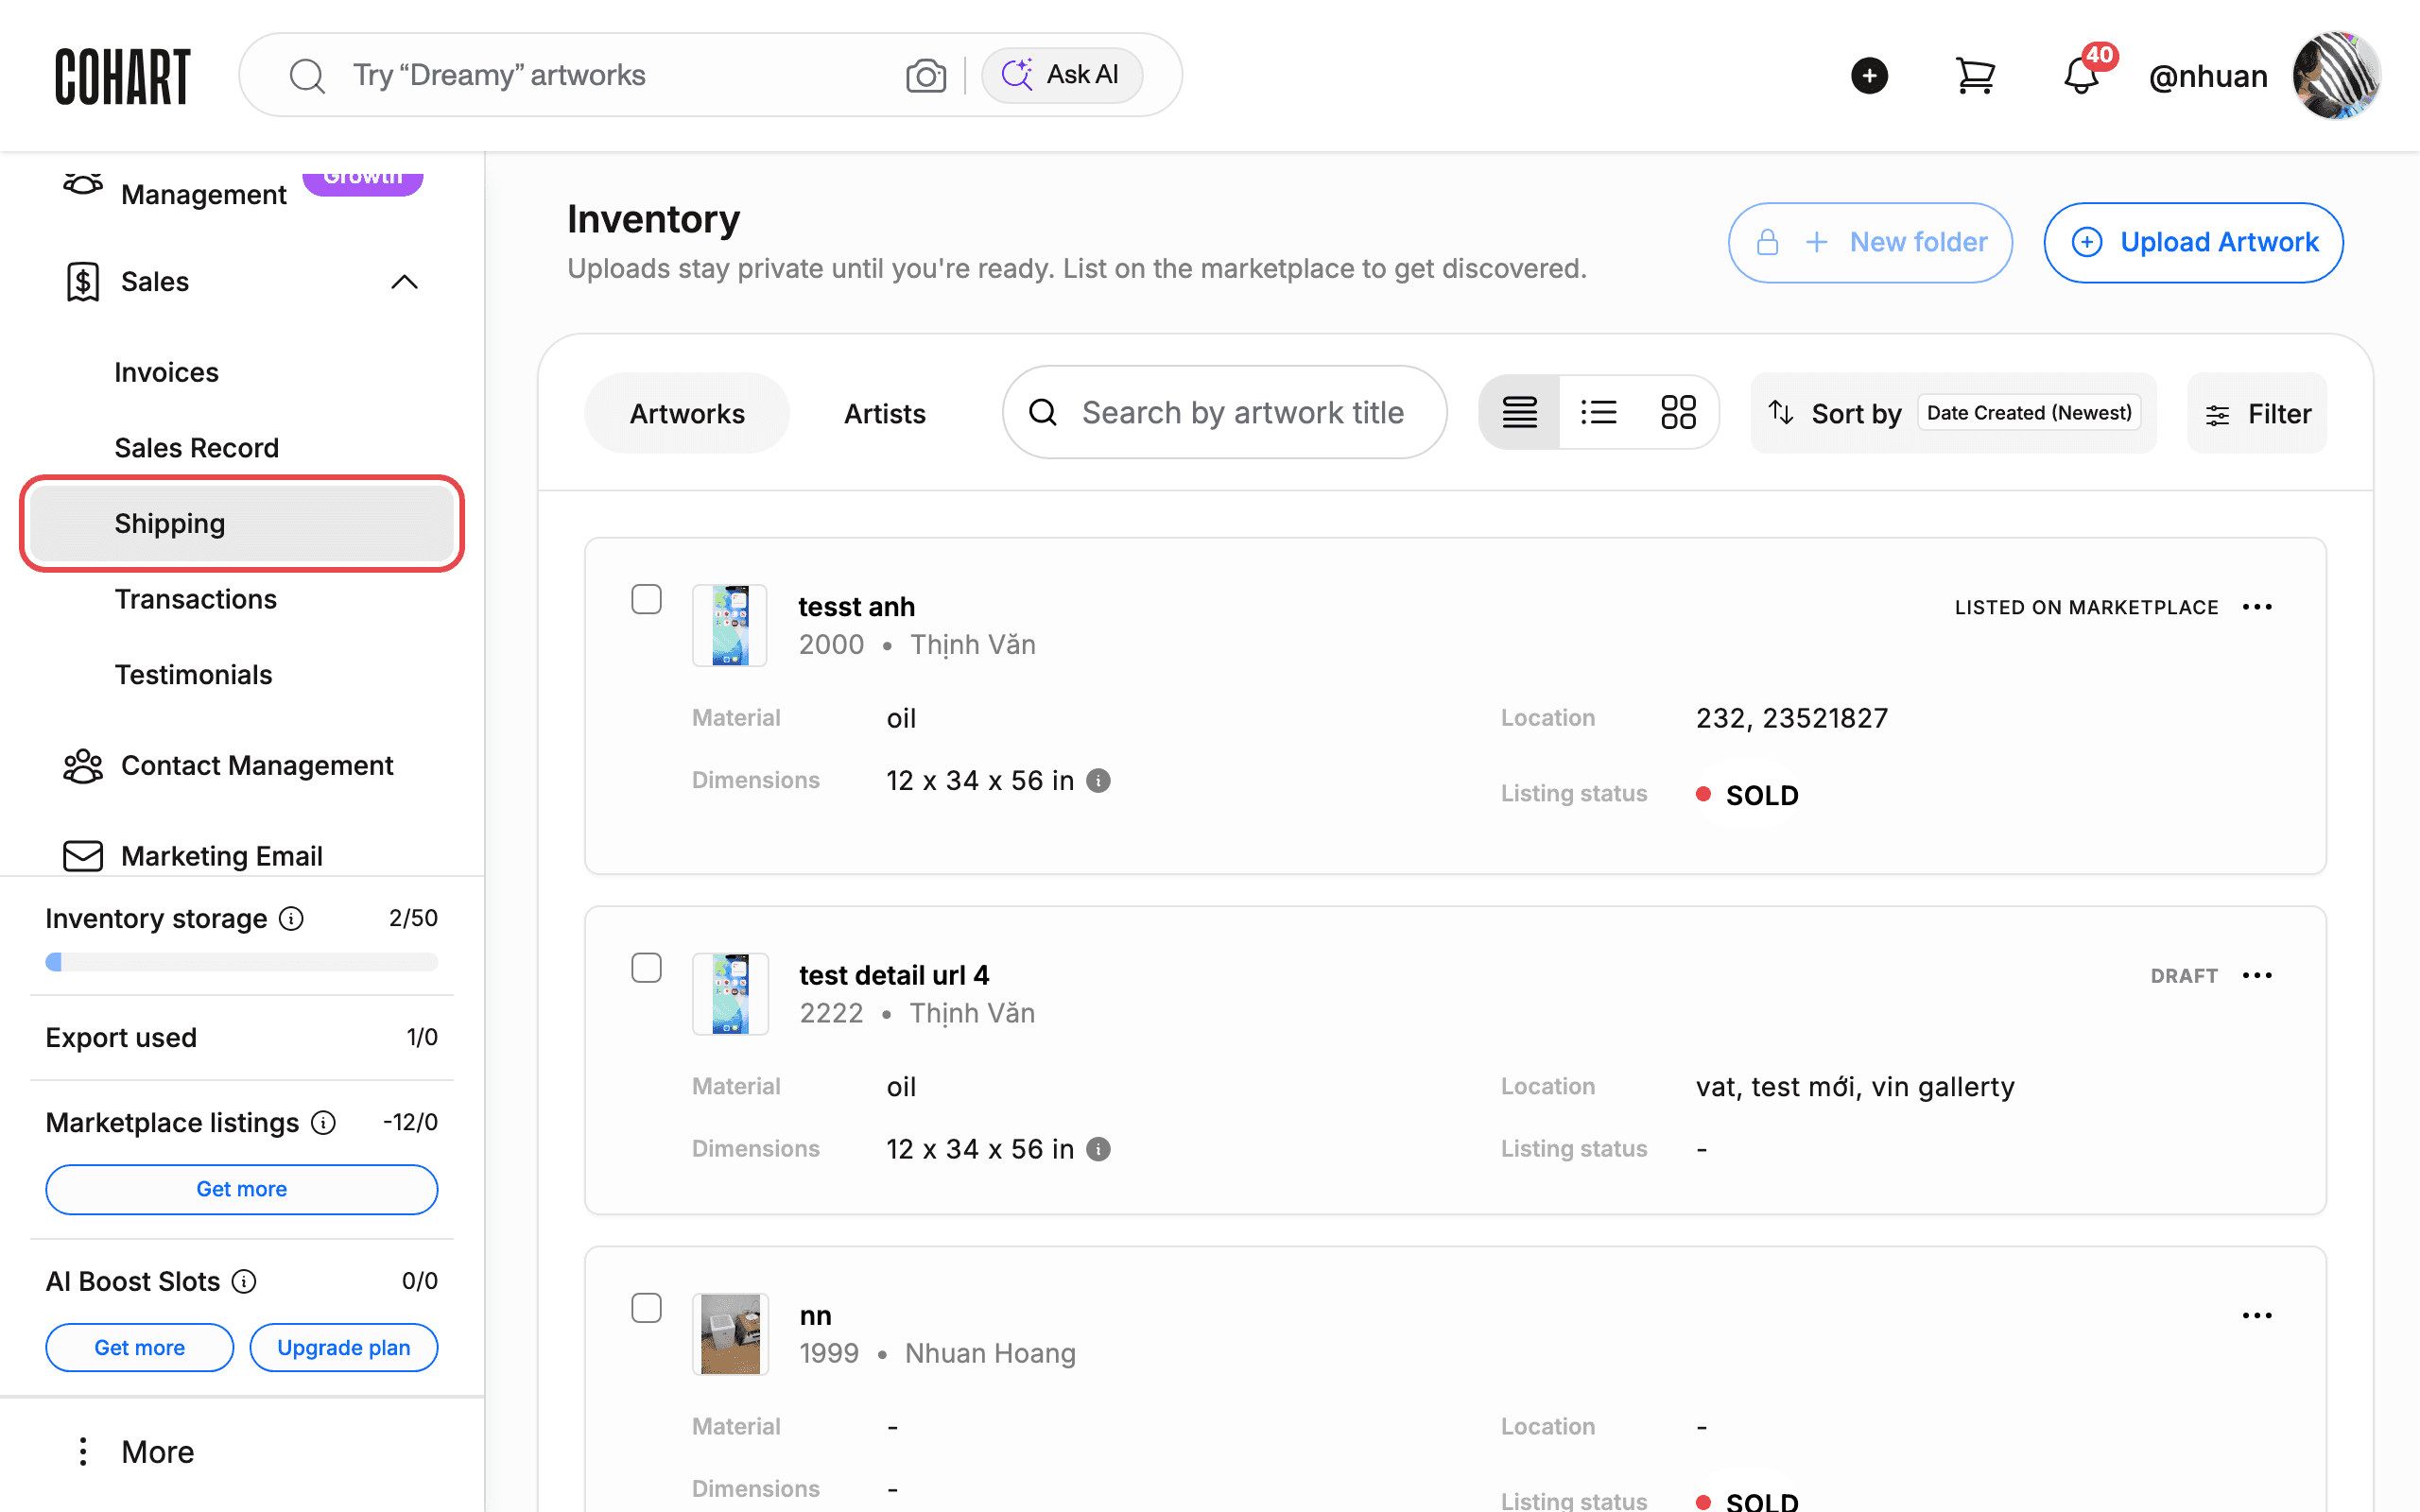
In the Sales menu you will see Invoices, Sales Record, Shipping, Transactions, and Testimonials. Click Shipping.
Step 4 — Open the Shipping page
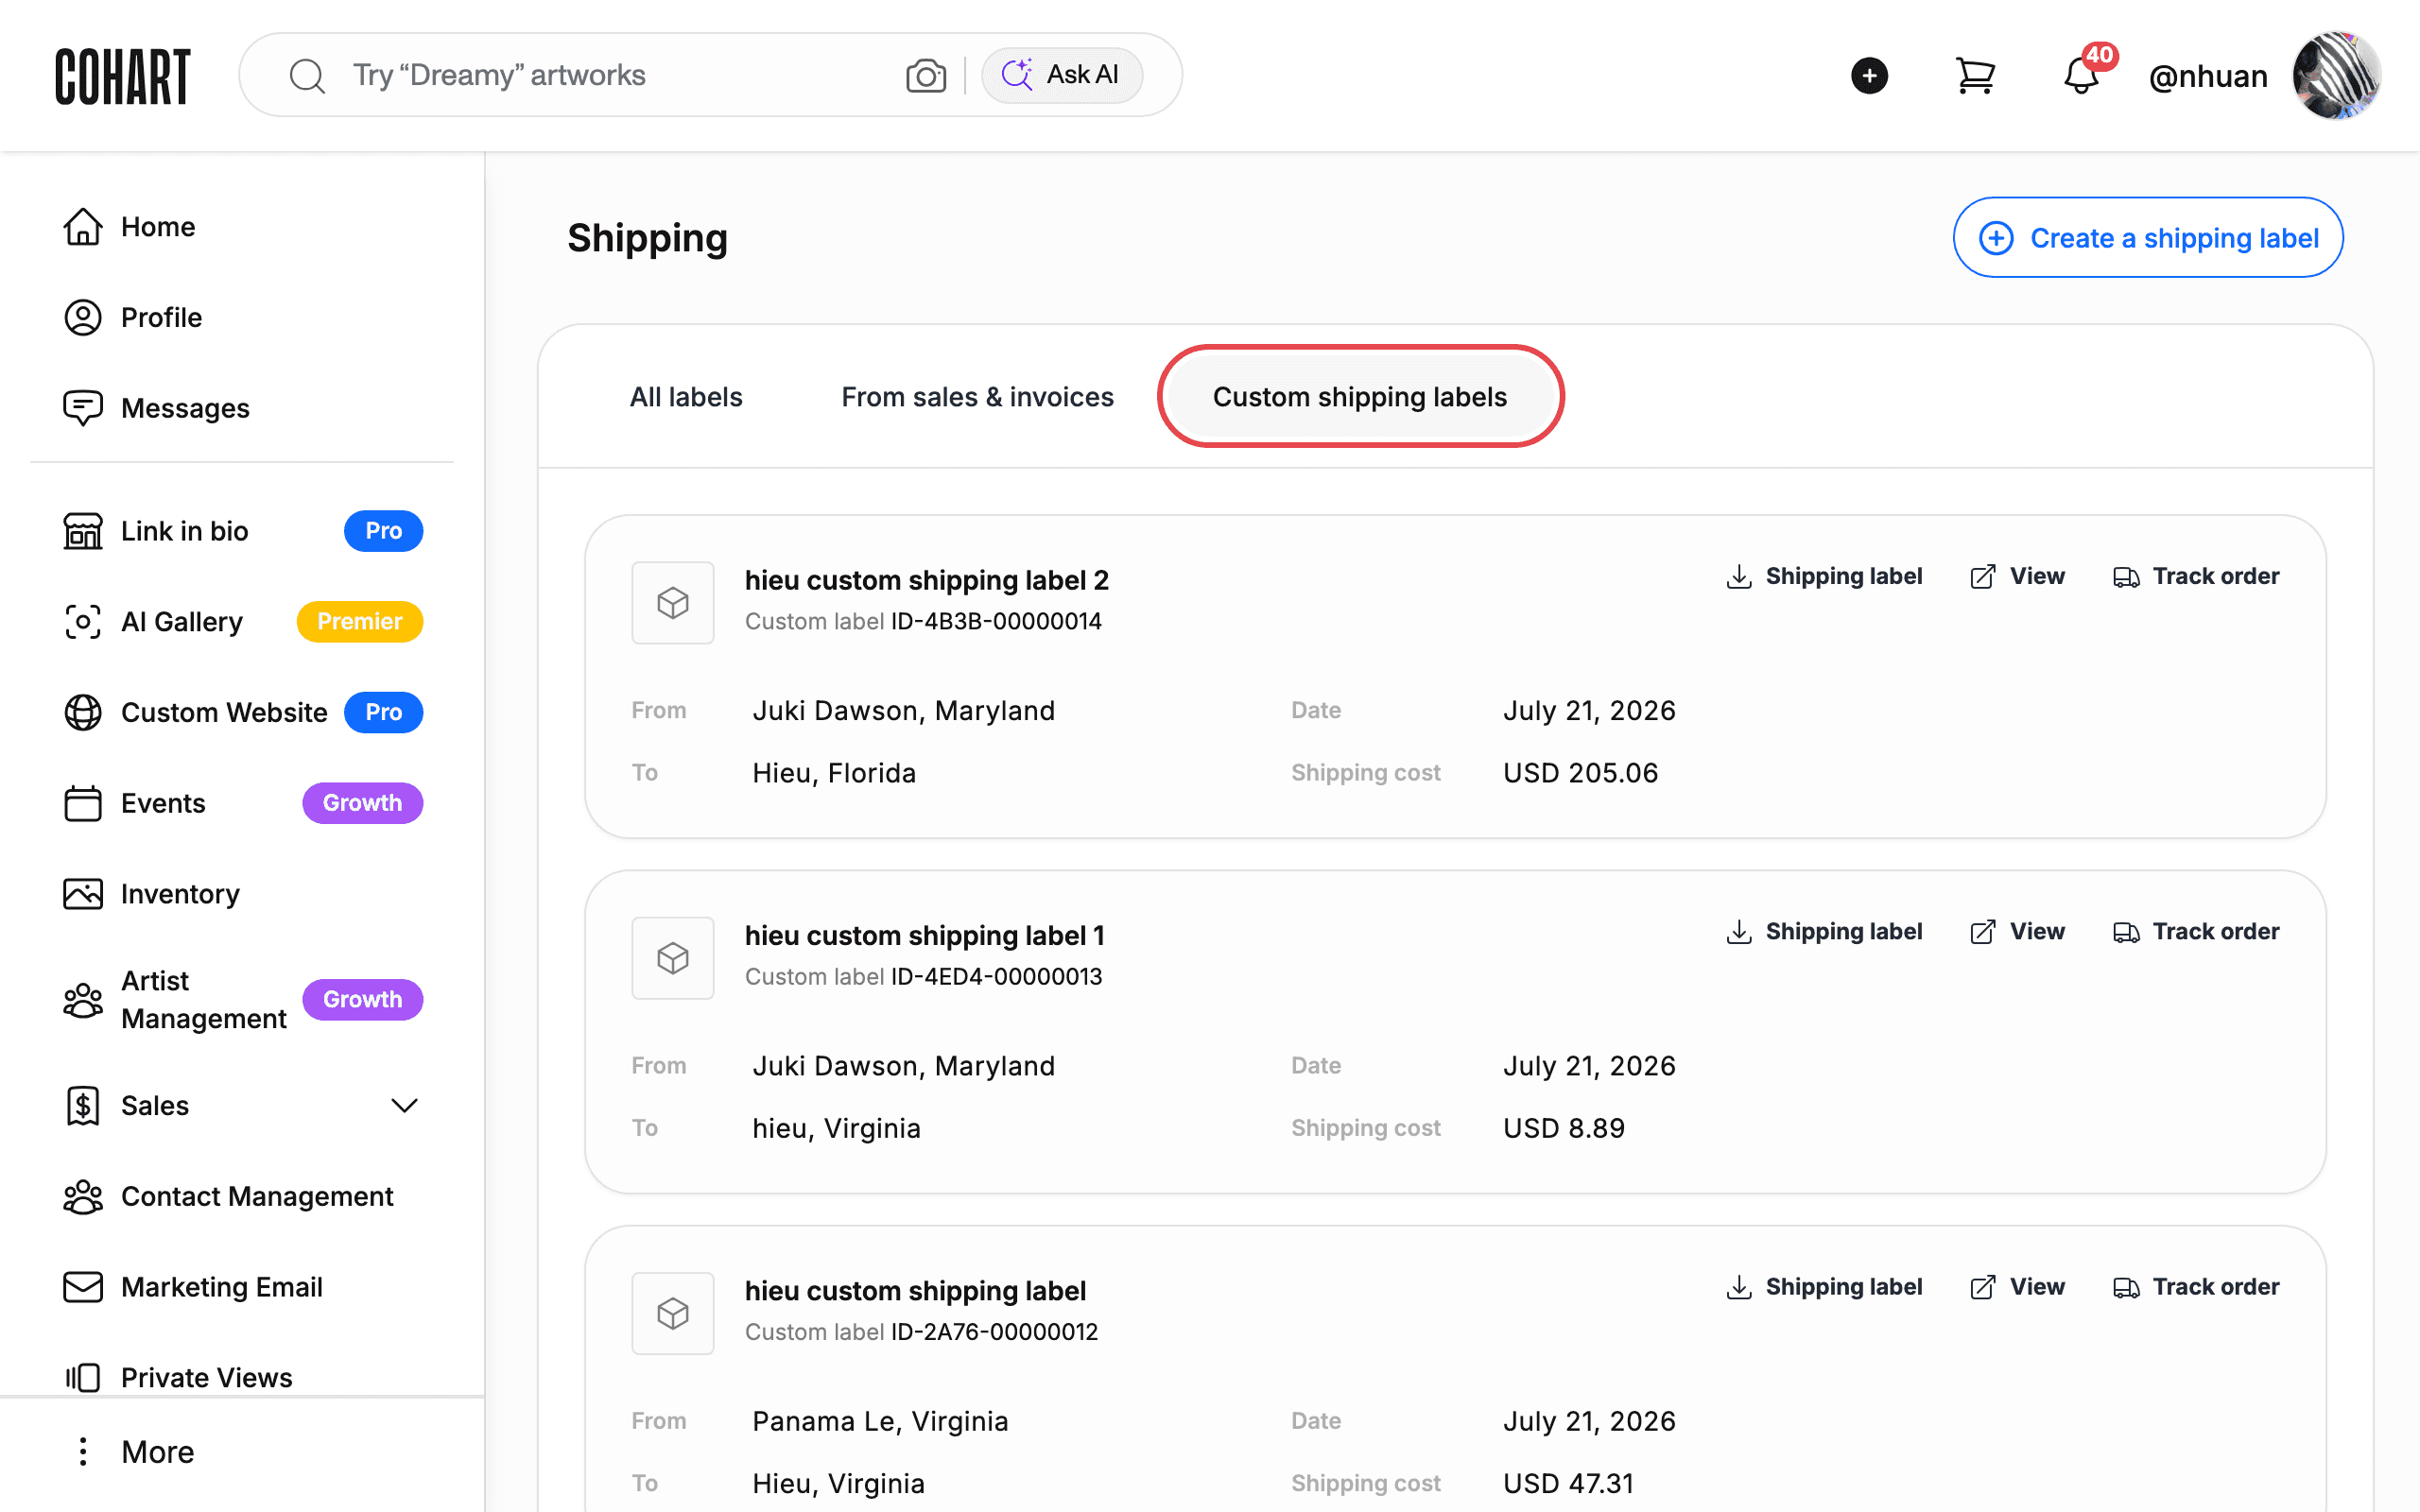
The Shipping page has three tabs: All labels, From sales & invoices, and Custom shipping labels. Existing labels appear as Shipping label cards with a View button. Click Create a shipping label to start a new label.
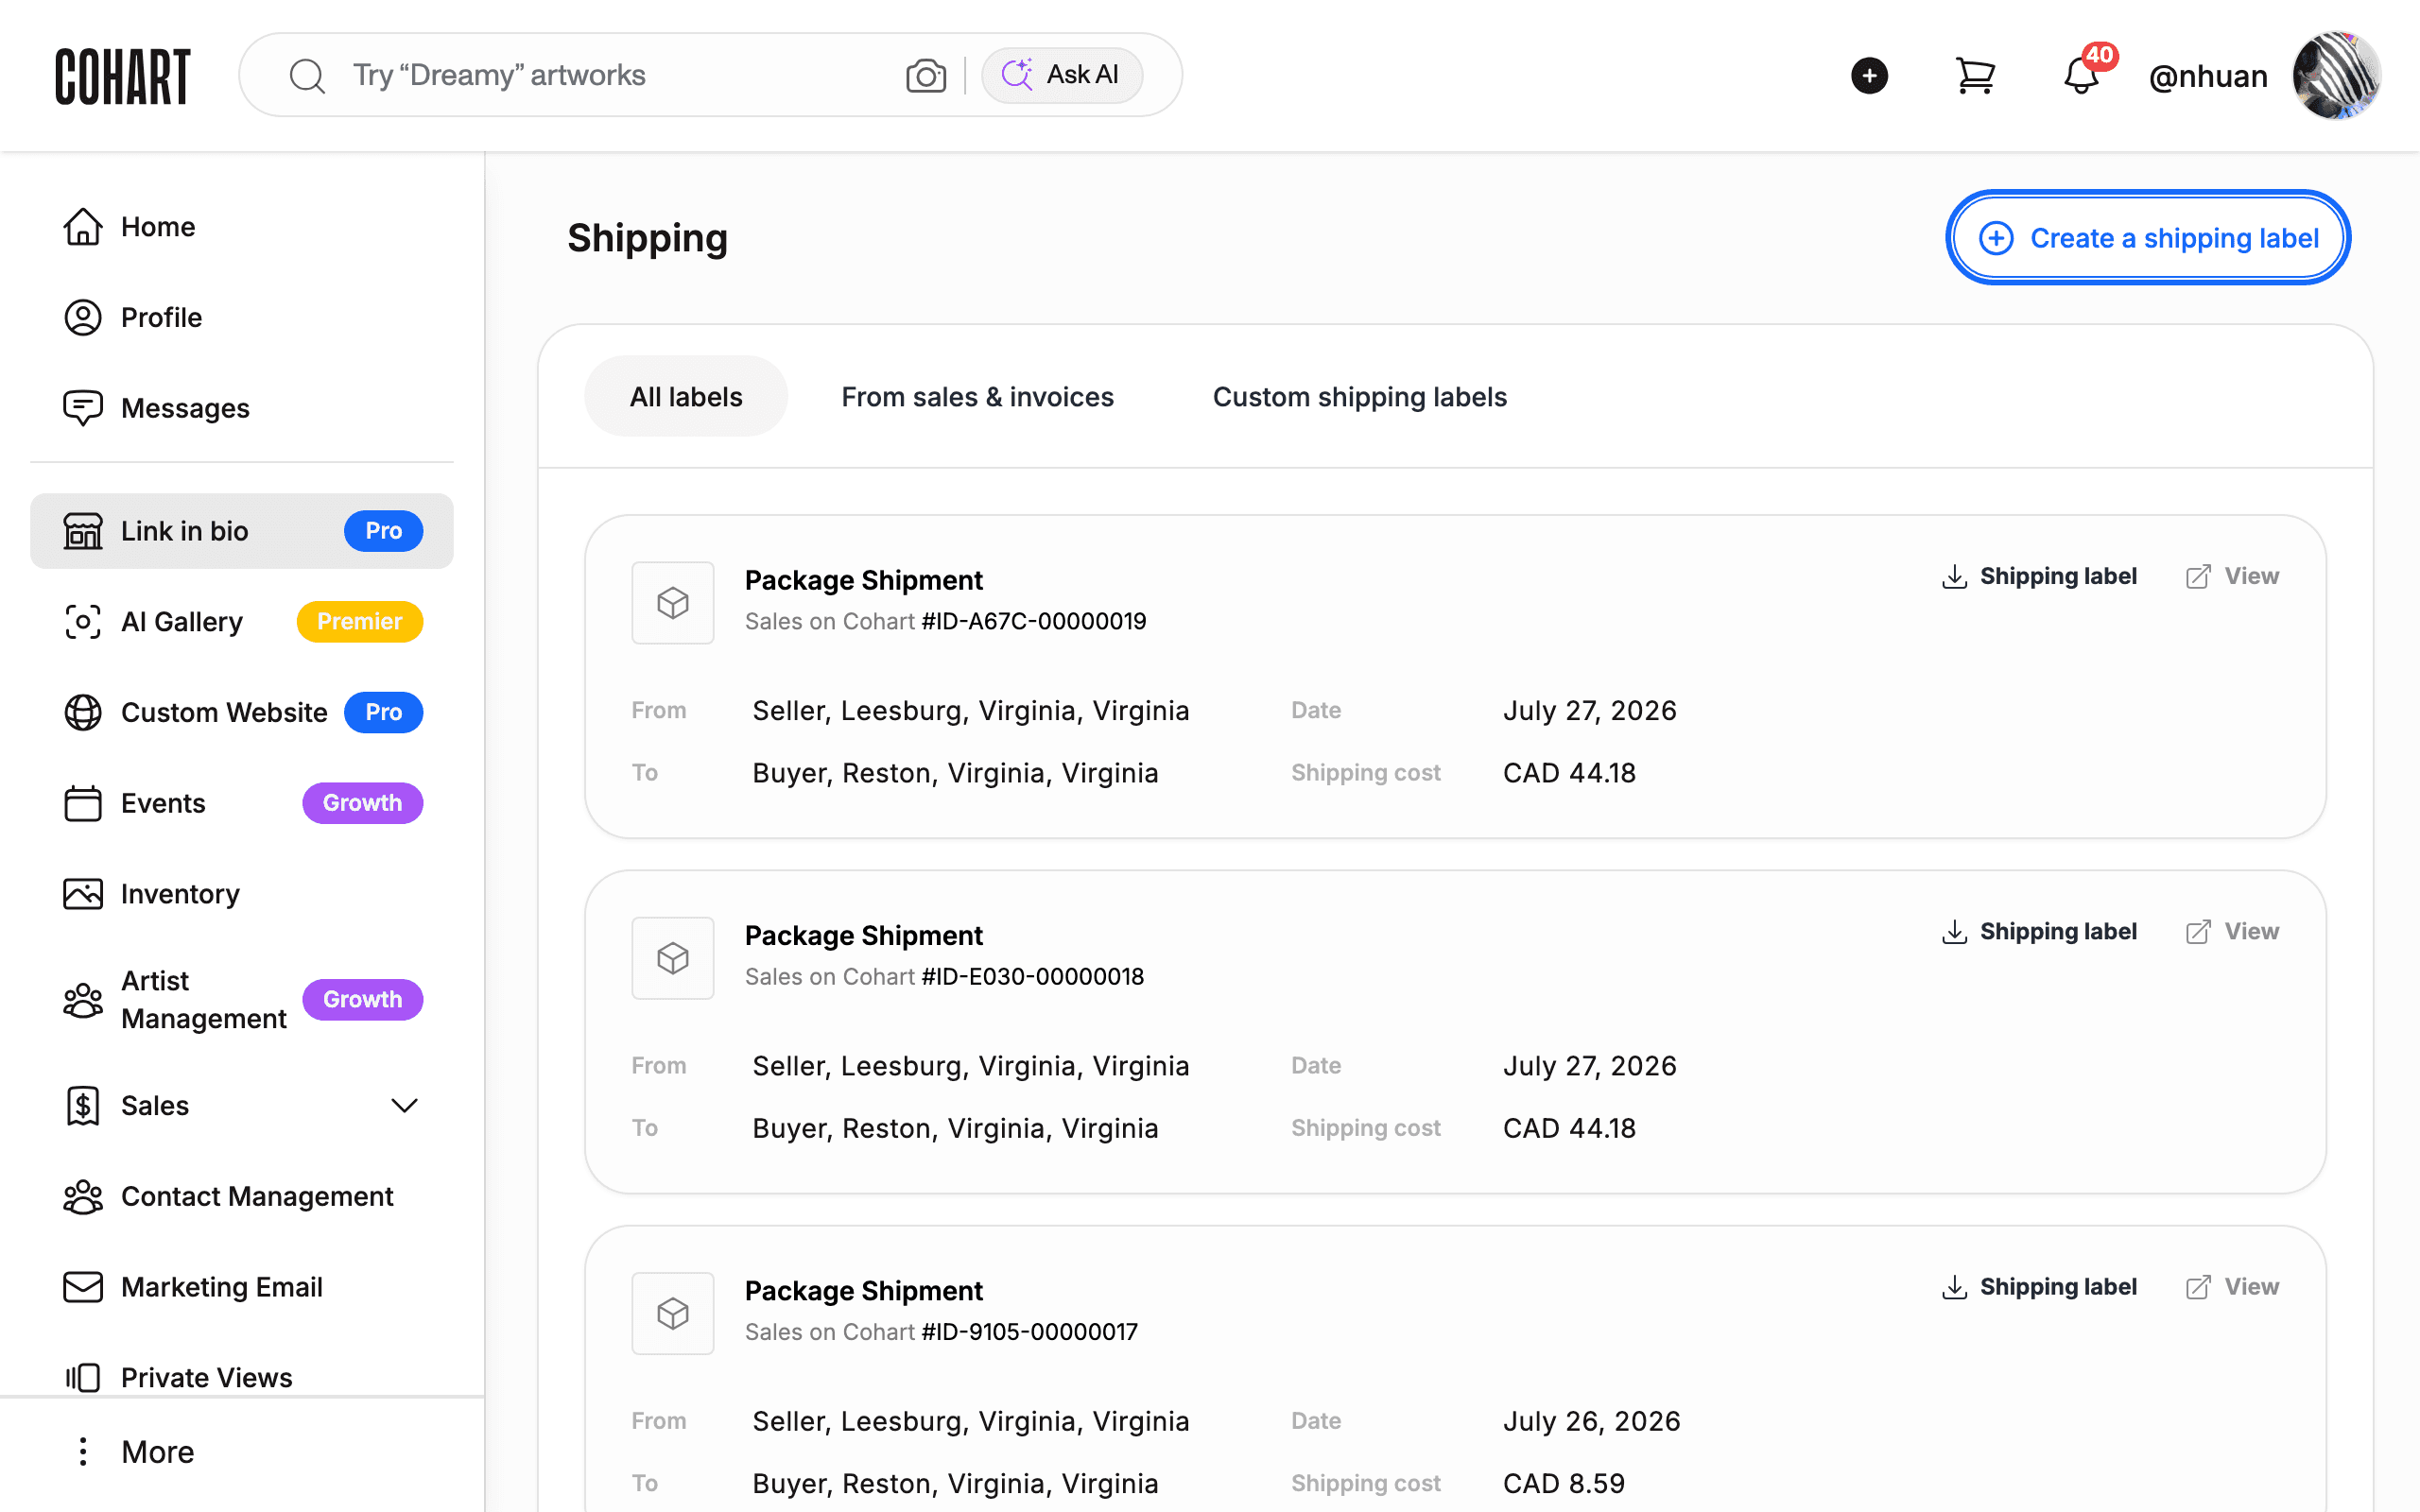
Tip: Labels you create here are independent of sales. They appear under the Custom shipping labels tab, where each card also offers a Track order link once a label is created.
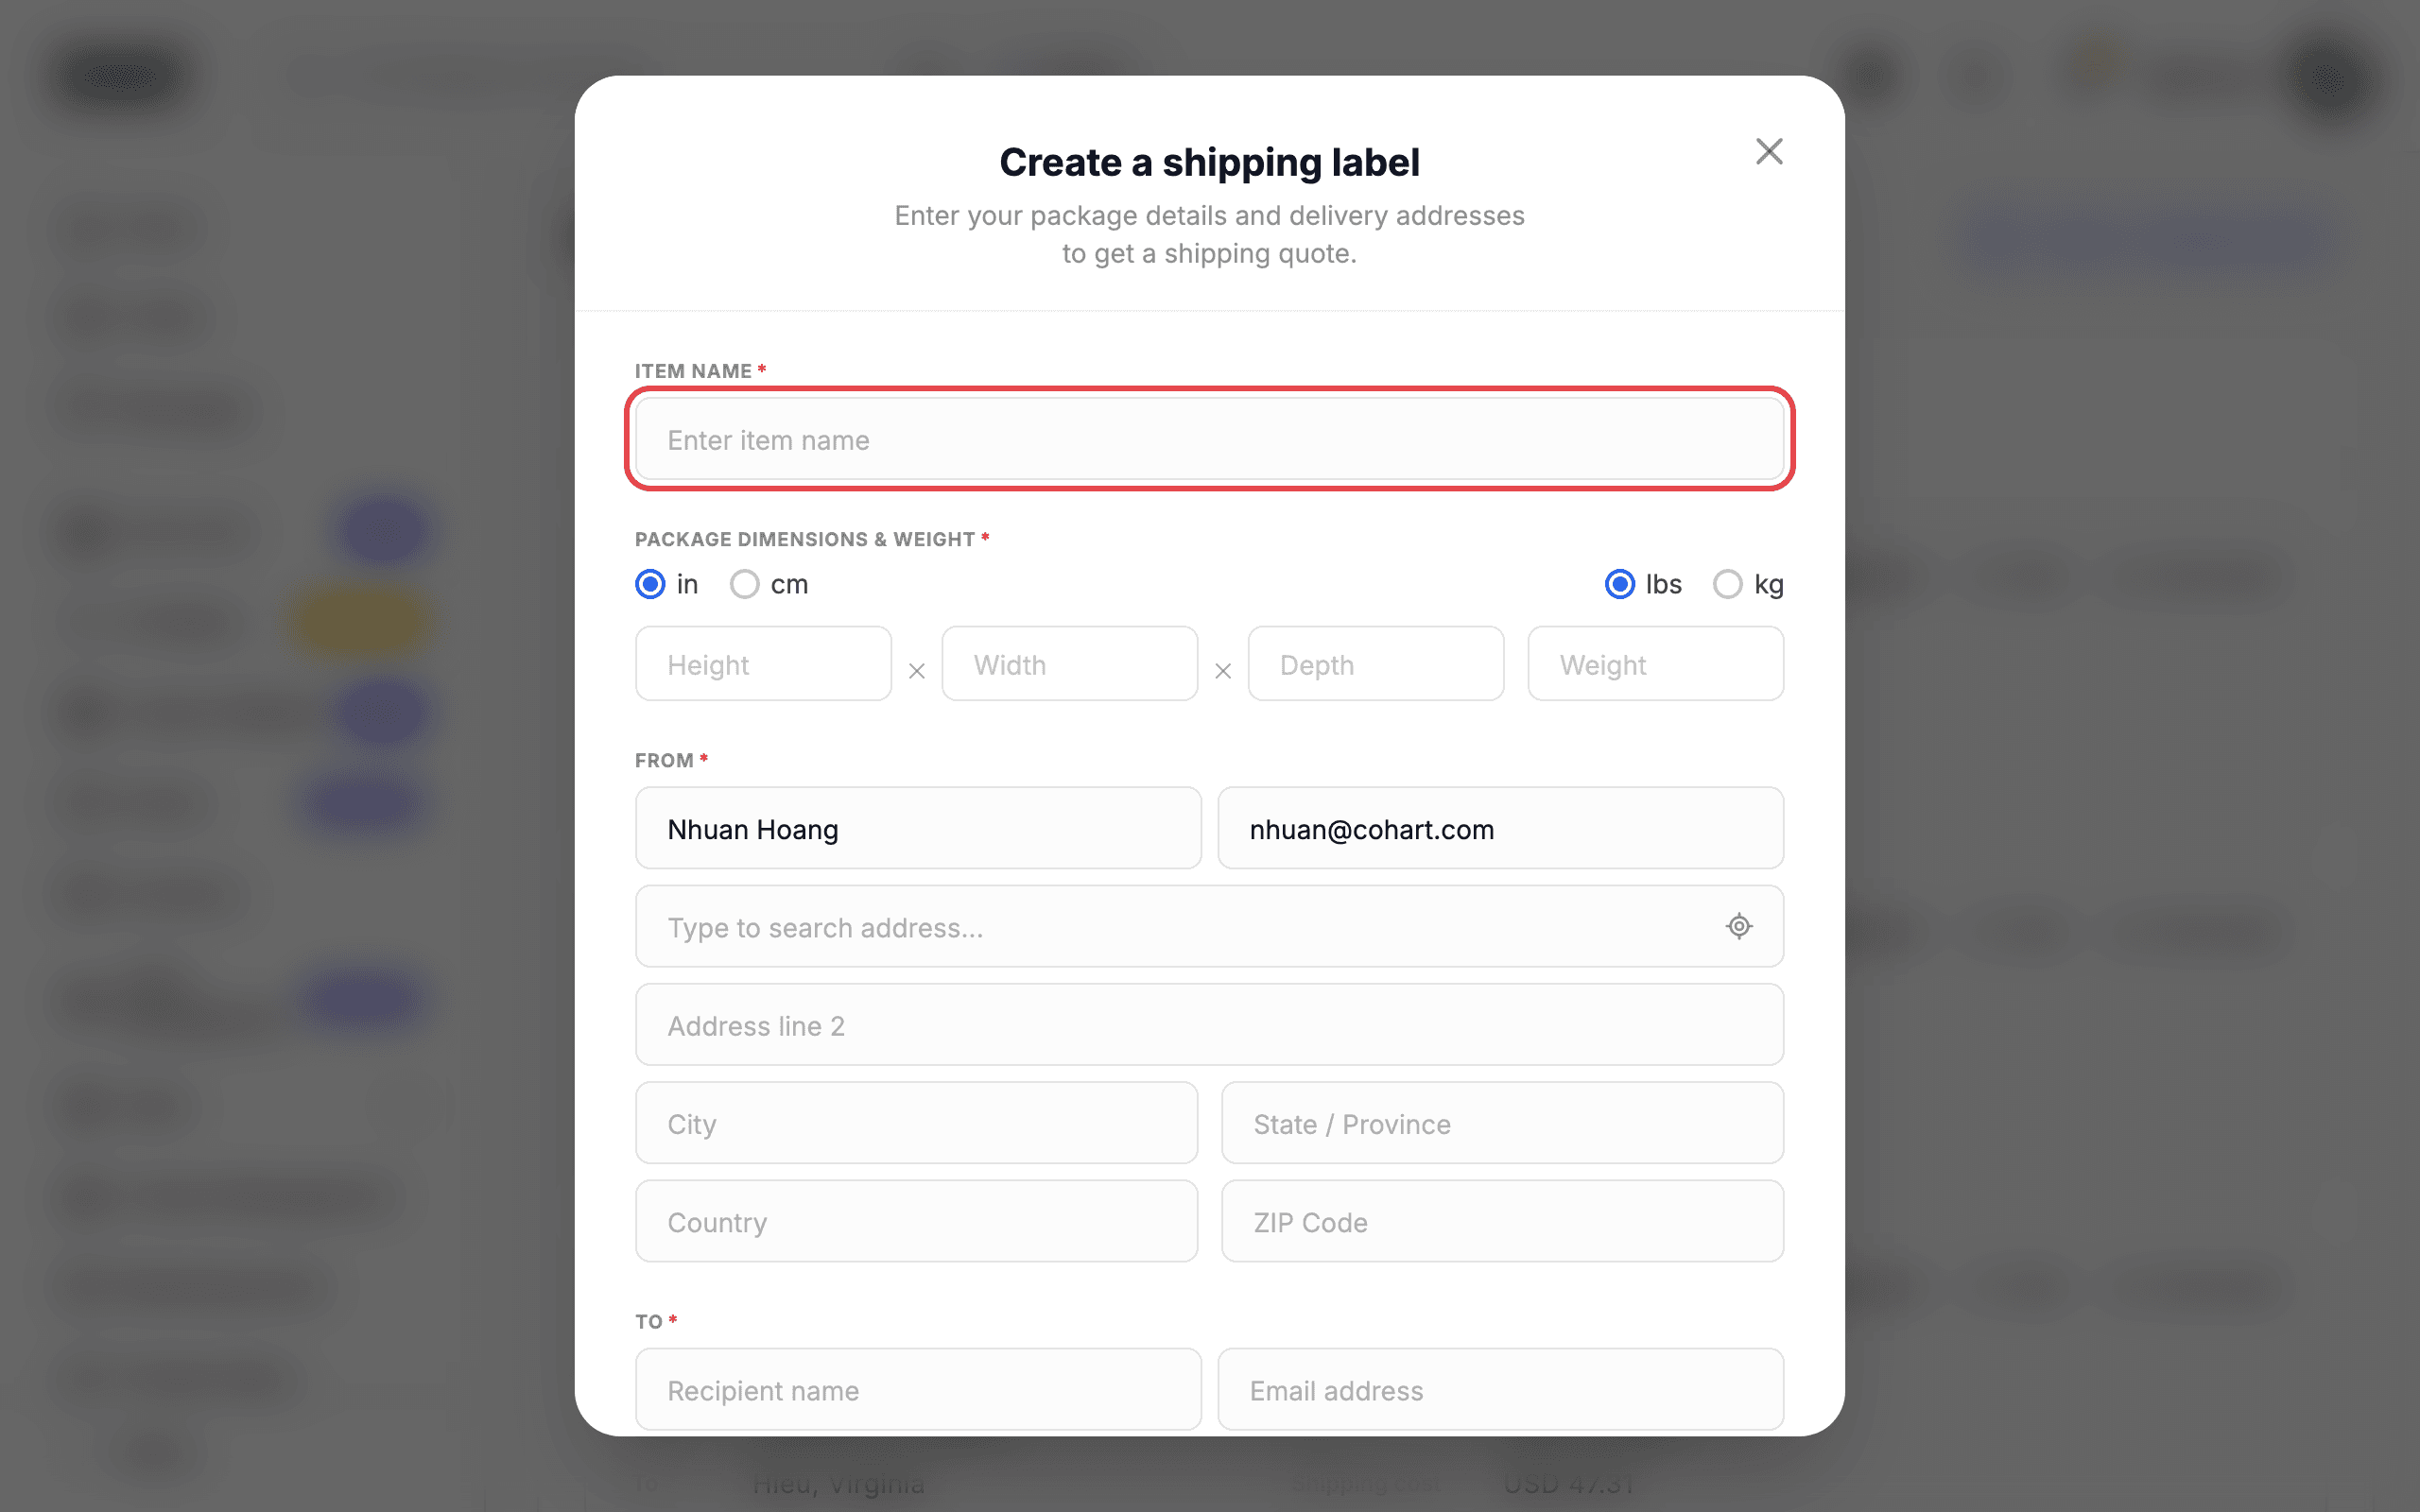
Step 5 — Enter the item name
The Create a shipping label form opens with four sections: ITEM NAME*, PACKAGE DIMENSIONS & WEIGHT*, FROM*, and TO*.
Type the artwork’s name in Enter item name.
Step 6 — Enter the package size
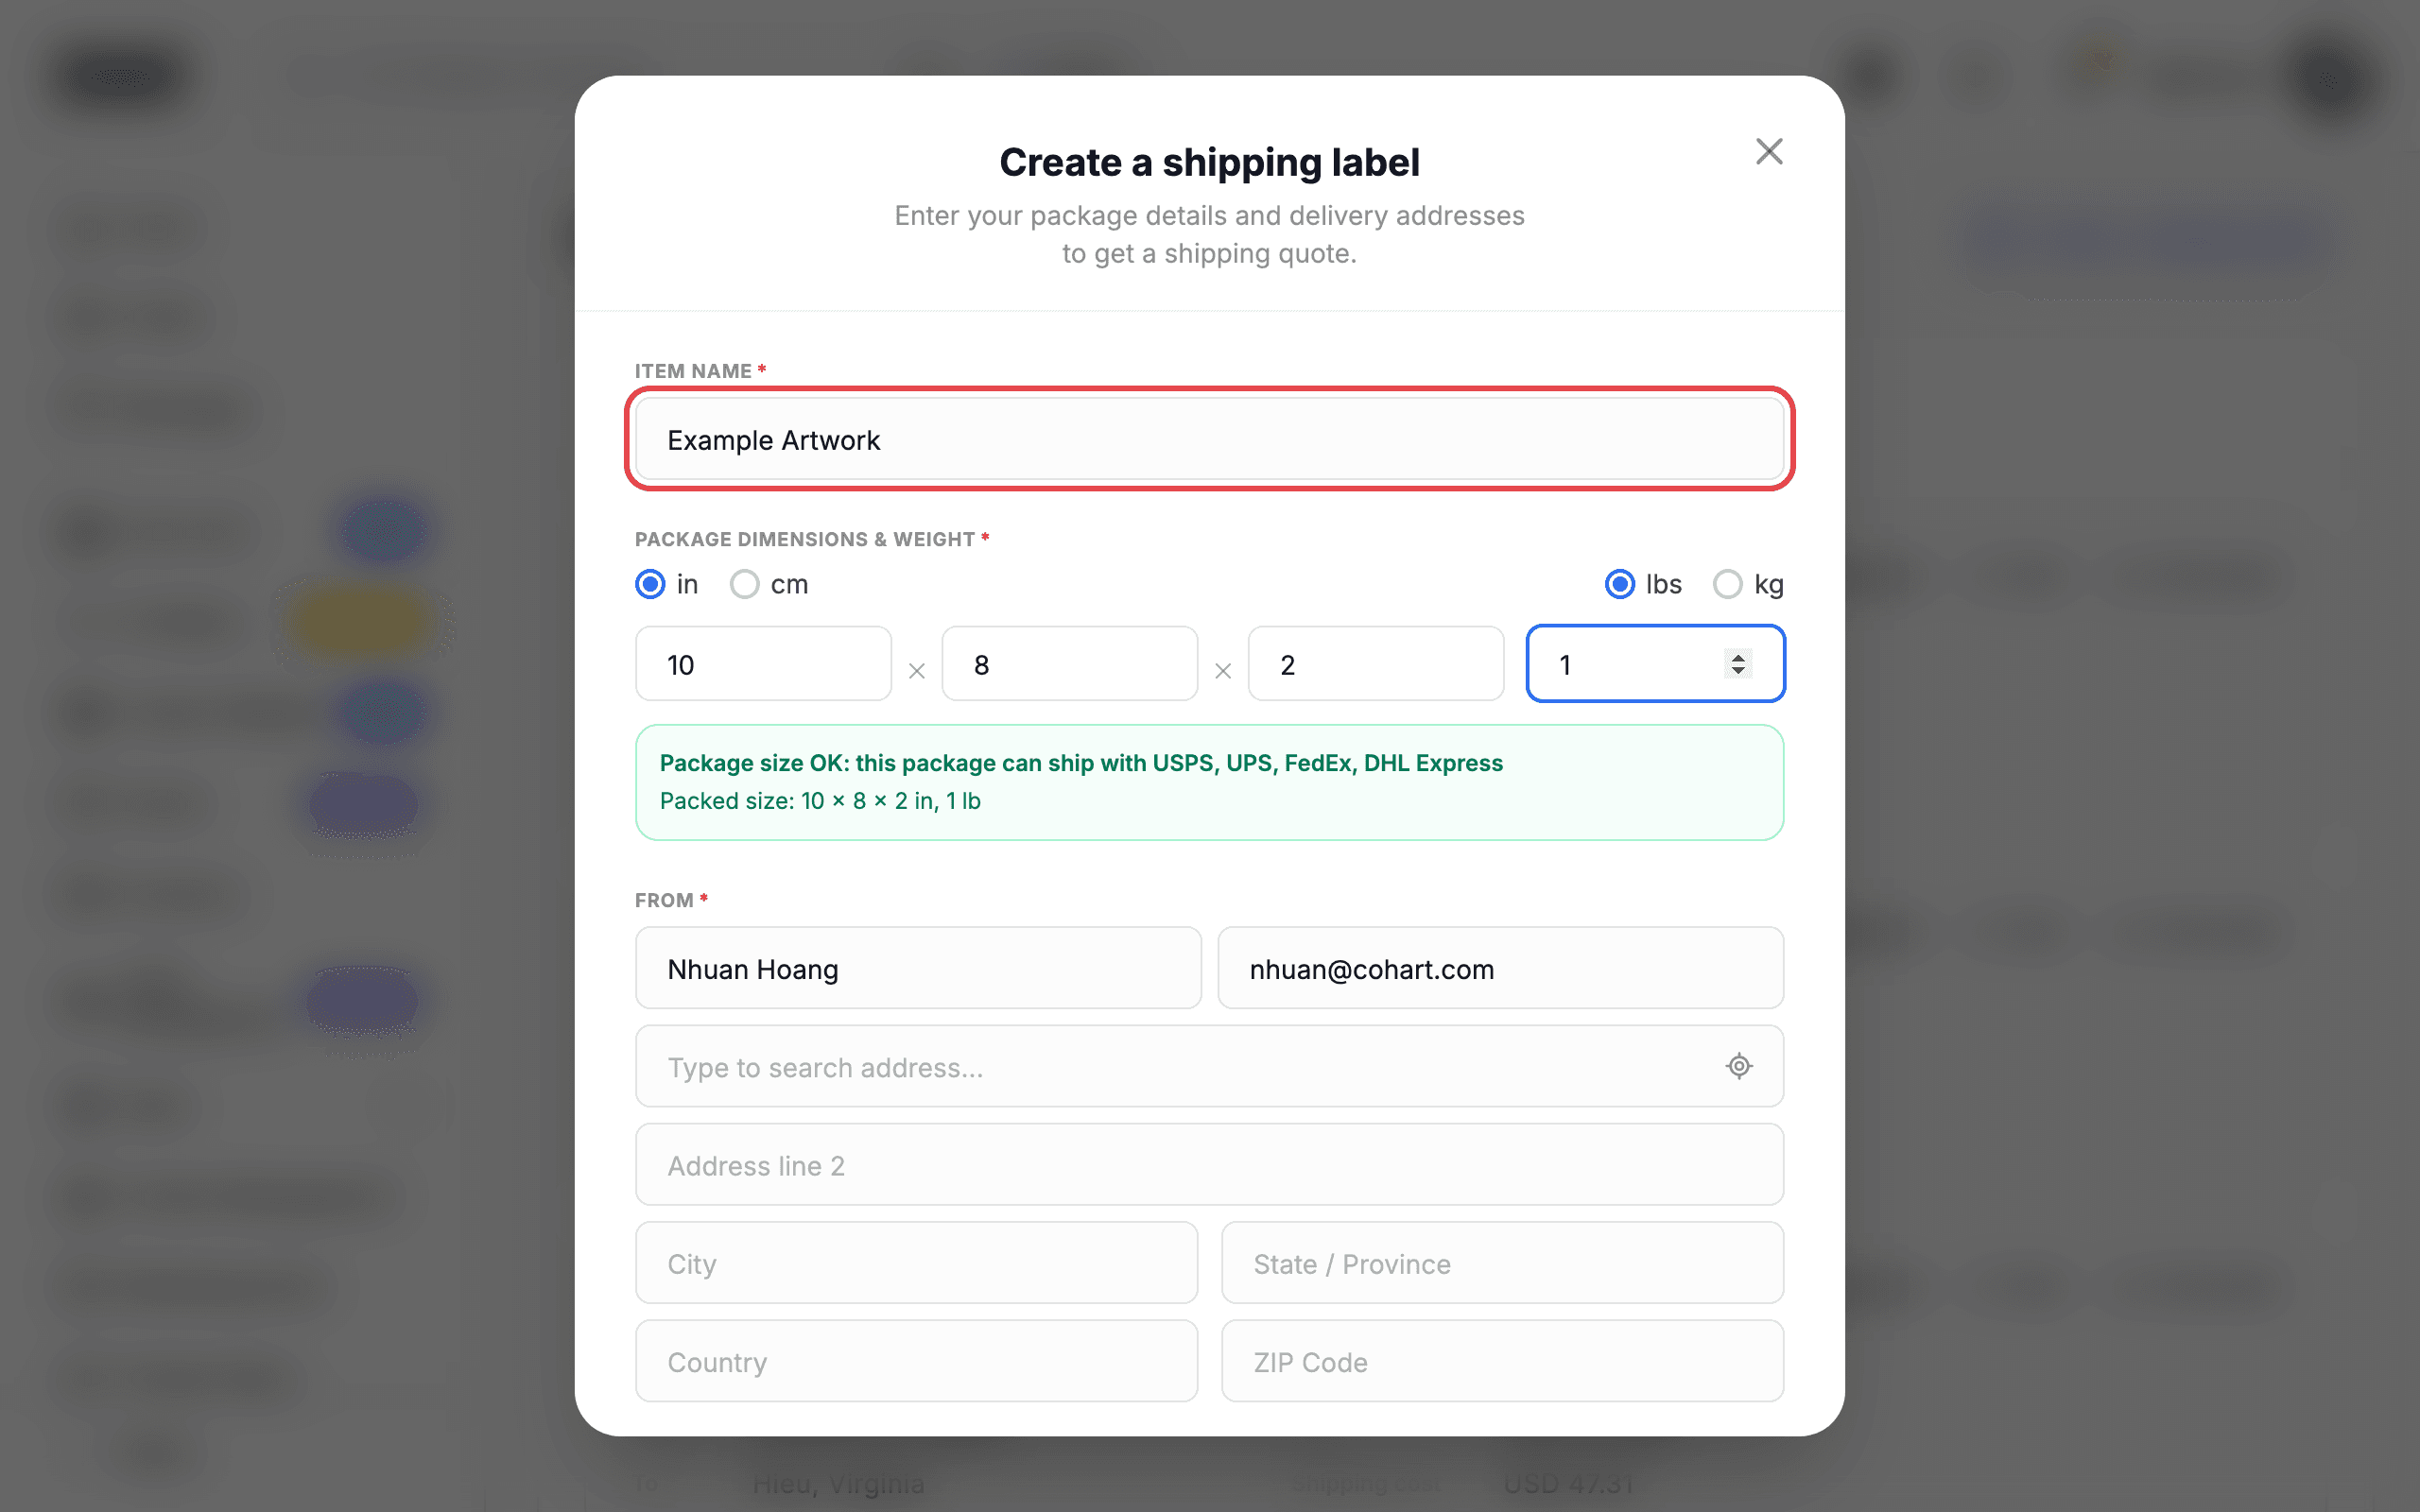
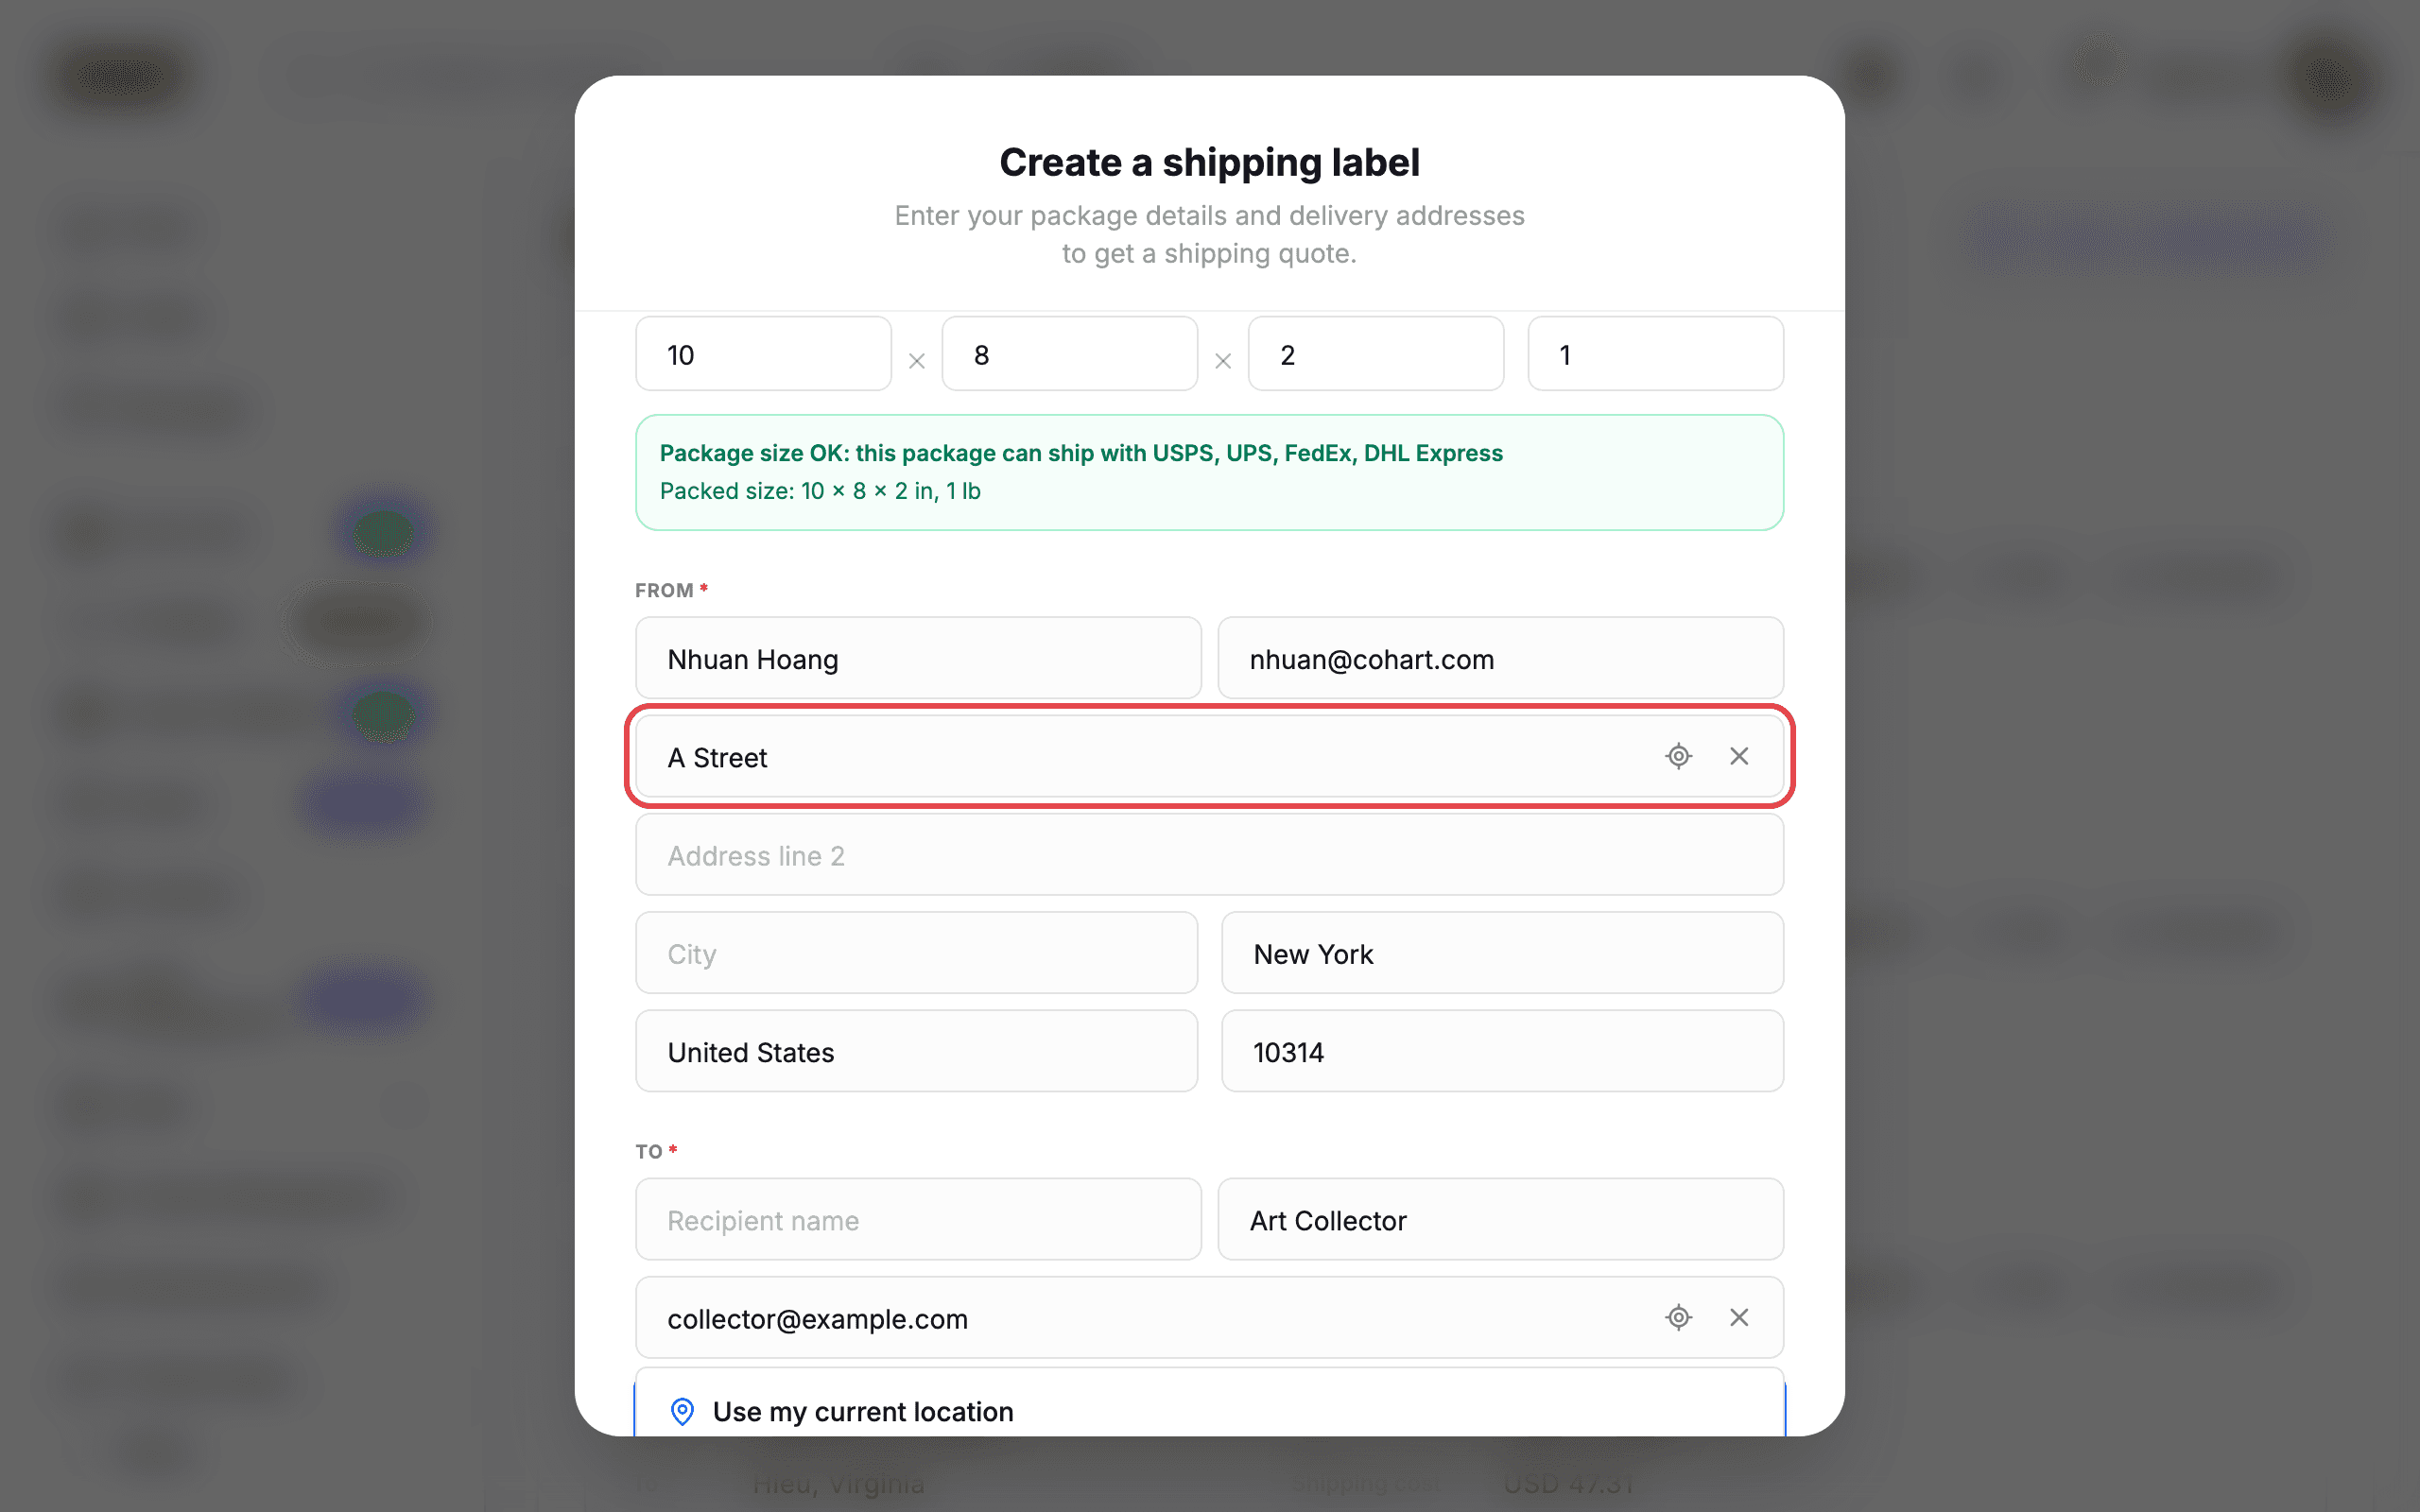
Enter the dimensions in Height, Width, Depth, and the weight in Weight. Switch the units with in / cm for dimensions and lbs / kg for weight.
As you type, the form confirms the package in real time: “Package size OK: this package can ship with USPS, UPS, FedEx, DHL Express” and “Packed size: 10 × 8 × 2 in, 1 lb”.
Step 7 — Set the ship-from address
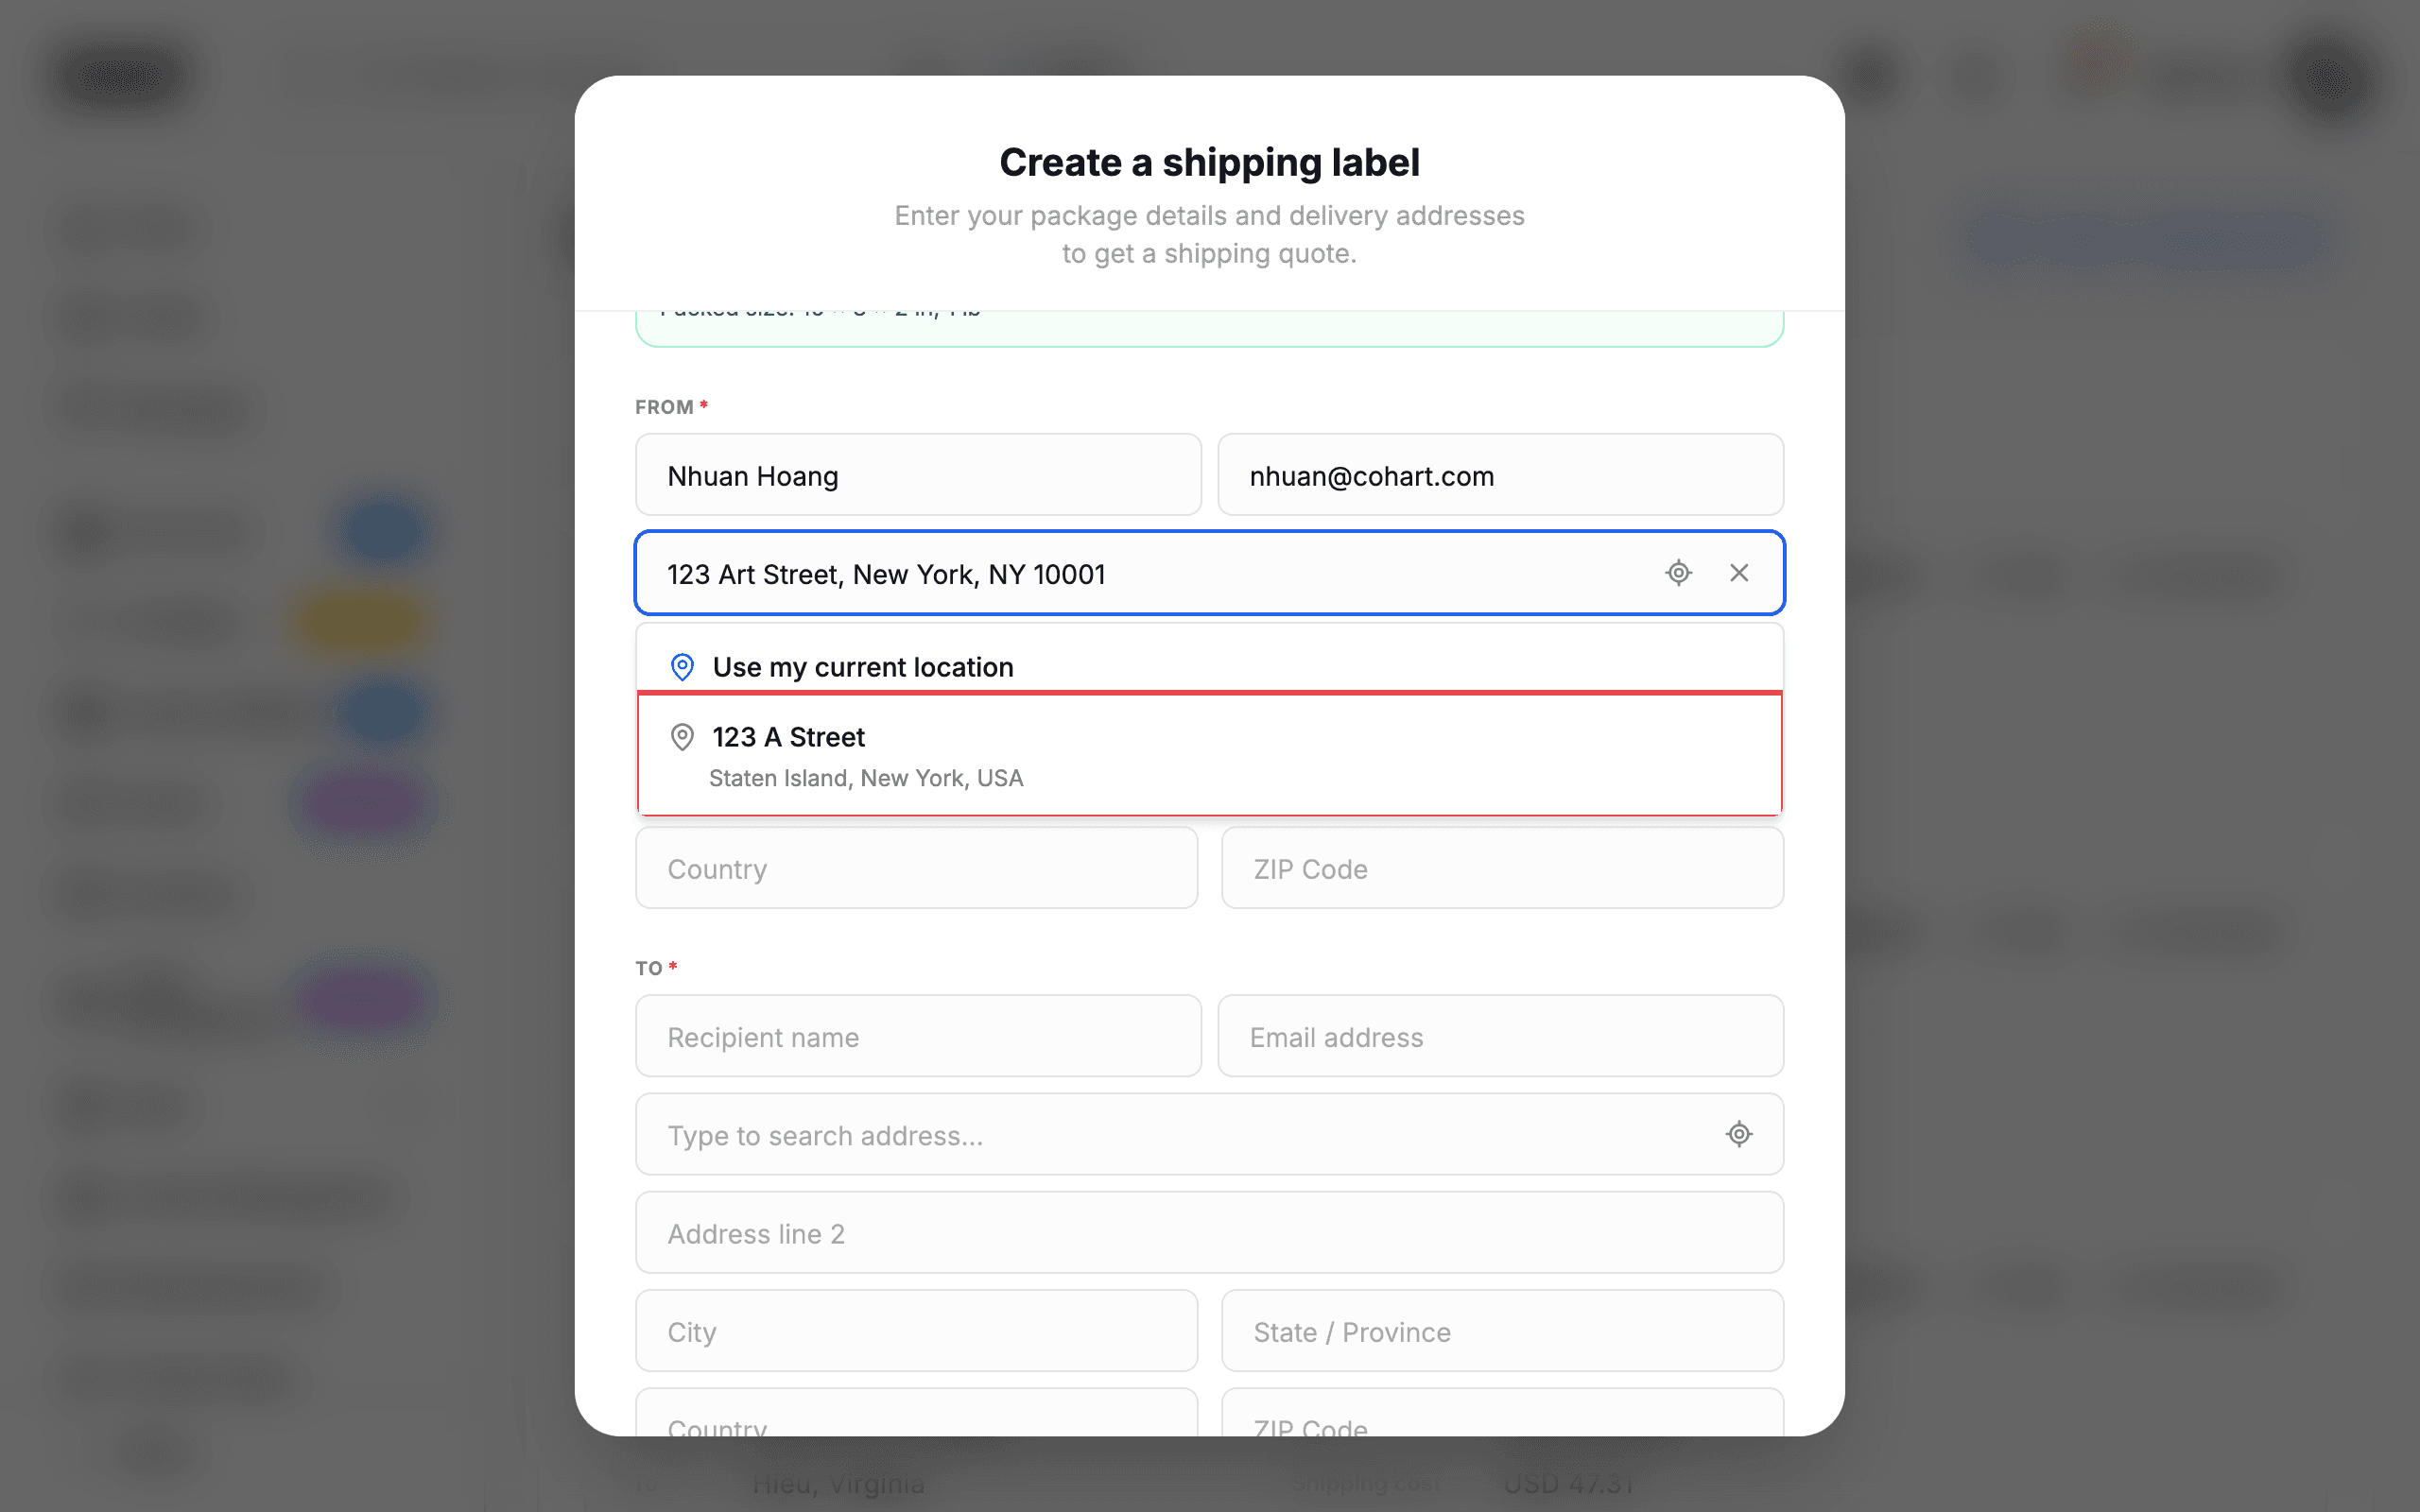
The FROM section is already filled with your profile name and email. Type into Type to search address… to see address suggestions (for example “123 A Street Staten Island, New York, USA”), then click the suggestion you want. You can also click Use current location to fill the address from your browser’s location.
Step 8 — Add the recipient details
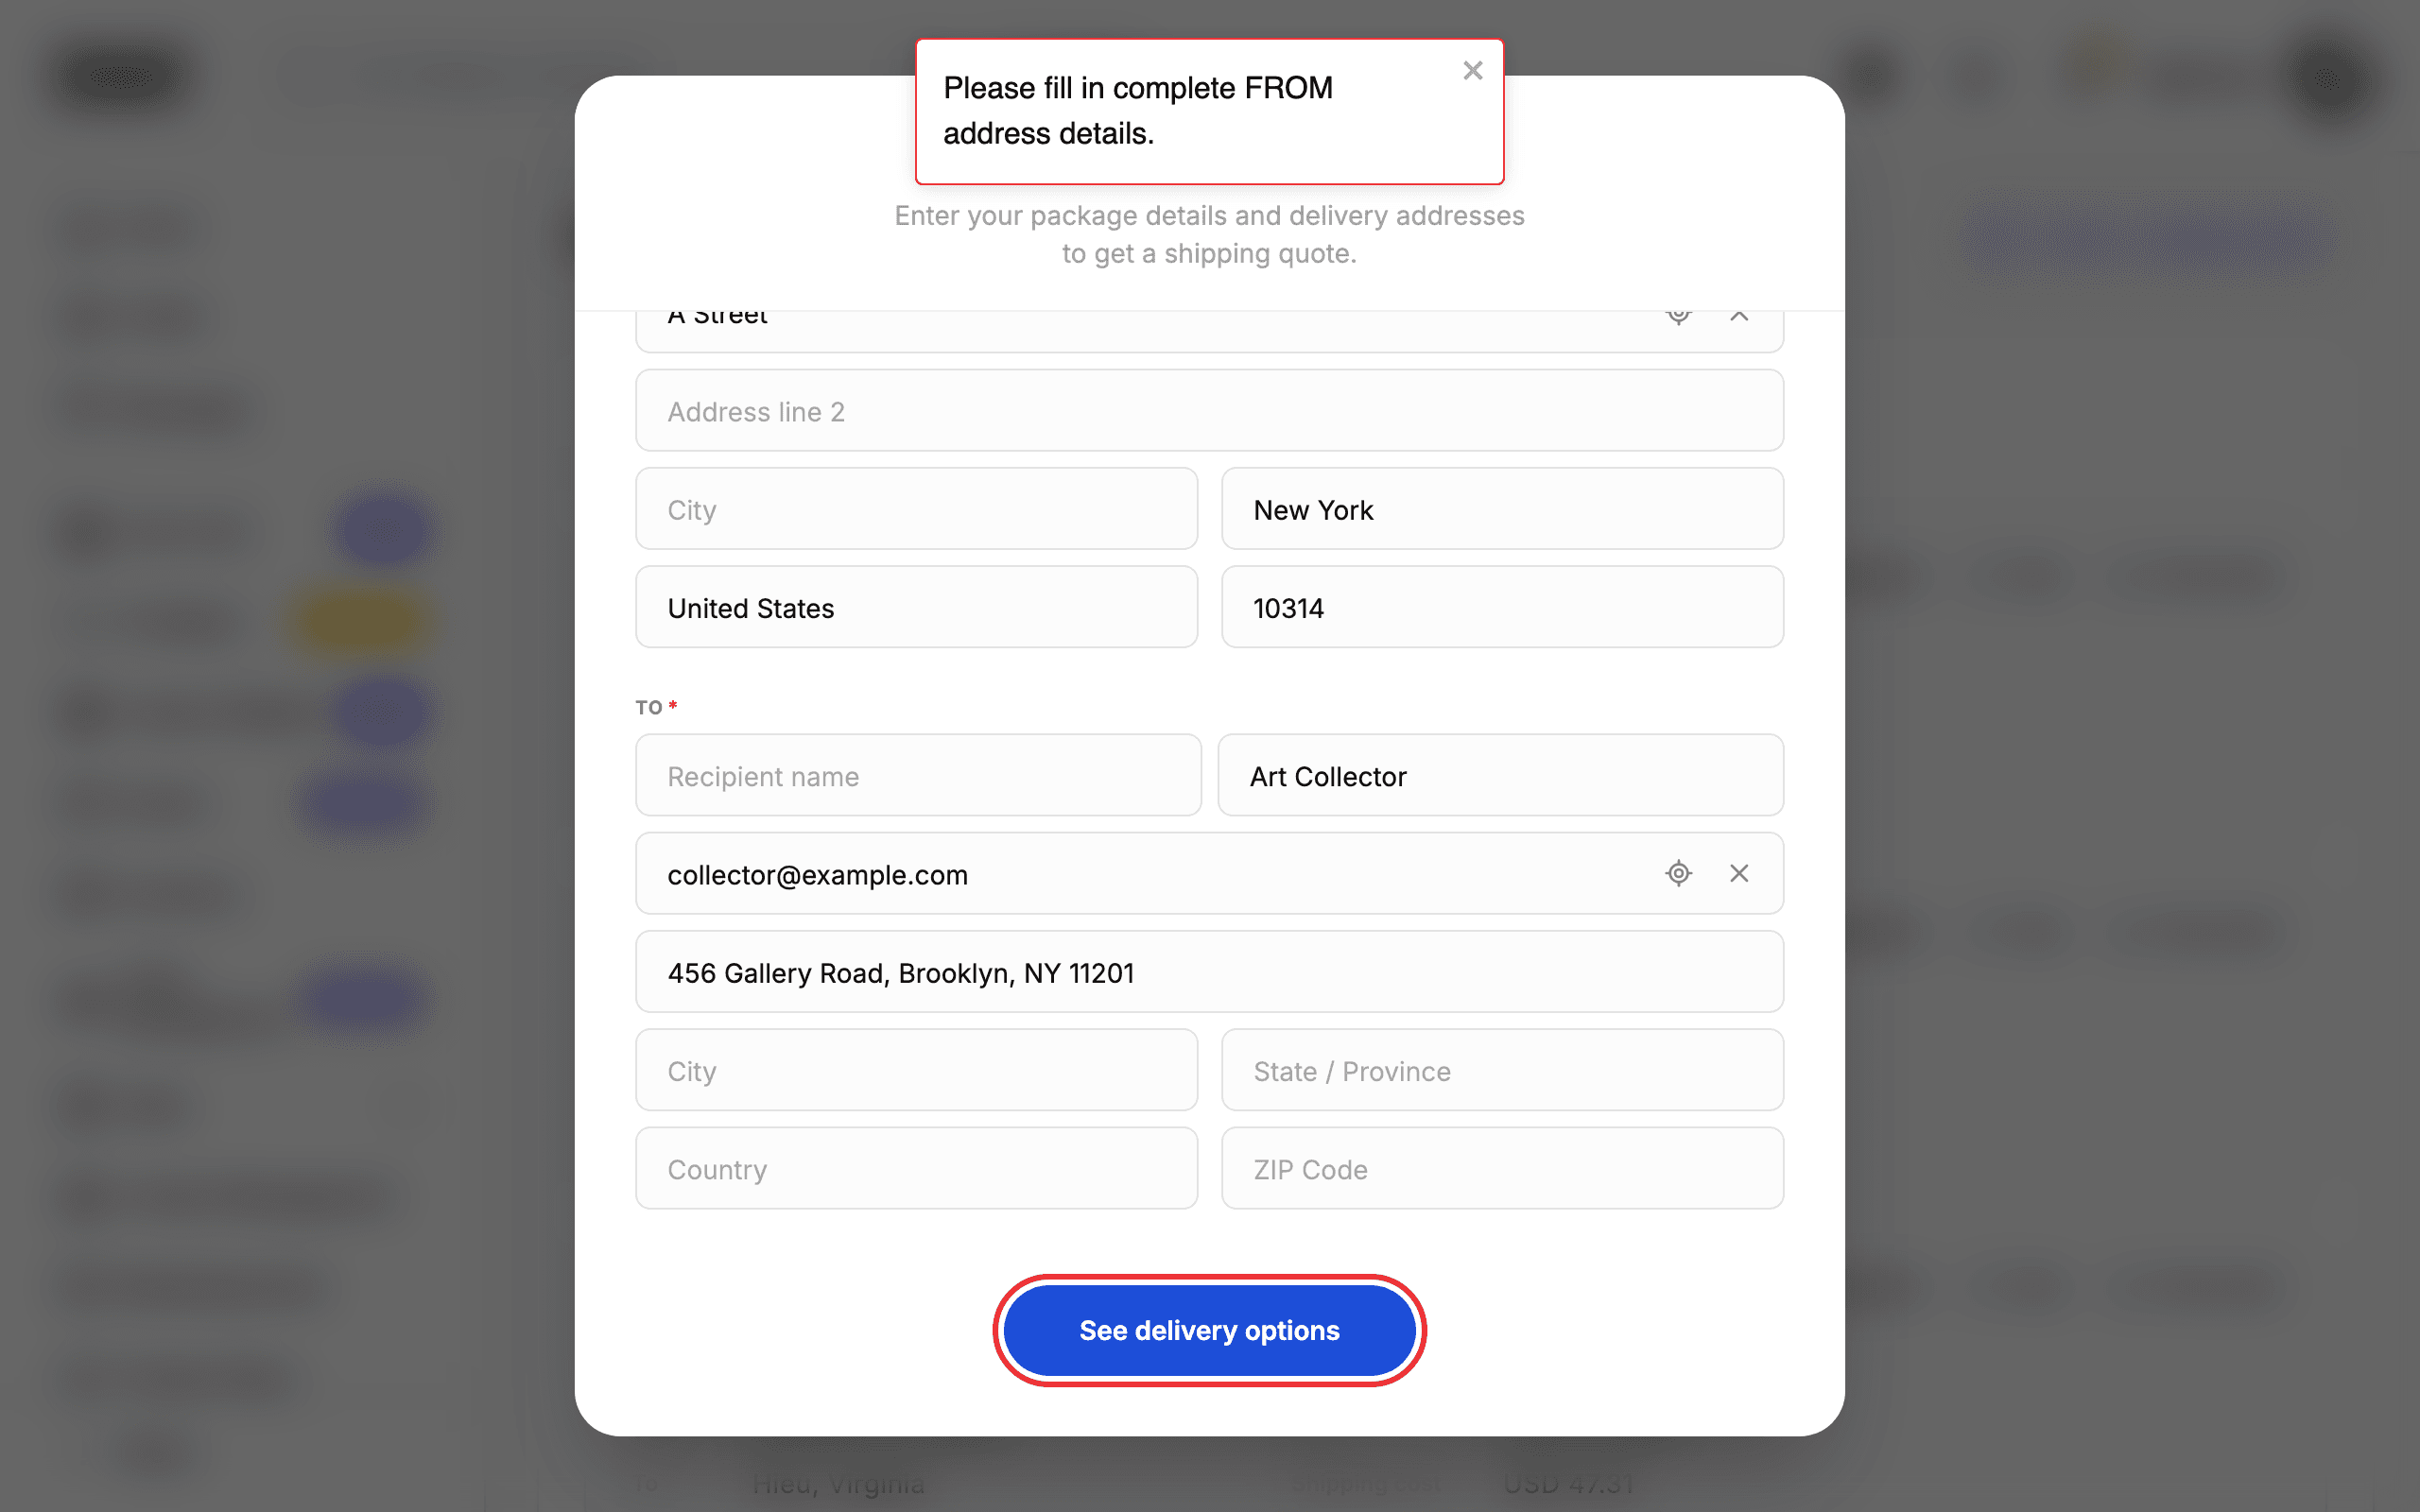
In the TO section, fill in Recipient name, Email address, and Type to search address… for the recipient, then pick a suggestion. [UNVERIFIED — check manually: during testing on staging, the recipient address search did not return suggestions, and typed recipient values occasionally appeared in the wrong fields.]
Step 9 — See delivery options
Click See delivery options at the bottom of the form to compare carriers, prices, and delivery times, then purchase the label. [UNVERIFIED — check manually: this step could not be completed during testing on staging. Clicking the button either did nothing or showed the message “Please fill in complete FROM address details.” even when the FROM address was selected. The delivery-options screen and label purchase were not reached.]
Tips
- SIGN IN appears dimmed until you type your email and password — that is normal.
- The FROM section is pre-filled from your profile. Change it if you ship from a different address.
- Use Clear address to remove a selected address and start the search again.
- If you have not set a password yet, click Forgot Password? on the login page to set one.
Troubleshooting
- The recipient (“TO”) address search returned no suggestions during testing on staging, and the See delivery options step could not be completed. If you hit the same issue, contact support with a screenshot of the form.
- The Sales menu is part of the artist dashboard. If you don’t see it, you may be signed in to a buyer account — use an artist or gallery account instead.
Screenshots are regenerated automatically from the live site. Last captured: 2026-08-18.