How to Get Your Profile Verified
Overview
The Verified badge is part of the Cohart Badge system — a set of achievement badges that signal credibility and unlock benefits as your profile and business grow.
- What it is — a checklist-based badge, shown alongside separate Pro, Growth, and Premier plan badges, that marks a complete and legitimate profile.
- Who it’s for — artists and galleries who want collectors to browse and buy with more confidence.
- What it affects — how your profile appears across Cohart, including search results and anywhere your profile card is shown to collectors.
- What you end up with — a Verified badge that builds trust and helps buyers identify legitimate artists, galleries, and organizations, without changing your ability to upload artworks or sell.
Steps
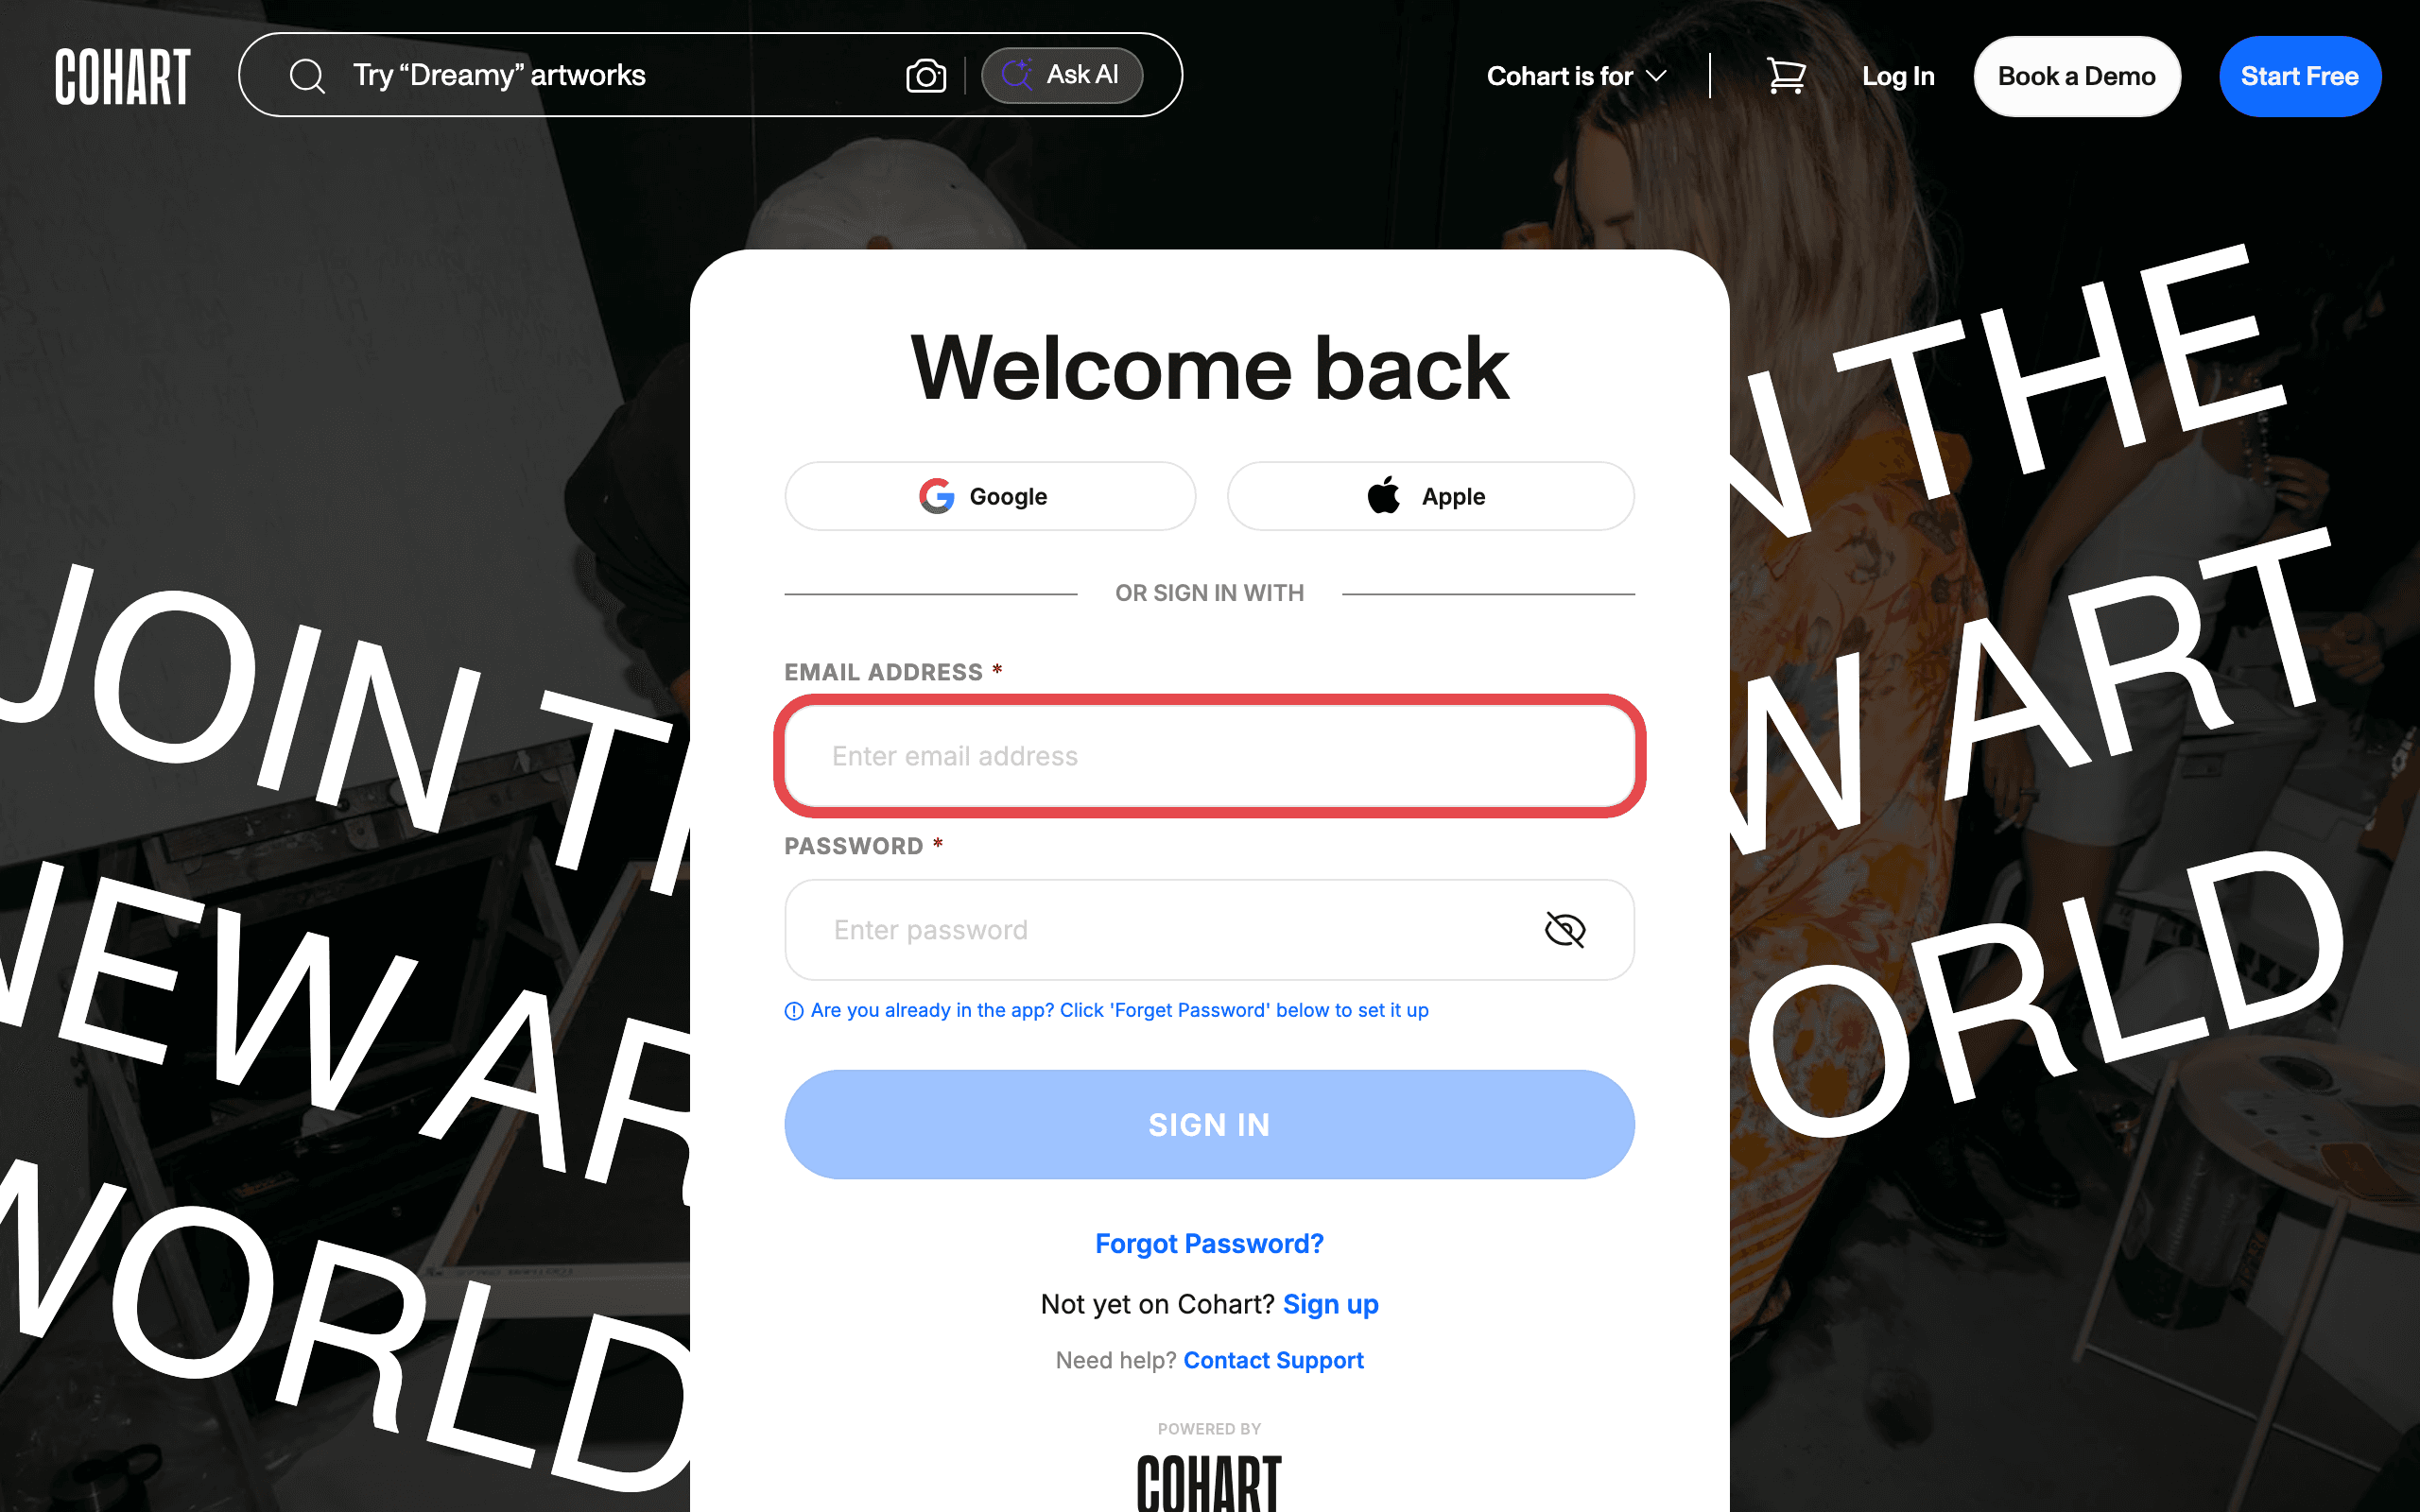
1. Sign in to Cohart
Sign in with your email address and password, or use Google or Apple.
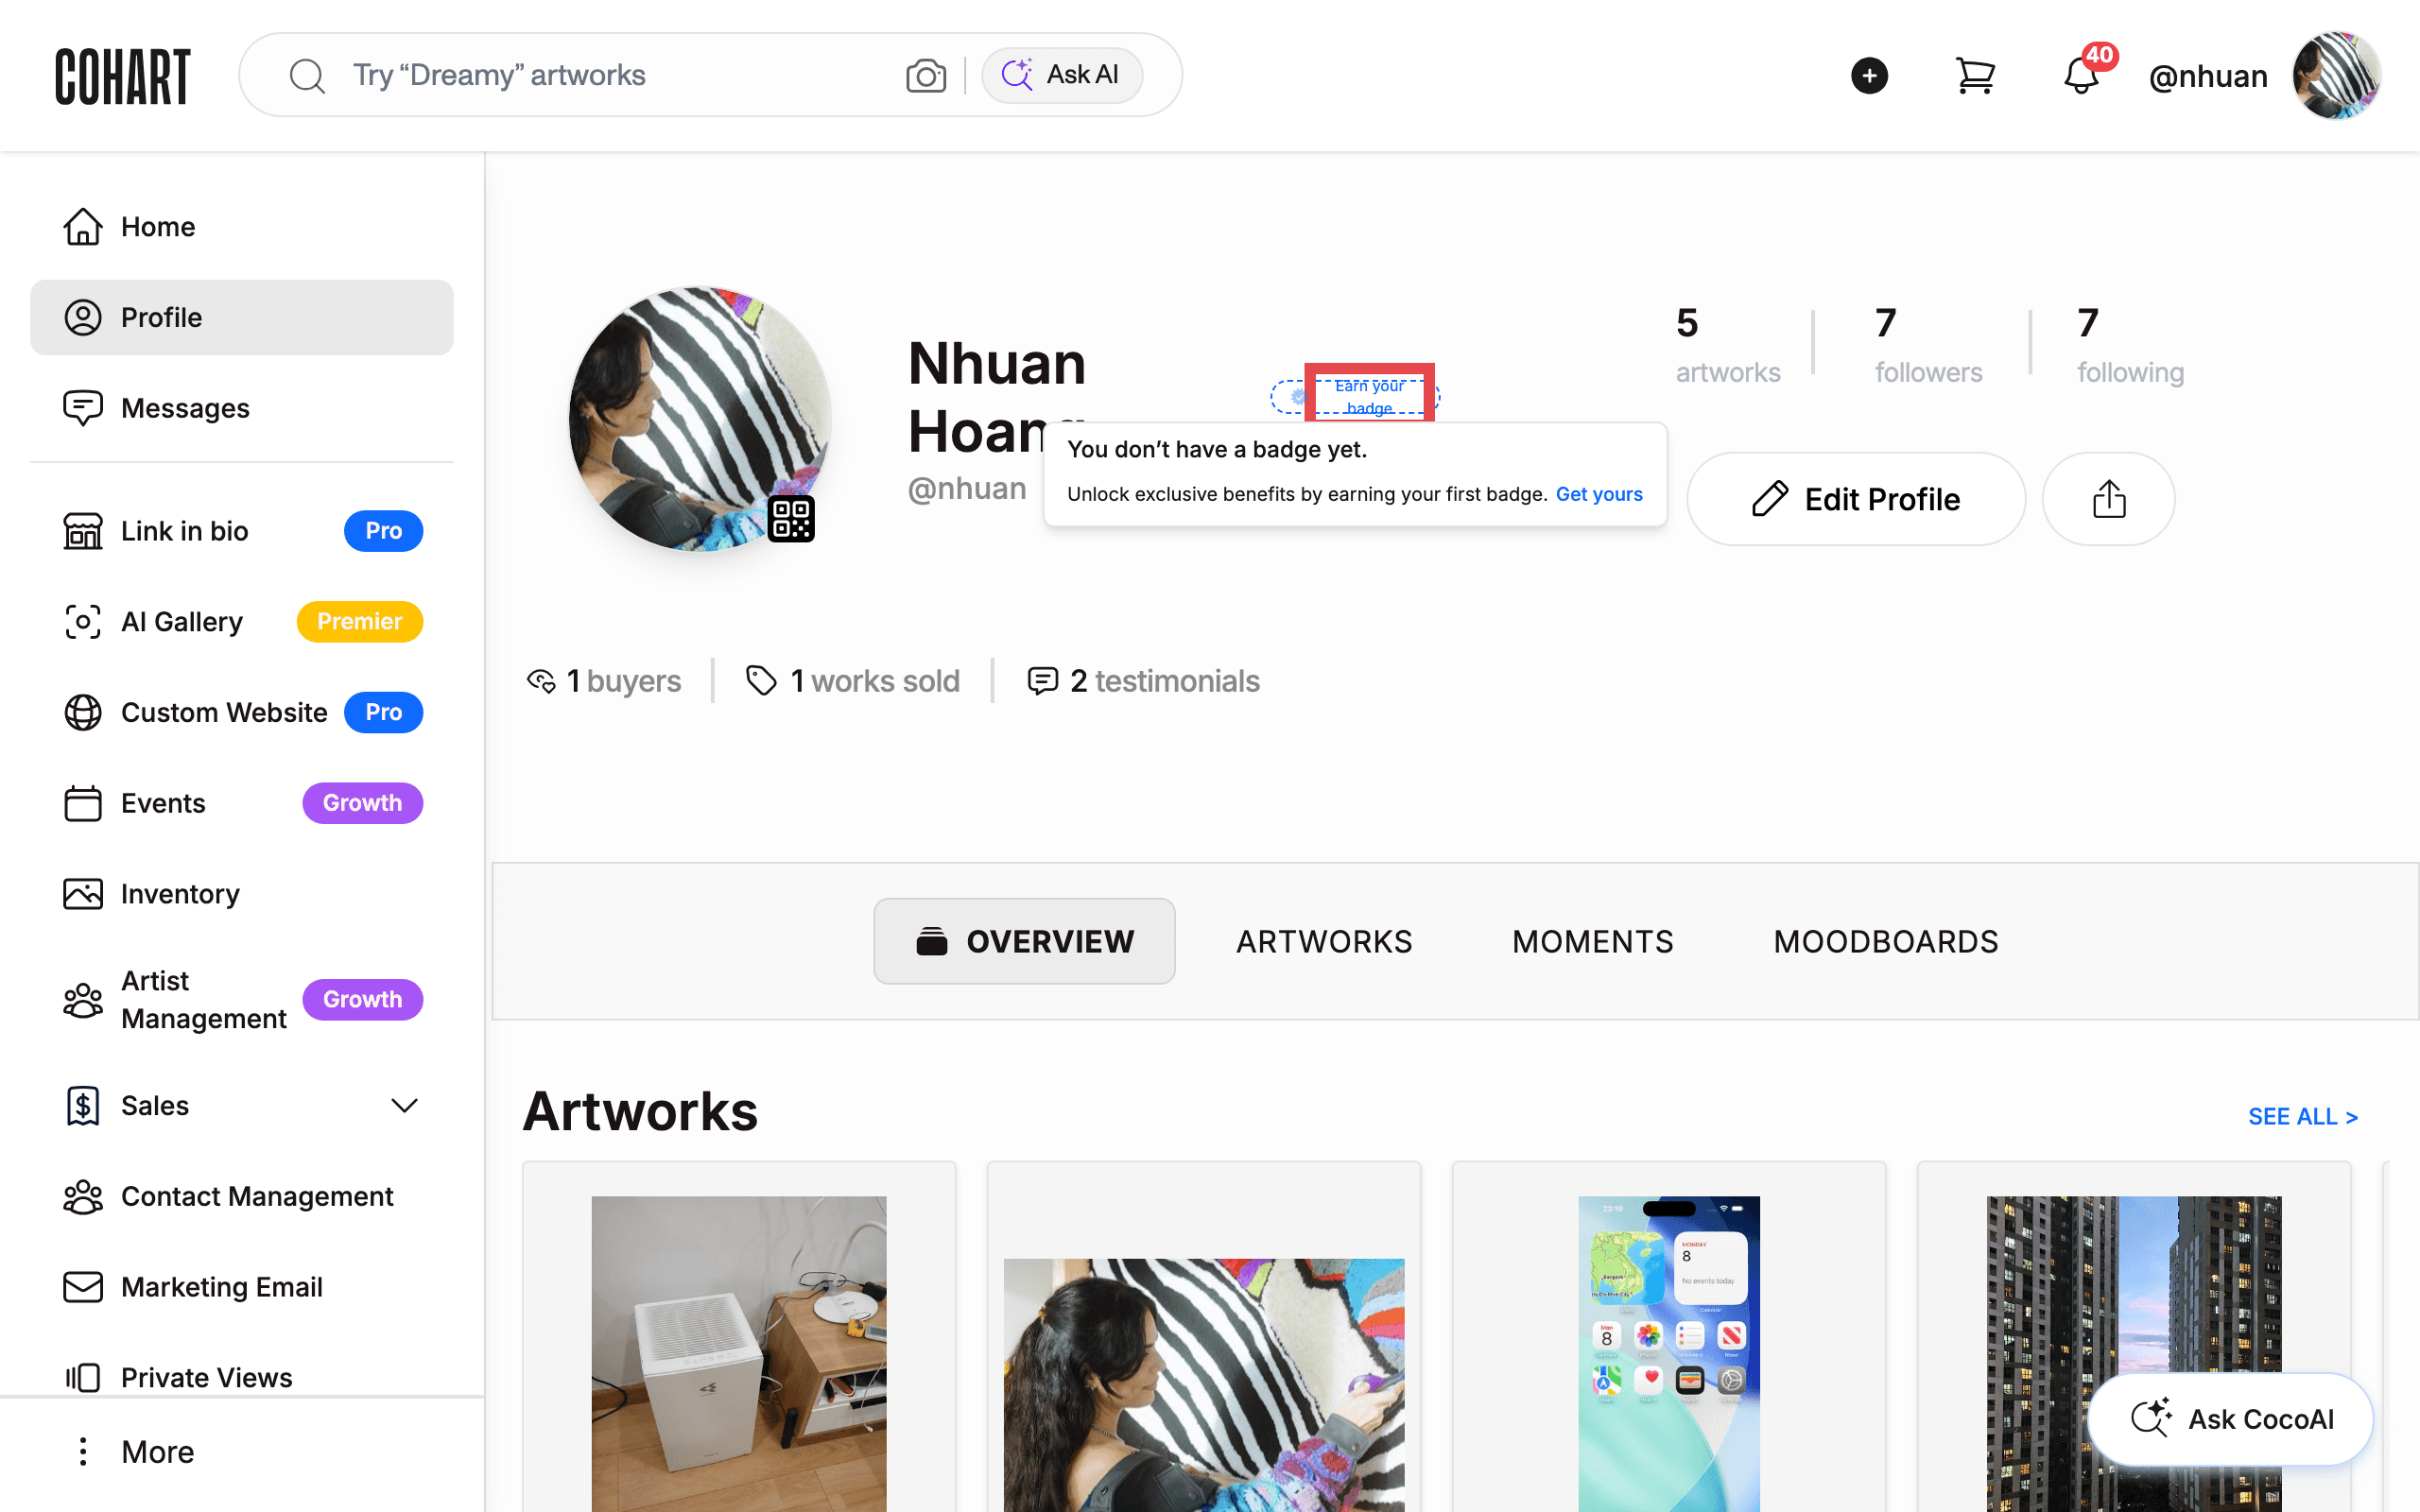
2. Open your profile and find the badge prompt
Go to your public profile. If you haven’t earned any badges yet, you’ll see an Earn your badge prompt near your name.
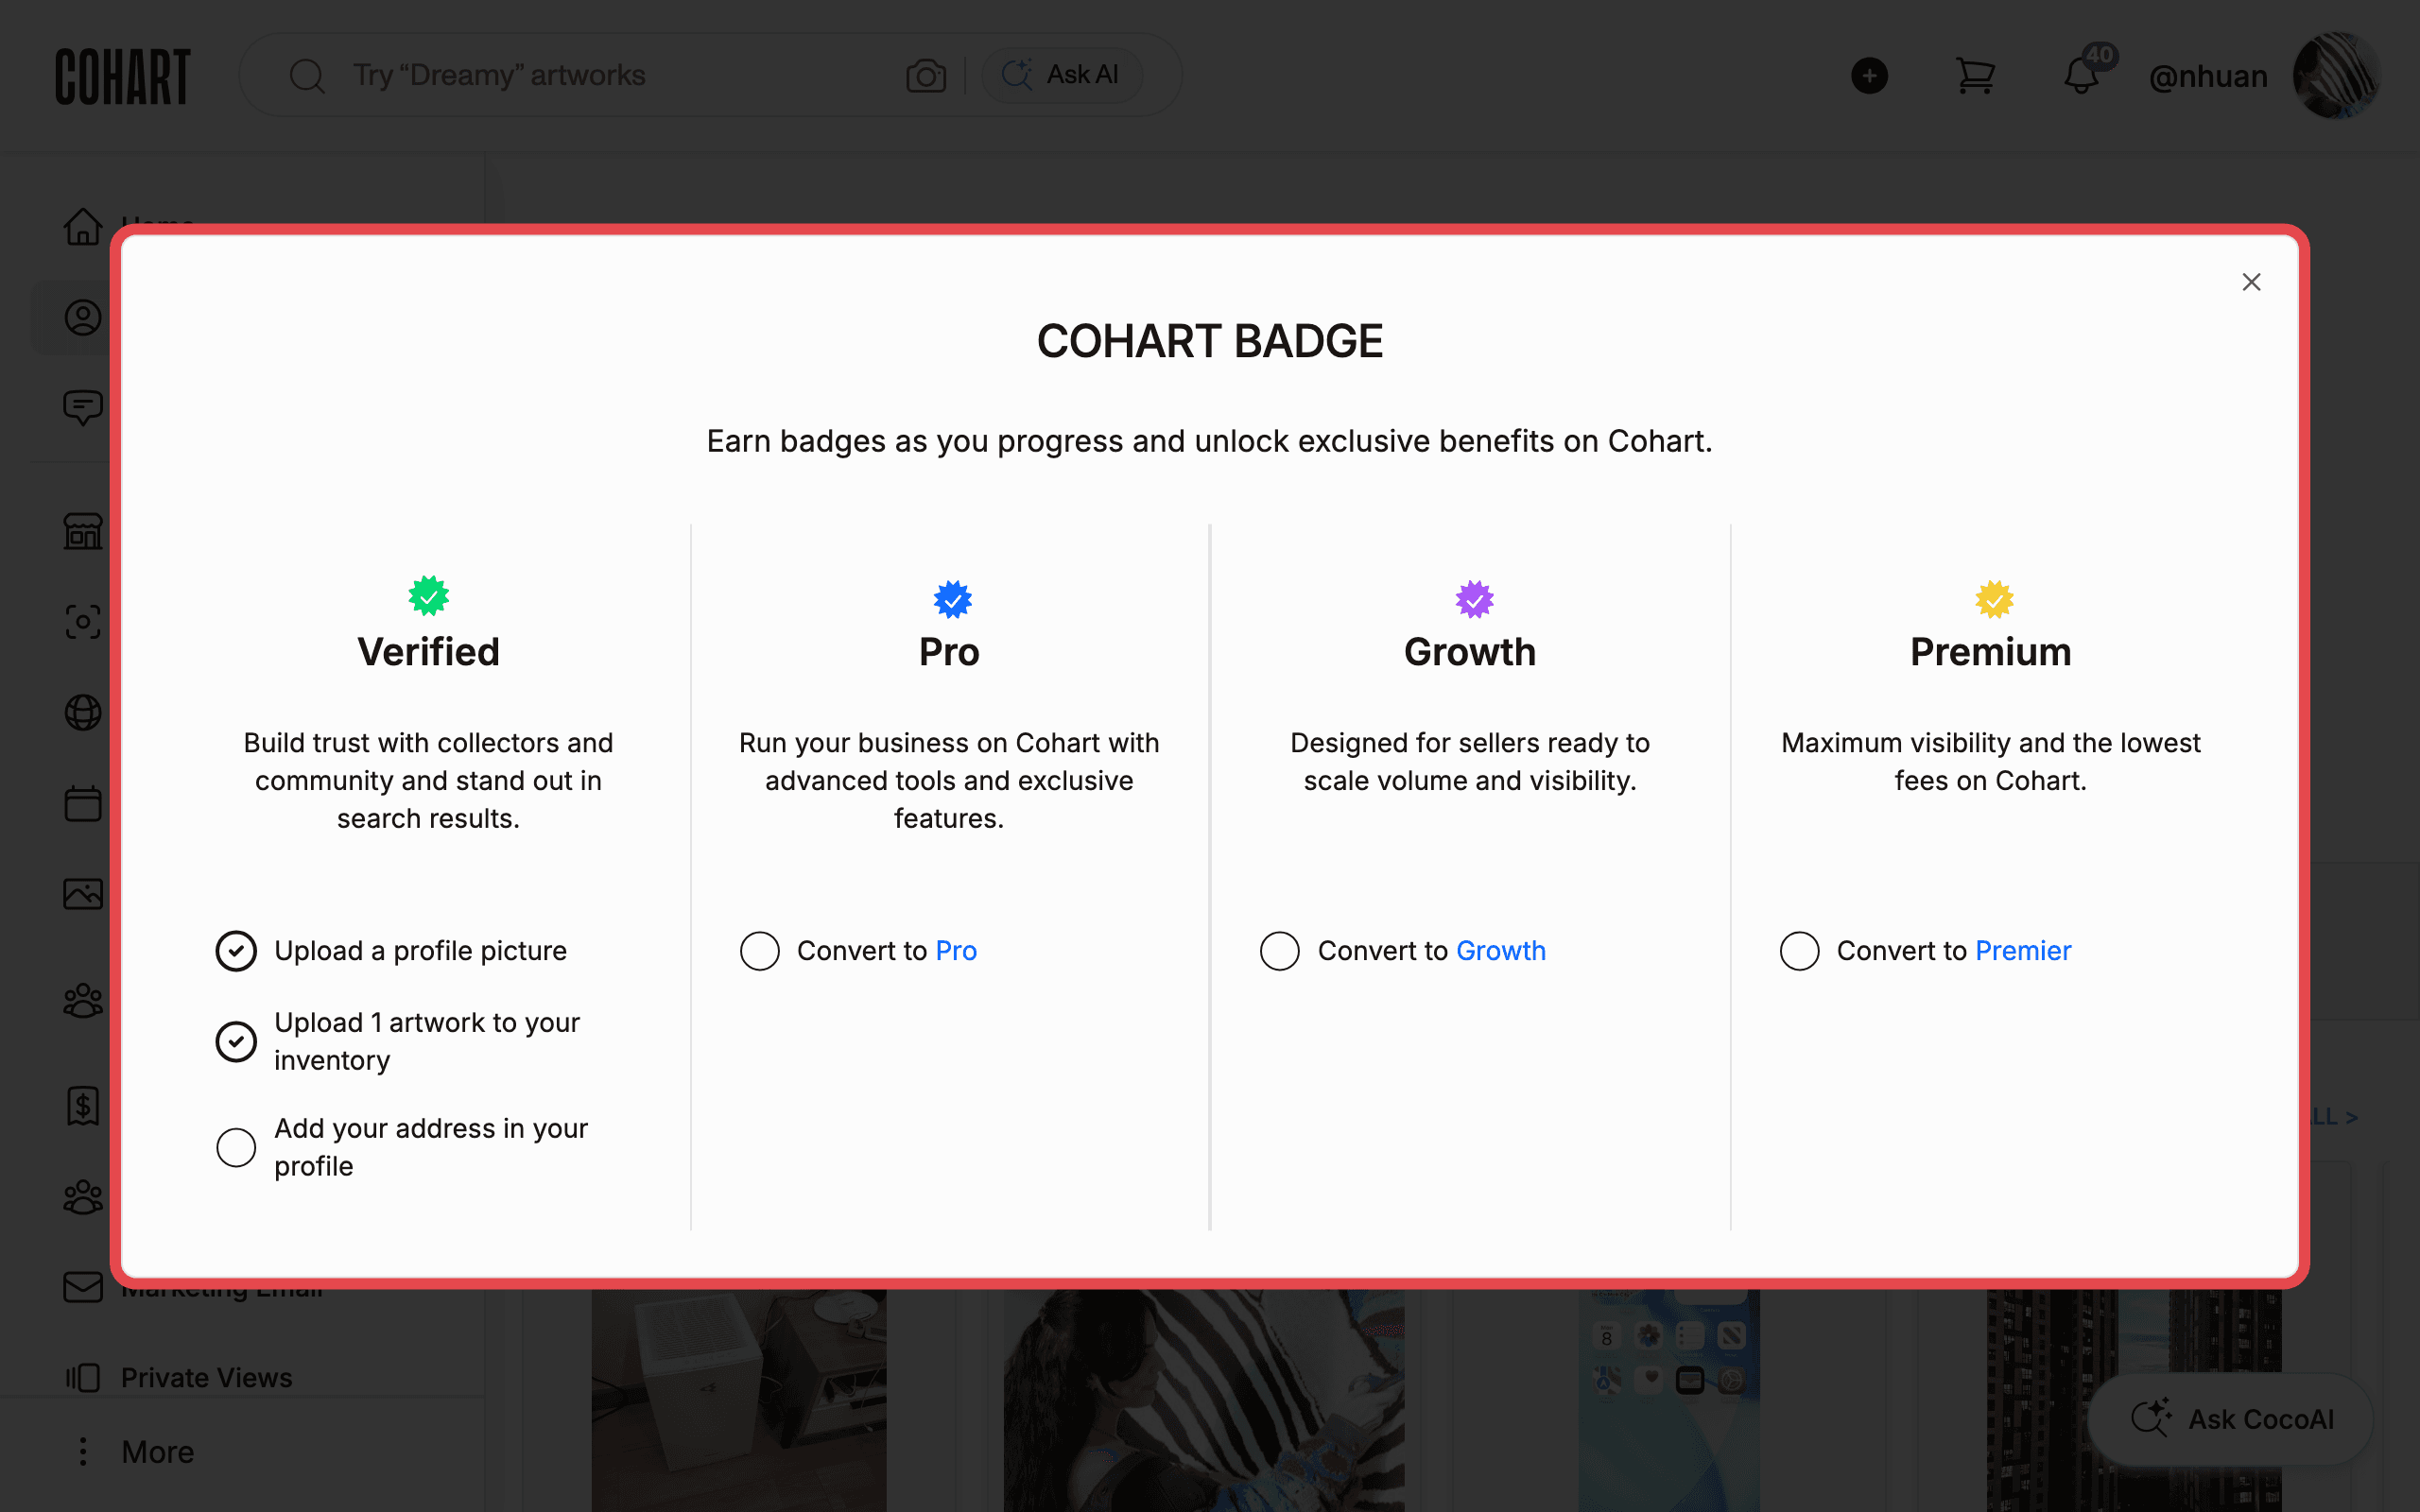
3. Open the Cohart Badge checklist
Click Get yours to open the COHART BADGE dialog. It lists each badge you can earn — Verified, Pro, Growth, and Premium — with a short description of what it unlocks. Under Verified (“Build trust with collectors and community and stand out in search results”), the checklist requires:
- Upload a profile picture
- Upload 1 artwork to your inventory
- Add your address in your profile
The Pro, Growth, and Premium badges are separate and tied to a paid plan, with their own Convert to Pro / Convert to Growth / Convert to Premier buttons — they are not part of getting Verified.
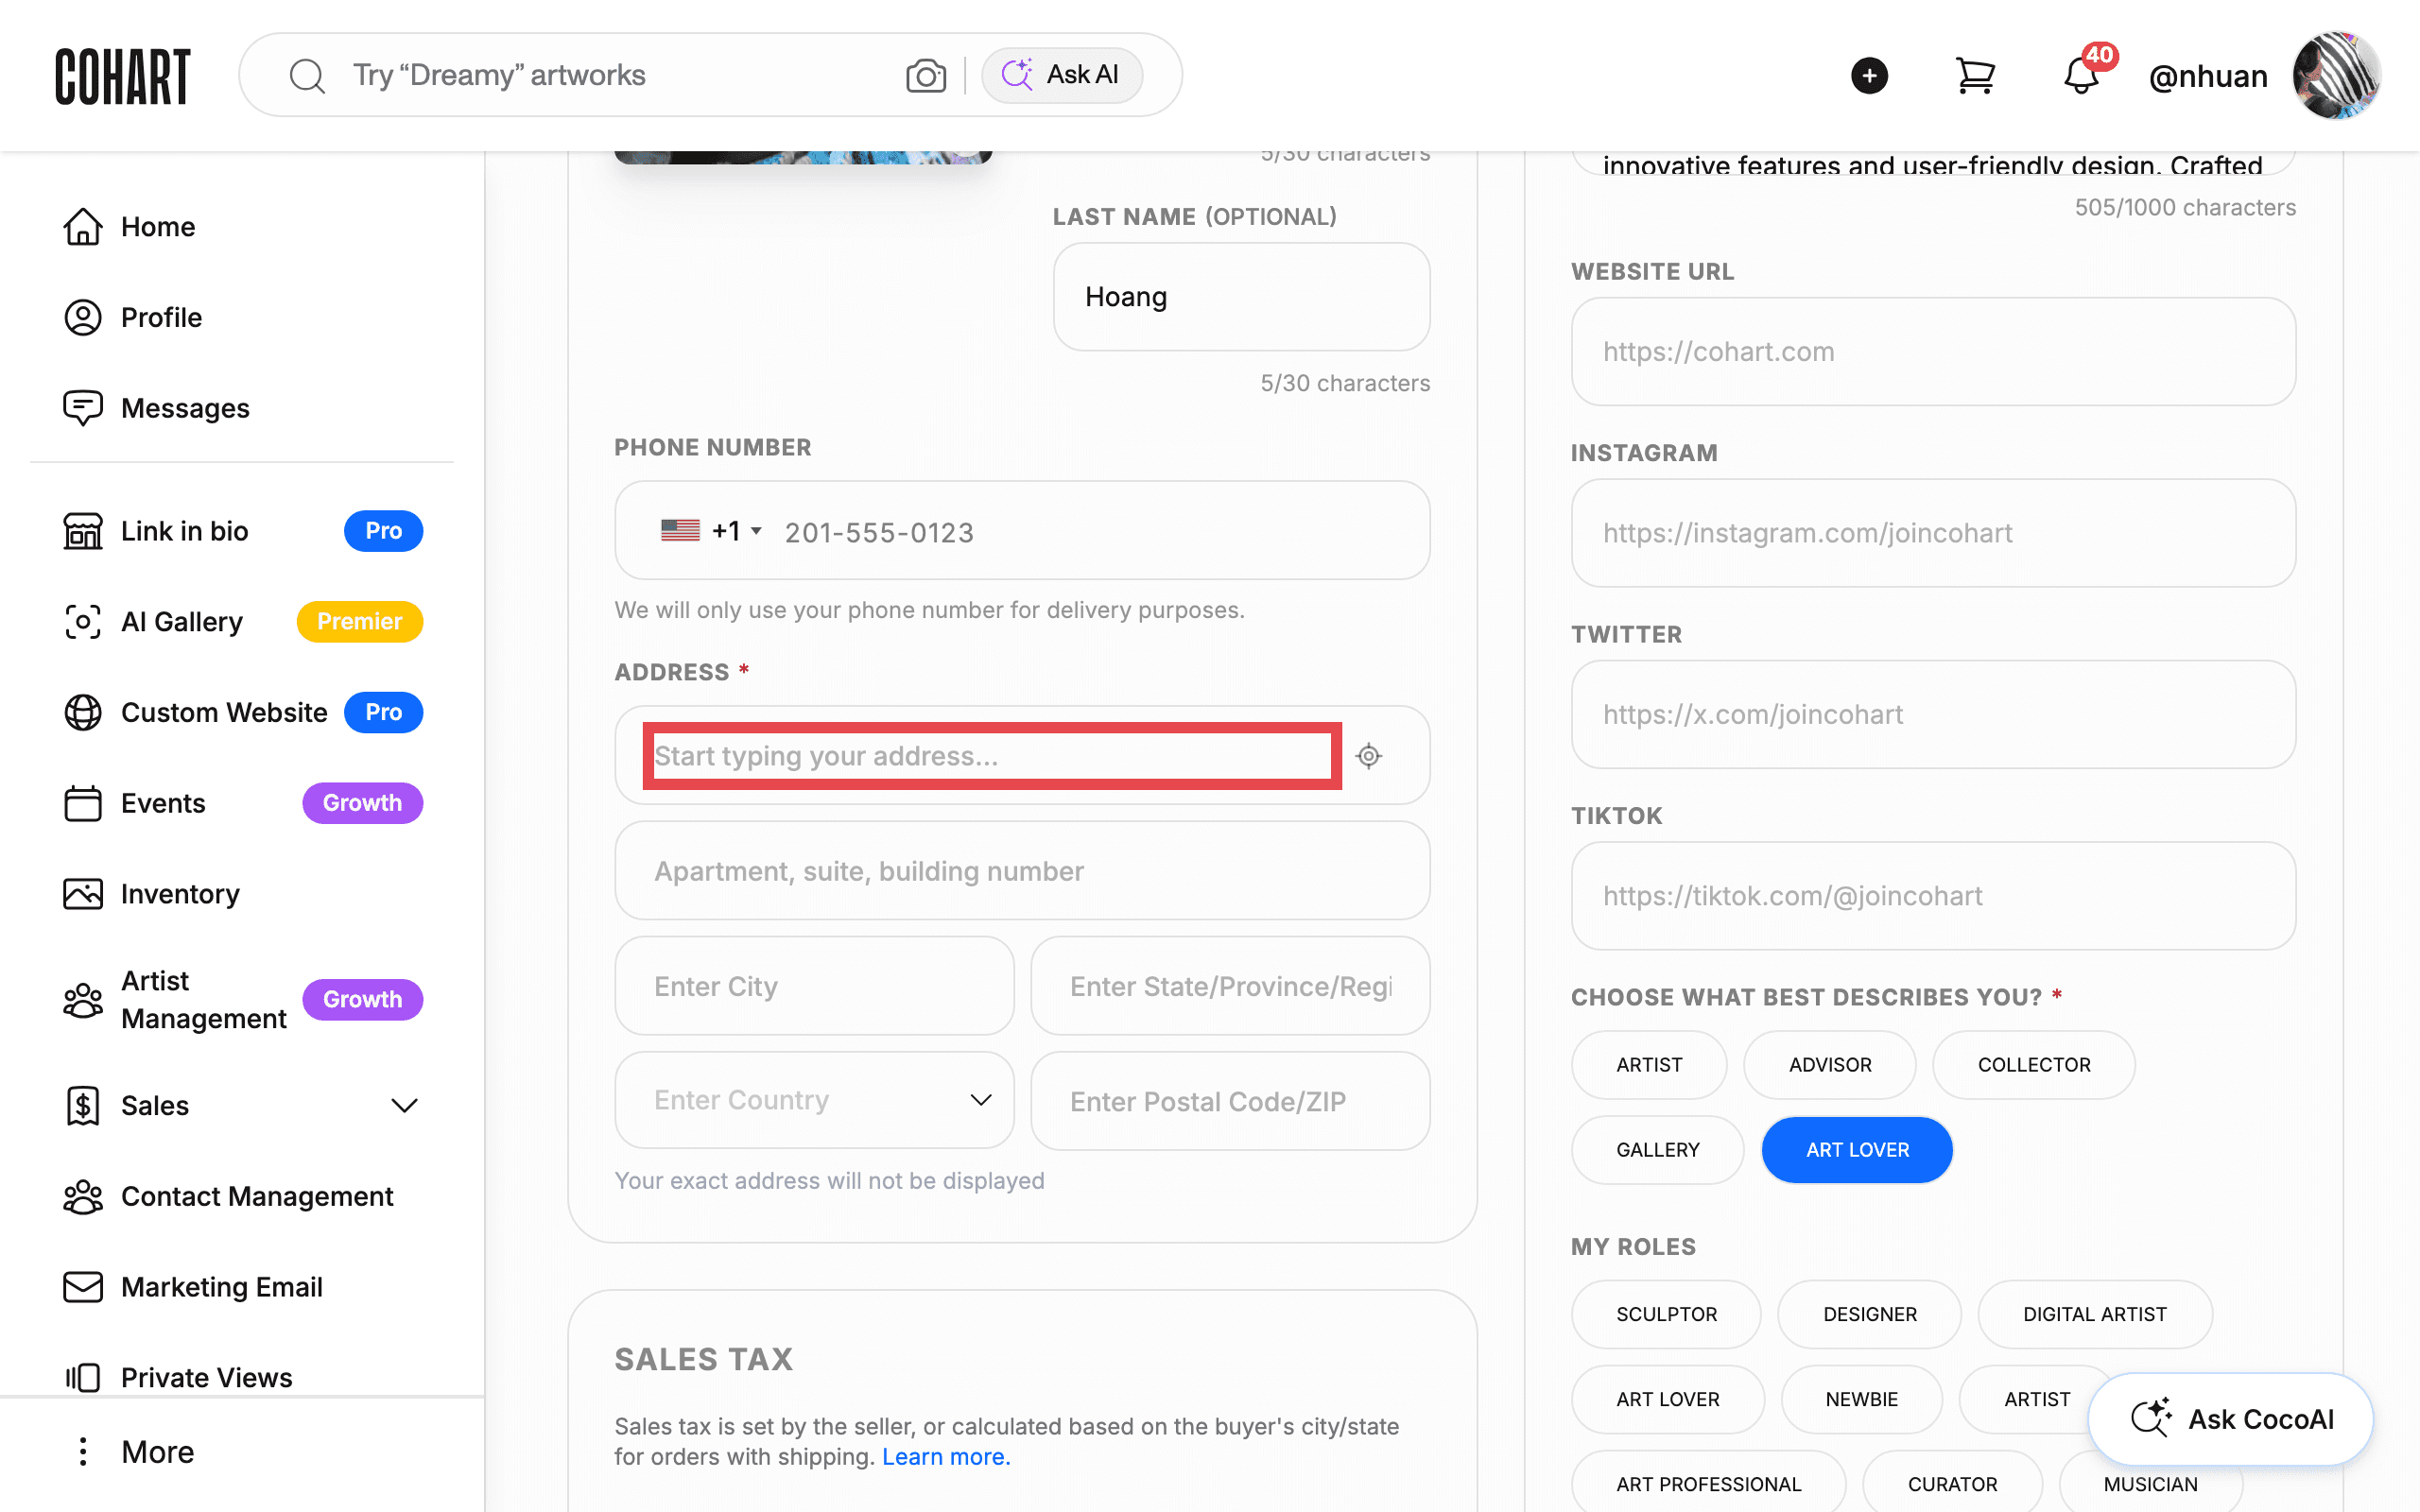
4. Complete your profile photo and address
Click Edit Profile to fill in the requirements. Add a profile picture, and fill in your address field so it’s on file (your address is not publicly visible). While you’re there, filling in your username, bio, and social links also helps collectors recognize you, even though the current checklist only requires the picture, one artwork, and your address.
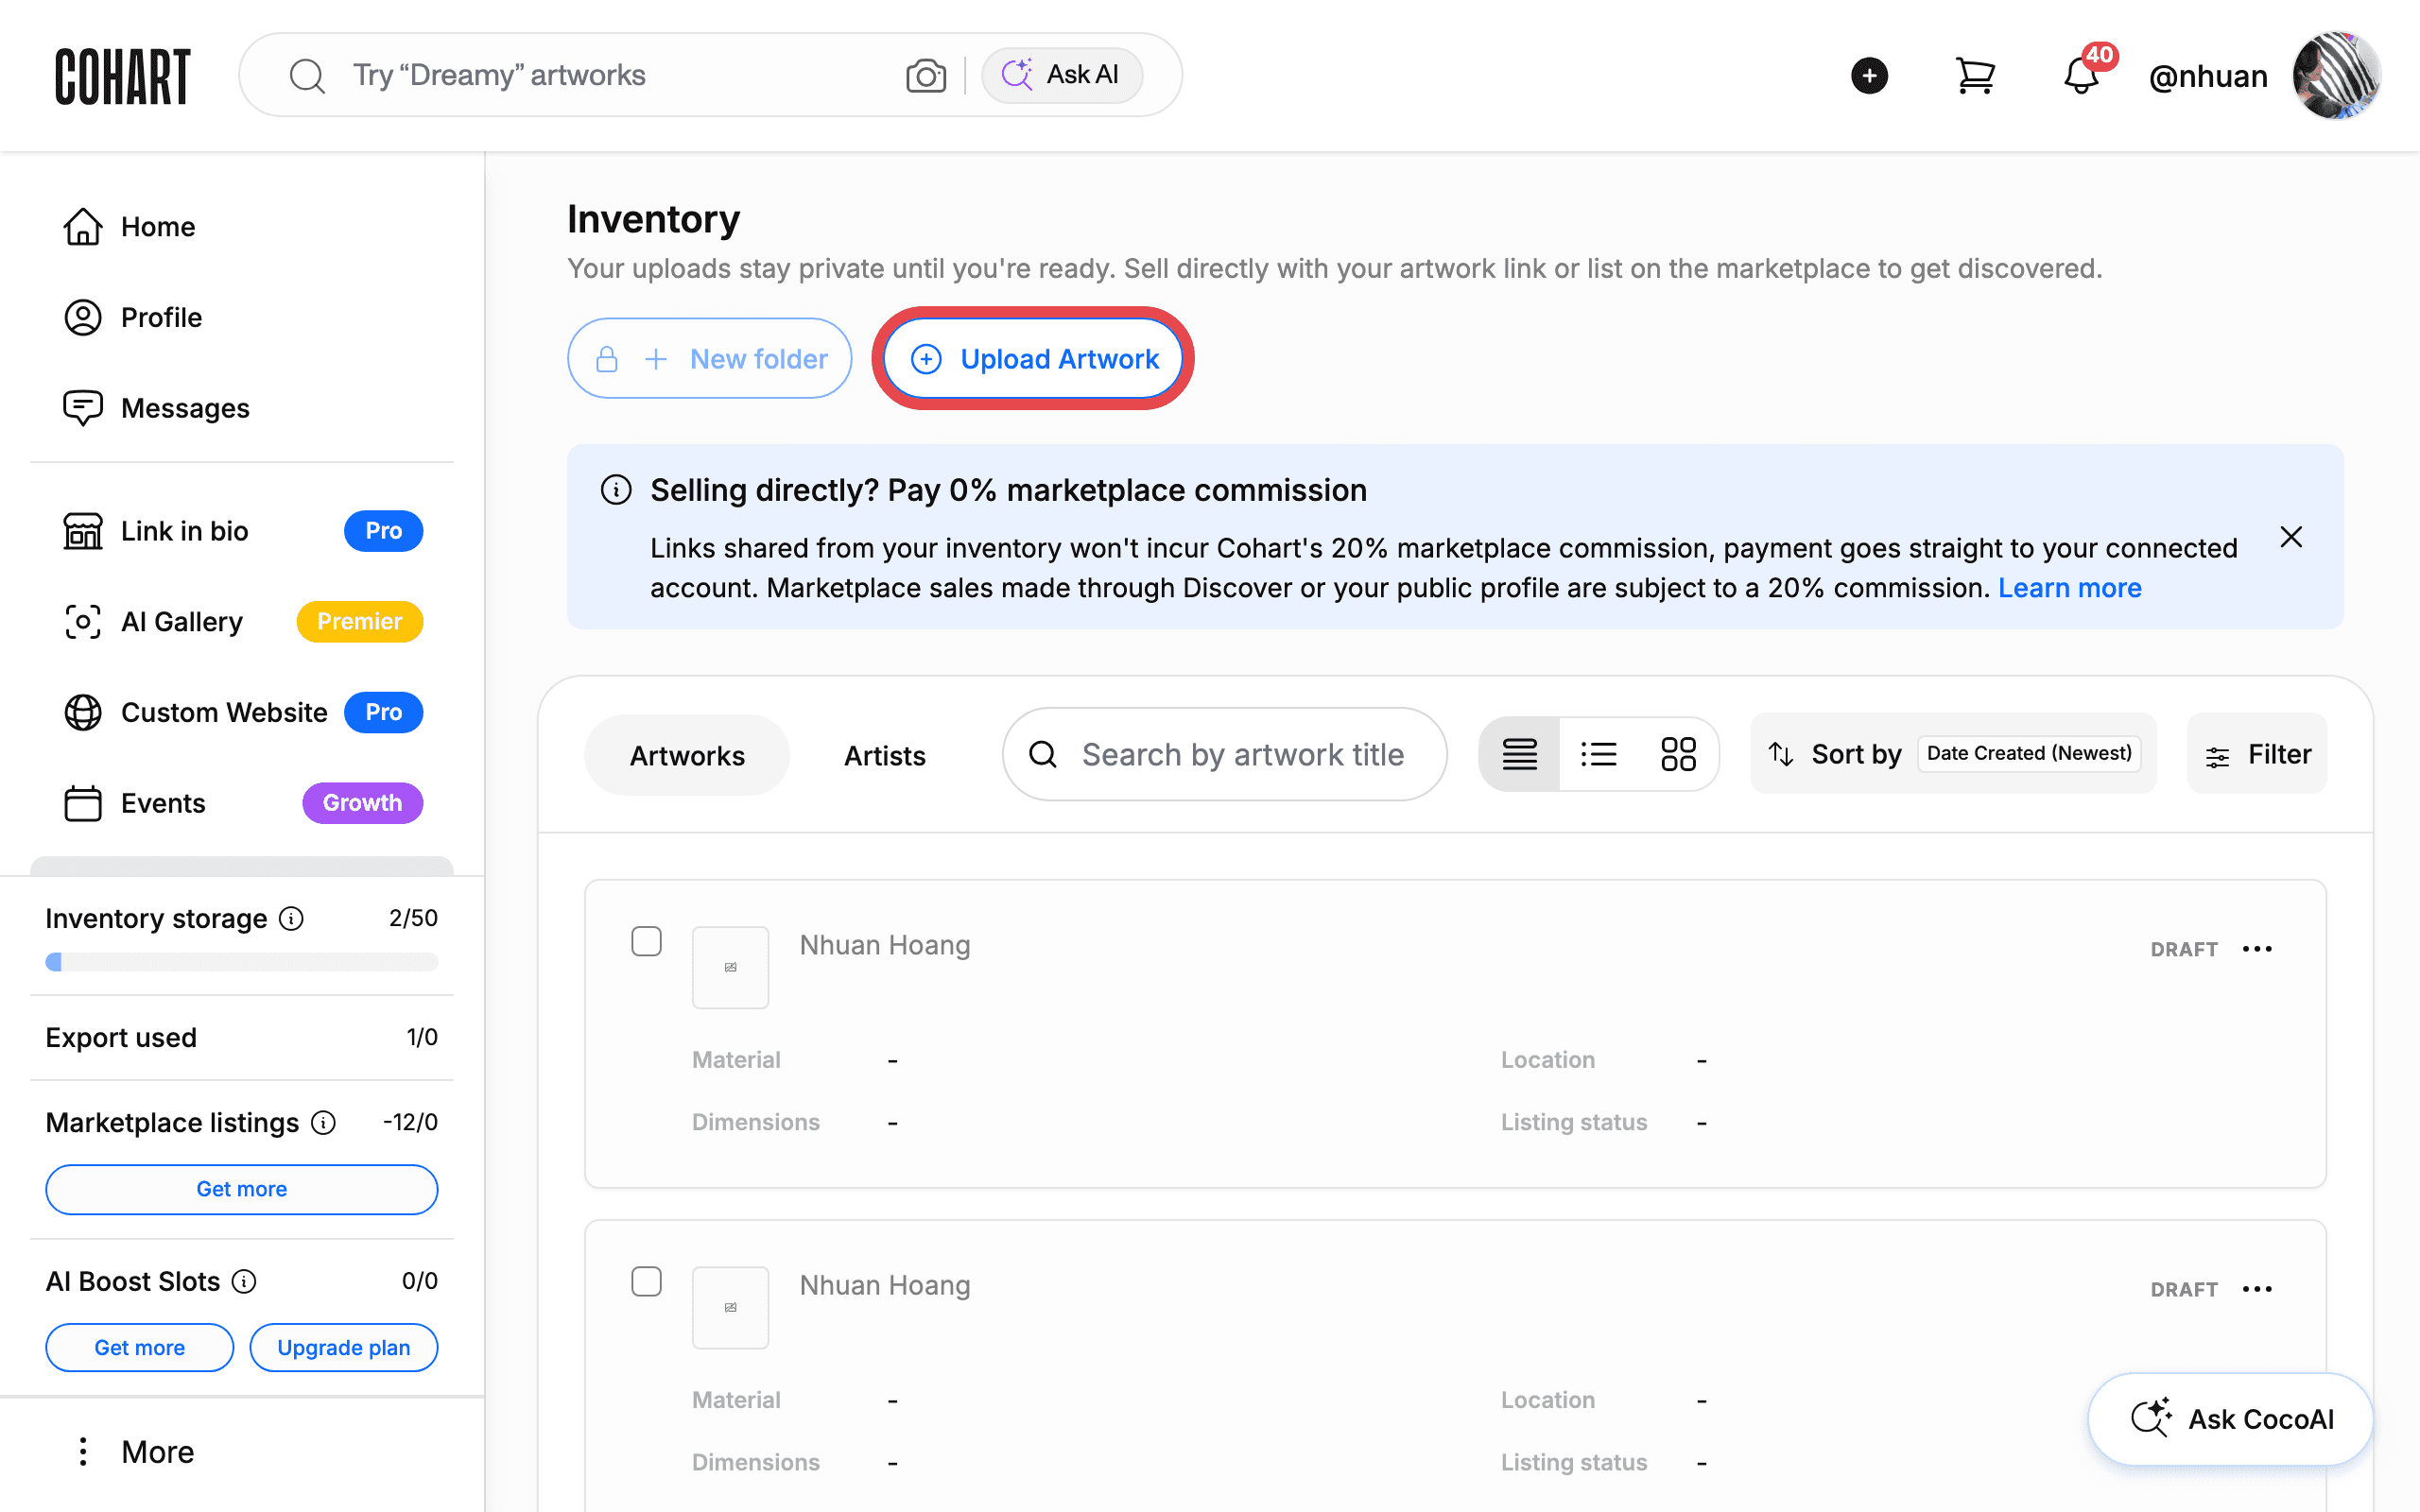
5. Upload at least one artwork
Go to Inventory and click Upload Artwork to add at least one piece. See How to Upload an Artwork for the full upload form. For the strongest profile, include several works with images, medium, dimensions, year created, and pricing where available — you can also display sold works to show your sales history.
6. Check for your badge
Once you’ve met all three Verified requirements, your profile becomes verified automatically and a badge appears next to your name on your profile and elsewhere on Cohart. [UNVERIFIED — check manually: the exact badge icon and its full list of display locations could not be directly observed, since meeting all three requirements live was outside the scope of this check.] If you don’t see a badge within a few business days of meeting the requirements, contact Cohart support at support@cohart.com for a manual review.
Tips
- Verification doesn’t gate selling. You can upload artworks and sell through Cohart whether or not your profile is verified — verification only adds a trust signal for collectors.
- Verification adds credibility wherever you share your profile — your Link in Bio, your website, and your marketplace listings all reflect the same badge.
- Pro, Growth, and Premier are separate badges from Verified. They come from subscribing to a paid plan, not from completing your profile — see How to Manage Your Public Profile for general profile editing, and your plan settings to upgrade.
Troubleshooting
- You completed your profile but don’t see a badge yet → verification can take a little time to apply → wait a few business days, then email Cohart support at support@cohart.com for a manual review if the badge still hasn’t appeared.
- The Verified requirements in the badge checklist don’t match what you expected → open the COHART BADGE dialog from your profile to see the current, exact requirements, since Cohart can adjust them — at time of writing they are a profile picture, one artwork in your Inventory, and your address.
- You can’t find where to add your address → it’s on the Edit Profile page, in the same address field used elsewhere on your profile, and it’s never shown publicly.