How to Manage an Event
This guide walks you through creating and managing an art event on Cohart — from signing in to inviting your team.
Step 1: Sign in to your Cohart account
Go to cohart.com/auth/login . Enter your email address and password, then click Sign In.
You can also sign in using Google or Apple if your account is linked to those services.
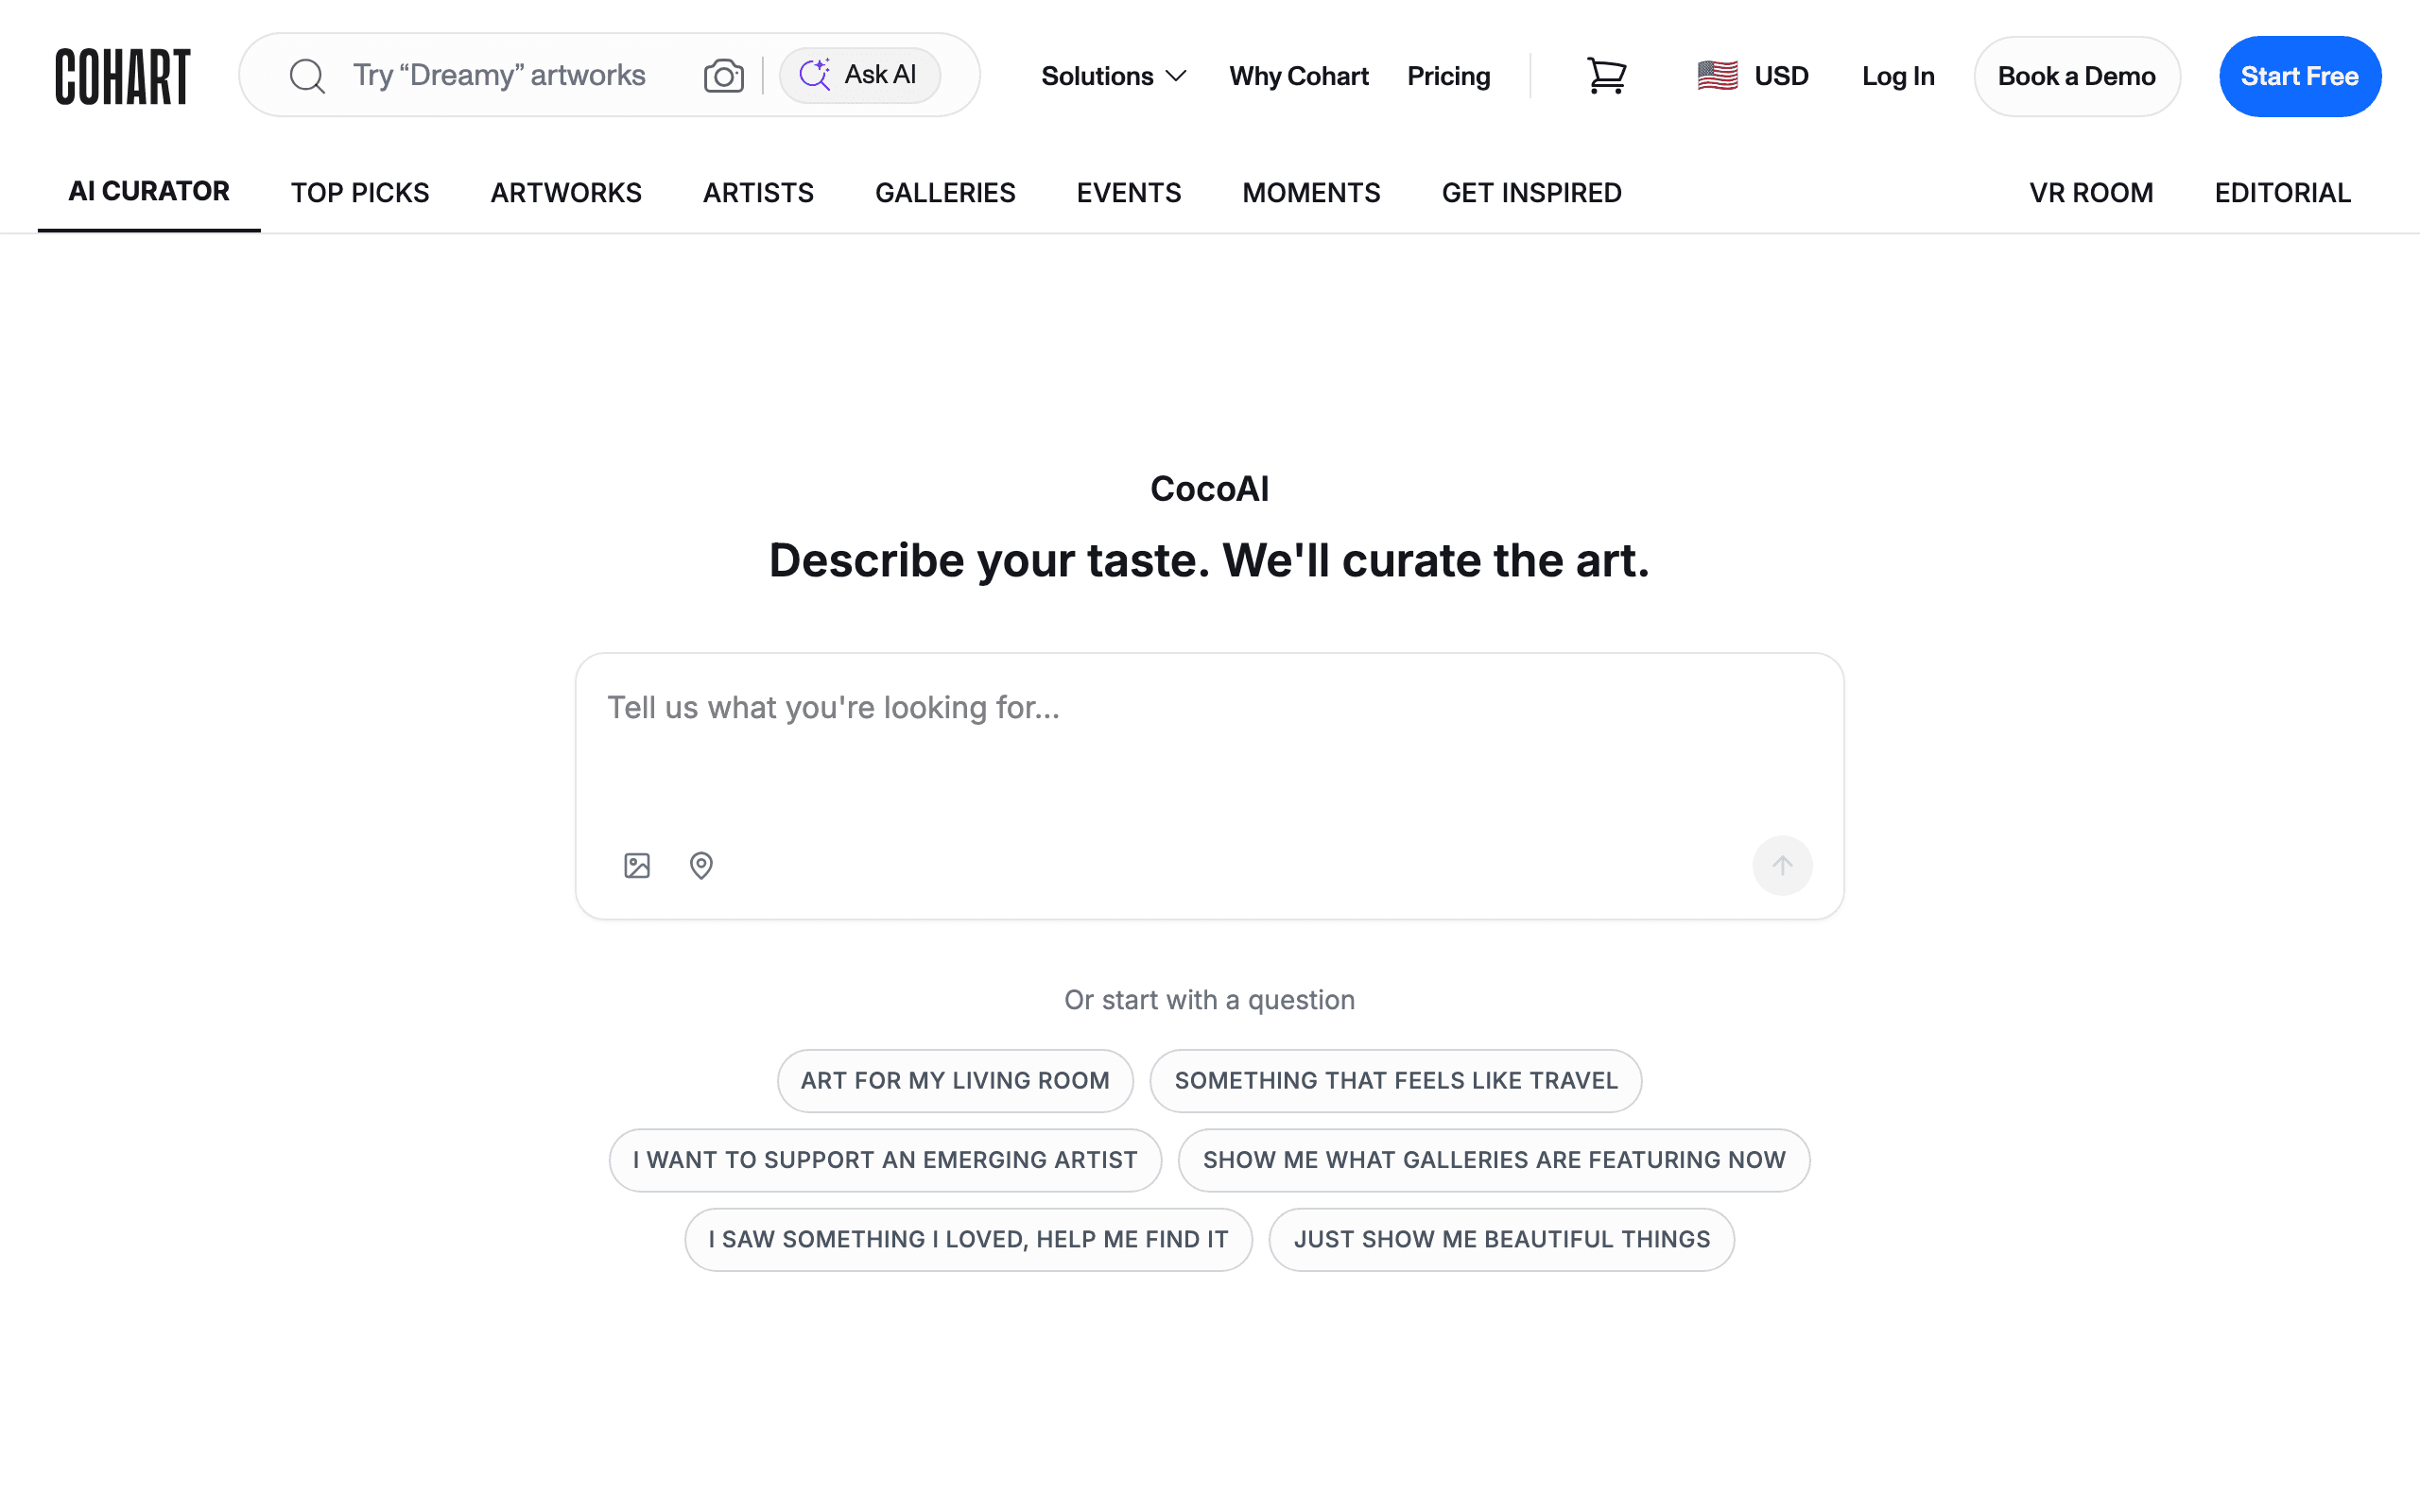
Note: If you do not have an account yet, click Sign up on the login page, or click Start Free on the homepage.
Step 2: Navigate to the Events page
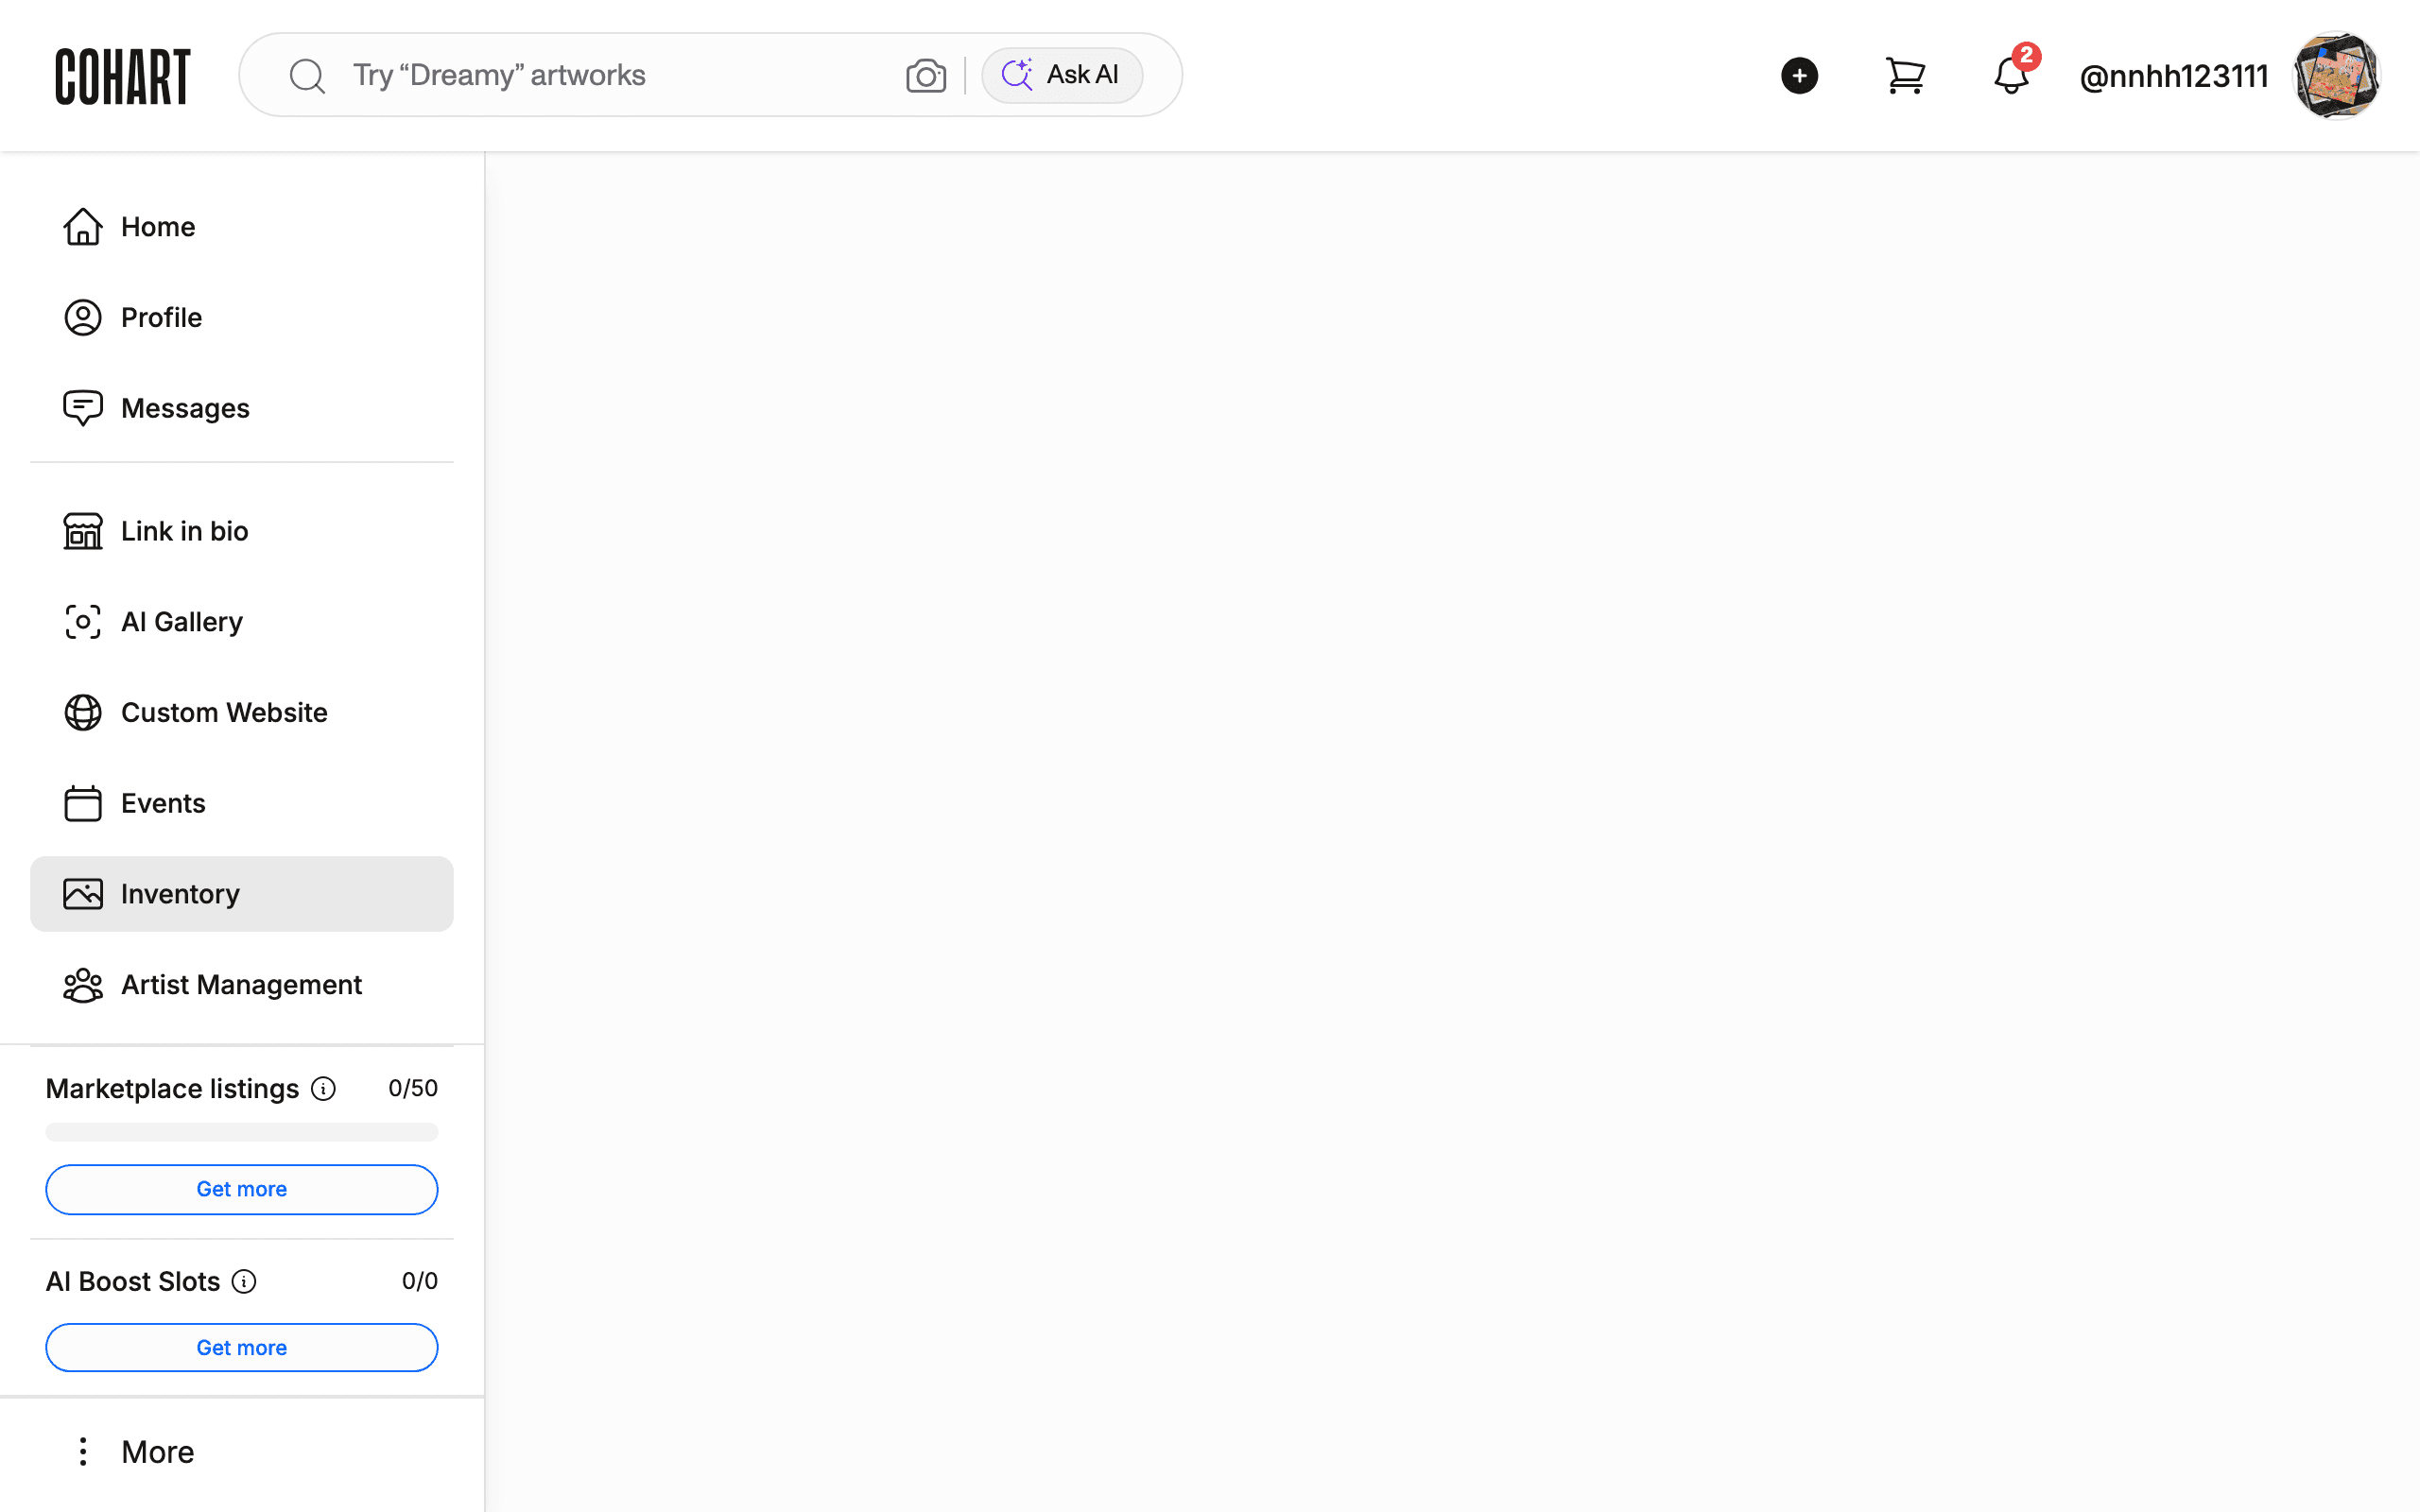
After signing in, you are redirected to your dashboard. Click Events in the left sidebar.
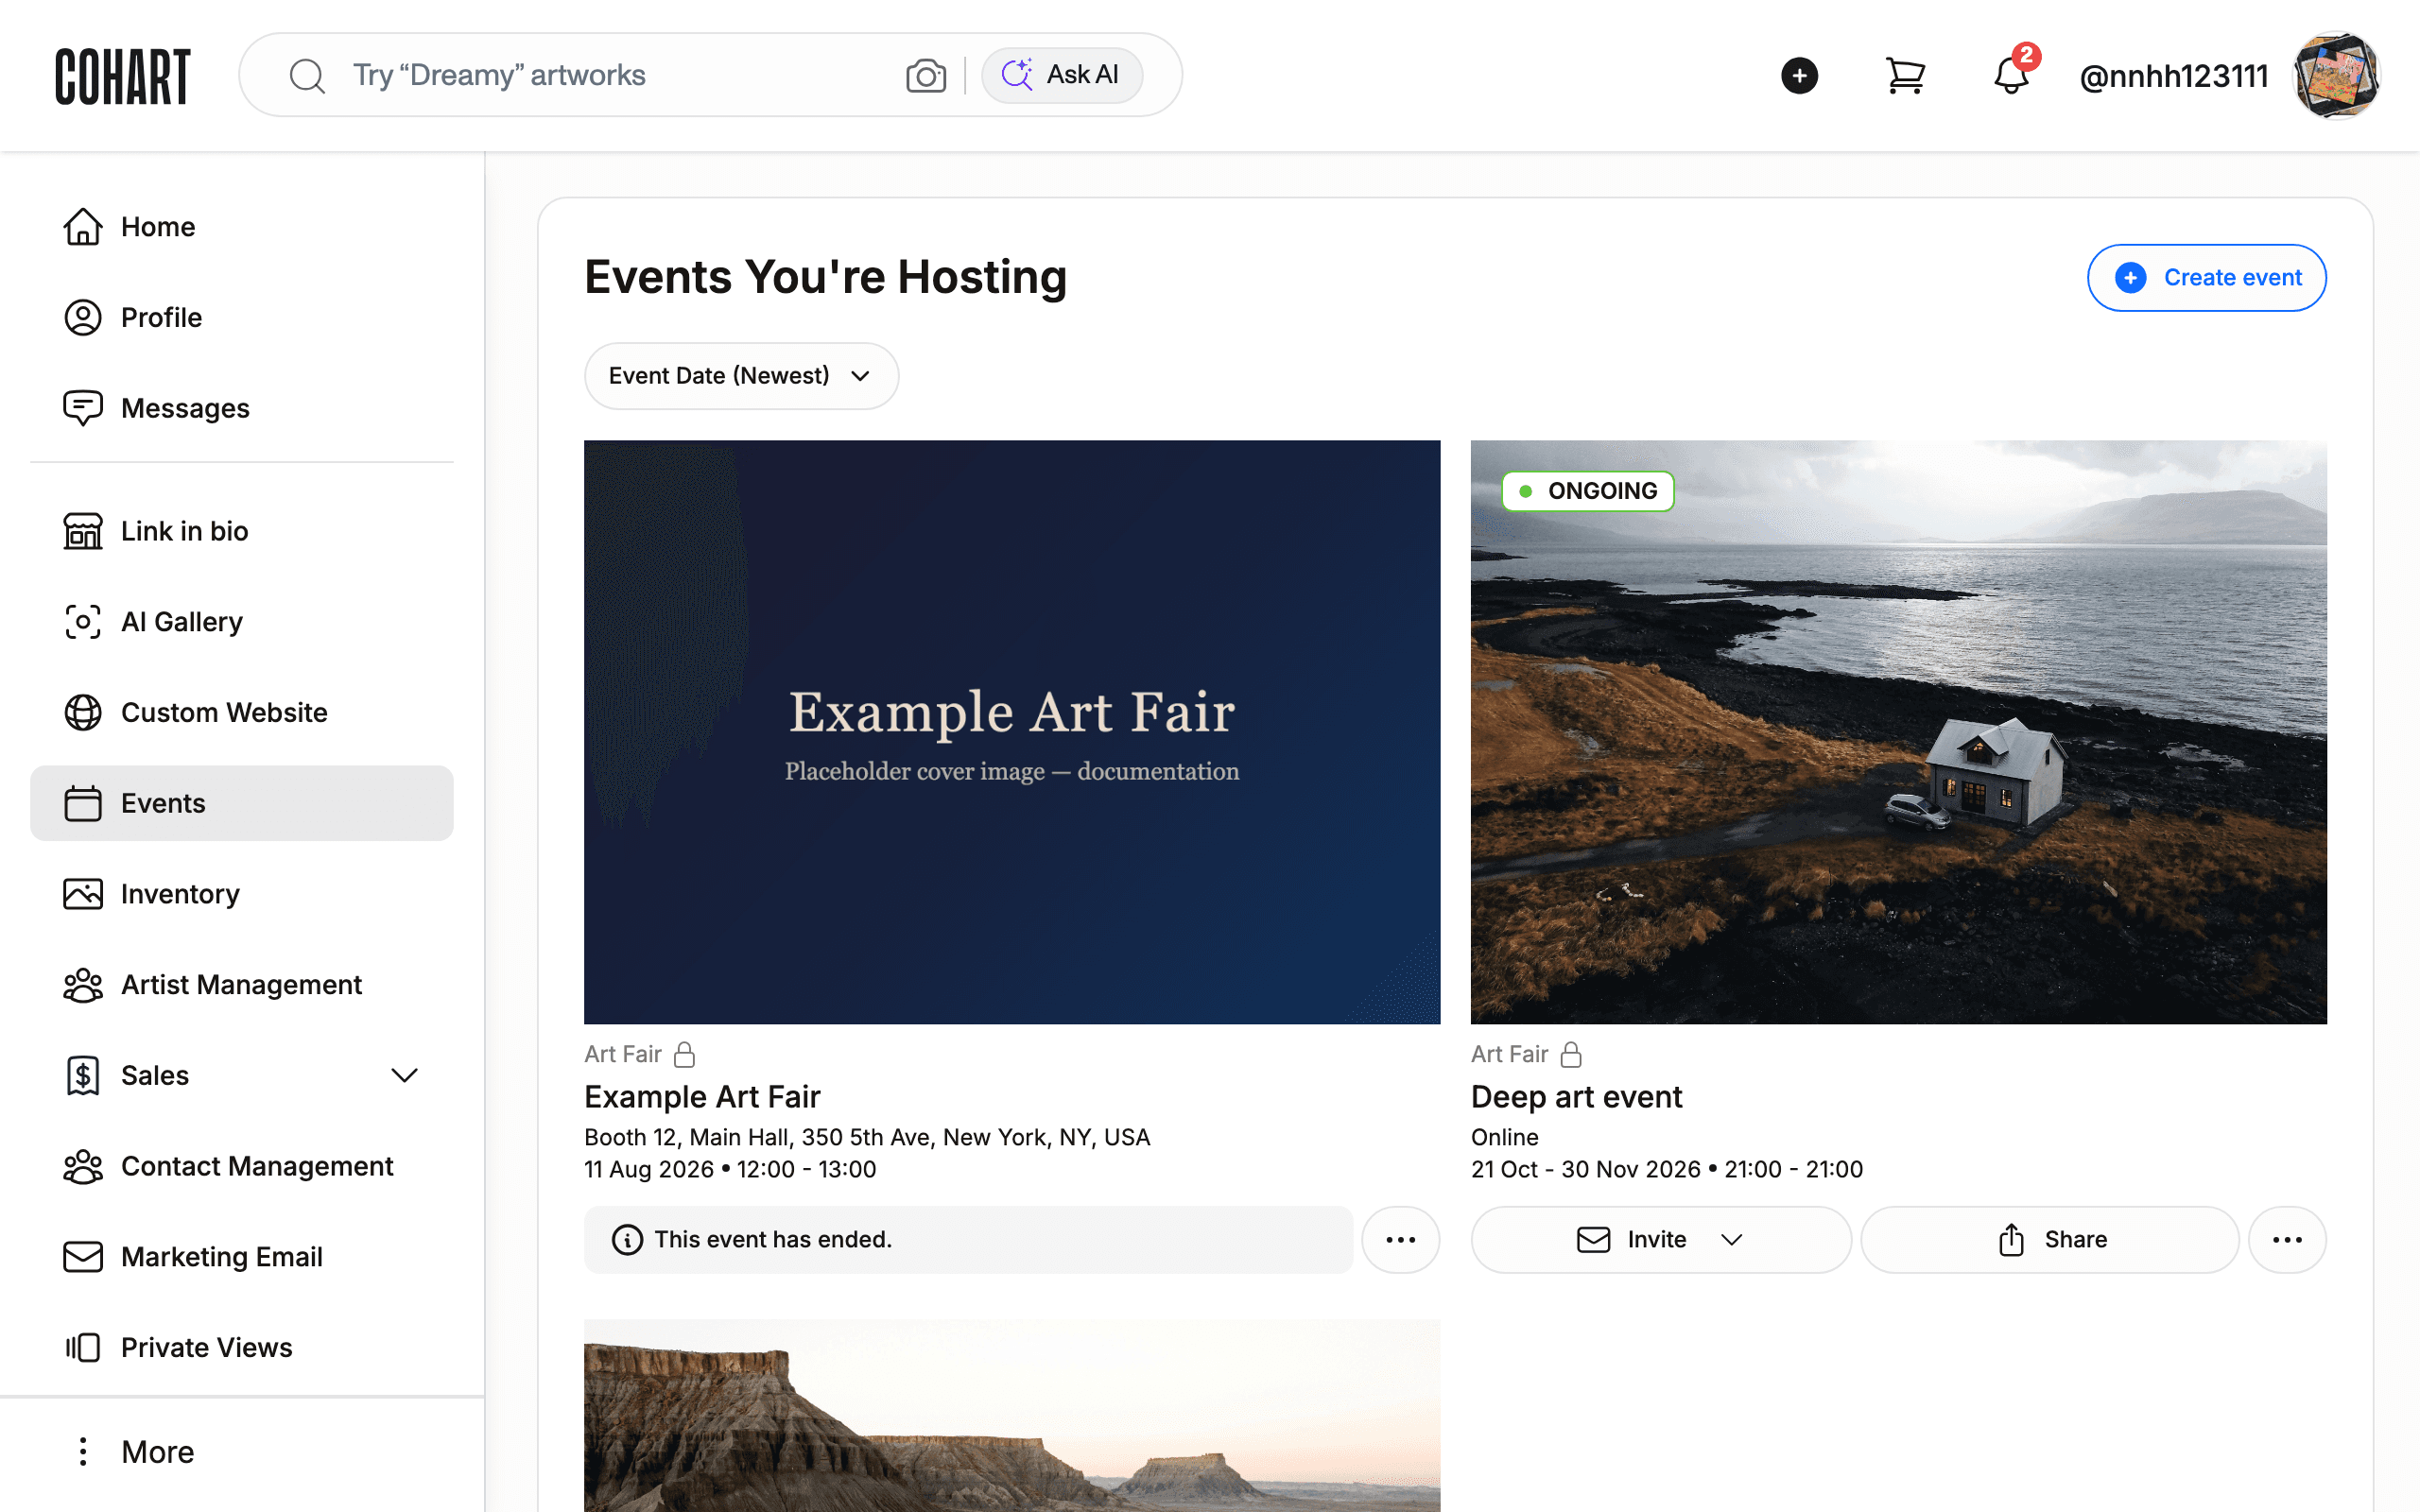
The Events page shows a list of all events on the platform. Use the search bar (“Search by title, location, artist or gallery name”) to find specific events, or filter using All events, Upcoming events, Event Type, or Event Date (Newest).
Step 3: Create a new event
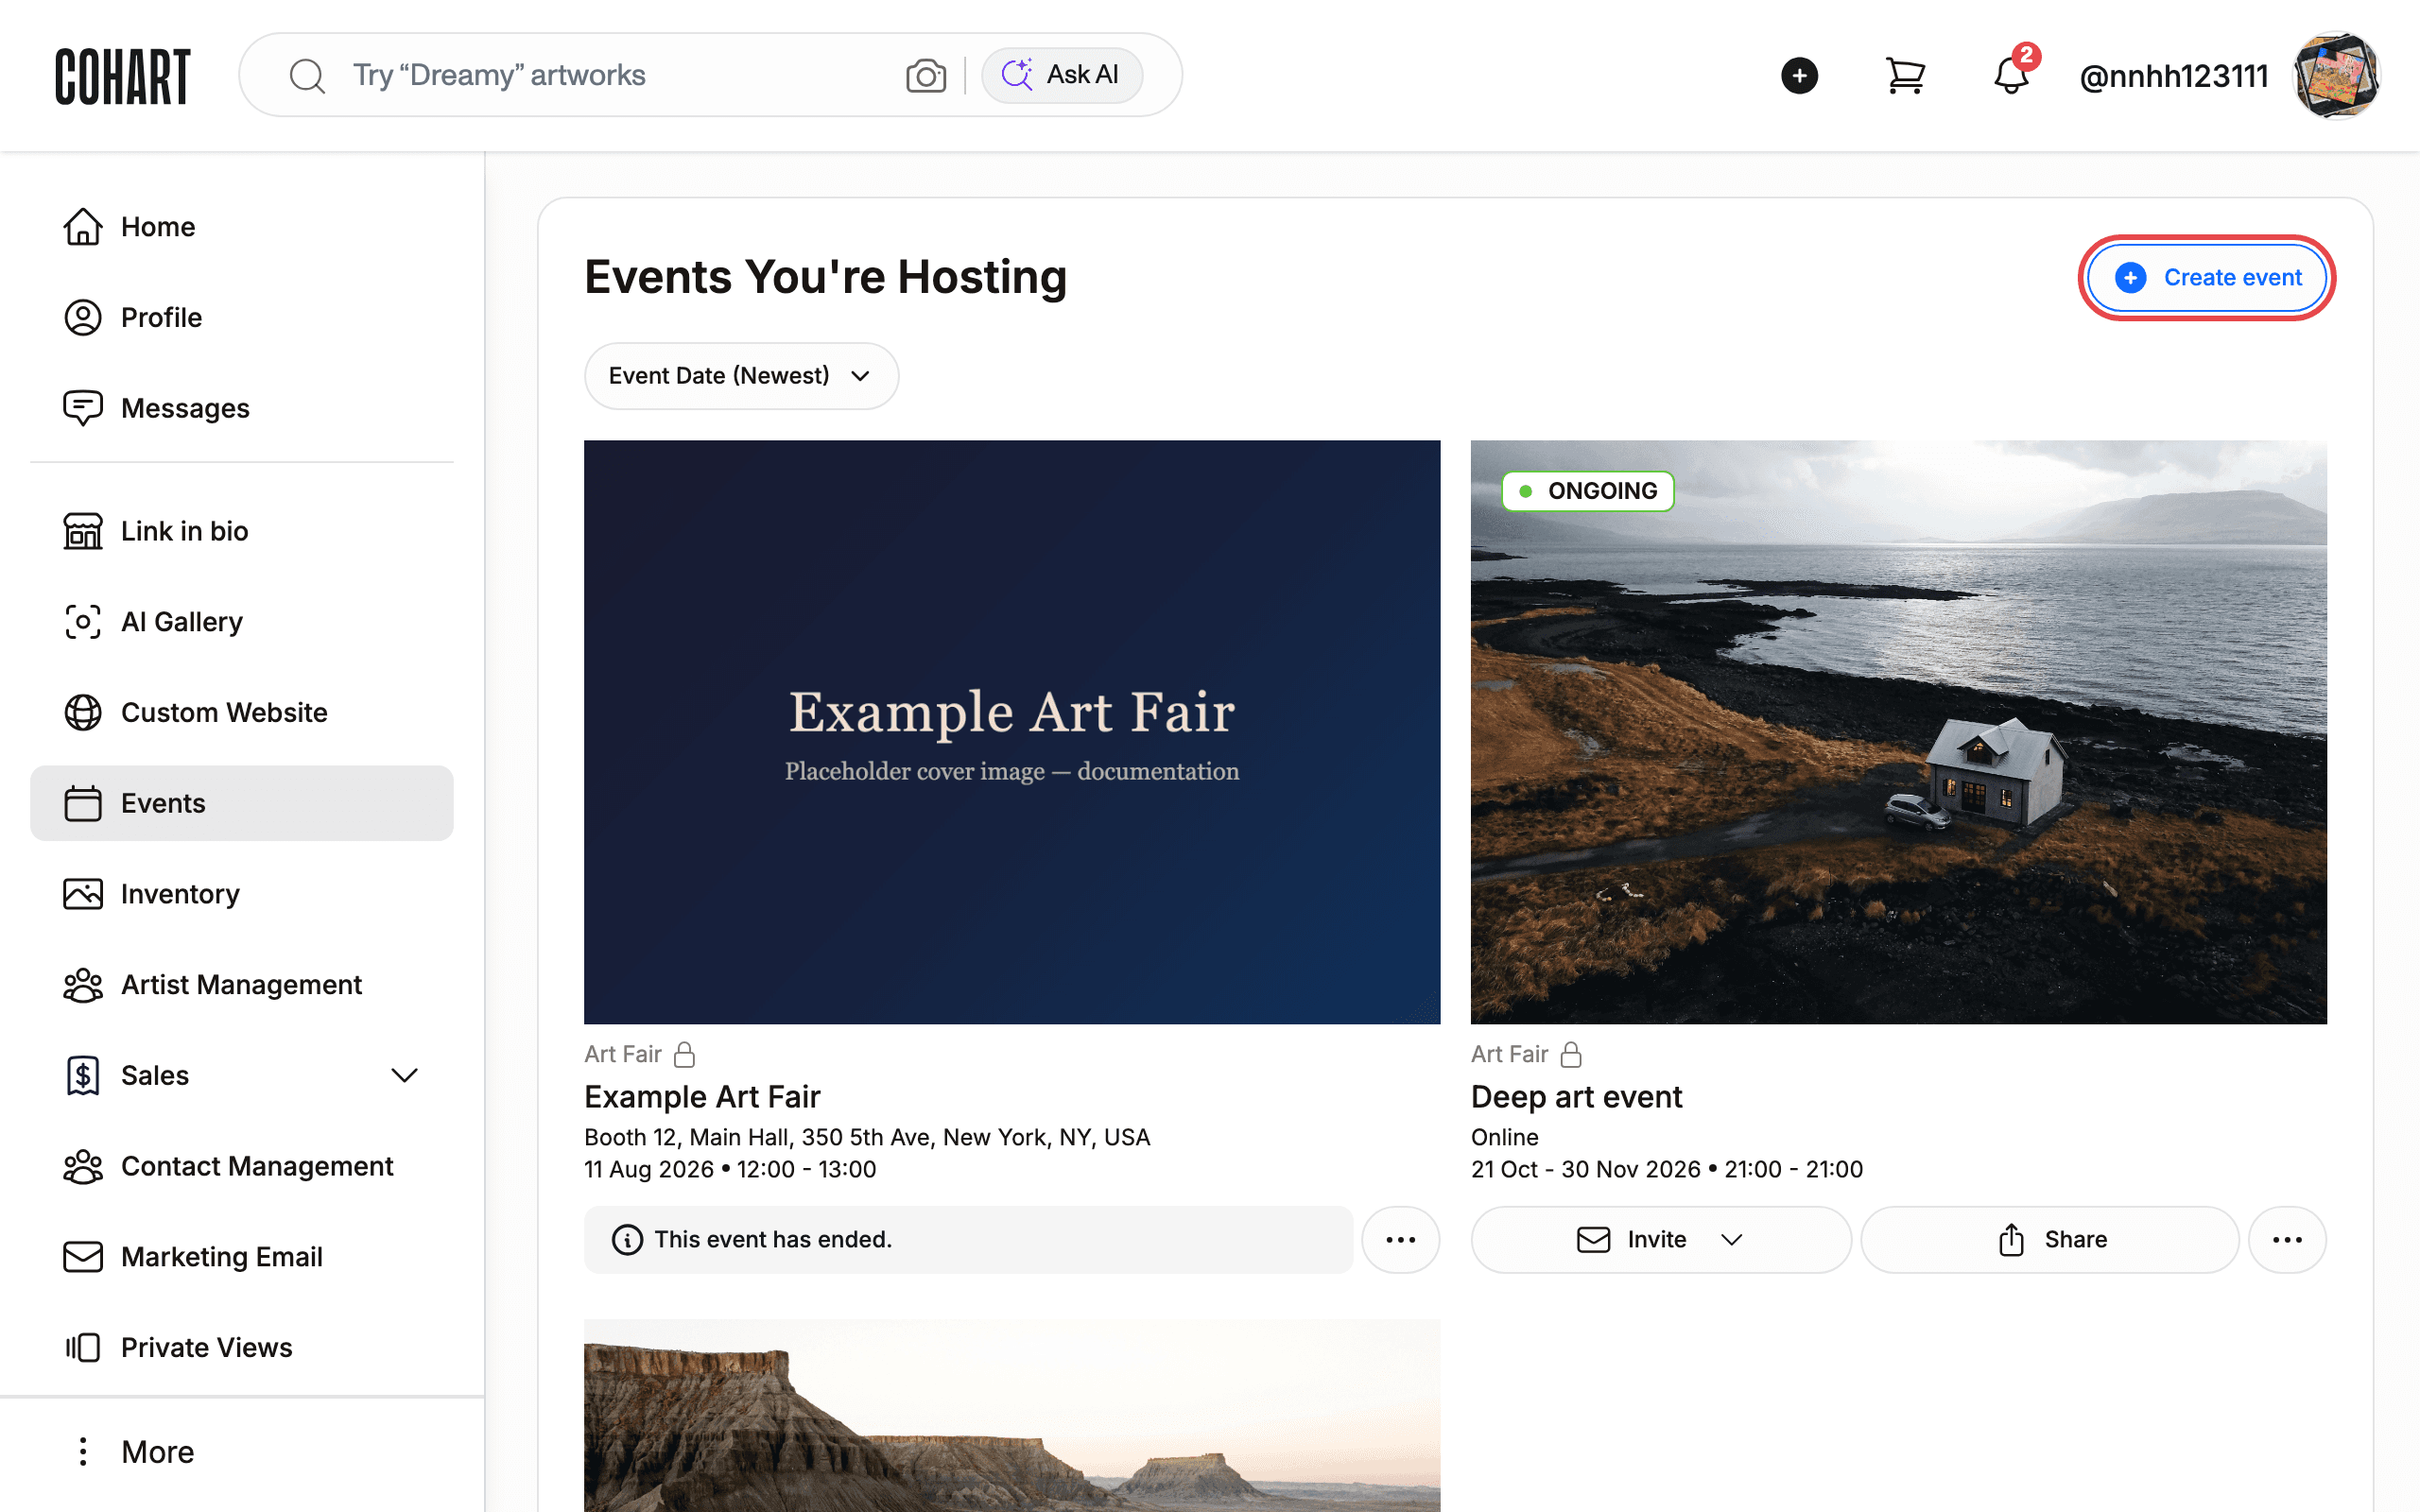
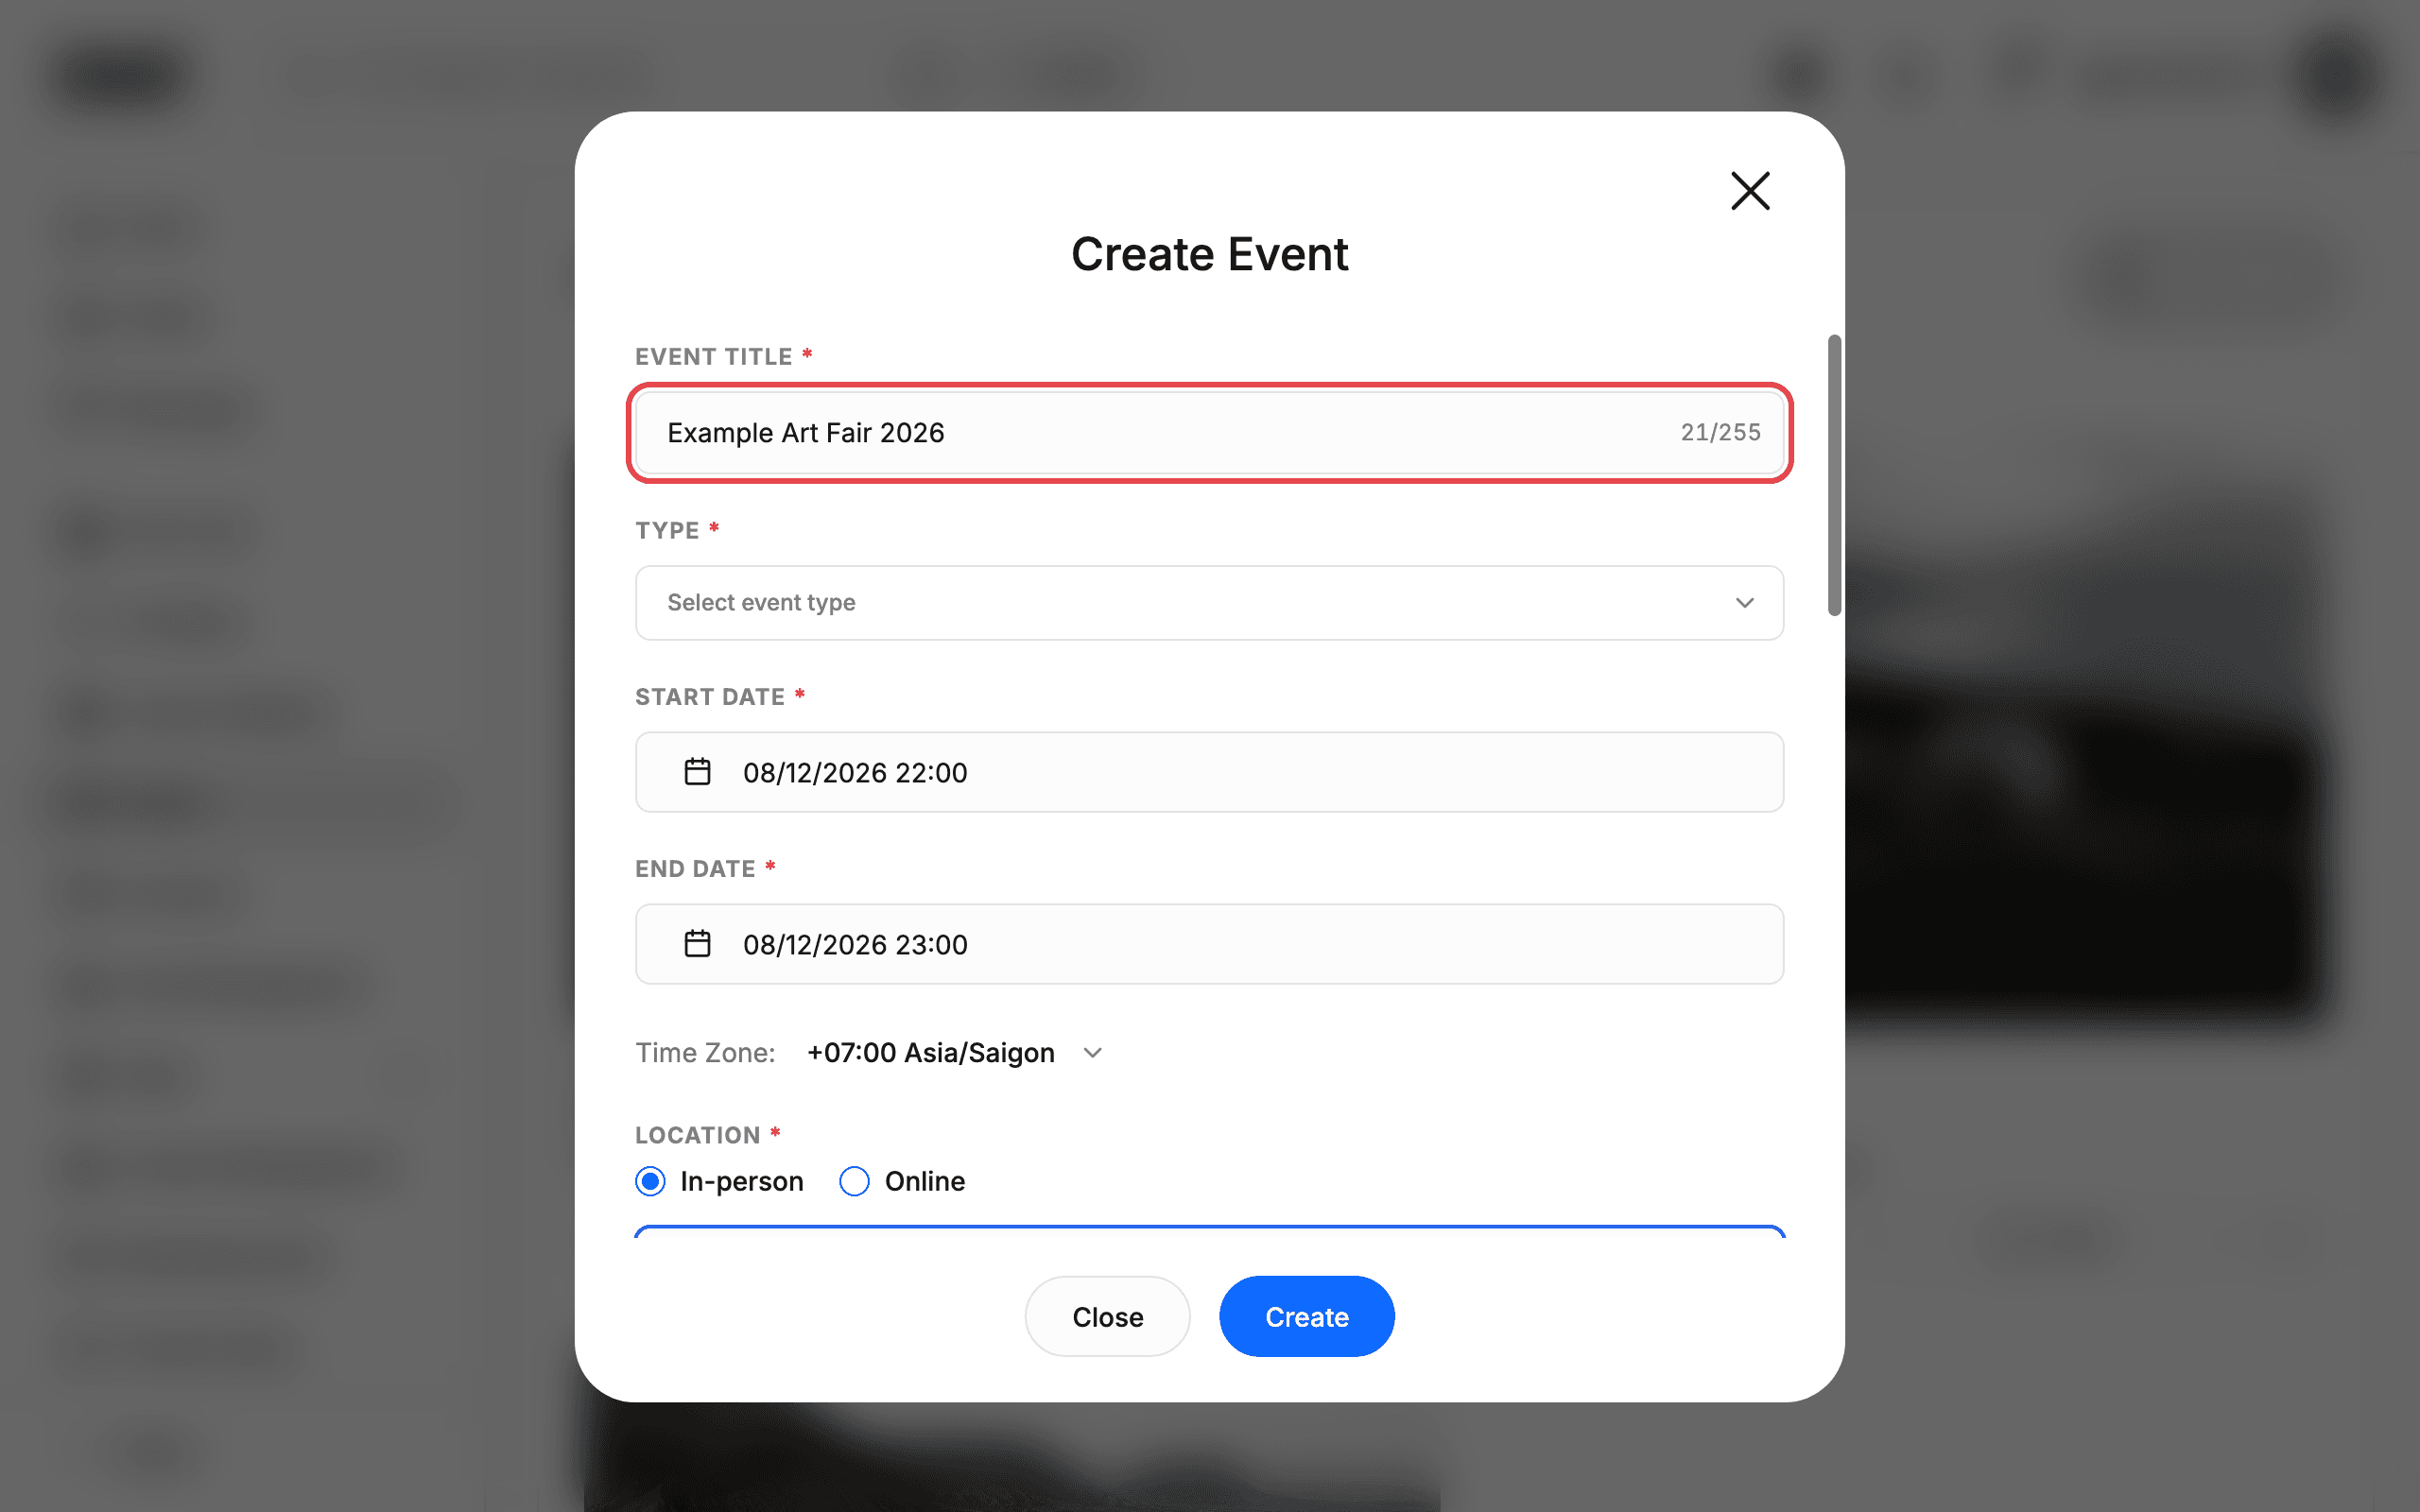
Click the Create event button at the top of the Events page. A form opens with all the fields you need to set up your event.
Step 4: Fill in event details
In the event creation form, enter the following:
- Event title — the name of your event (e.g. “Example Art Fair 2026”).
- Event type — select the type that best matches your event.
- Location — search for an address using the “Search address” field.
- Venue details (Optional) — add extra location information.
- Online URL — if applicable, add a link (e.g.
https://www.example.com). - Description — tell attendees about your event in the “Tell people a little more about your event” field.
- Image — upload a cover image for your event.
- Capacity — set the maximum number of attendees (defaults to “Unlimited”).
- Commission — set commission percentages if applicable.
Step 5: View your event on the listing
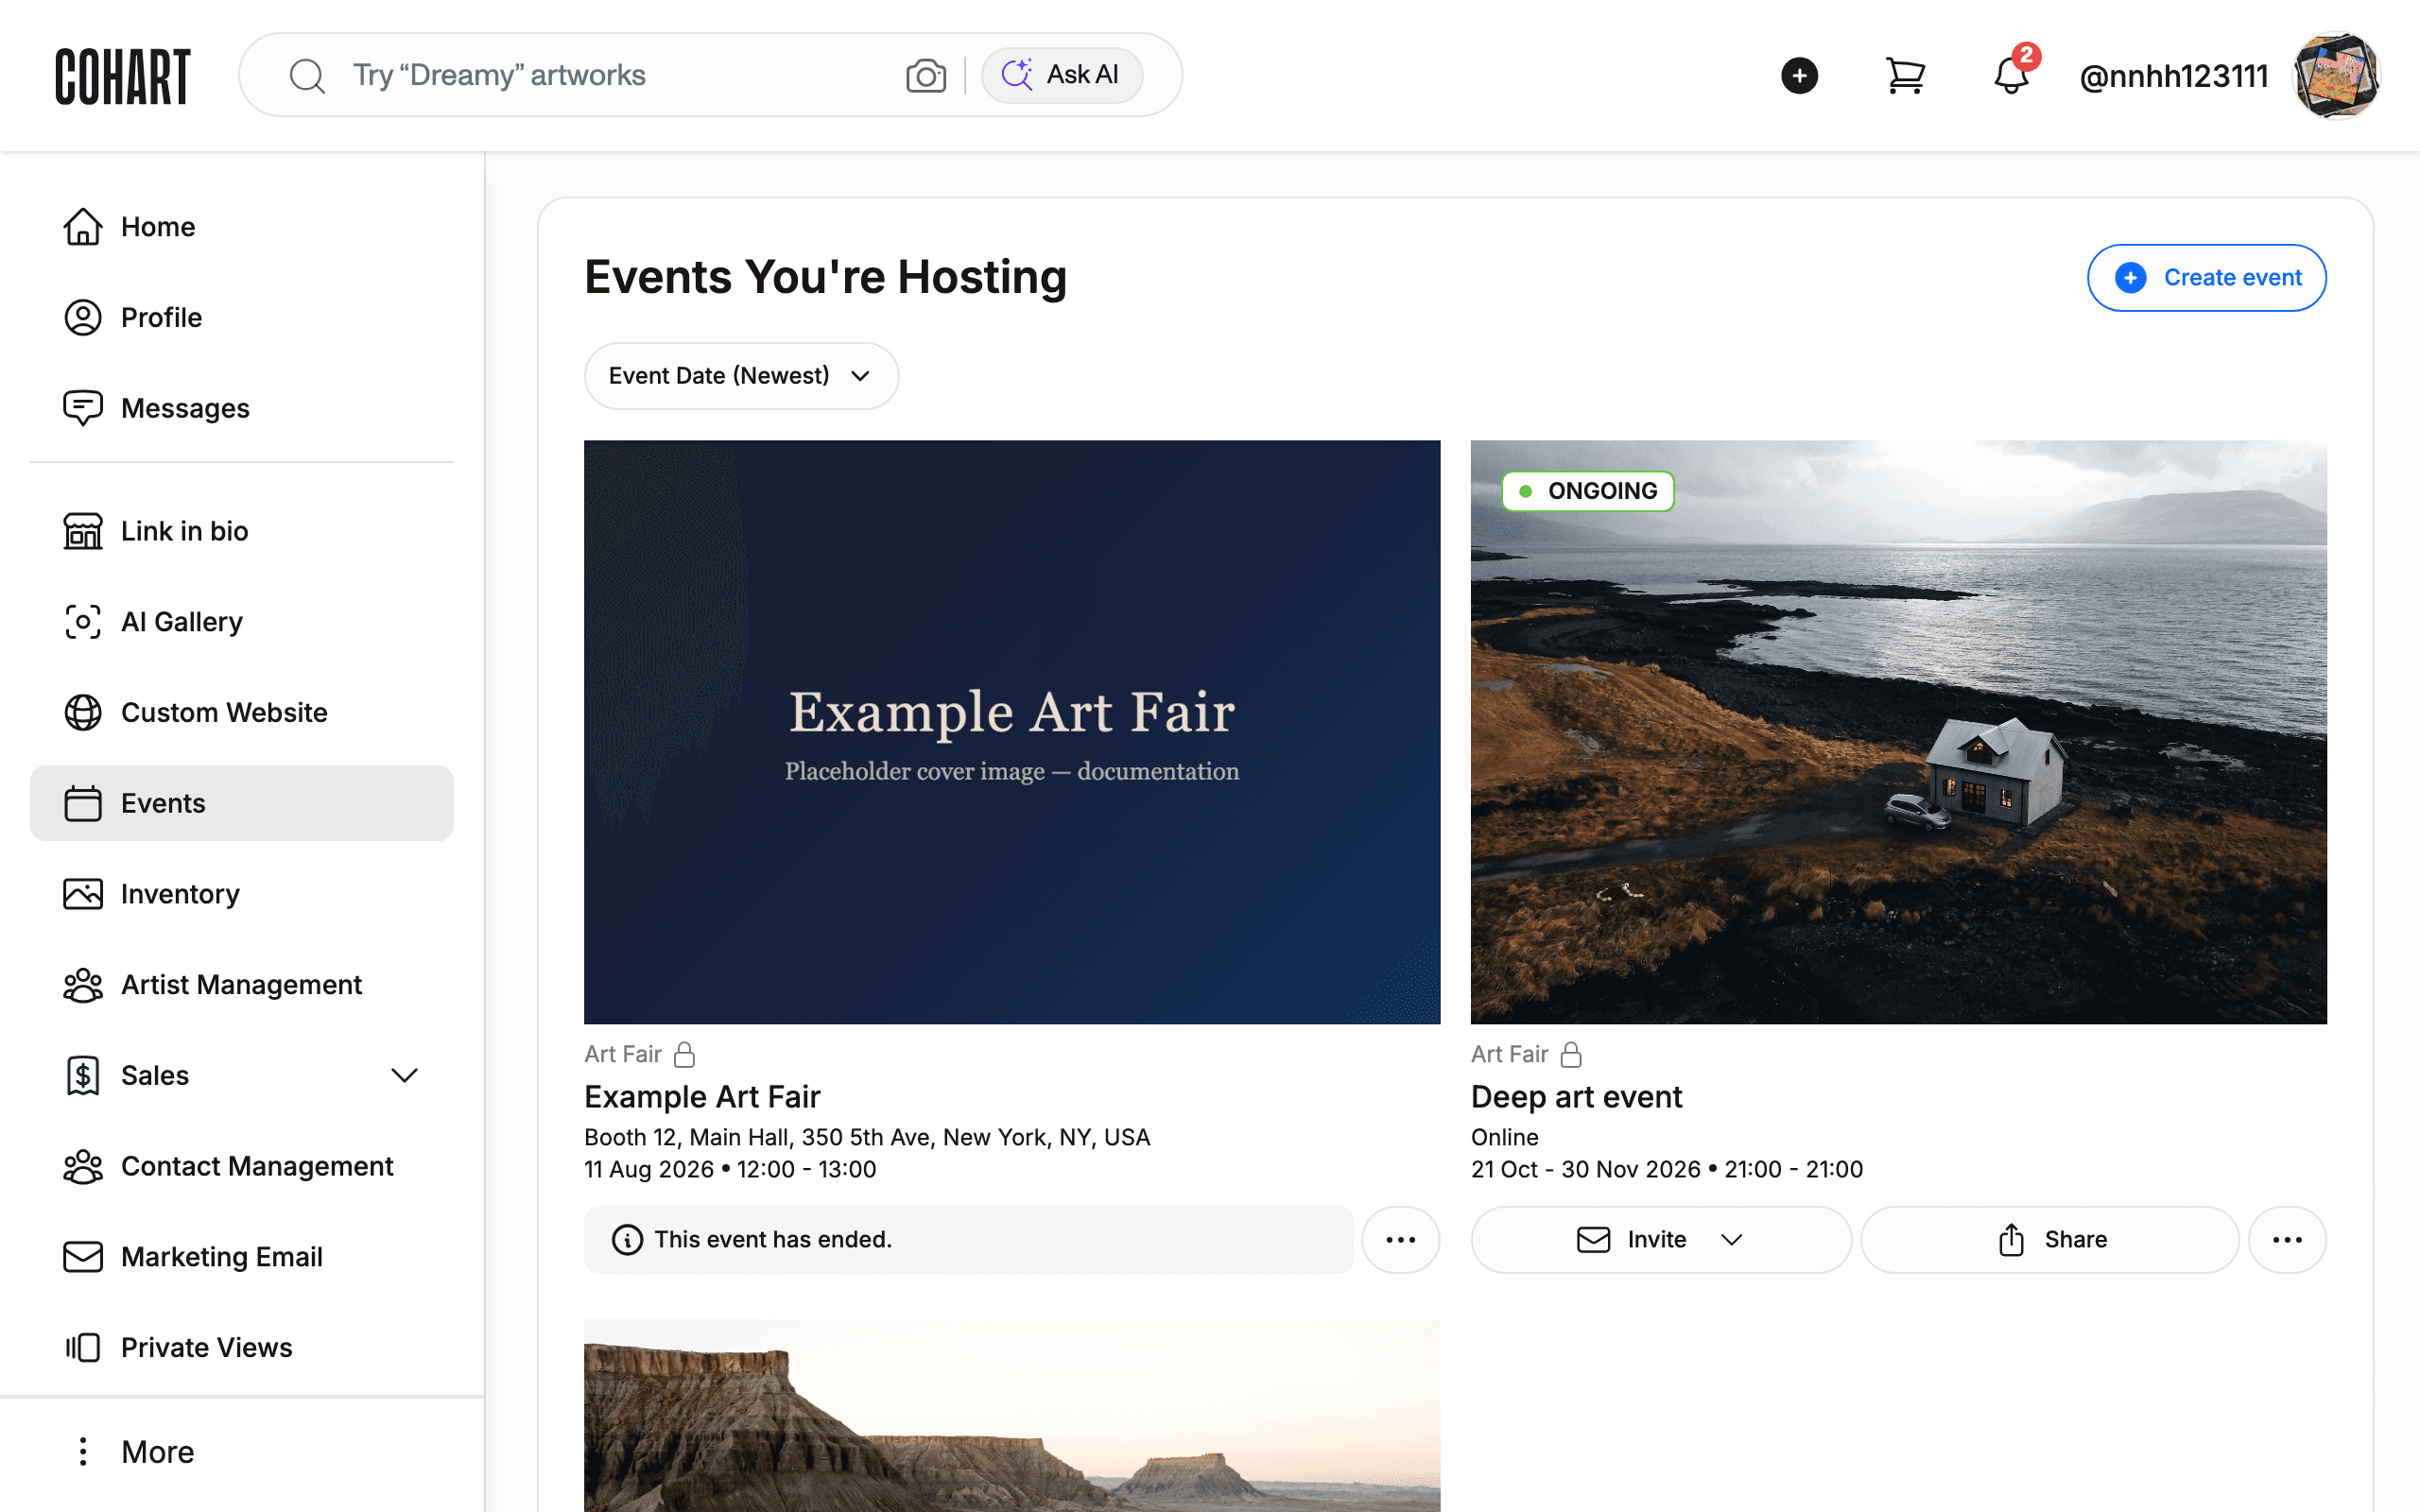
After creating the event, it appears on the Events listing page. Each event card shows the event name, date, and action buttons:
- Going — mark that you are attending.
- Maybe — mark that you might attend.
- RSVP — respond to the invitation.
- Invite — invite others to the event.
- Share — share the event.
Step 6: Open your event to manage it
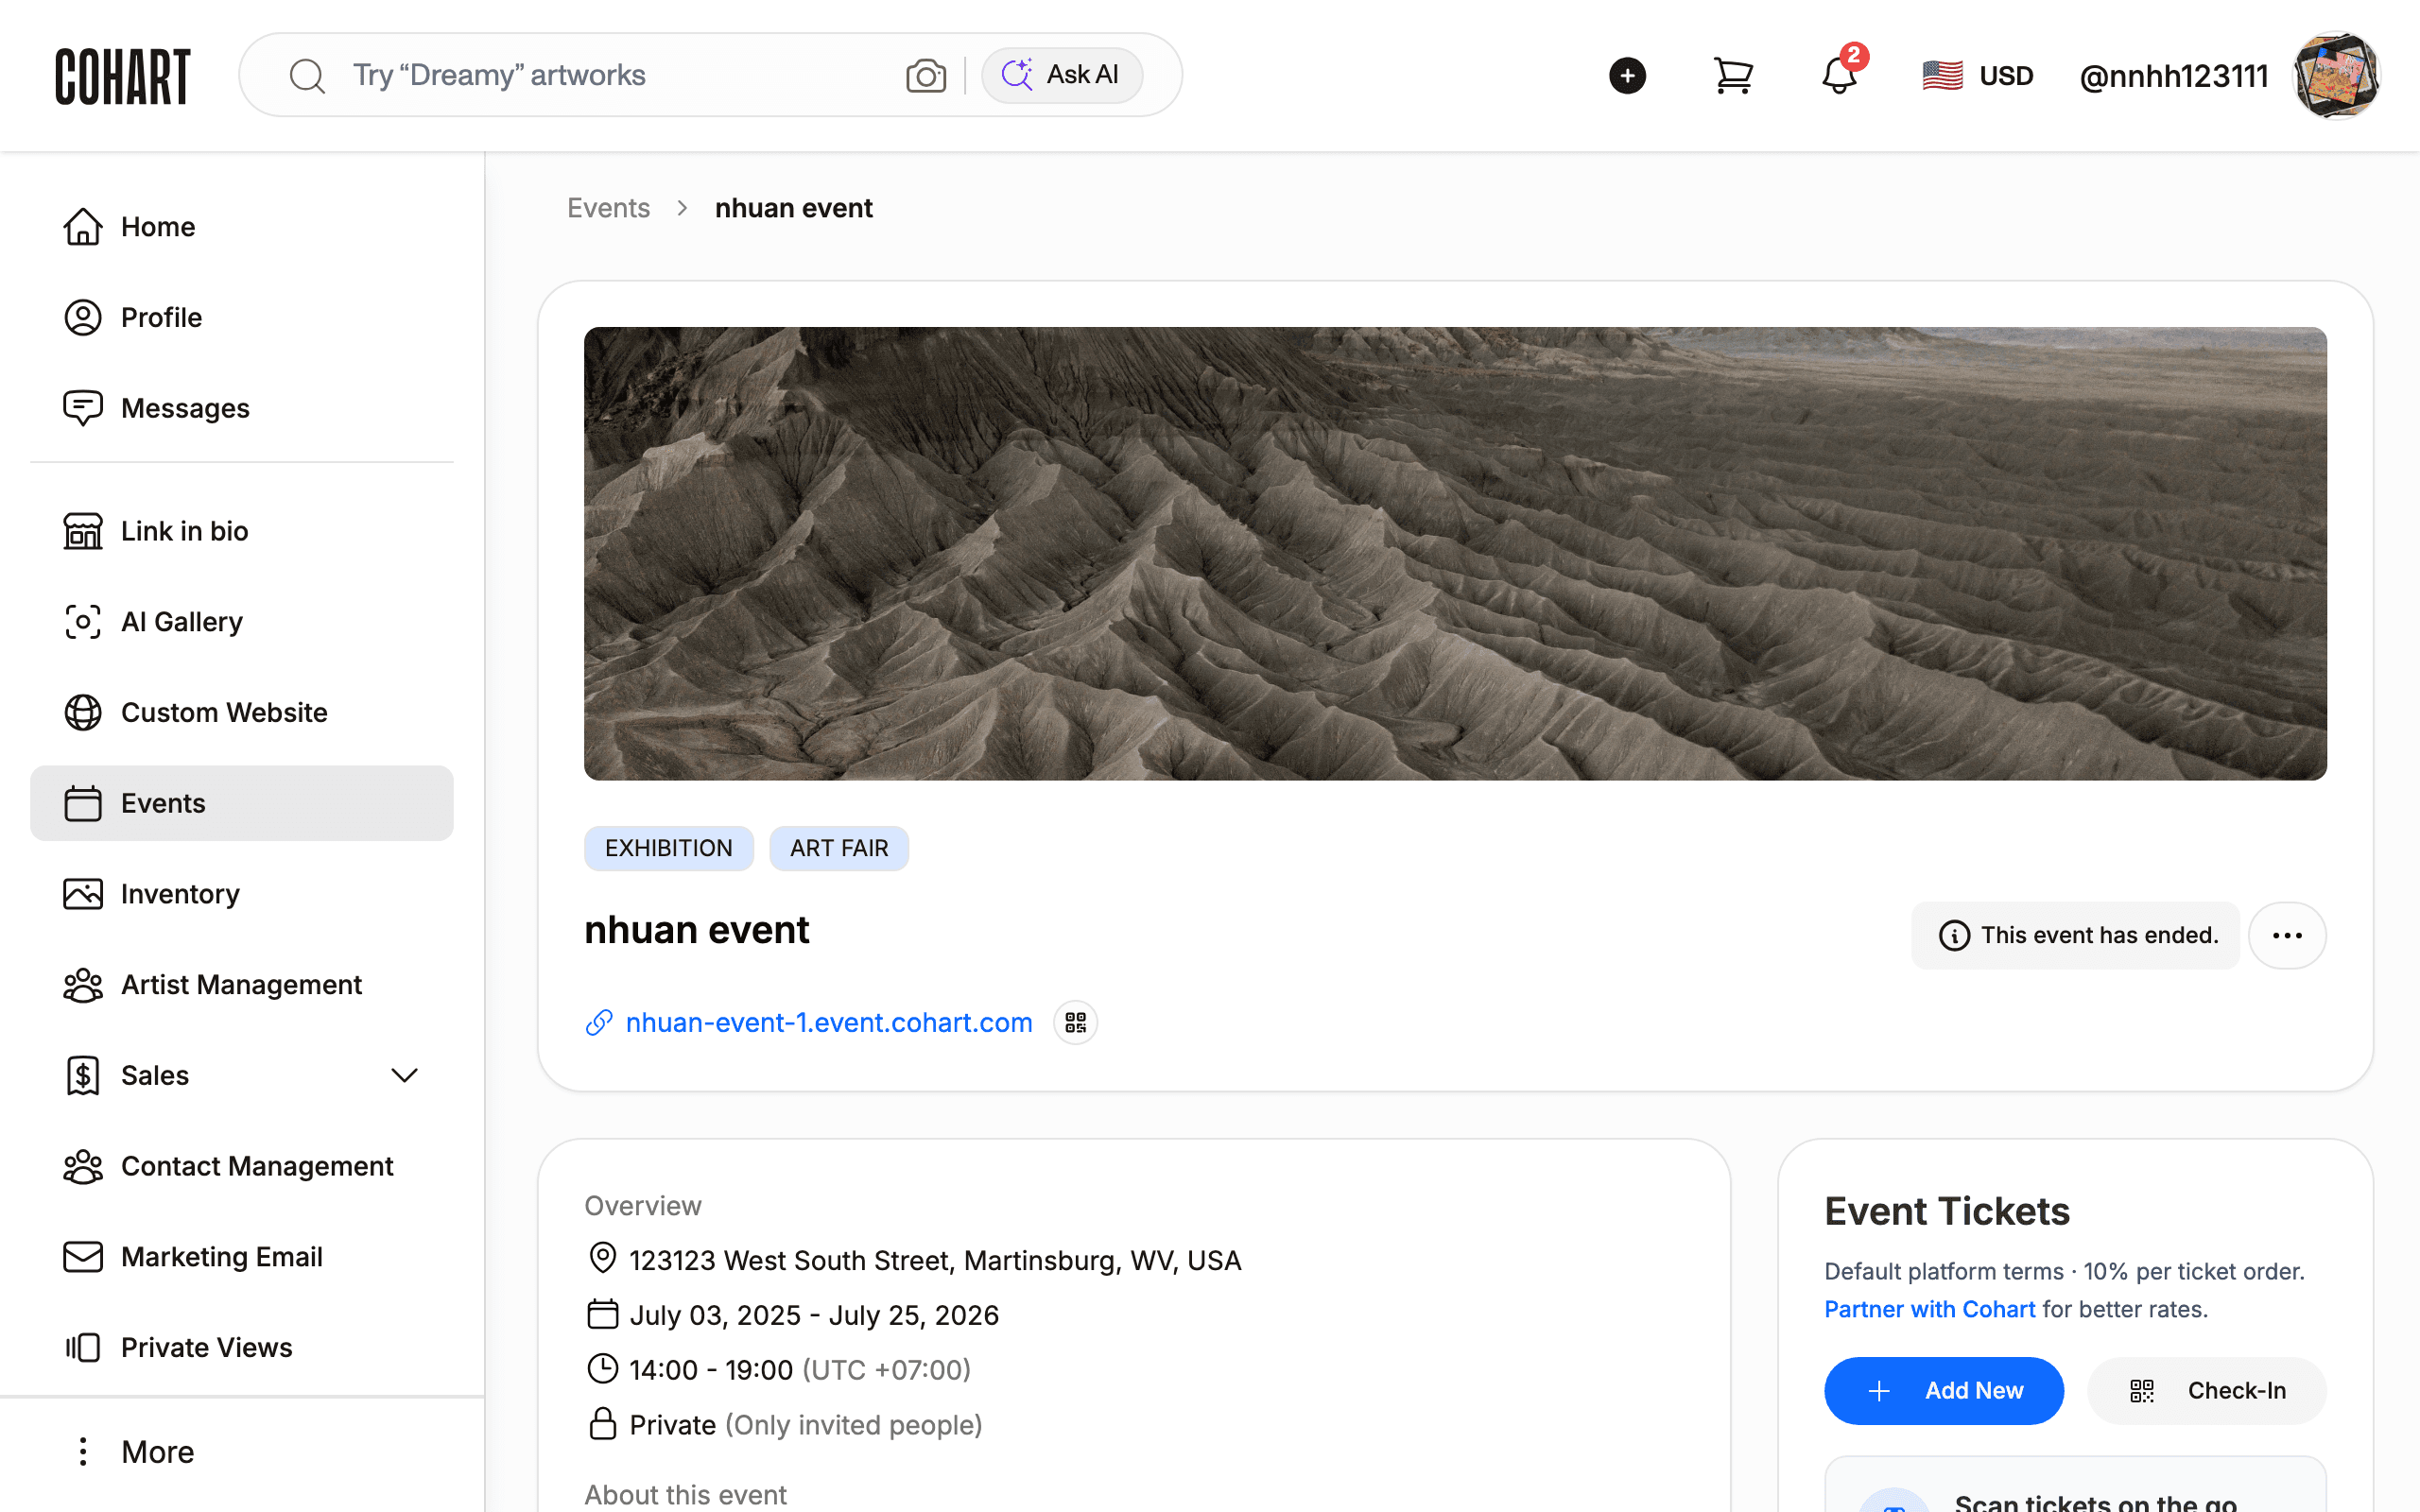
Click on the event name to open its detail page. For example, click nhuan event to open that event’s management page.
Step 7: Use the management tabs
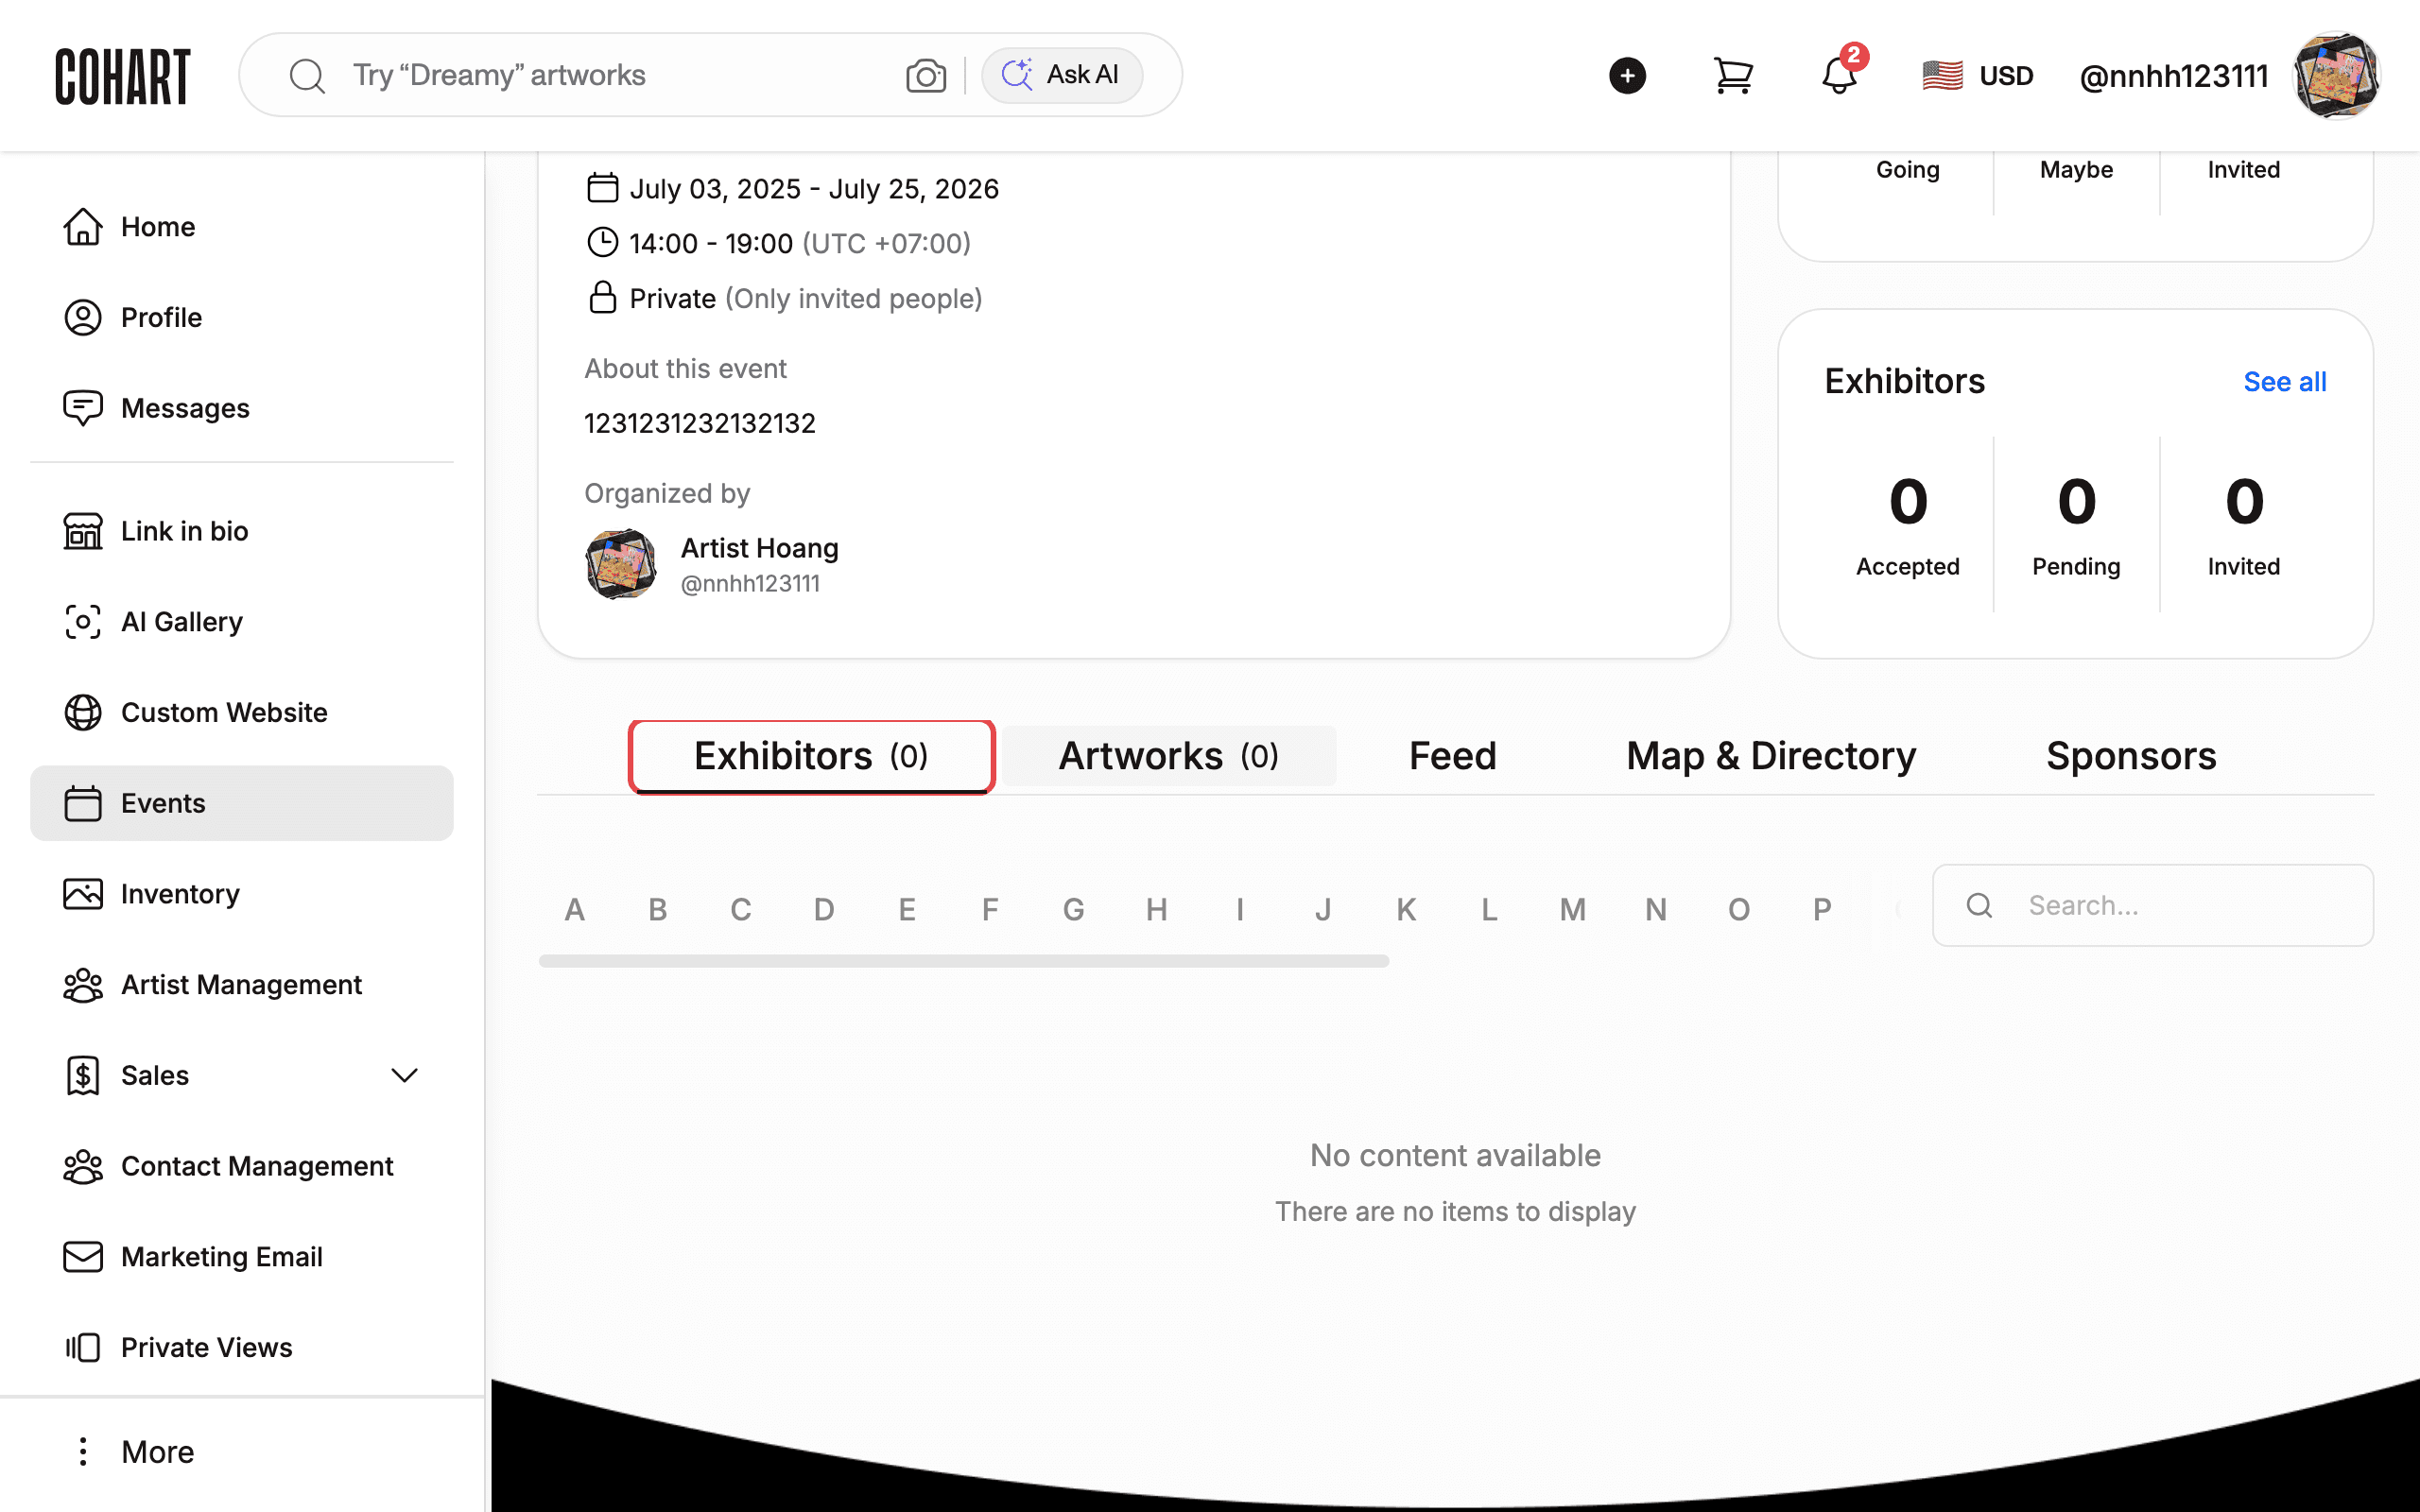
The event detail page has tabs for managing different aspects of your event:
- Exhibitors — manage the exhibitors participating in your event. The count shows in the tab label (e.g. “Exhibitors(0)”).
- Artworks — manage artworks displayed at the event.
- Feed — view and post updates.
- Map & Directory — manage the event map and directory.
- Sponsors — manage sponsors.
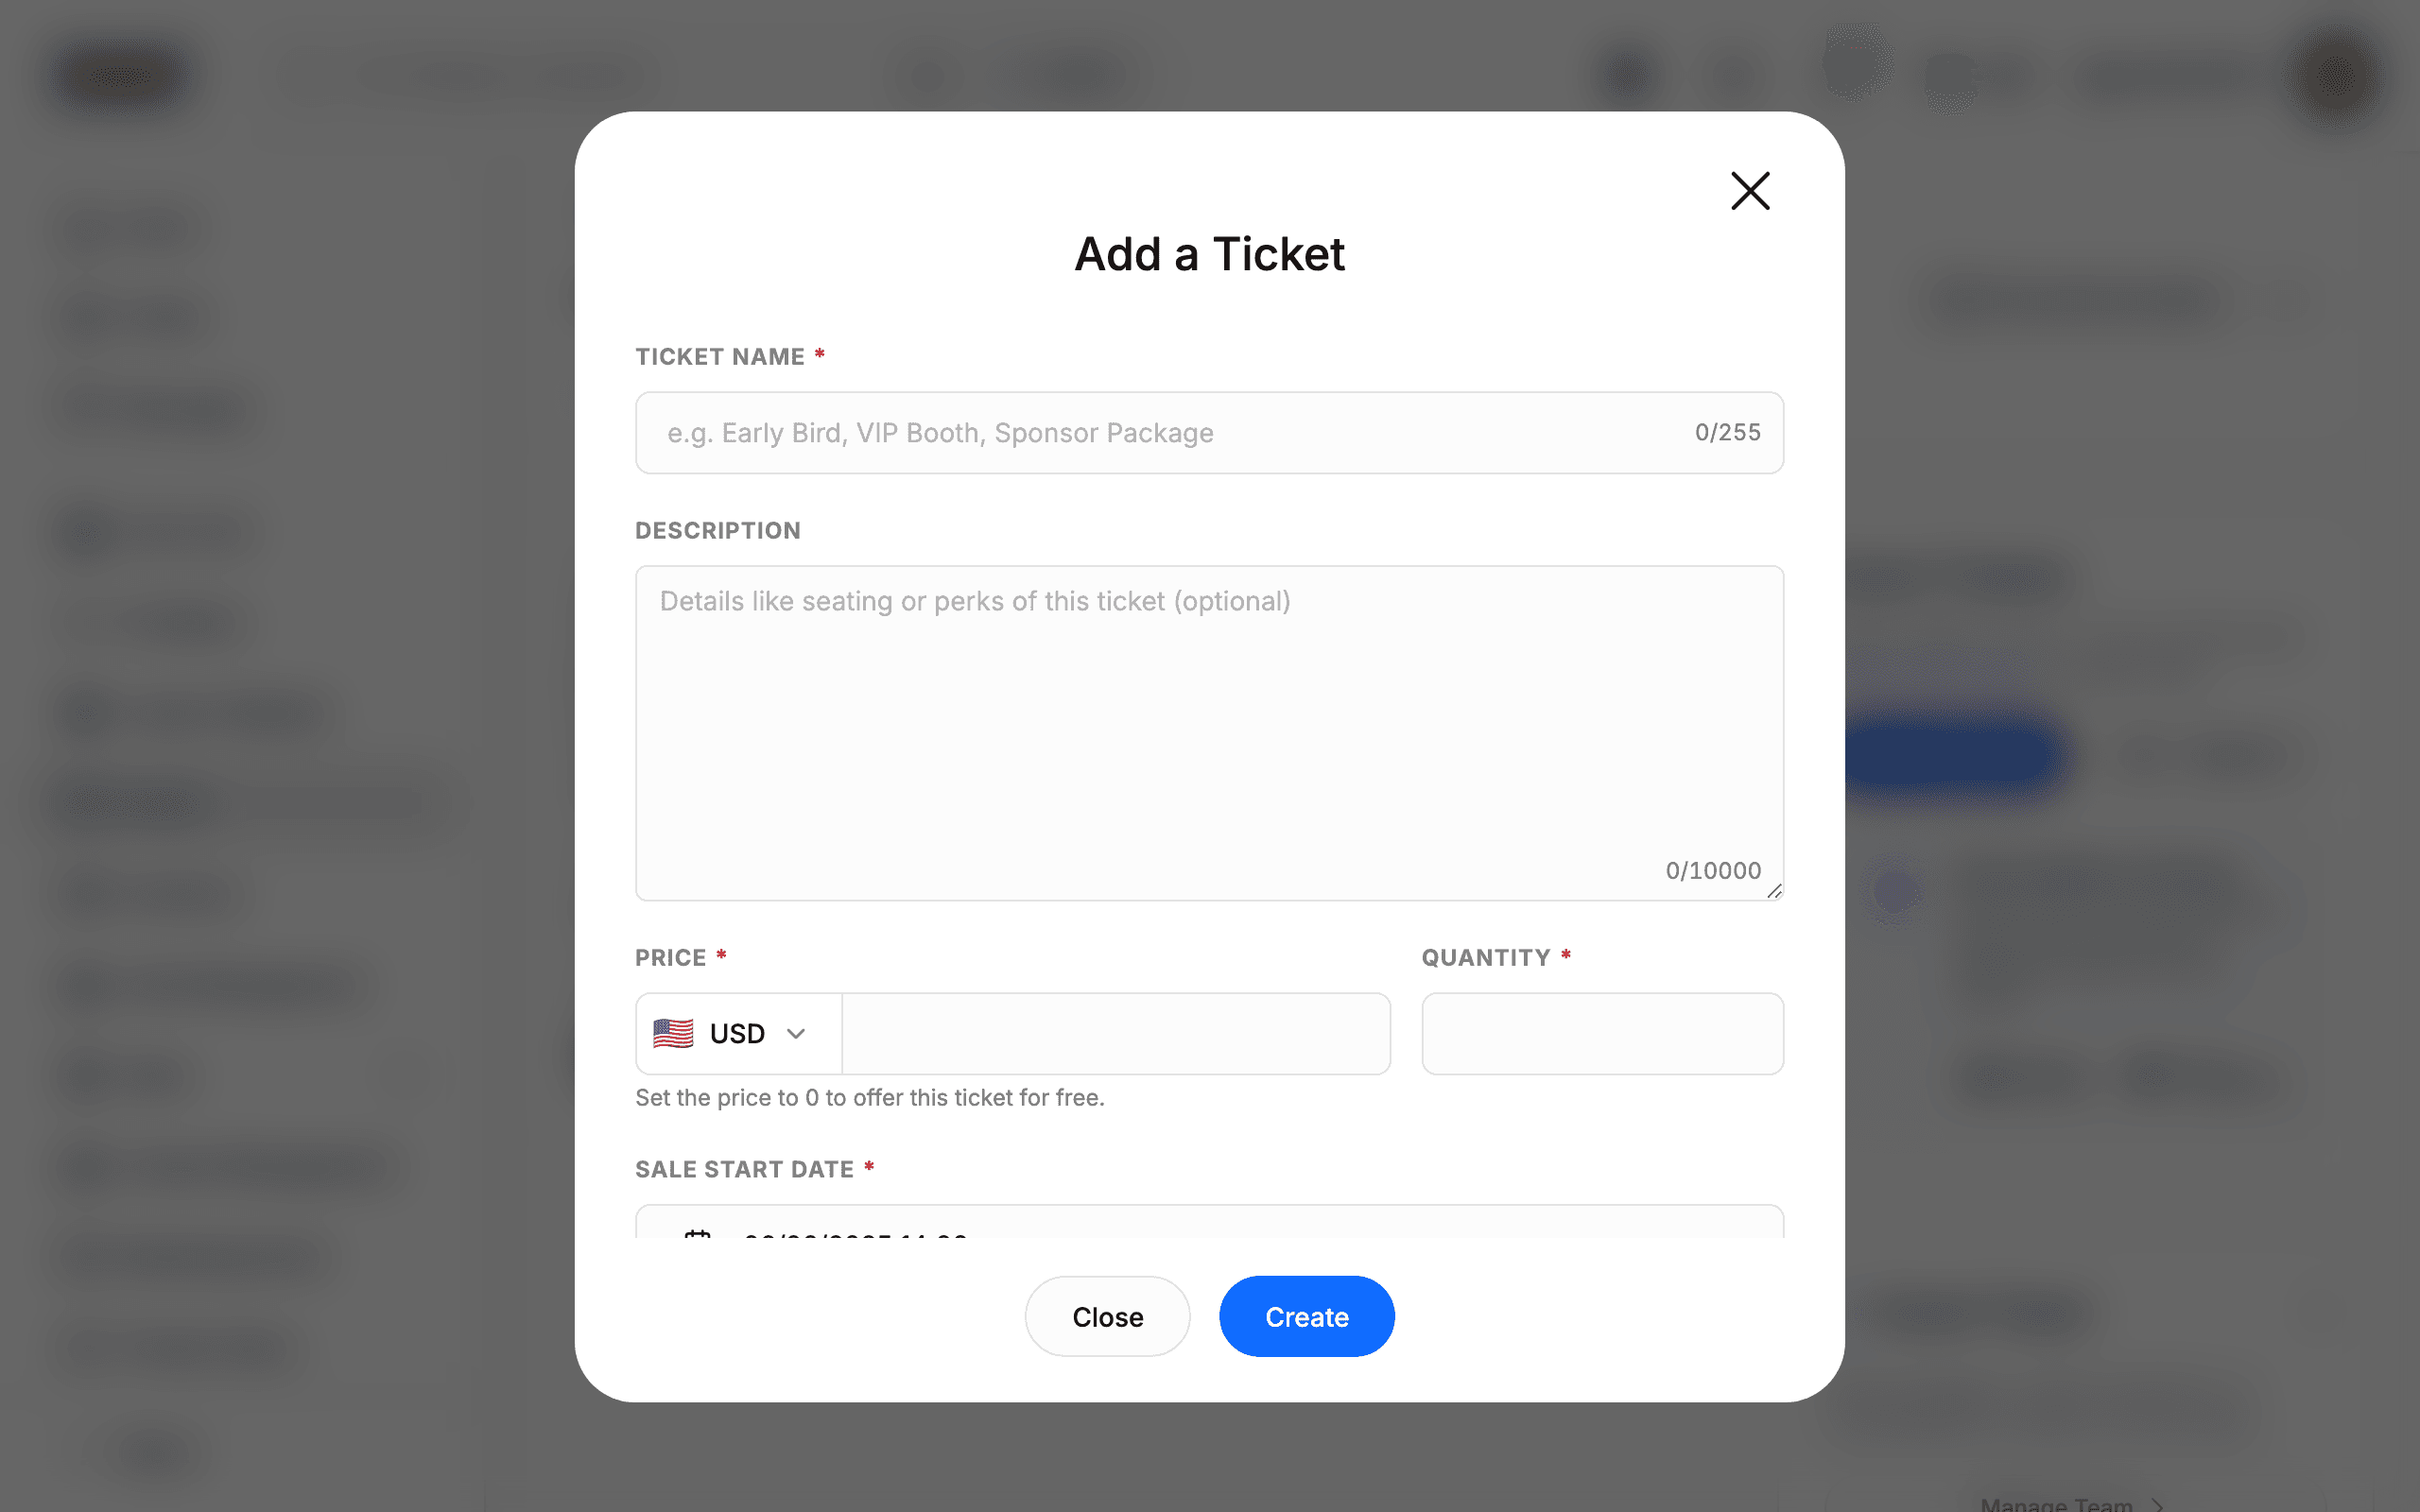
Step 8: Add a new exhibitor
Click Add New to add an exhibitor or ticket type. A form opens where you enter:
- First name
- Email address
- Ticket or package details (e.g. “Early Bird”, “VIP Booth”, “Sponsor Package”)
- Details — optional information like seating or perks
Other actions on this page: Click Check-In to manage attendee check-ins, or click Donation Report to view donation data.
Step 9: Manage your team
Click Manage Team to go to the team management page (/event/{event-id}/team).
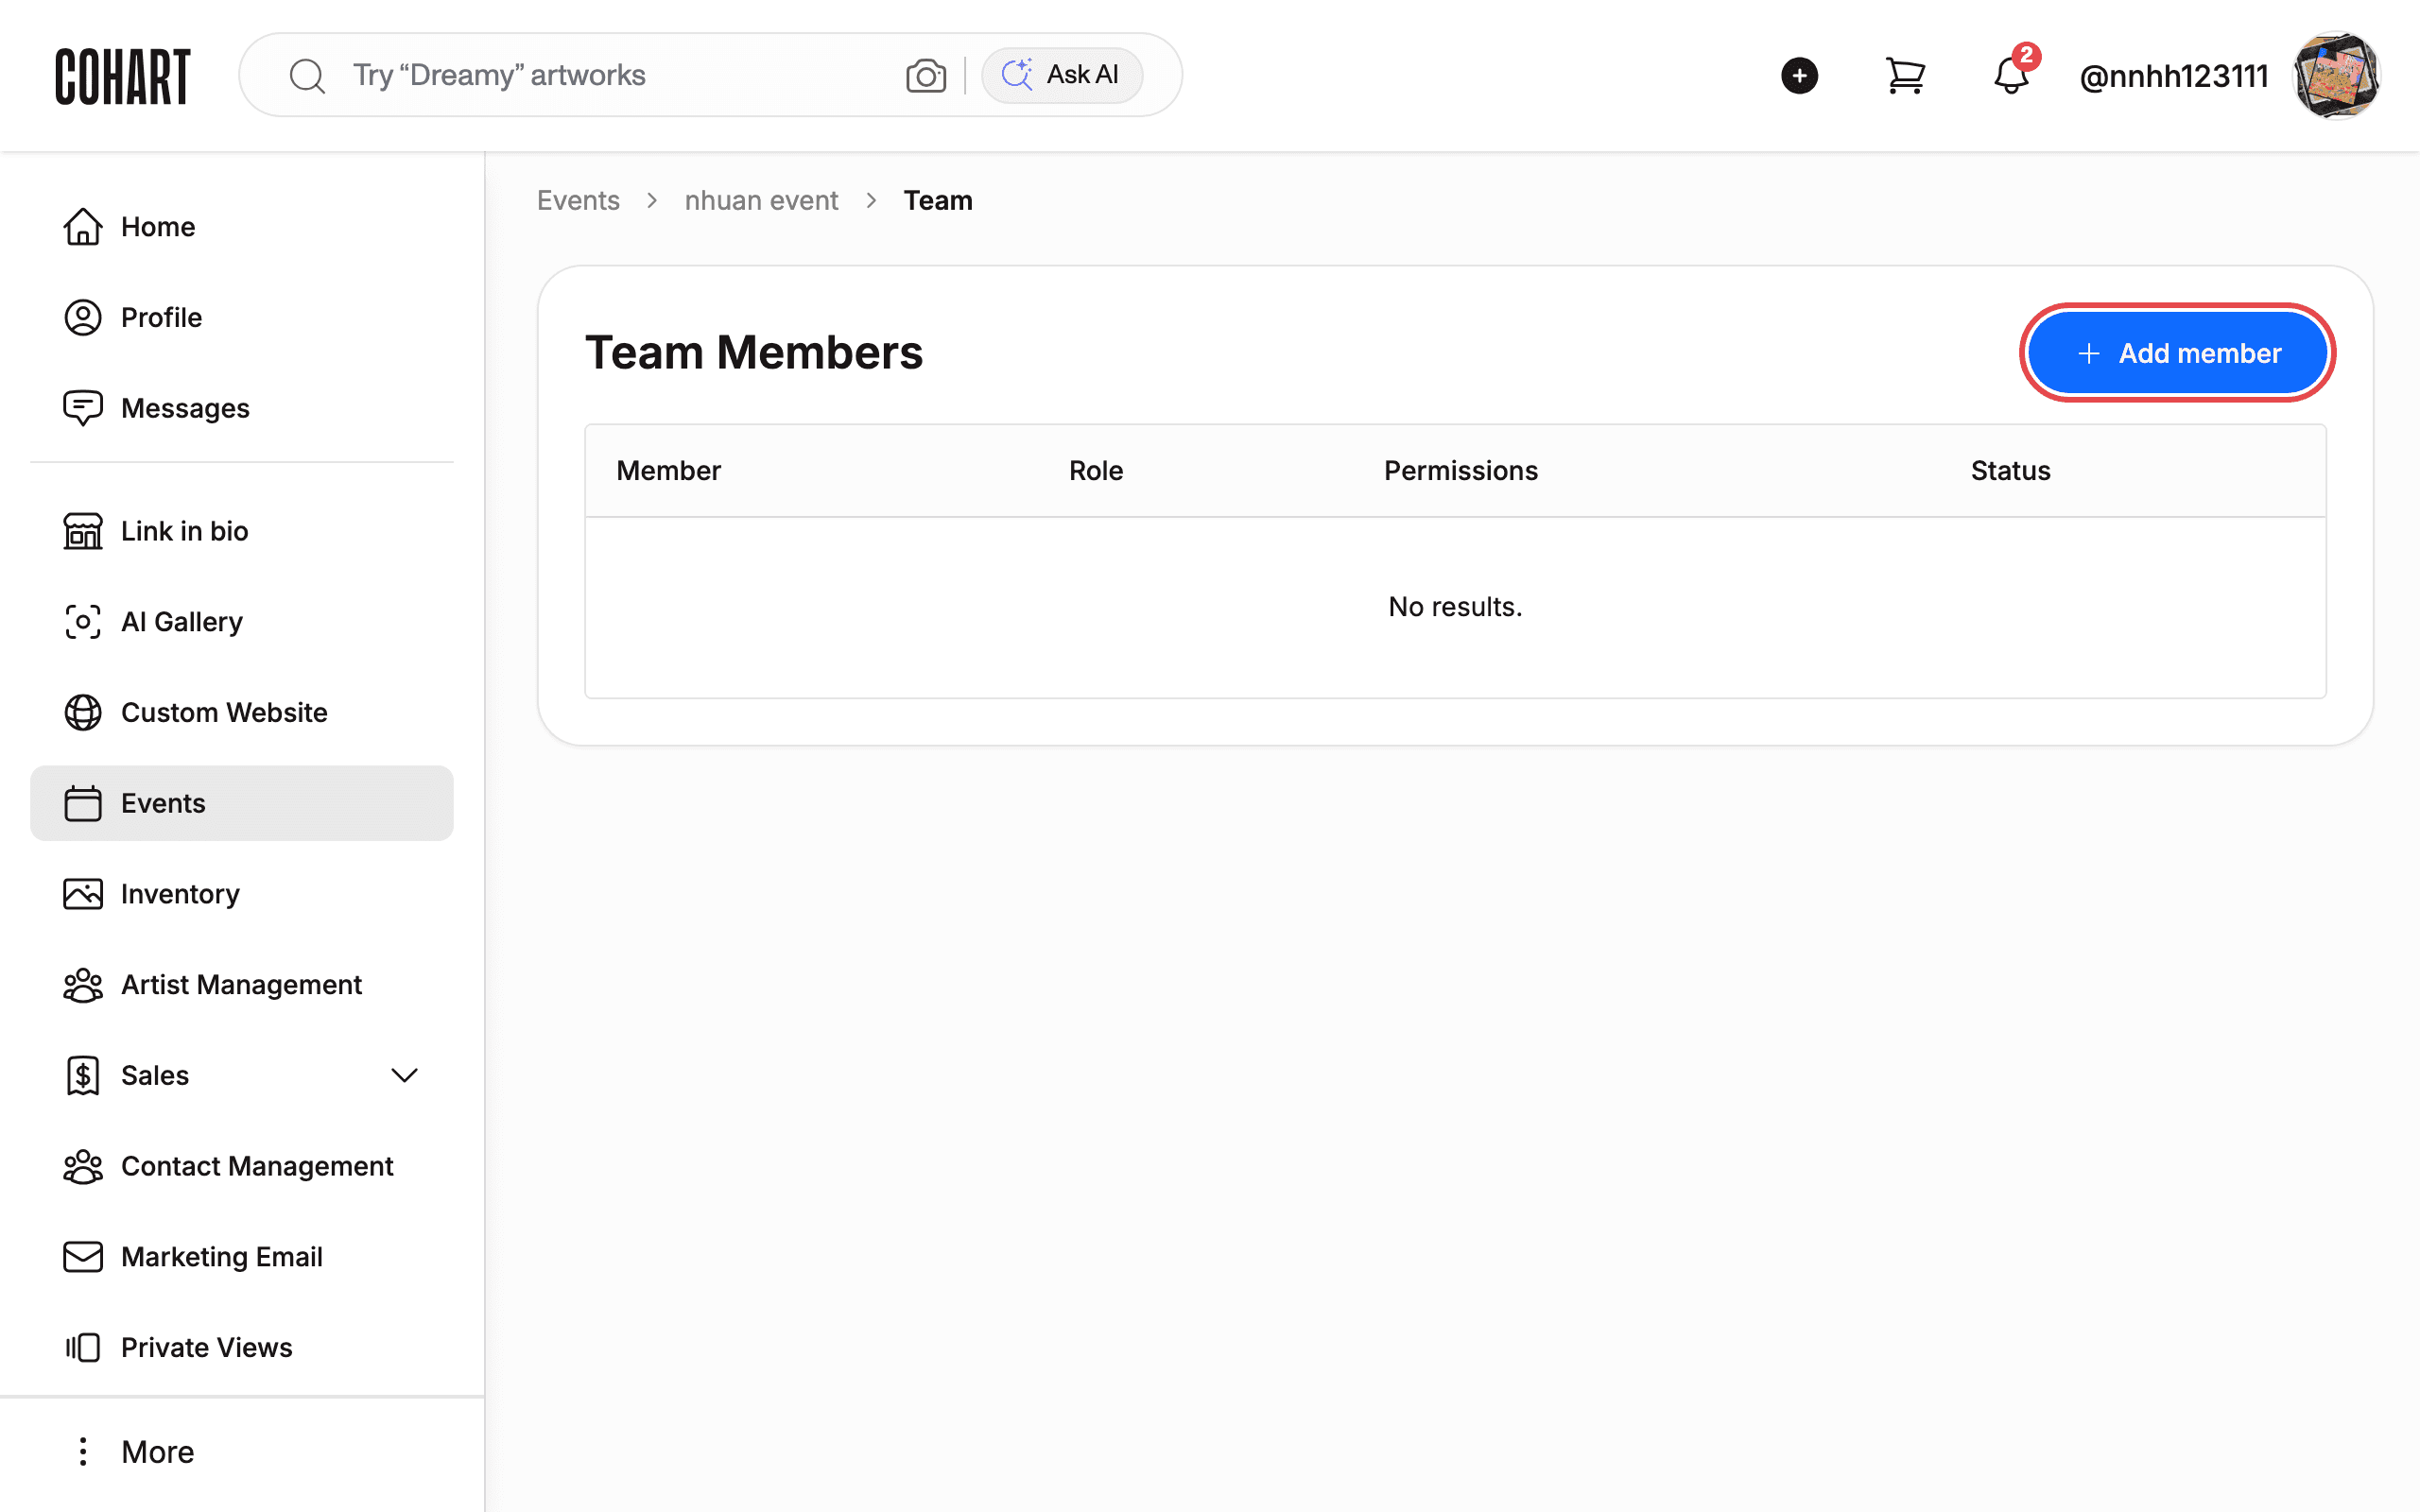
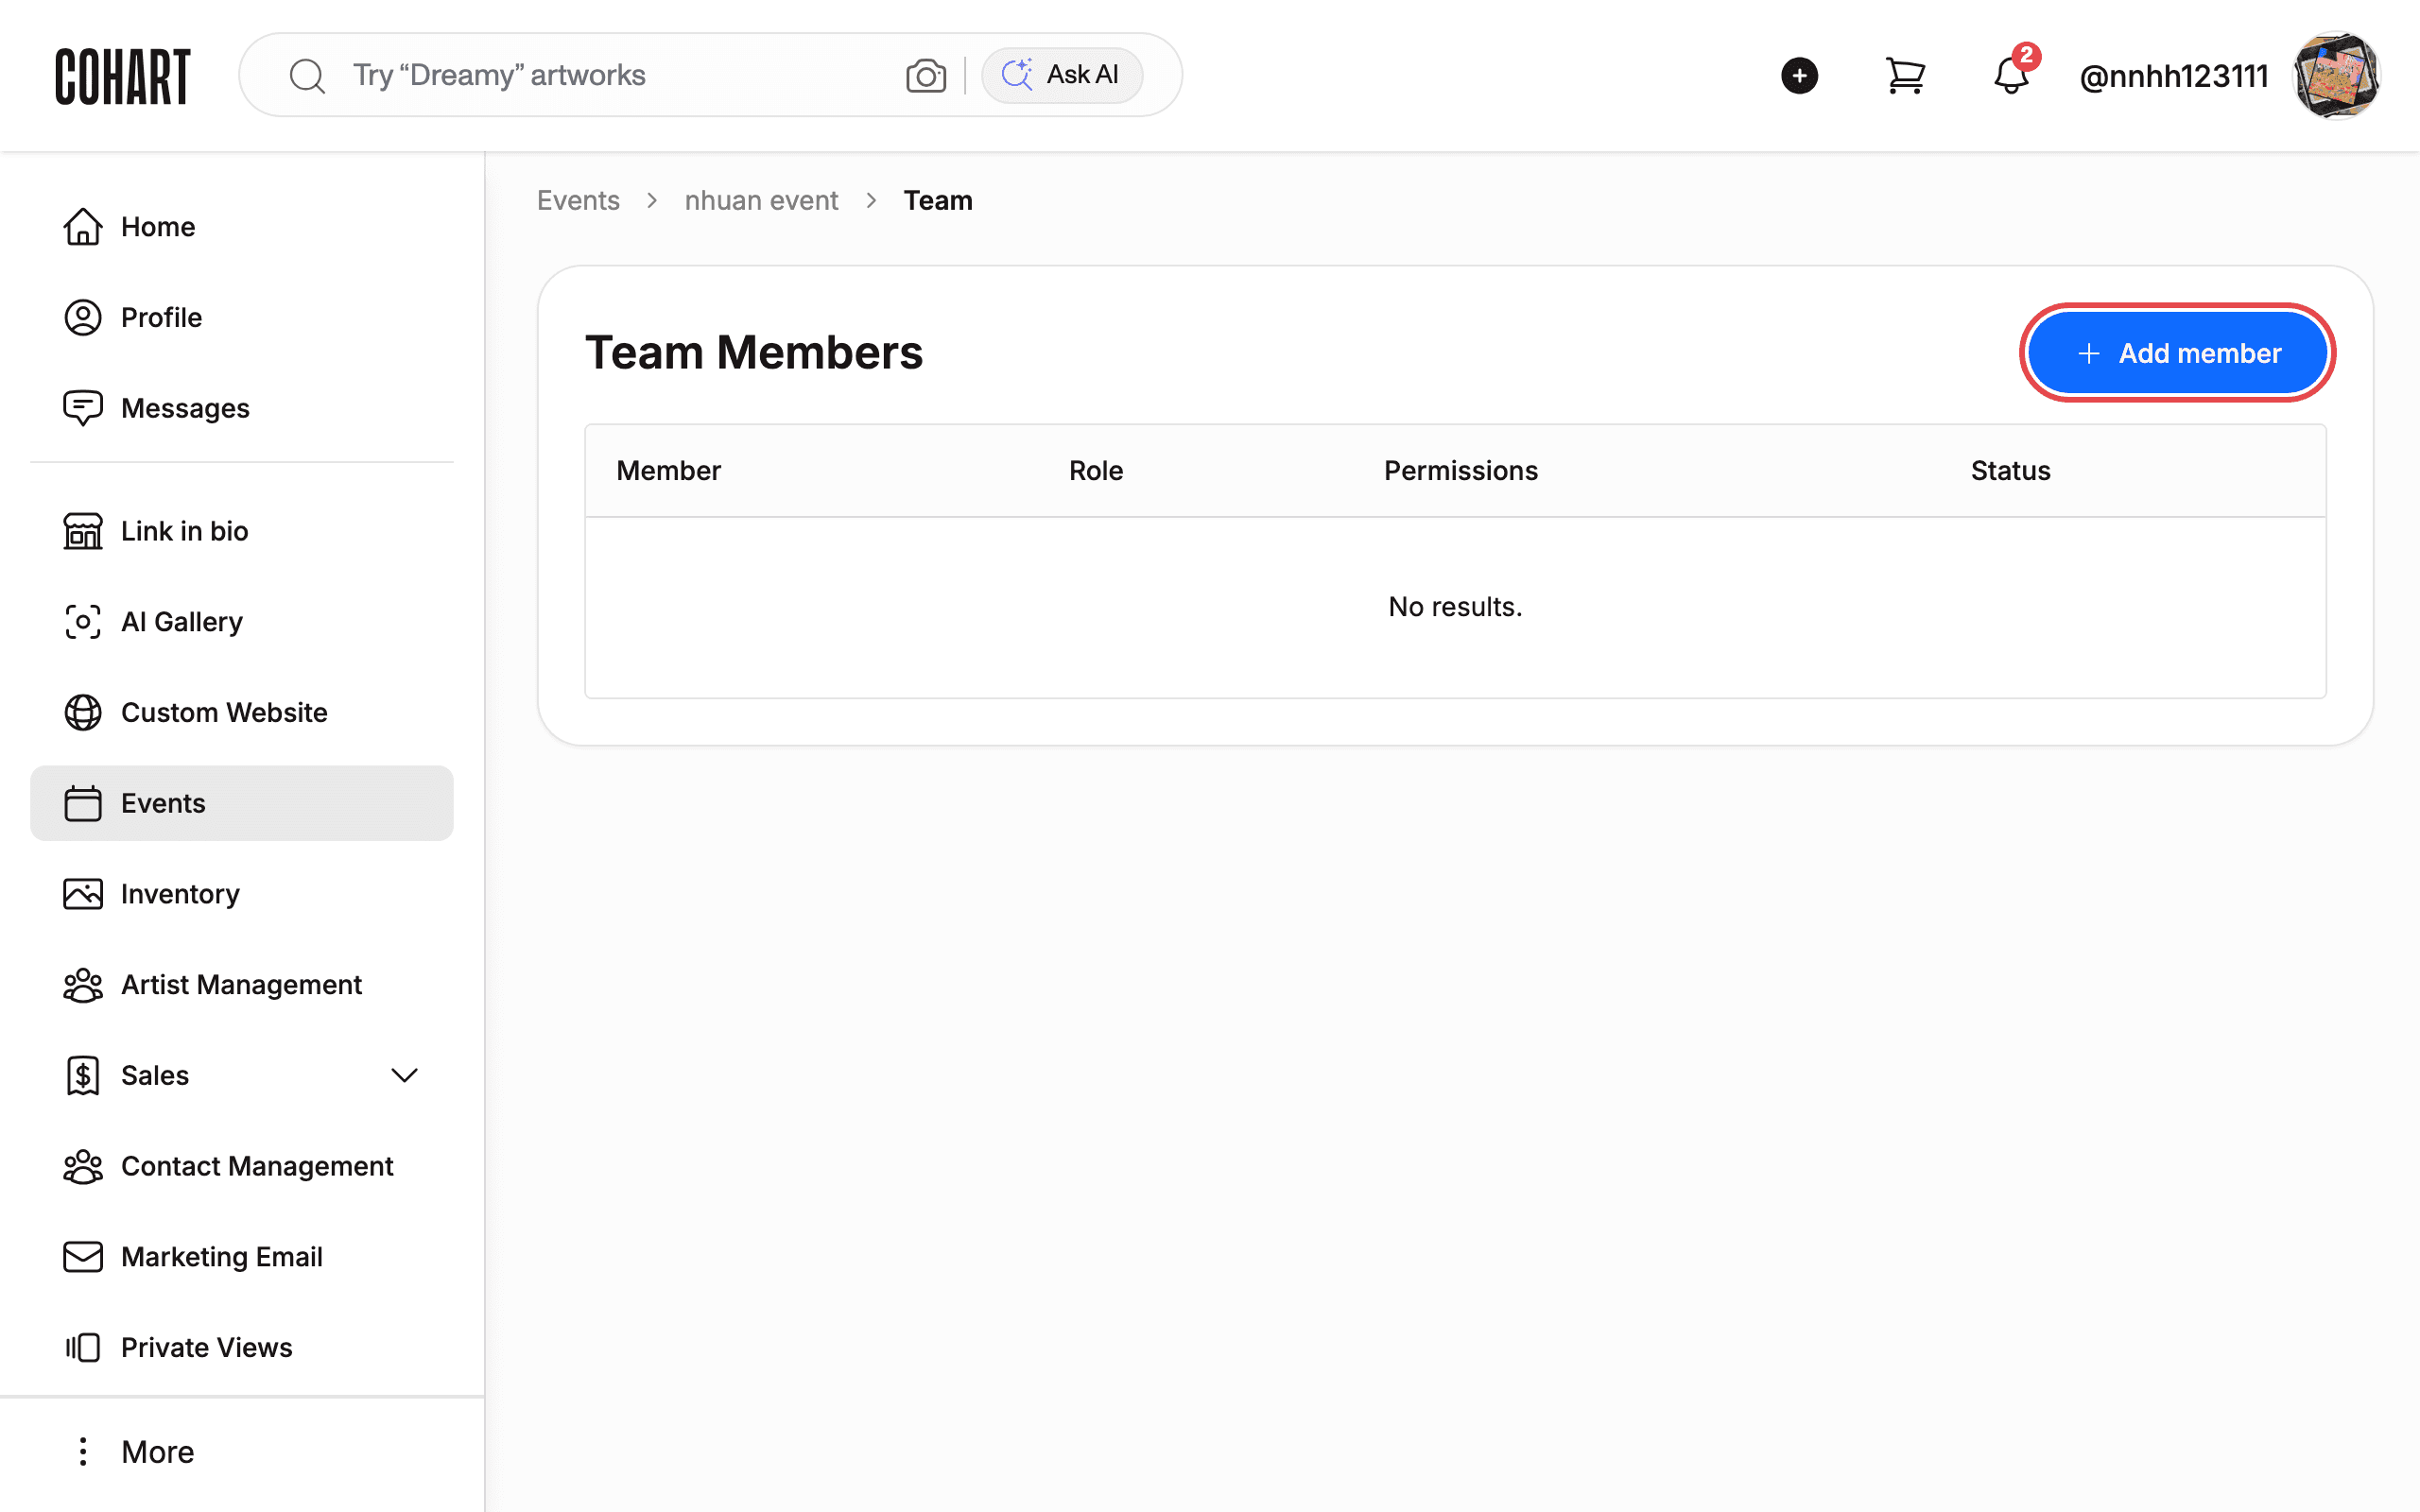
Step 10: Invite team members
On the Team page, click Add member to invite someone to your event team. Enter their First name and Email address, then send the invitation.
Tips
- Sign-in alternatives: You can sign in with Google or Apple instead of email and password.
- Forgot password? Click Forgot Password? on the login page to reset it.
- Searching events: Use the search bar on the Events page with keywords like title, location, artist, or gallery name.
- Event filters: Use the All events, Upcoming events, Event Type, and Event Date (Newest) filters to narrow the list.
- Cookie consent: If a cookie banner appears when you first visit, click Reject all or Accept all to dismiss it.
Troubleshooting
- “Sign In” button is greyed out: Make sure both email and password fields are filled in. The button stays disabled (opacity 40%) until both fields have values.
- Cannot find your event on the listing: Your event may be on a later page. Use the search bar or change the sort order with Event Date (Newest).
- Modal won’t close: Press the Escape key or click outside the modal to close it.
- “Add New” form fields not visible: The form opens as a modal. If it does not appear, try clicking Add New again.
Screenshots are regenerated automatically from the live site. Last captured: August 11, 2026.