How to Connect Your Bank Account, Manage the Currencies You Sell In, and Know Who Covers Refunds and Chargebacks
Overview
Financial Accounts is where sellers connect the bank accounts that receive their sales earnings. Connecting your bank account is what lets buyer payments reach you so you get paid, and it is where you see each account’s available balance and the currencies, such as USD or EUR, you can sell in.
- Who it’s for — artists and galleries who sell on Cohart.
- What a connected account gives you — payments arrive immediately, payouts reach your bank within 3 days, and Tap to Pay works in a supported connected currency. In exchange, you take responsibility for disputes (chargebacks) and refunds on those sales.
- What it controls — the currencies configured on your connected account are the currencies you can list artwork in and sell in through invoices — to list a work in EUR instead of USD, for example, that currency has to be configured here first.
- How it’s organized — connections are grouped by currency, since buyers pay in different currencies; each connected account shows its available balance, transactions, and payout controls. Sales settle into the matching currency balance when you have one; otherwise they fall back to your Global default currency when it matches the account’s own default currency.
- What you can do — check which countries support bank connections, verify accounts that need attention, track every sale in each account’s Transactions list, and withdraw by moving an available balance to your connected bank through a payout action.
- What you end up with — connected bank accounts, reviewed balances and transactions, and a started payout of your earnings.
Before you start
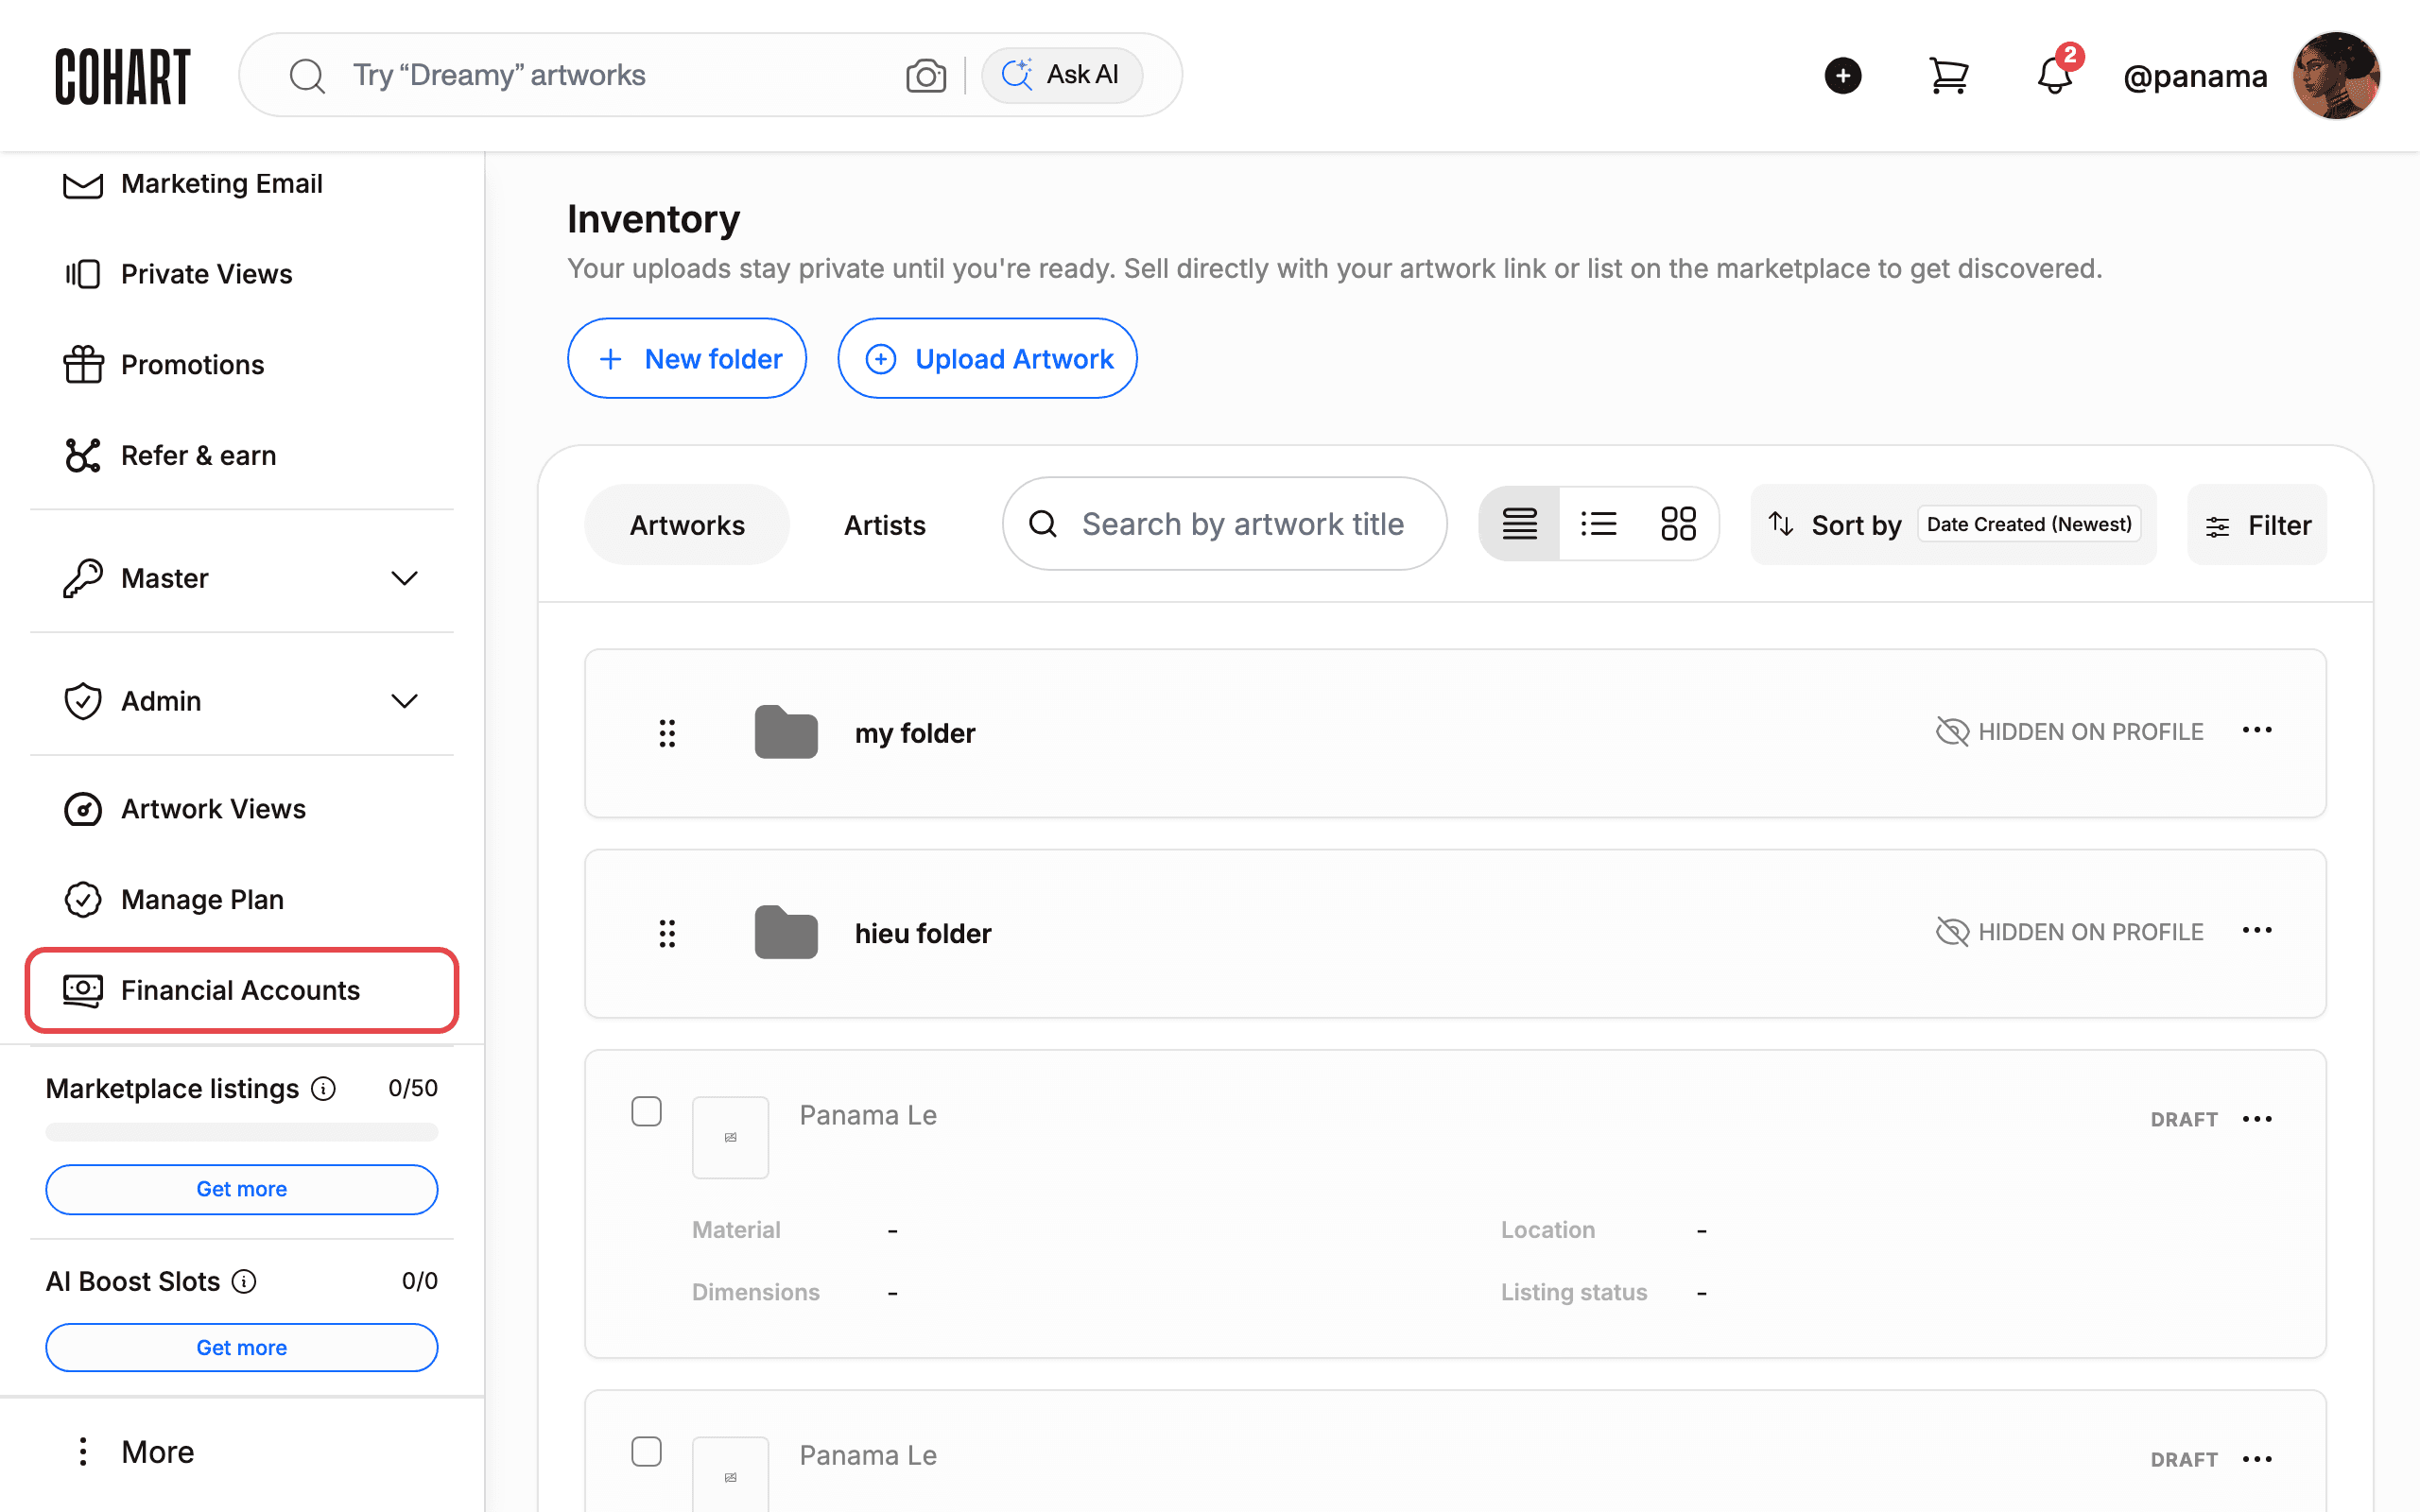
- You need a seller account. Financial Accounts lives in your dashboard sidebar, below Manage Plan, and is only useful once you sell (or plan to sell) on Cohart.
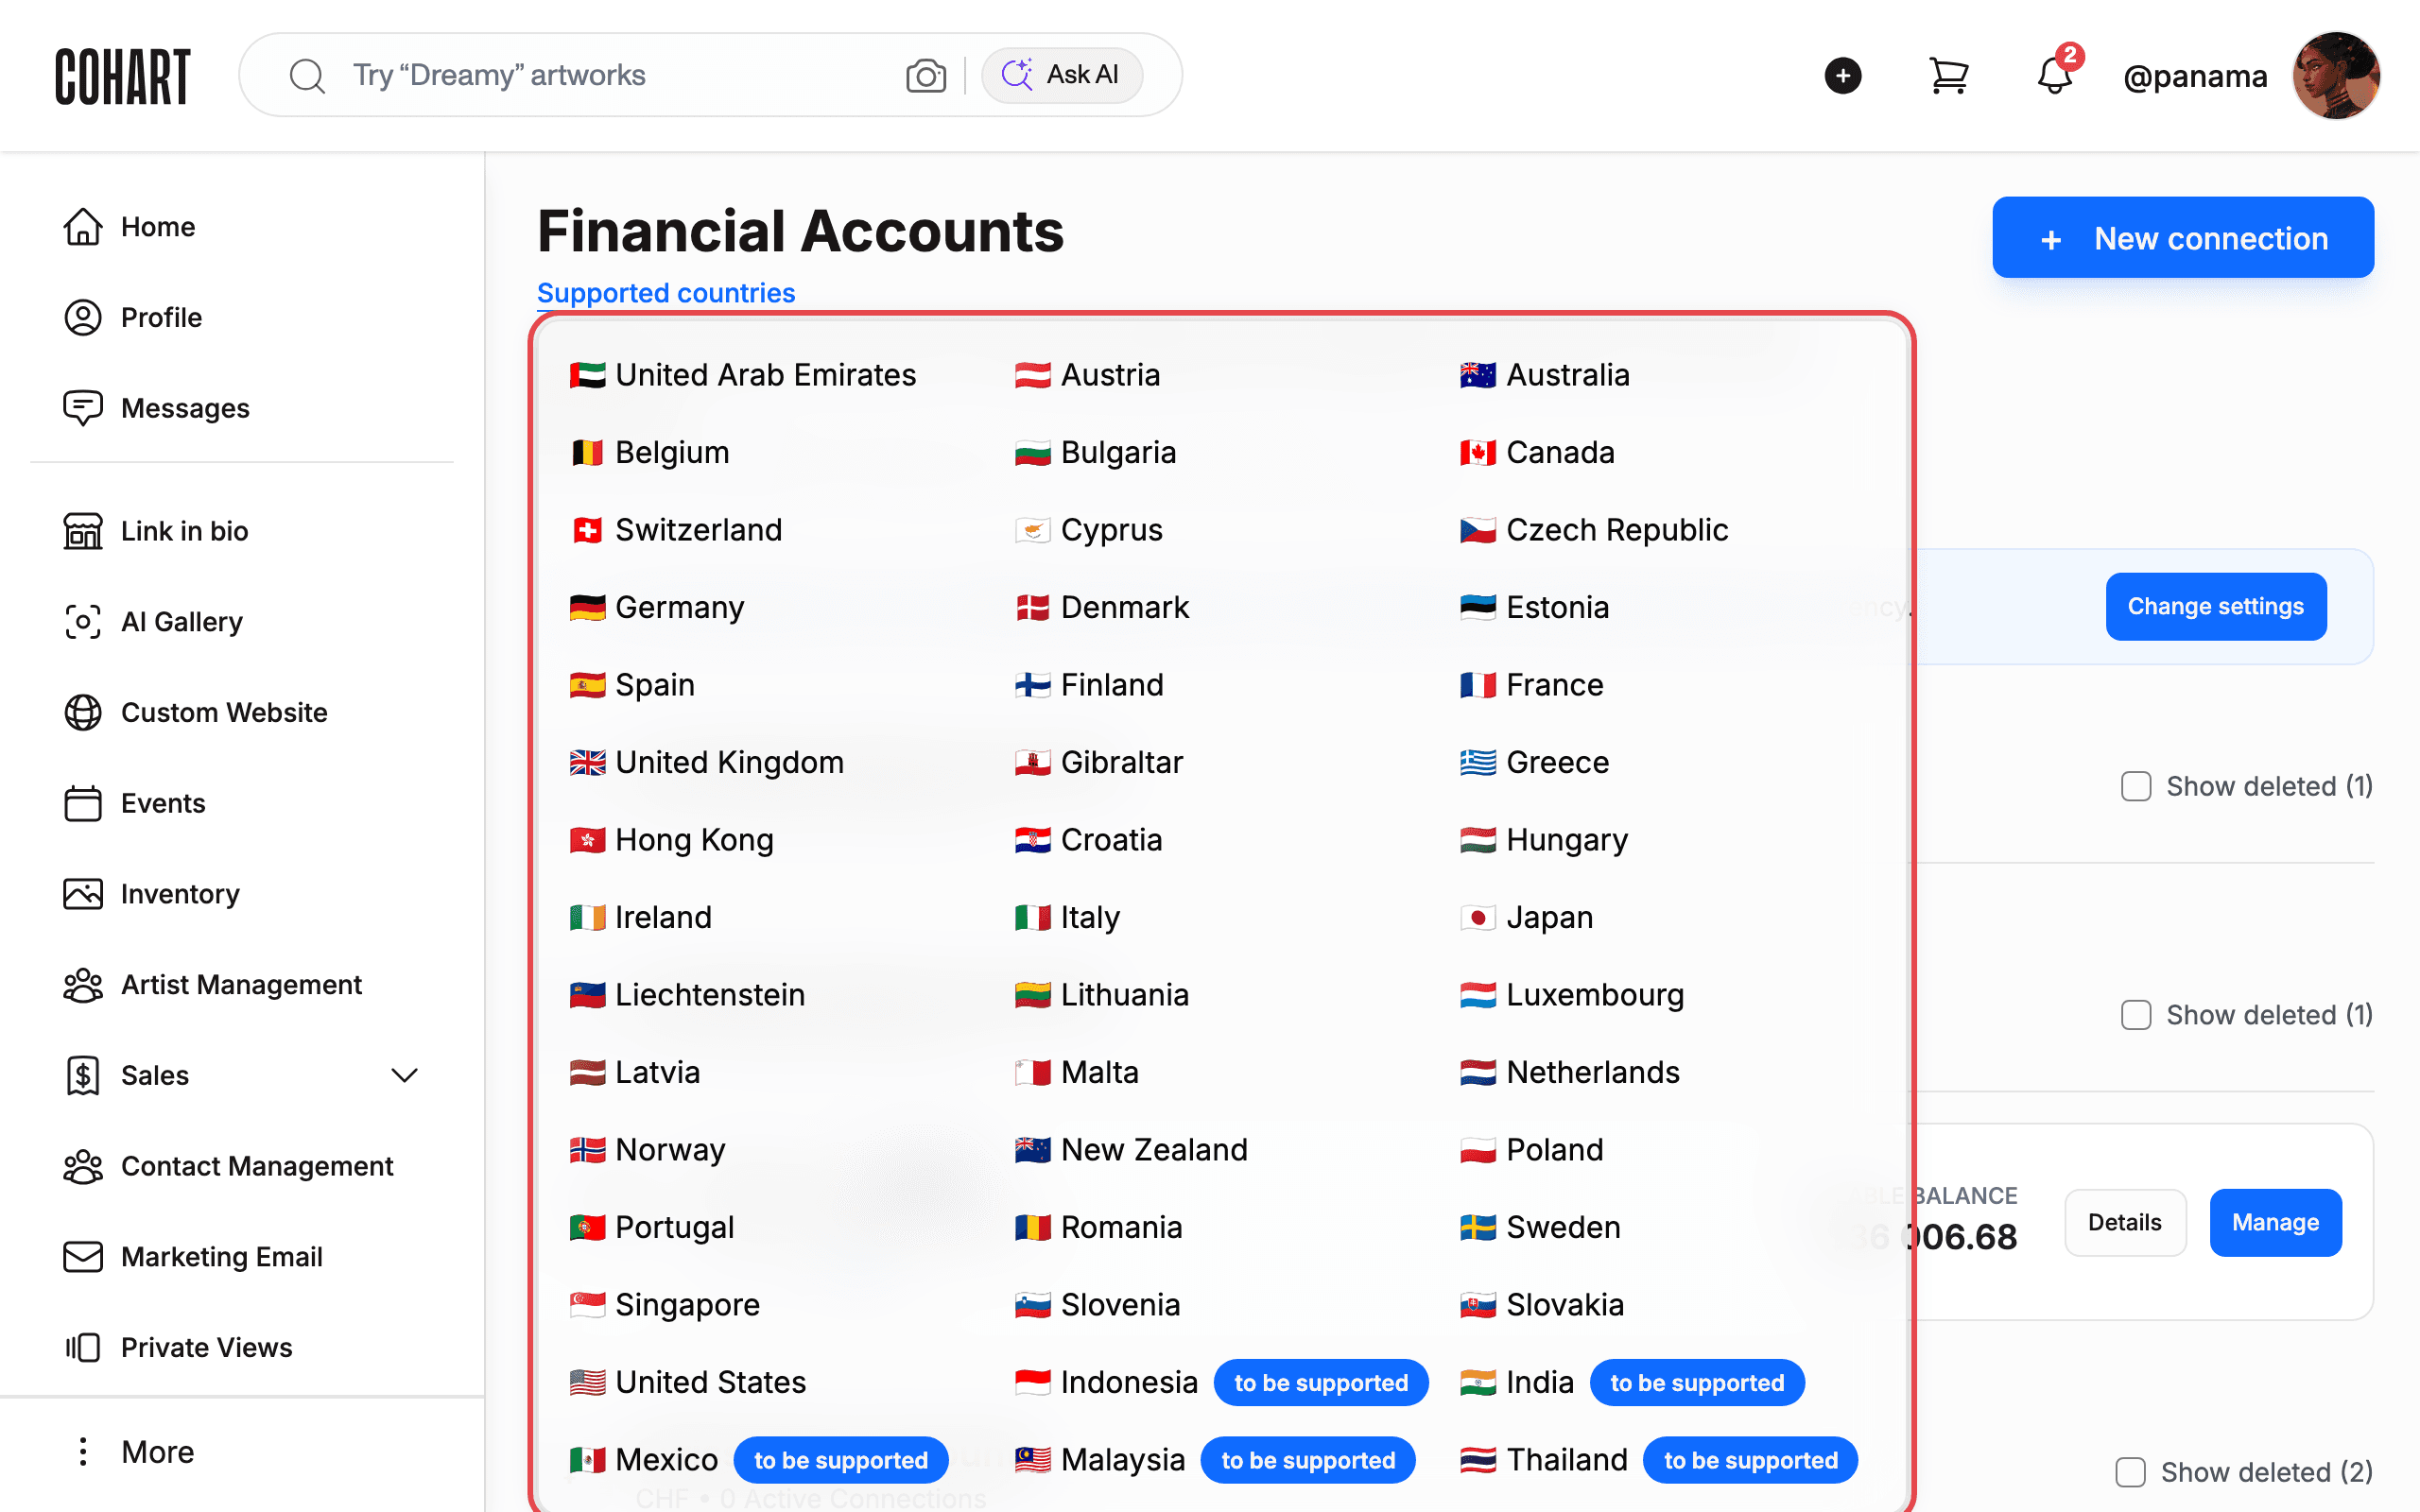
- Check Supported countries first. You can only connect a bank in a supported country; countries marked “to be supported” cannot be connected yet.
- Connecting a bank redirects you to a secure authorization flow. Have your bank account details ready, and do not enter real banking details unless you mean to connect the account.
- Know how payouts are routed. Within one currency group, payouts go to the account marked Default, and sales in a currency with no connected account settle into your Global default currency (USD unless you change it in Currency Settings) — but only when that matches the Stripe account’s own default currency. If the page shows Setup not finished, payments in currencies without a matching balance convert to Stripe’s default currency until you click Finish setup.
- Your connected currencies decide what you can sell in. Configure a currency (with Add currency, or a new connection) before you need to sell in it.
- You can still be paid in any currency. When the payment currency differs from your connected account’s currency, Stripe automatically converts it into your connected currency and a currency conversion fee applies.
- Connections created before June 8, 2026 were disabled by a platform migration and can no longer process payments. If a card or detail page shows the old connected account was disabled, set up a new connection with + New connection to keep getting paid.
- Disconnecting removes the bank connection. Use Edit account for settings changes and Disconnect only when you intend to remove it.
Steps
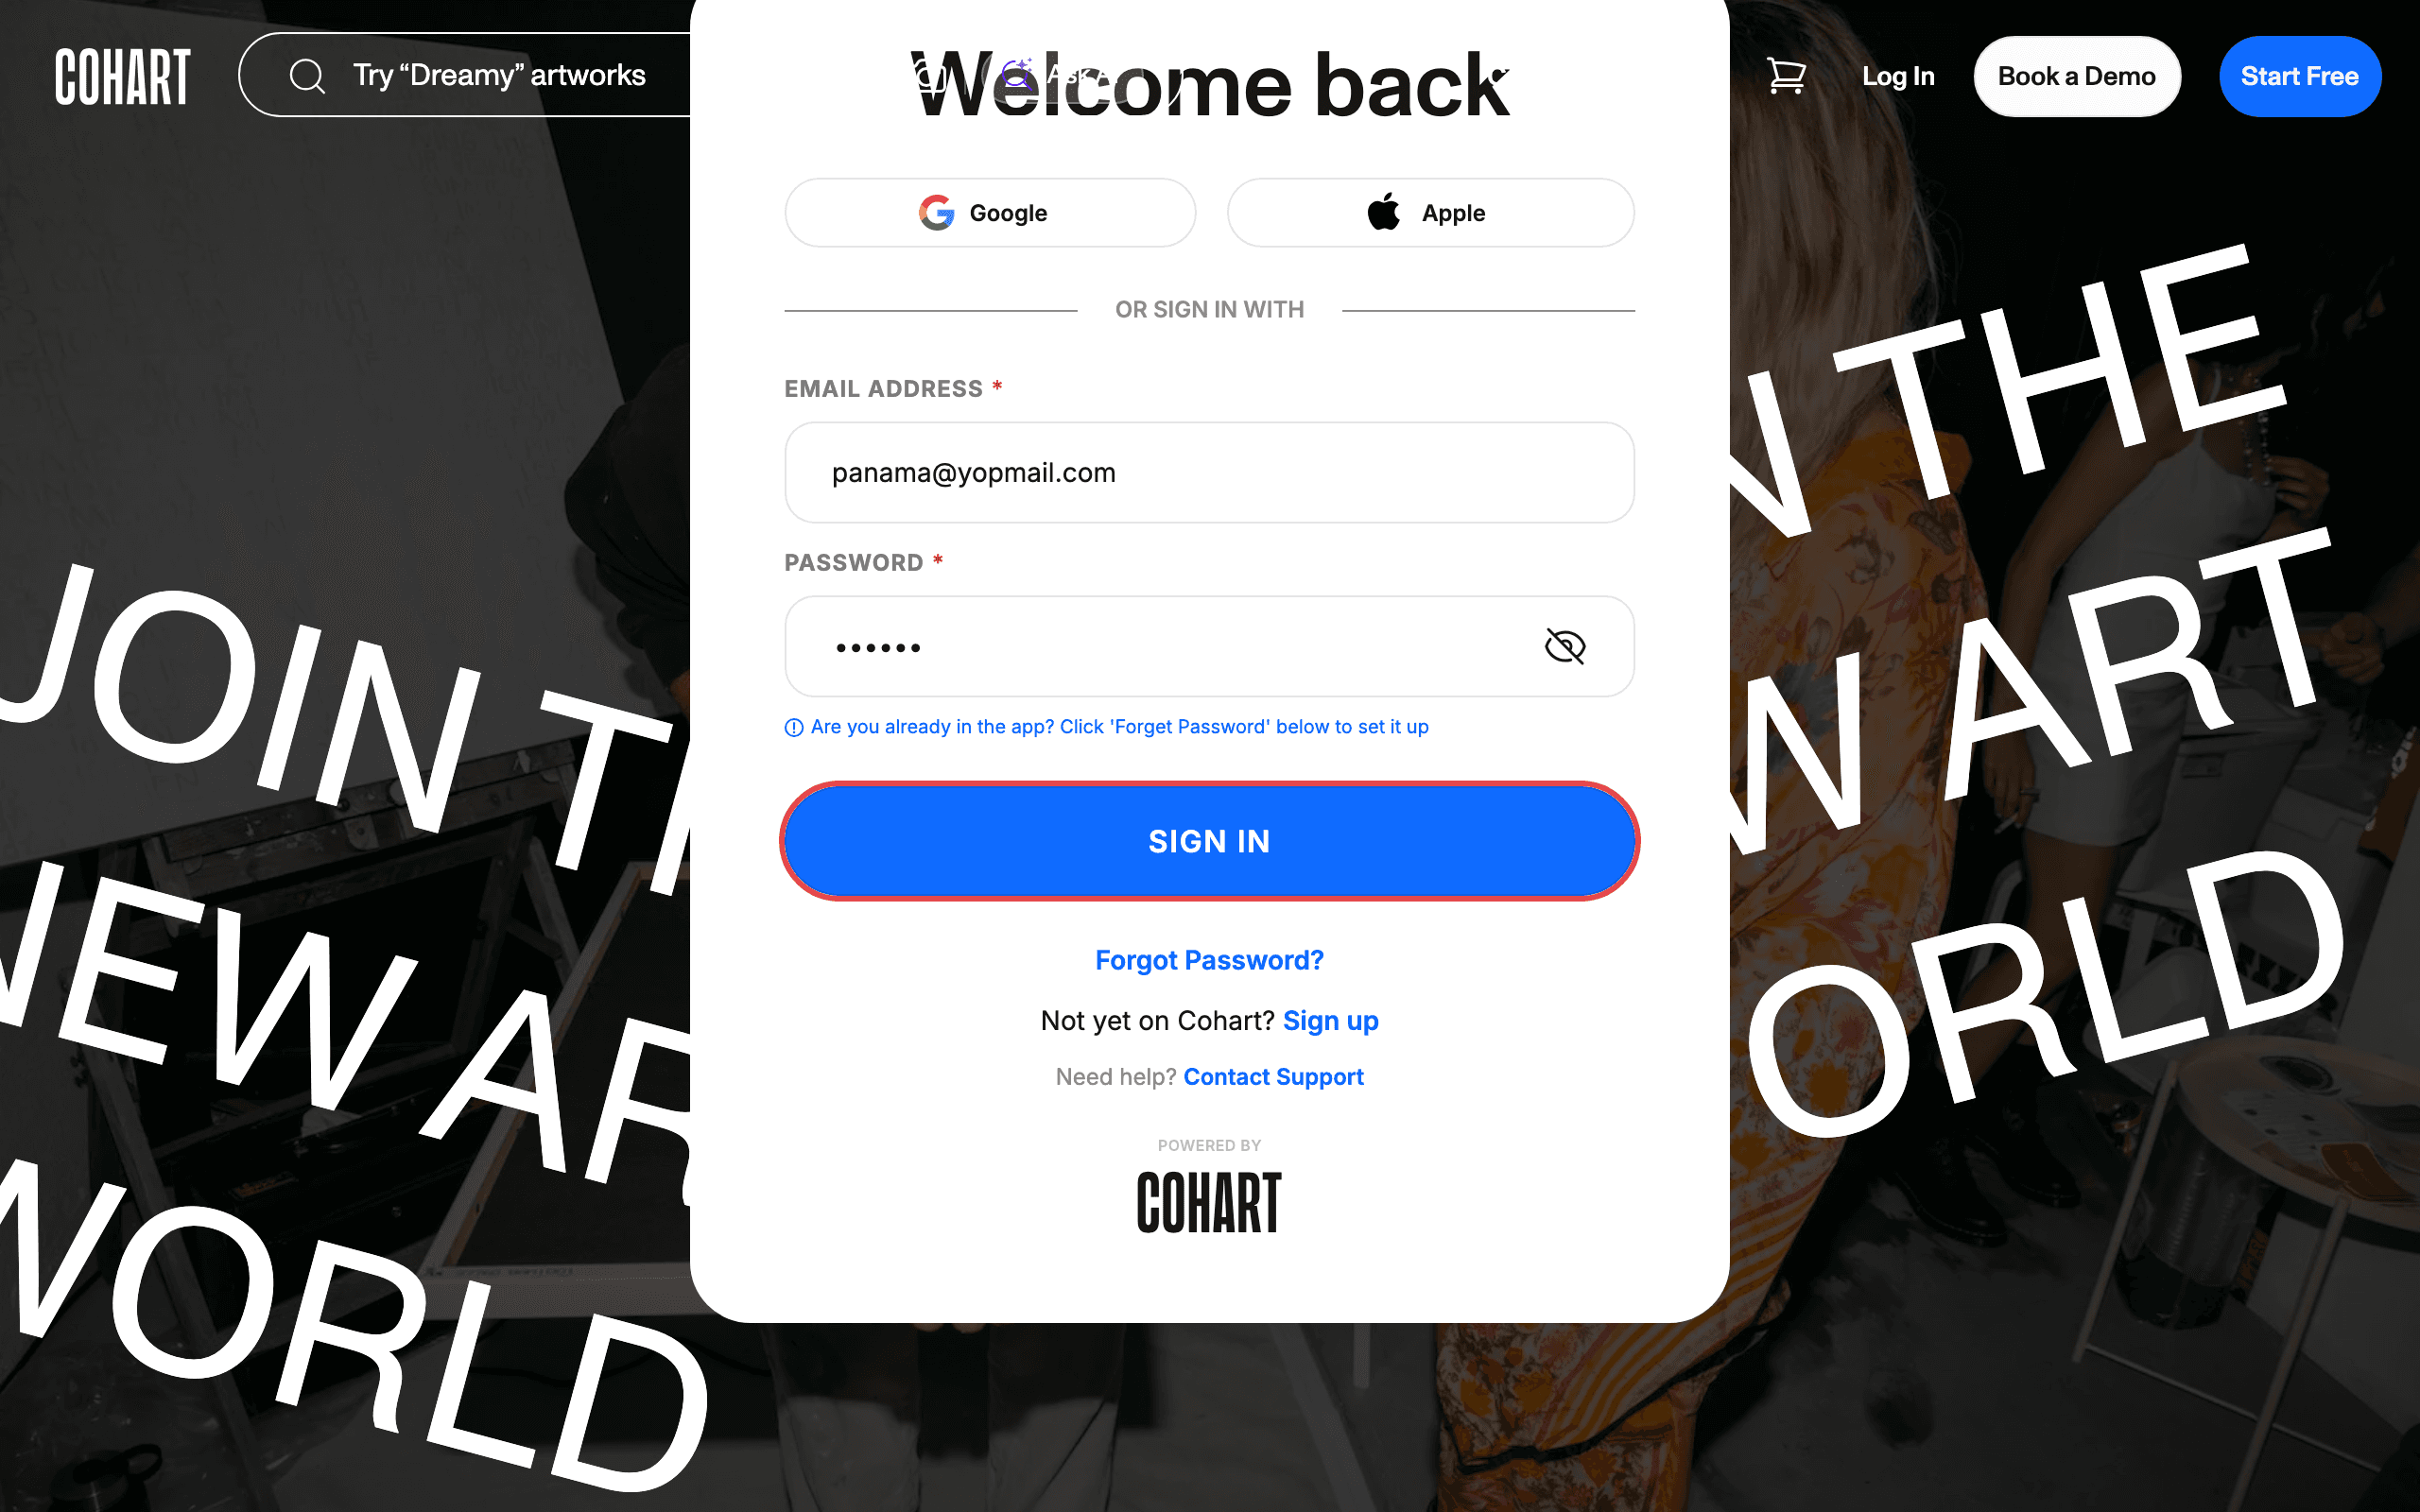
1. Sign in to Cohart
Sign in with your email address and password, or use Google or Apple.
2. Open Financial Accounts from the sidebar
After signing in, scroll down the left sidebar past Manage Plan. Click Financial Accounts.
3. Review your Financial Accounts page
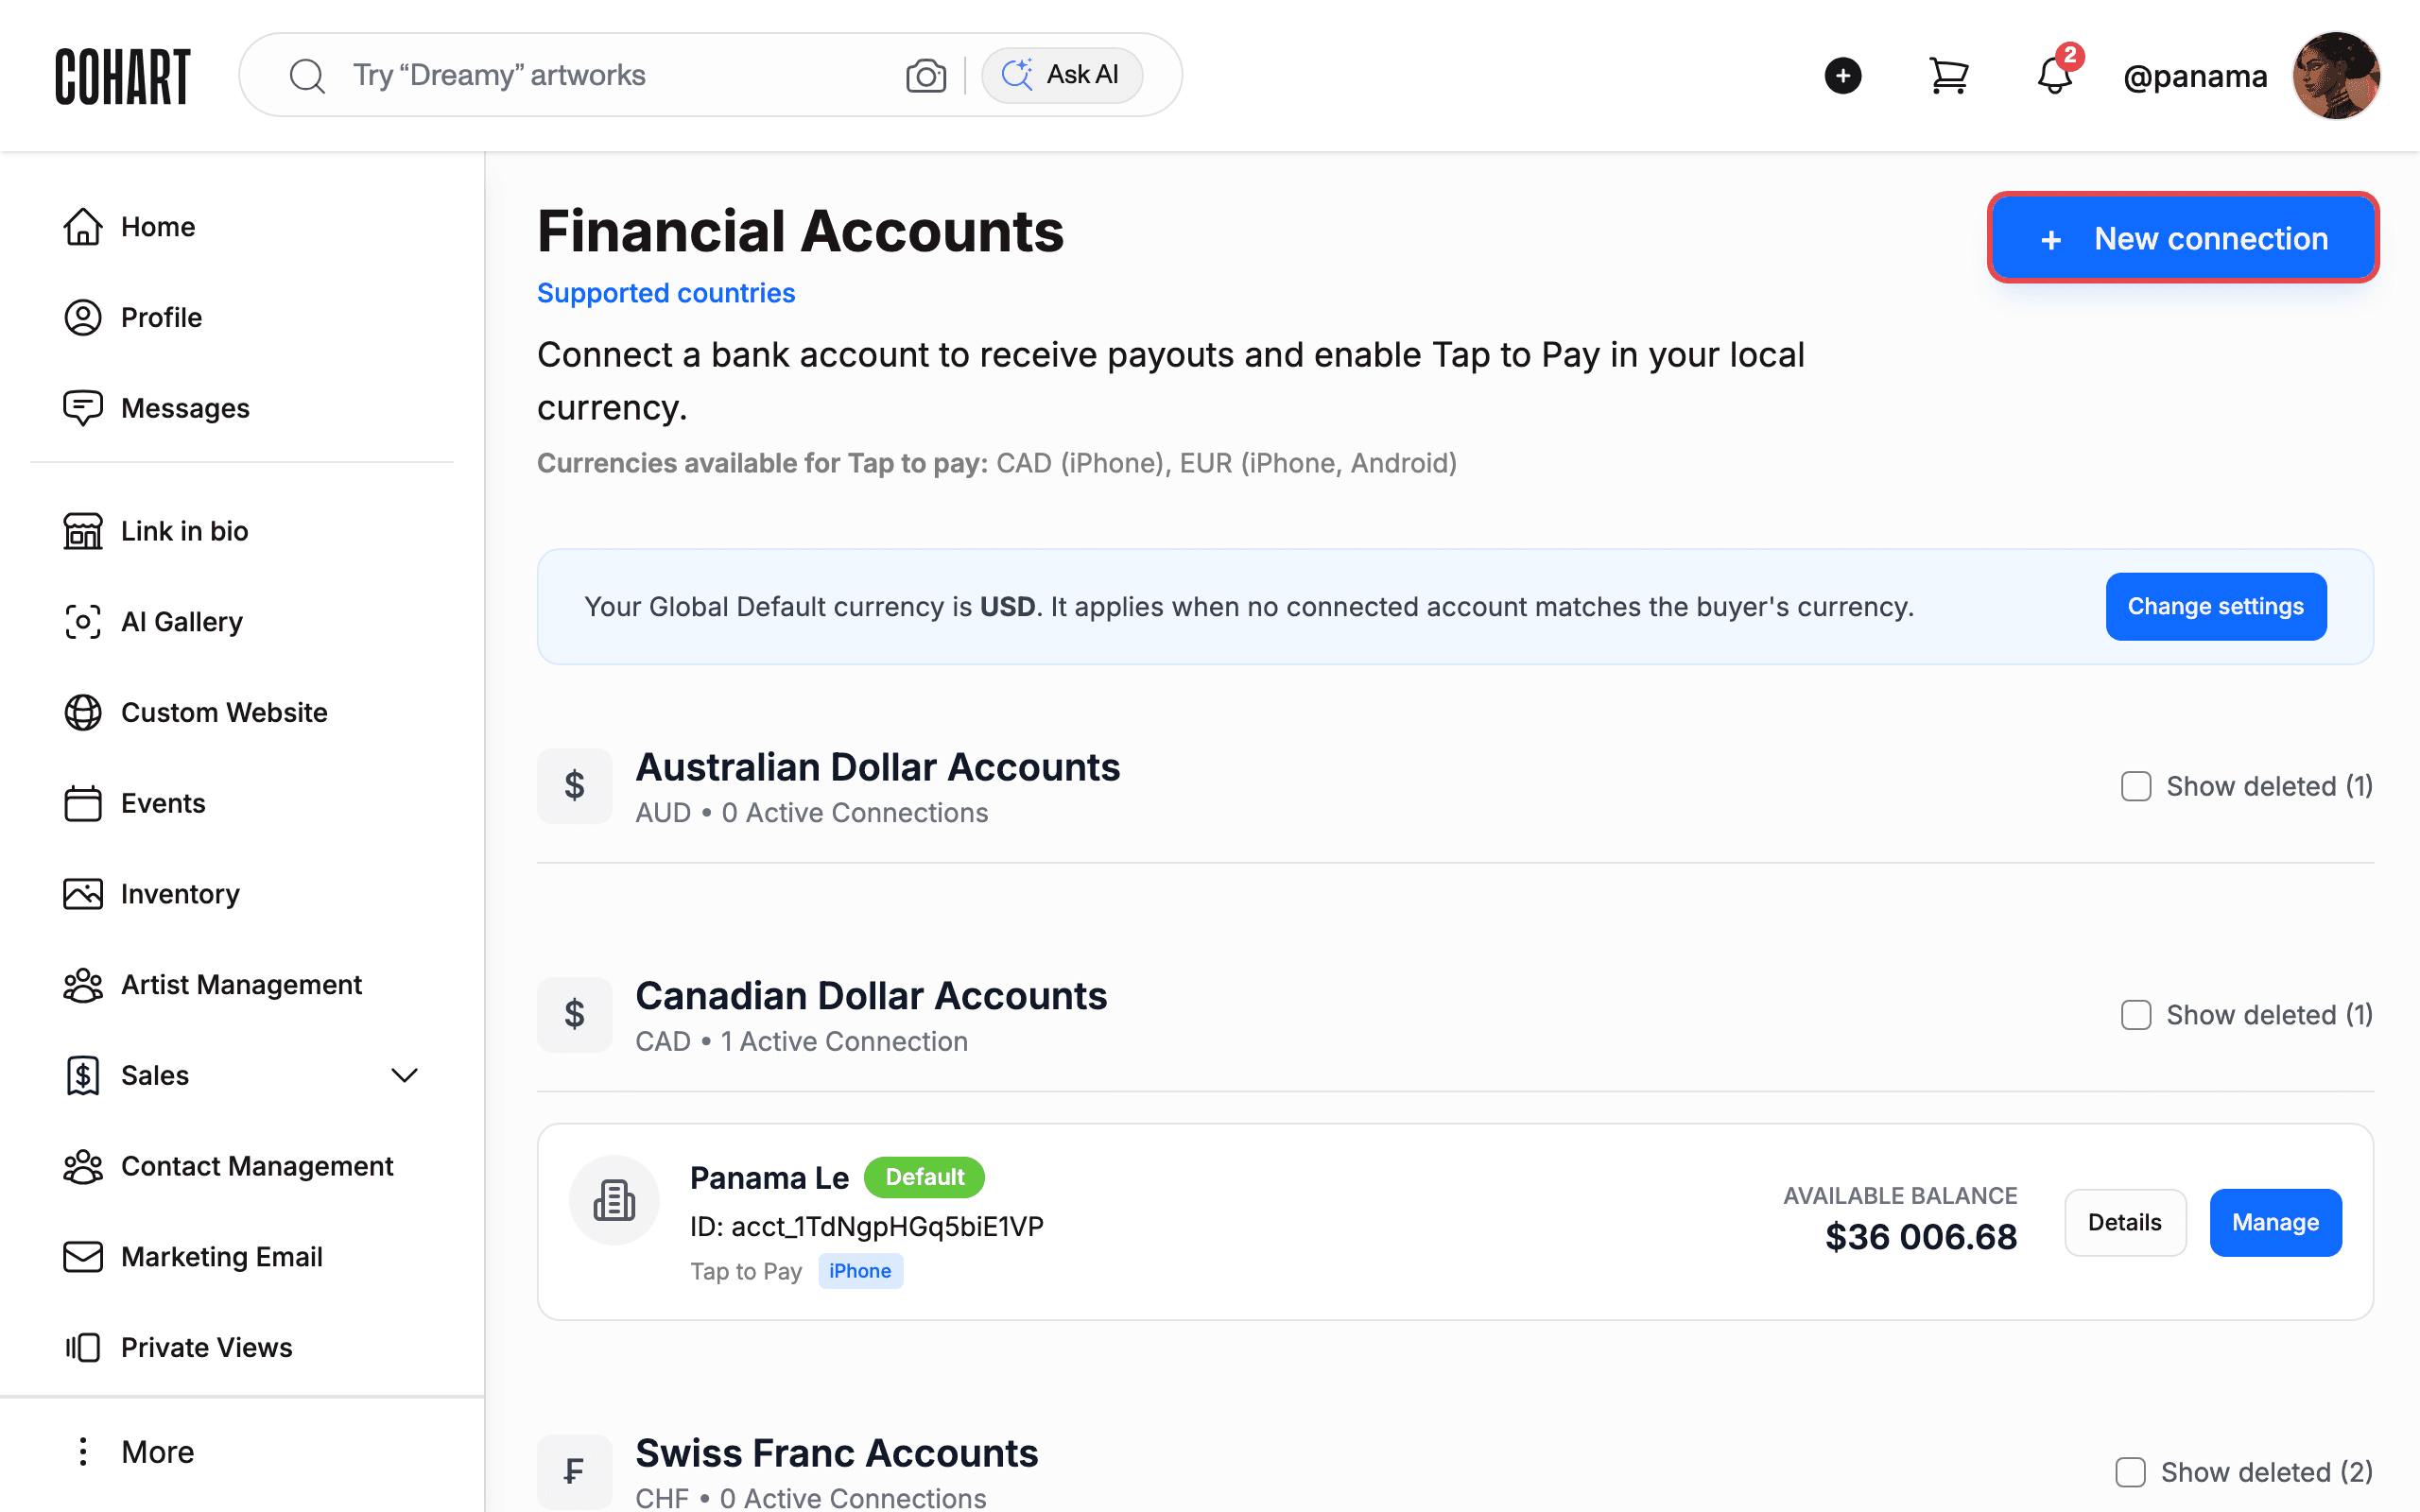
The Financial Accounts page groups your connections by currency (for example Australian Dollar Accounts, Canadian Dollar Accounts, Euro Accounts, US Dollar Accounts). Each group shows how many Active Connections it has, for example CAD • 1 Active Connection.
Each connected account card shows:
- The account name, its Default or Multi-Currency badges, and the account ID.
- The AVAILABLE BALANCE, plus Details and Manage buttons.
- A Tap to Pay badge on some accounts (for example iPhone, or iPhone & Android).
Check Show deleted (1) in any group to reveal removed connections. Read the About Multi-Currency Grouping note at the bottom: if you have multiple accounts in the same currency, payouts go to the account marked Default.
4. Check Supported countries
Click Supported countries at the top of the page. A panel opens listing every country where you can connect a bank, for example United States, Canada, United Kingdom, Germany, Australia, and Hong Kong. Countries marked with a to be supported pill (for example Indonesia, India, Mexico, Malaysia, Thailand) cannot be connected yet. Press Escape or click outside the panel to close it.
5. Add a new bank connection
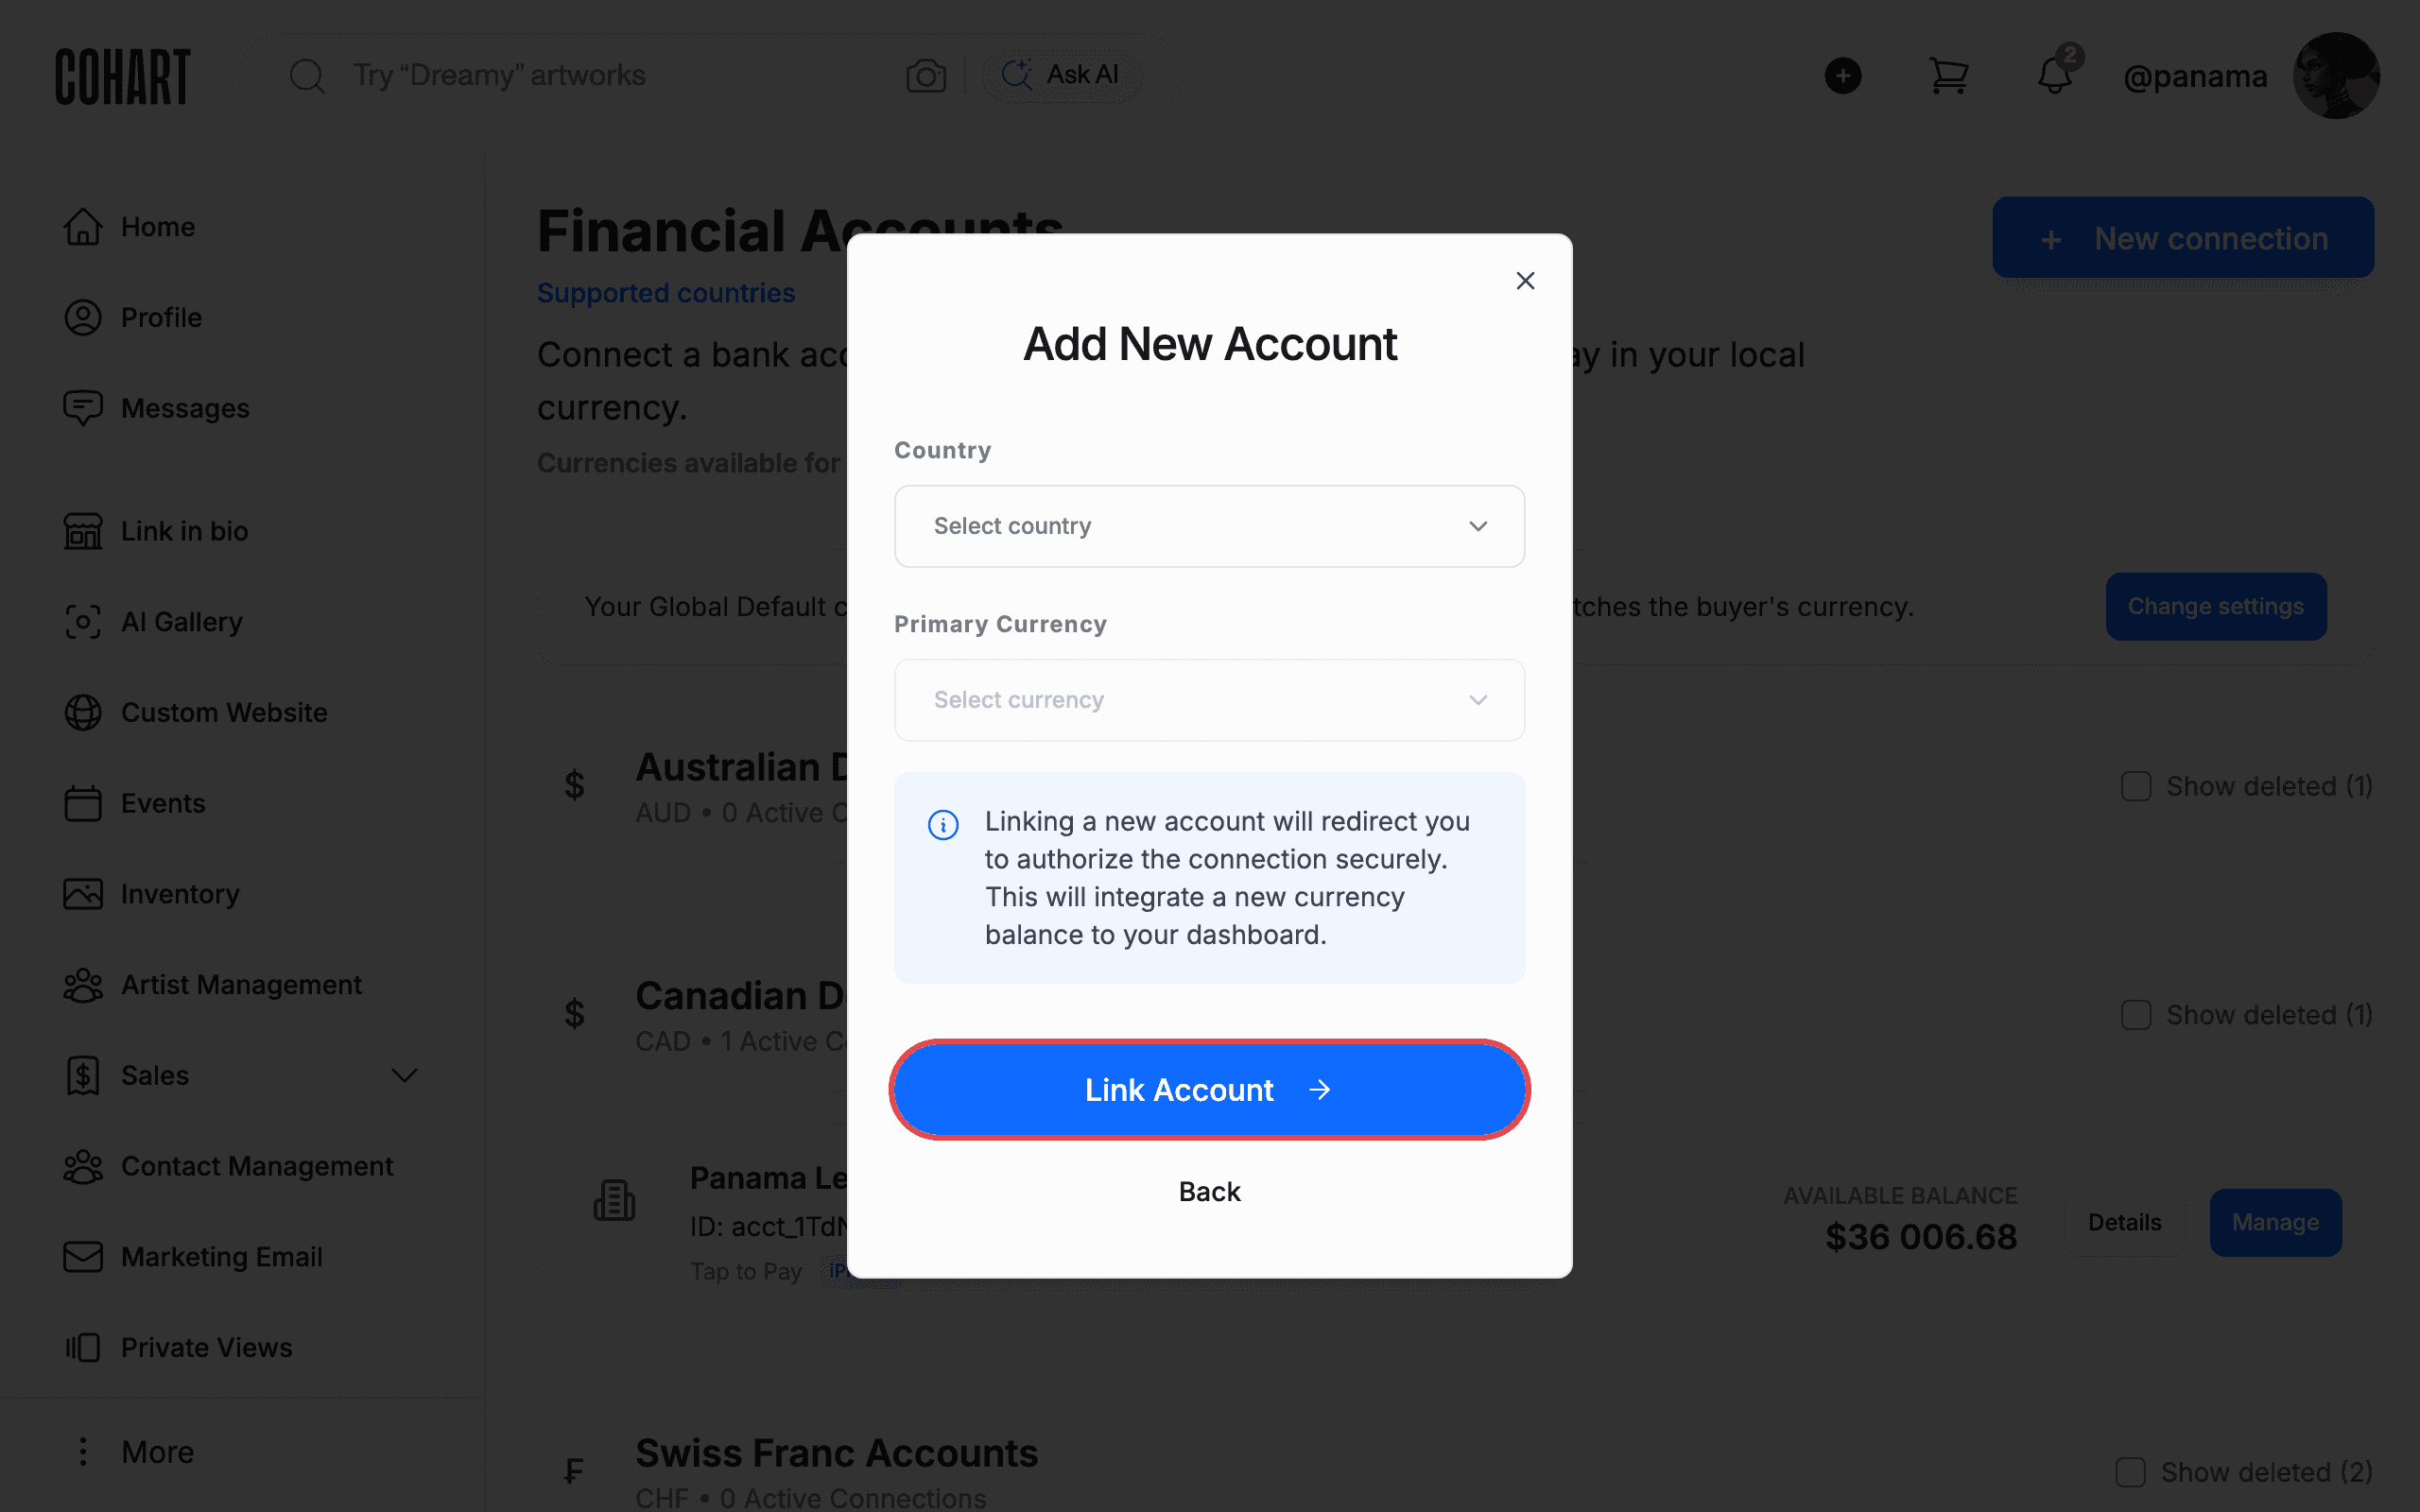
Click + New connection. The Add New Account dialog opens. Choose Select country under Country, then choose Select currency under Primary Currency. The dialog explains: “Linking a new account will redirect you to authorize the connection securely. This will integrate a new currency balance to your dashboard.”
Click Link Account only when you are ready to continue to the secure authorization — do not enter real banking details unless you mean to connect the account. Click Back or the Close (X) button to leave without connecting anything.
6. Check your Global default currency
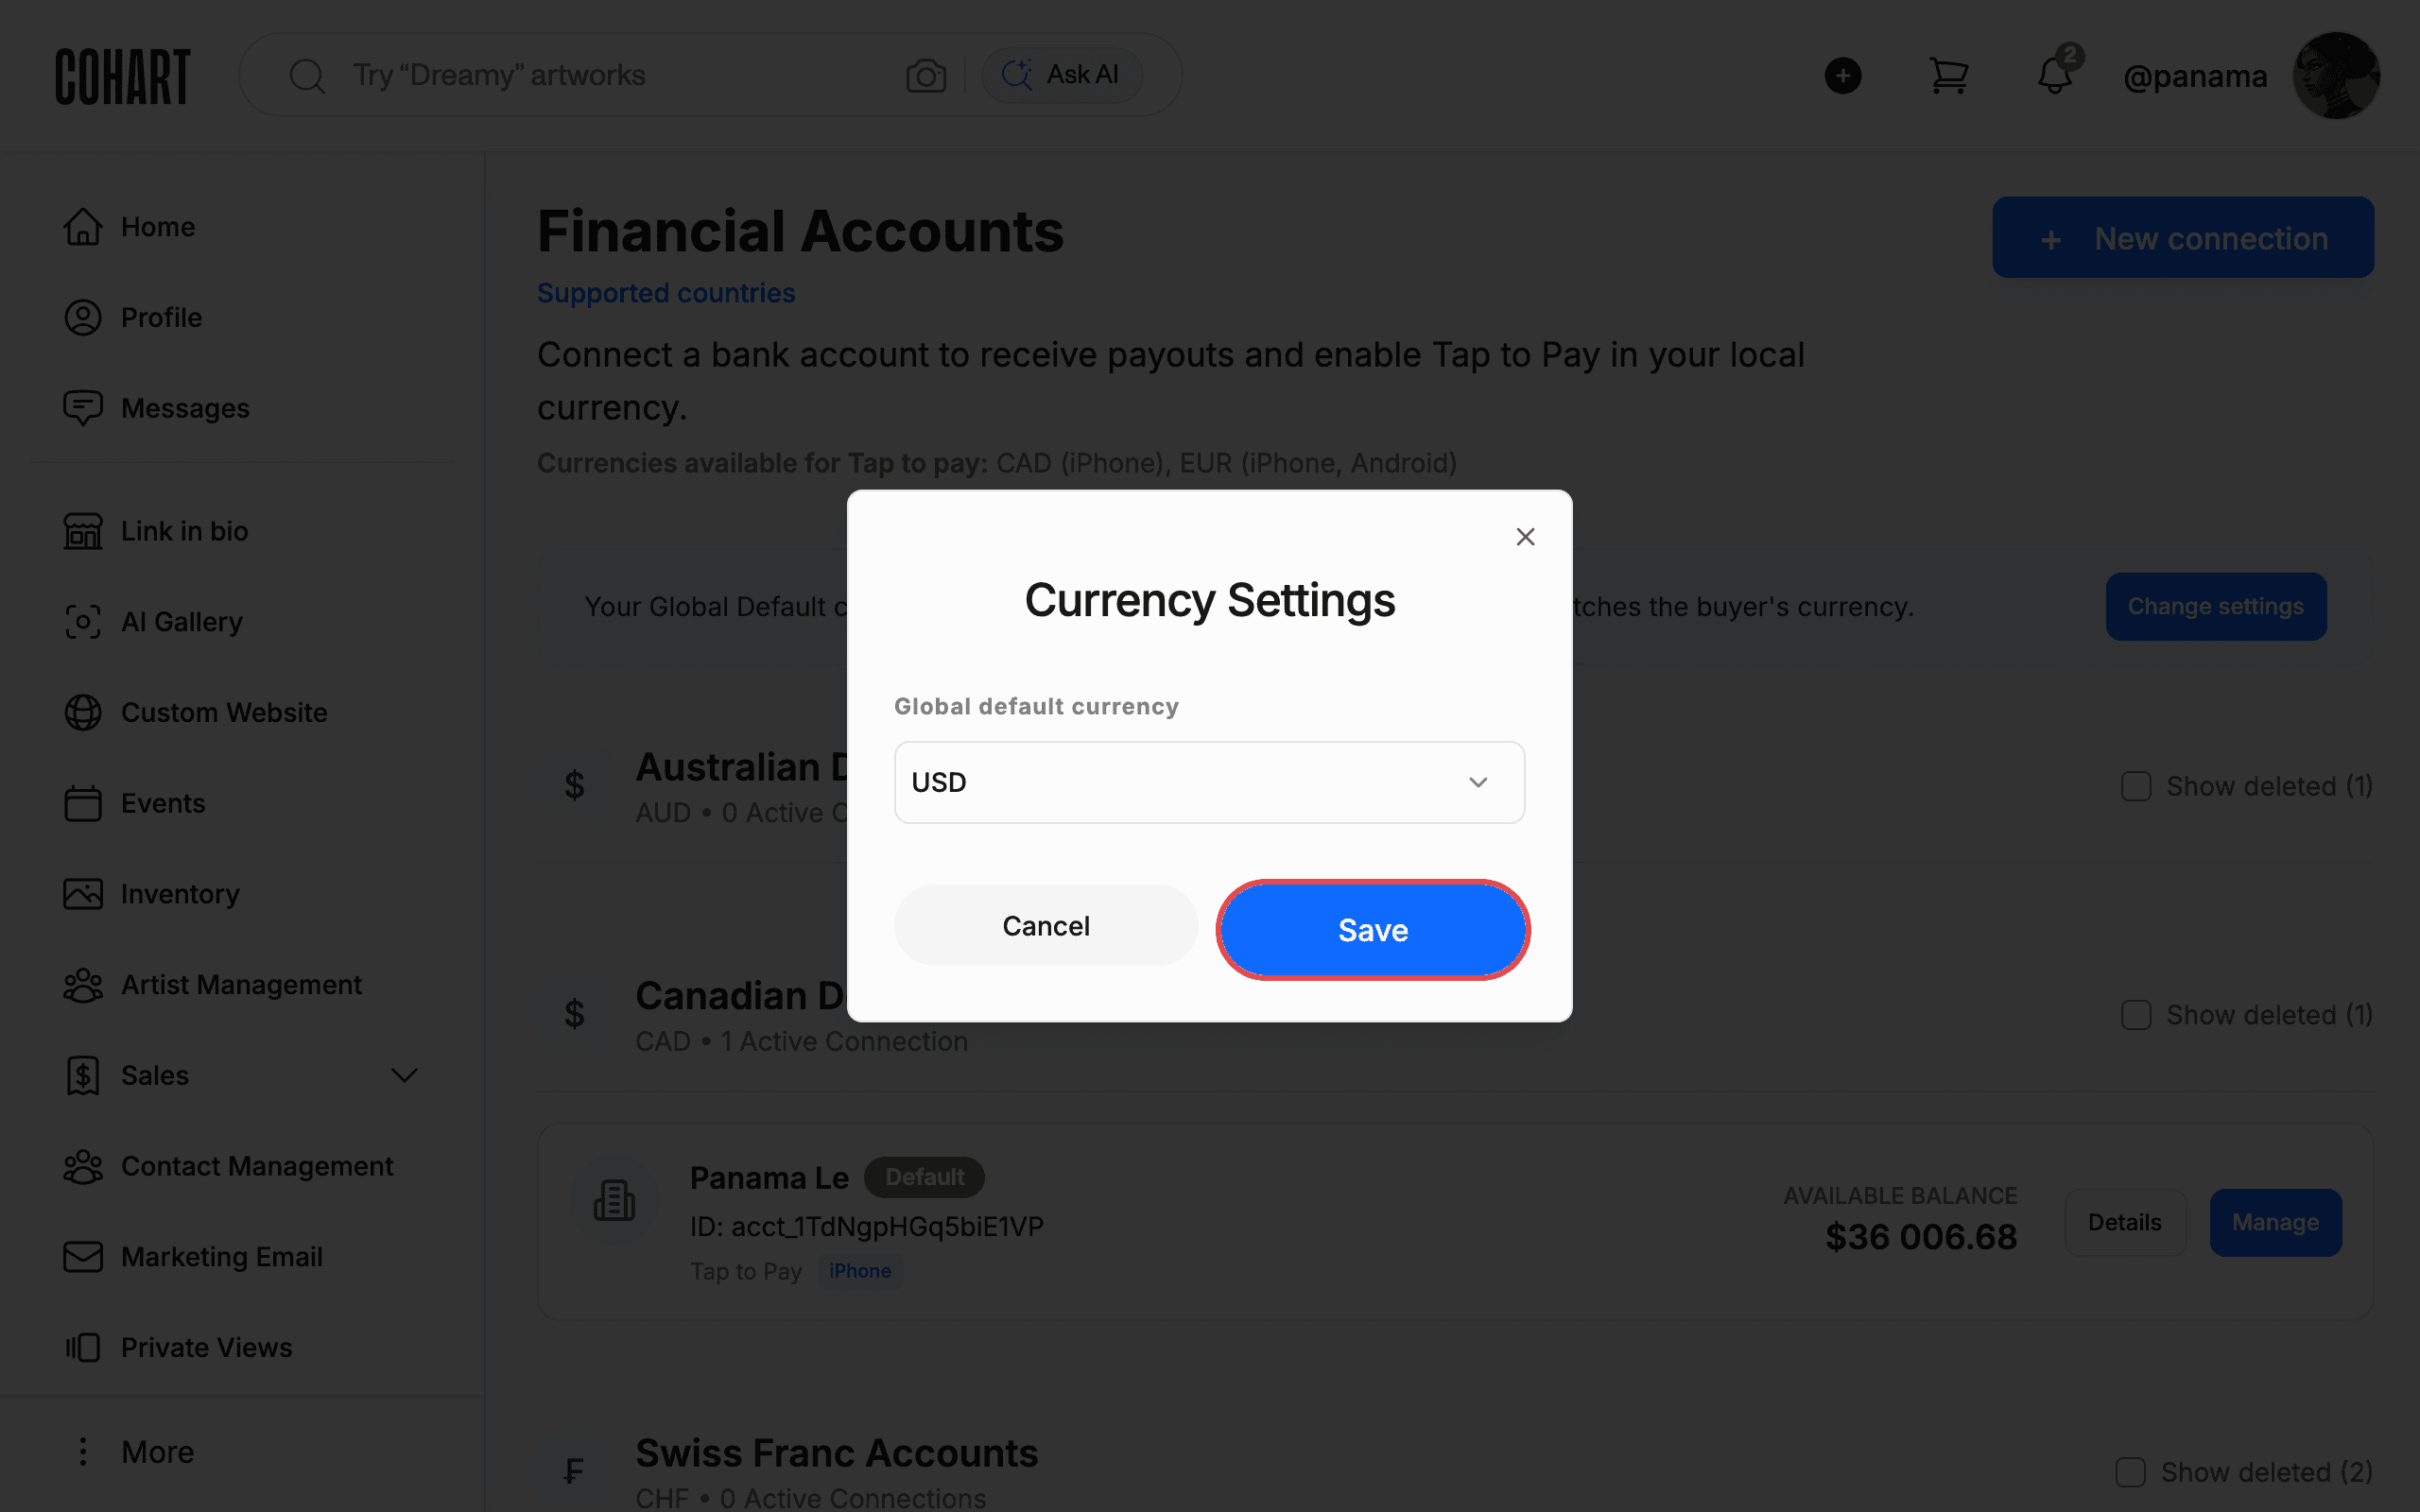
The page shows the banner “Your Global Default currency is USD. It applies when no connected account matches the buyer’s currency.” Click Change settings to review it. The Currency Settings dialog shows the Global default currency dropdown (set to USD). Click Save only if you changed the currency, or Cancel / the Close (X) button to leave it unchanged.
Global default currency only decides where a payment lands when no connected account matches the buyer’s currency — the payment still goes through: Stripe converts it into your connected currency and charges a currency conversion fee.
7. Edit or disconnect an account
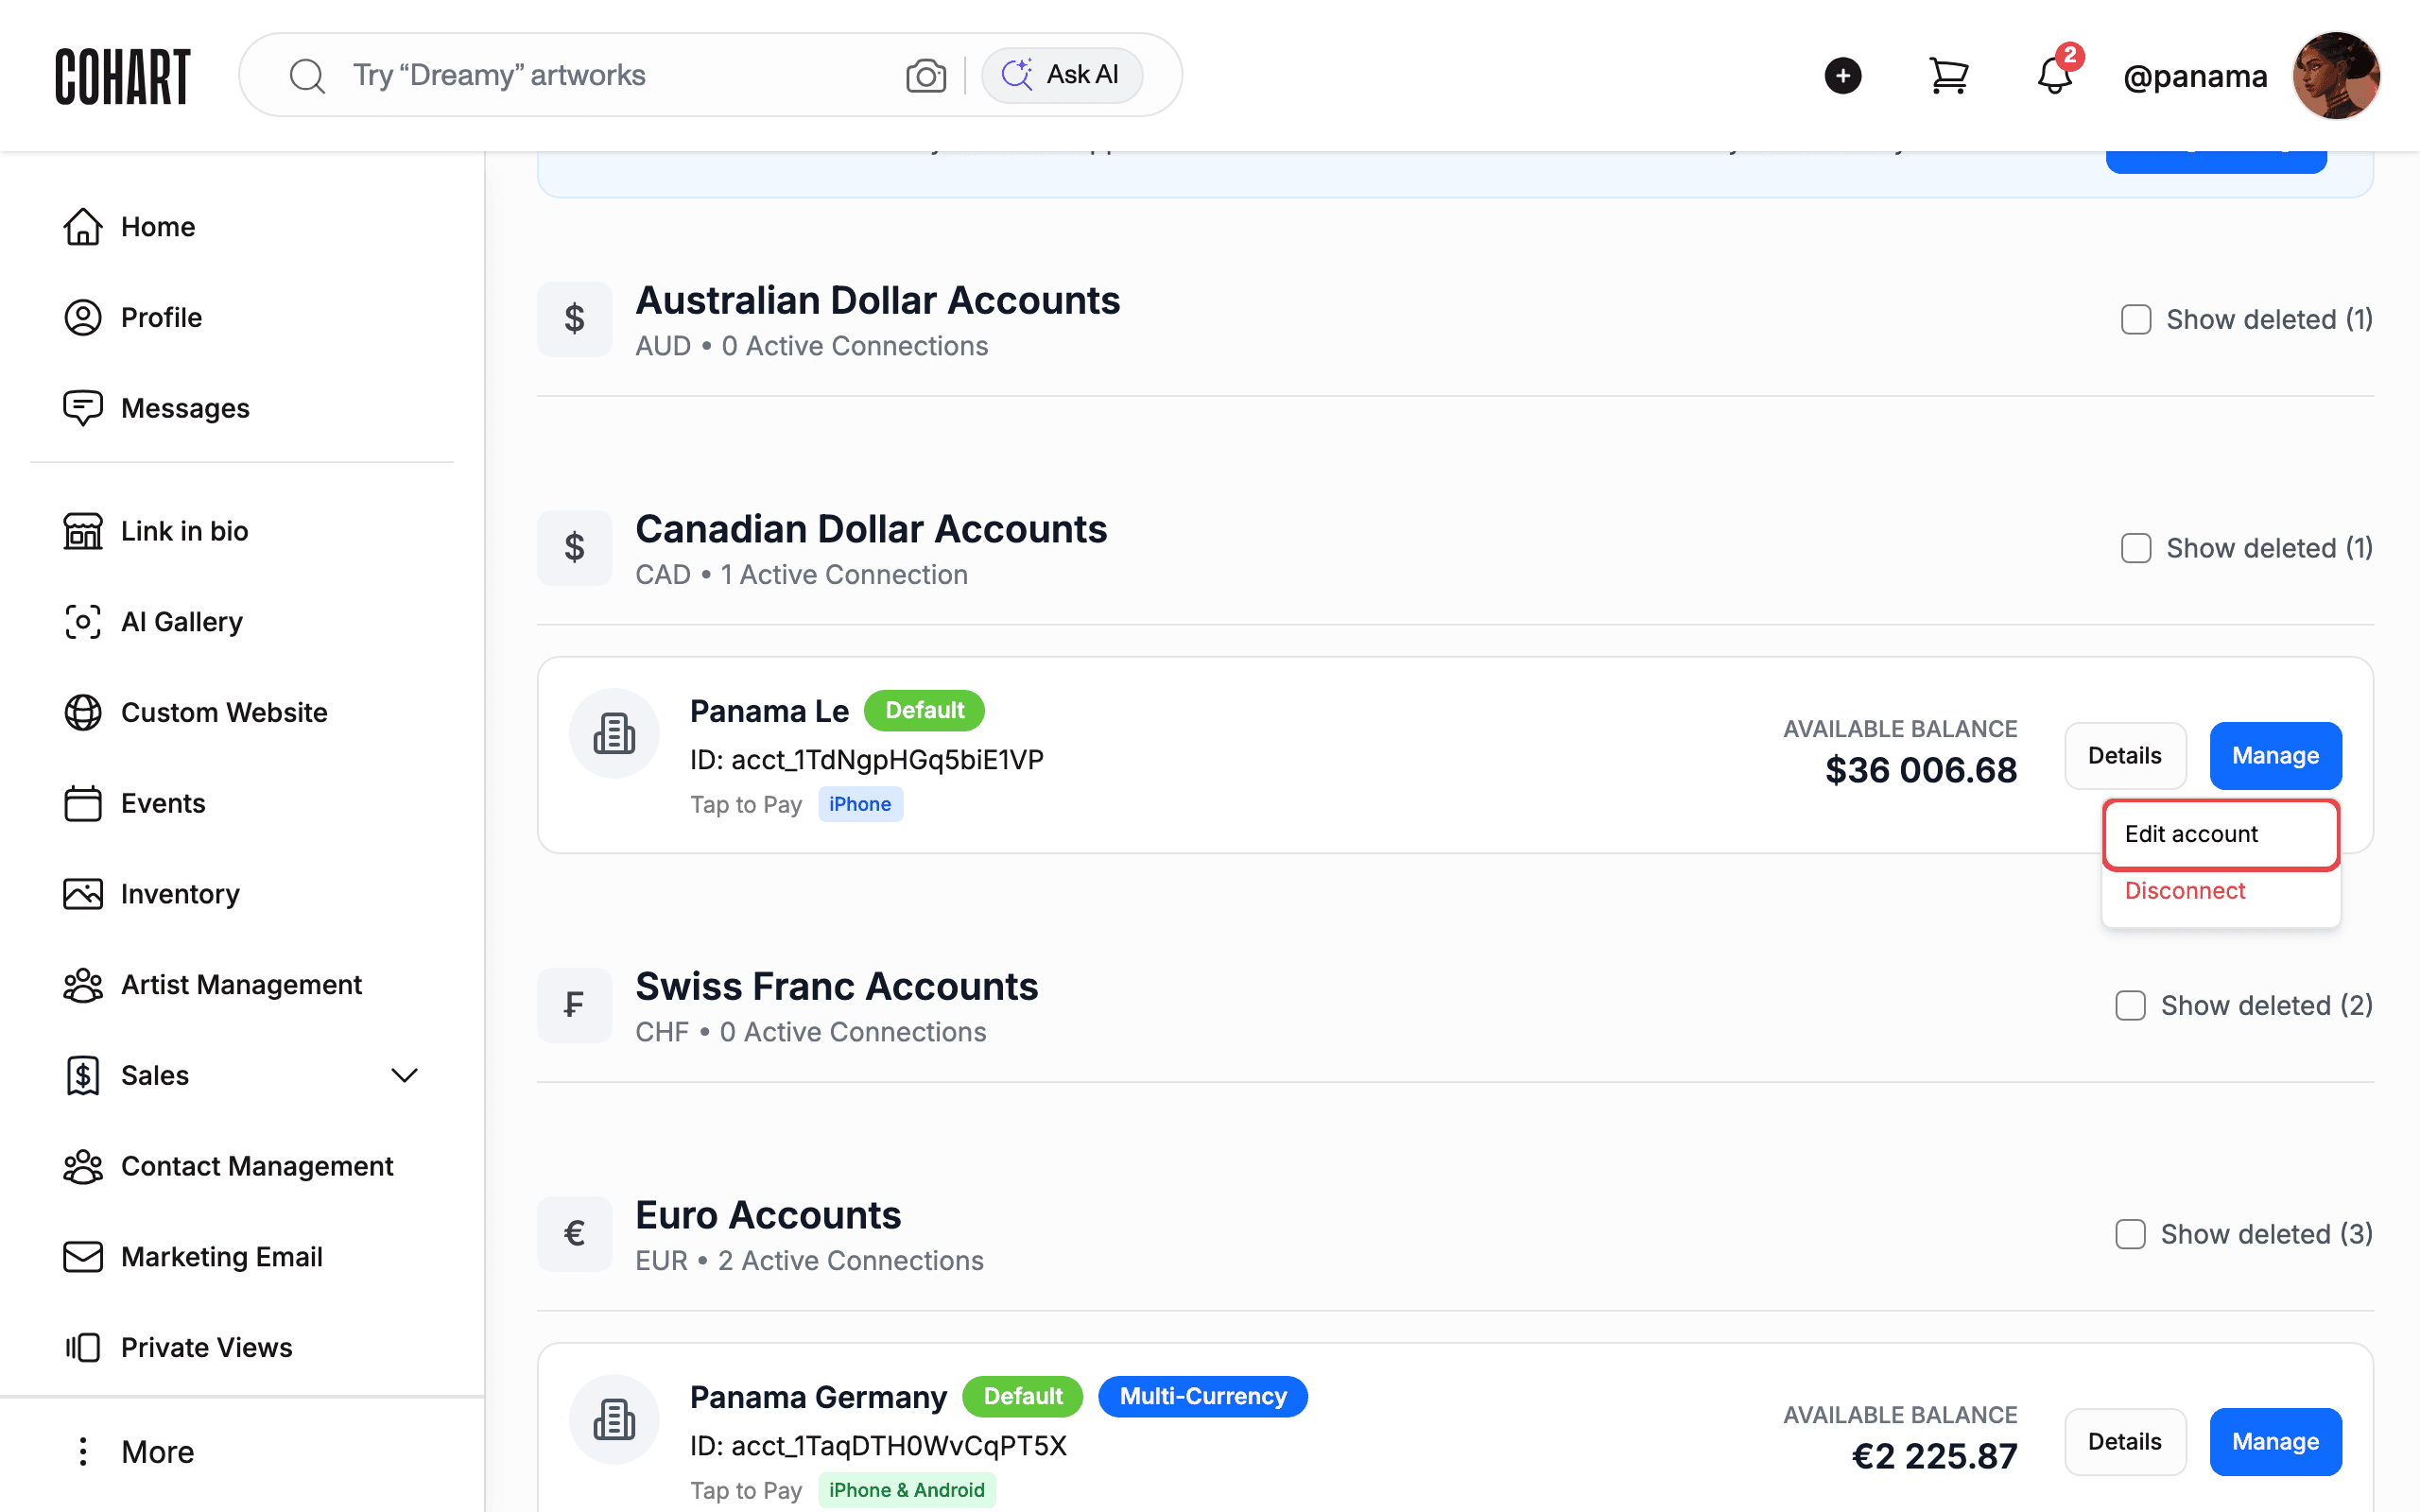
On any account card, click Manage. A menu opens with Edit account and Disconnect. Choose Edit account to update the connection’s settings, or Disconnect only if you want to remove that bank connection. If an account needs attention, you will see Verify (action required) or Remove buttons on its card instead.
8. Open an account to check balances and transactions
Click Details on any account card. The detail page (titled Financial Account) shows each currency balance on that connection (for example USD 49 801.19 with USD 1 187.51 processing), plus a Keep track of your payouts summary at the top.
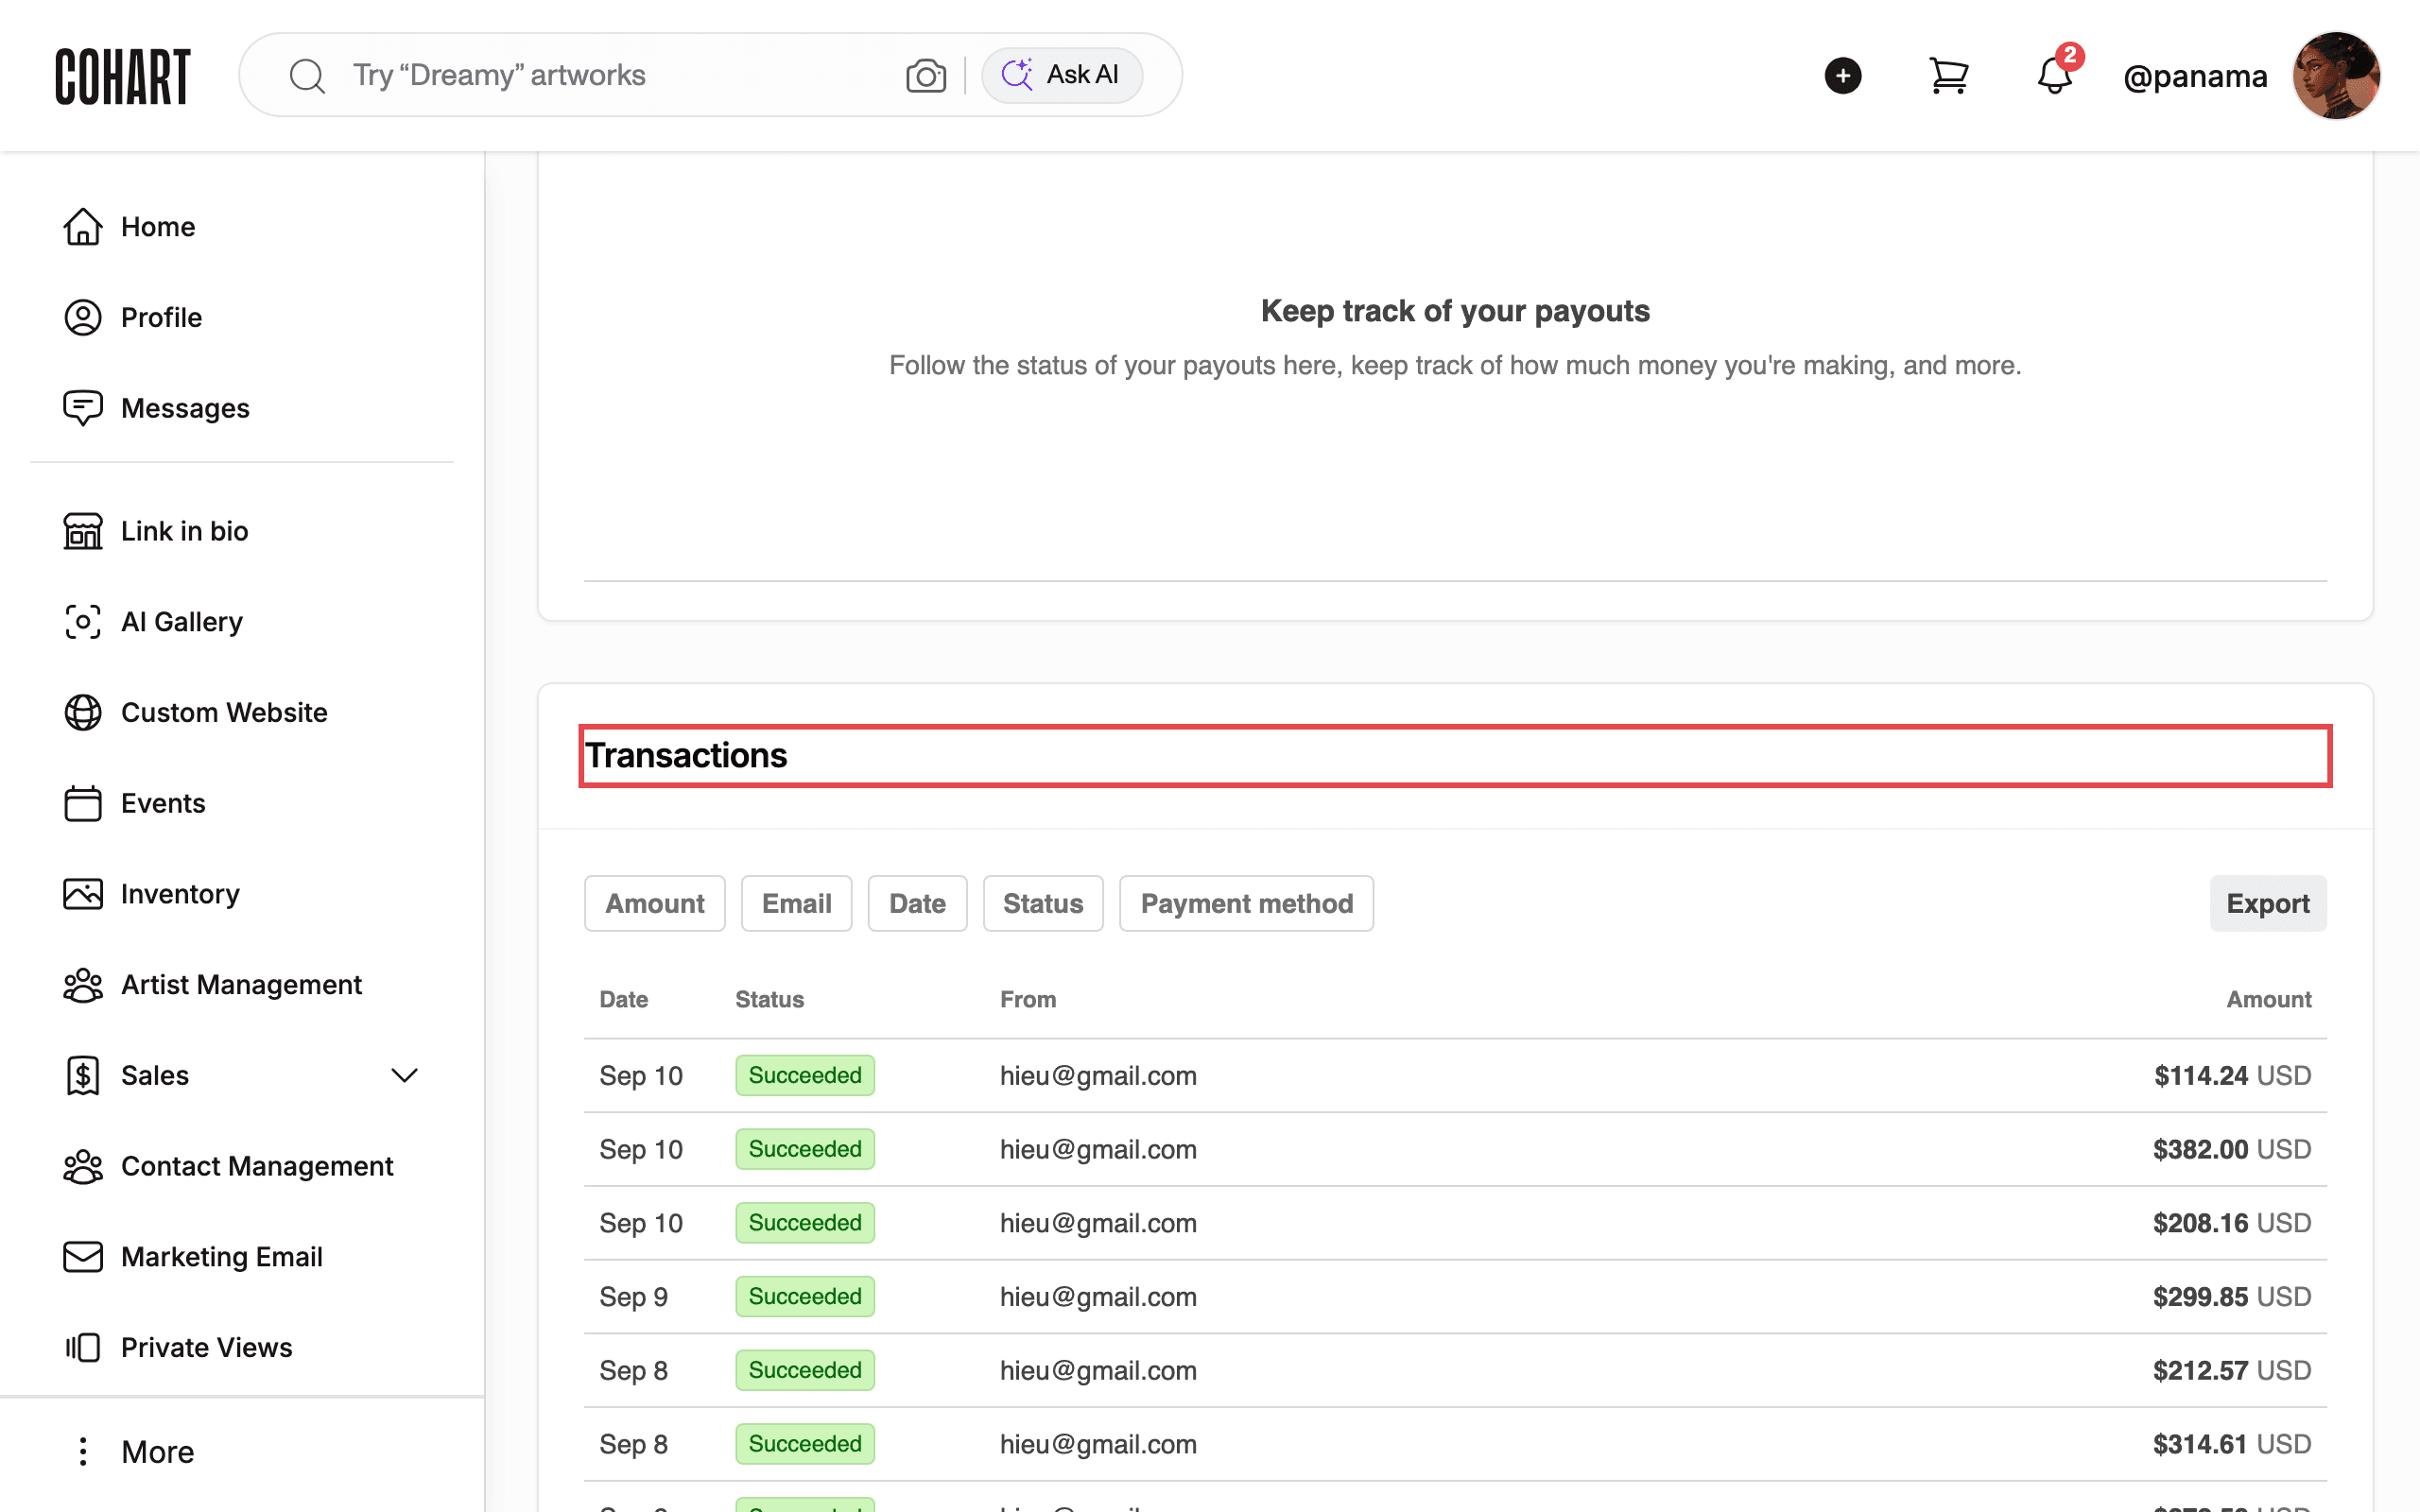
Scroll to Transactions. Filter the list with Amount, Email, Date, Status, and Payment method. Each row shows Date, Status (for example Succeeded), From (the buyer’s email), and Amount. Click Export to download the list. Click Back to List (top left) to return to all accounts.
9. Add a payout currency or withdraw earnings
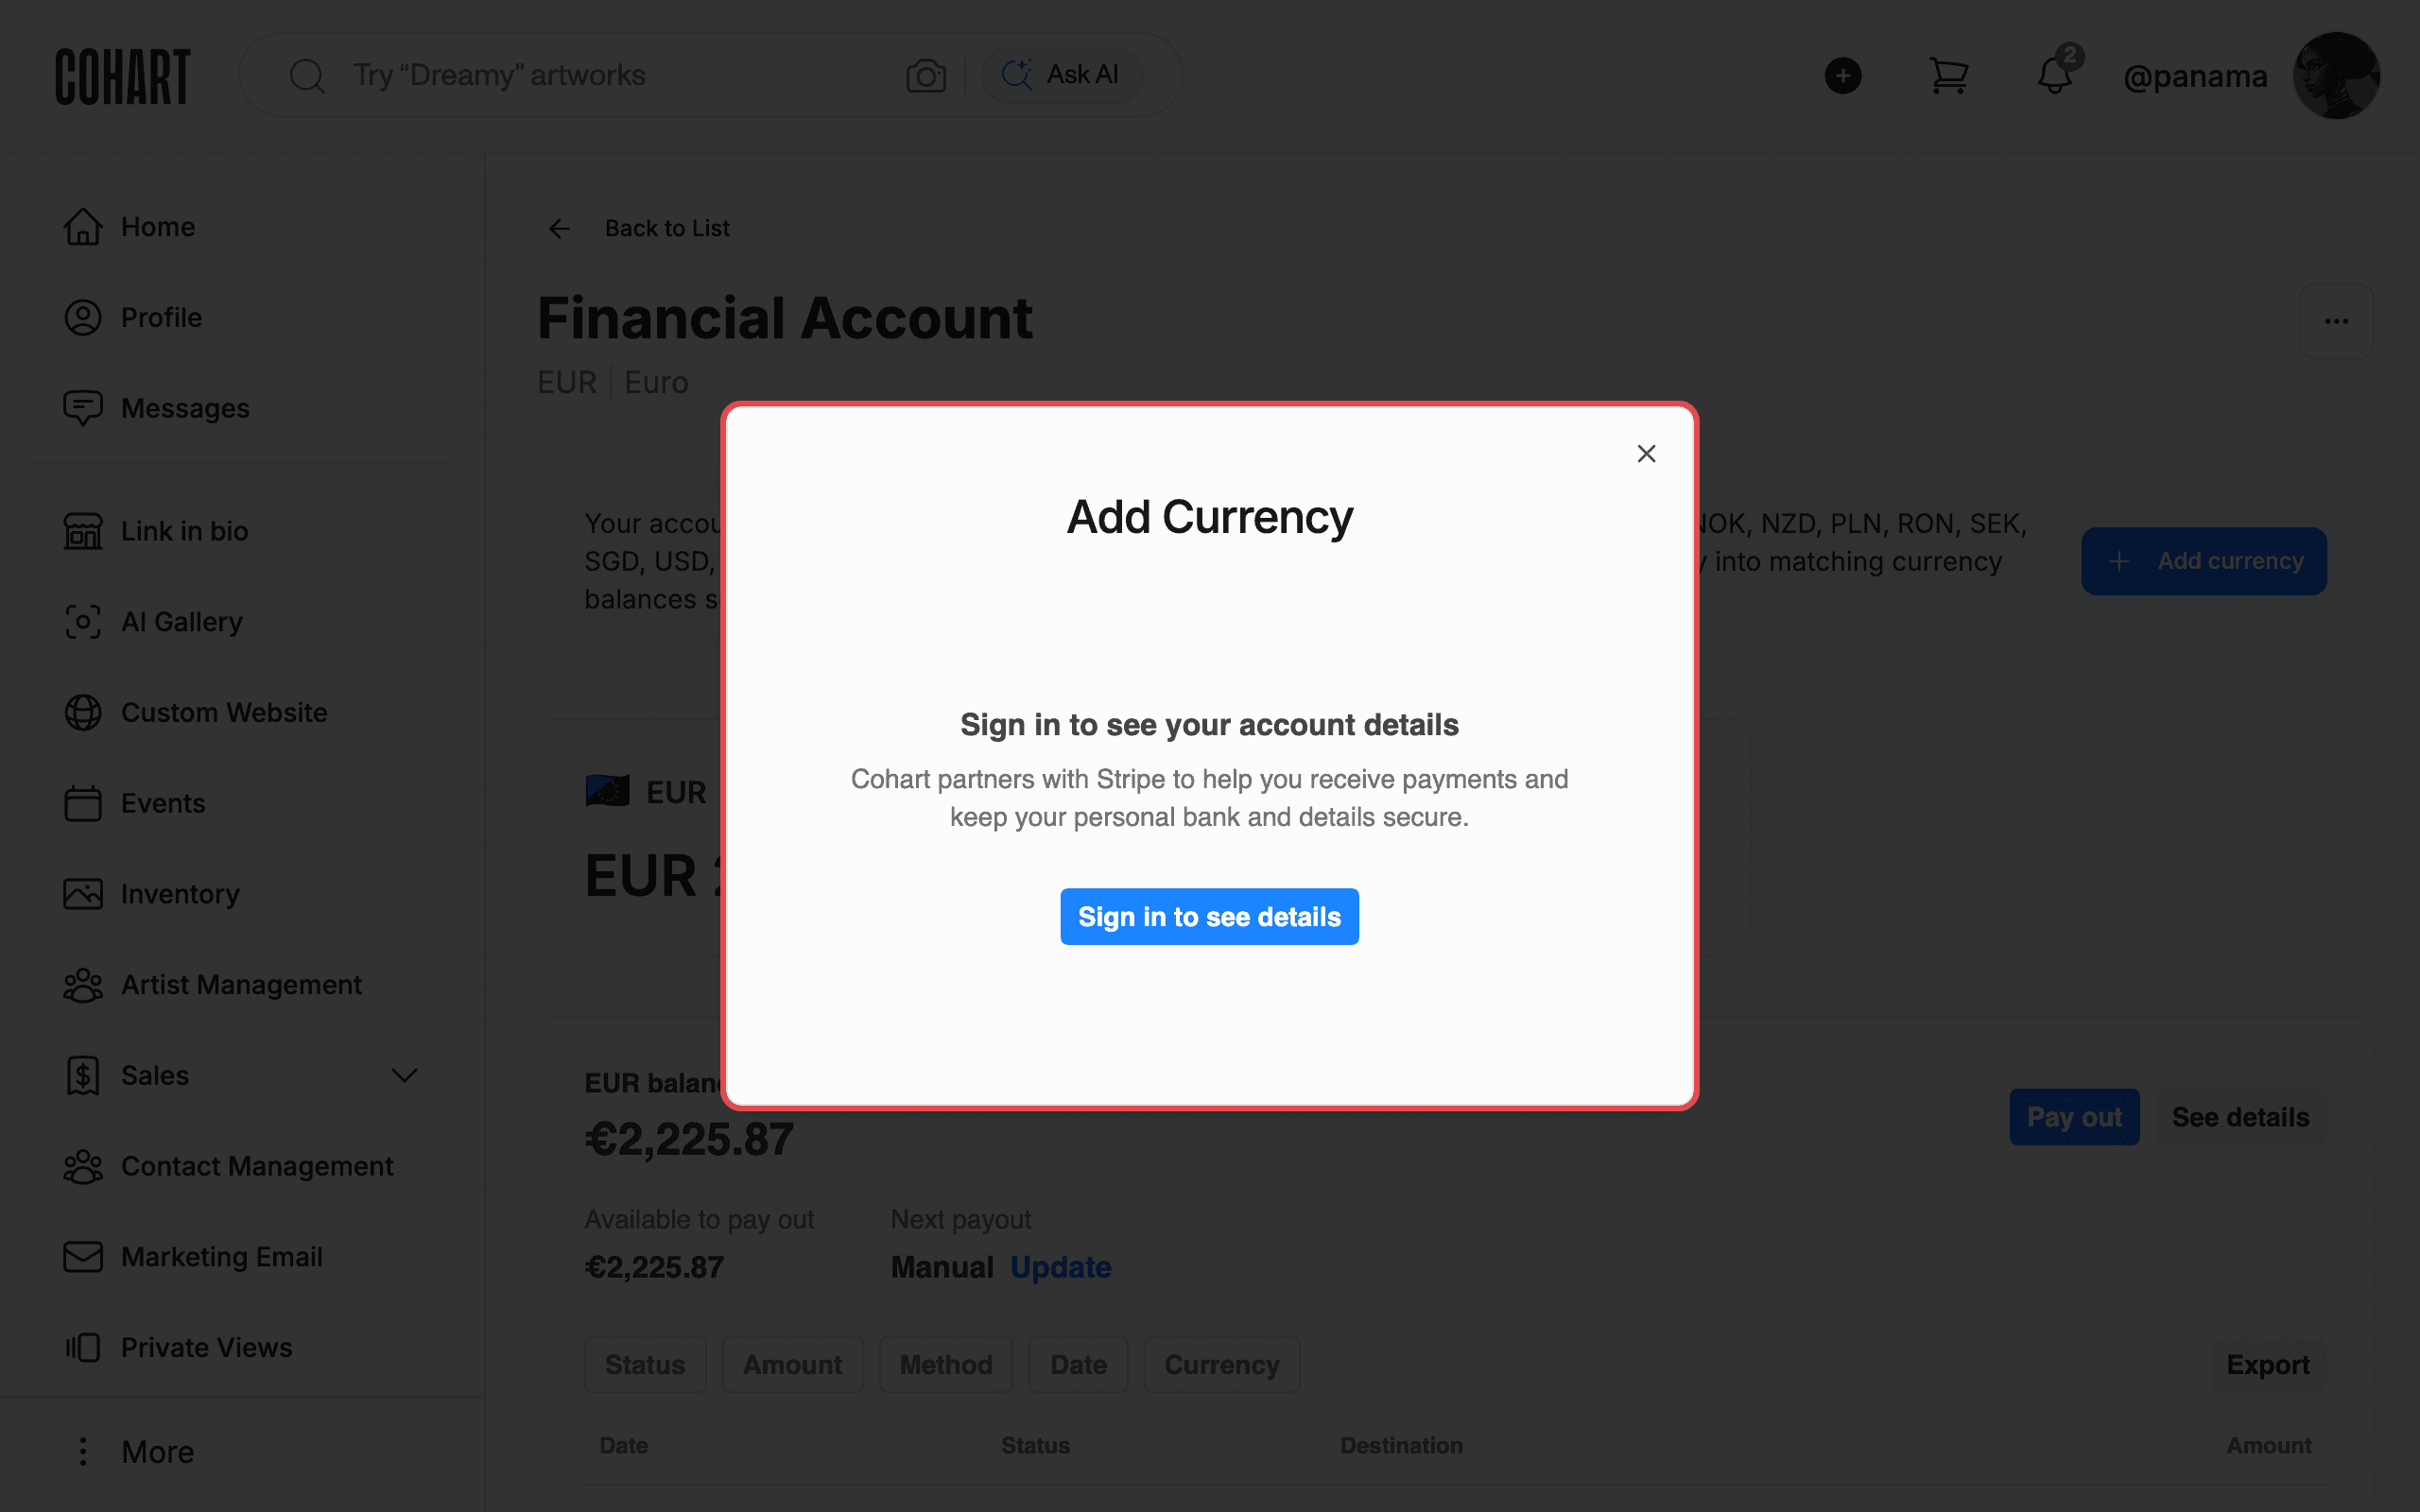
On an account detail page you may see an Add currency button (for example on a Euro account: “Your account supports 16 more currencies … — add payout bank accounts in those currencies”). Click Add currency to open the Add Currency dialog, which is hosted by Stripe. The dialog may ask you to Sign in to see details to verify the connection before continuing — do not complete this step unless you mean to add the currency.
On connections created before June 8, 2026, Add currency is not available in place — the page says the old account was disabled and asks you to set up a new connection, which creates a per-currency account instead.
To withdraw earnings, find the balance section on the detail page (for example Available to pay out €2,225.87 with Next payout Manual). Click Pay out to start a payout to your connected bank. Click See details for the payout breakdown, or Update next to Next payout to change the payout schedule. Clicking Pay out opens a Pay out funds dialog where you choose a payout speed (for example Standard, arriving in 1-2 business days), confirm the destination bank account and amount, and review the statement descriptor before sending. See How to Get Paid: Seller Payouts on Cohart for the full payout walkthrough.
Tips
- Financial Accounts is below the fold. On smaller screens, scroll the left sidebar down past Manage Plan to find it.
- How soon you get paid after a sale. With a connected account, payments arrive immediately and payouts reach your bank within 3 days. The balance section on the account detail page shows the amount Available to pay out and the Next payout setting — click Pay out to start a payout, or Update next to Next payout to change the schedule.
- Refunds and chargebacks are the seller’s responsibility. In exchange for immediate payments, payouts within 3 days, and Tap to Pay in a supported connected currency, you take responsibility for disputes and refunds on the sales paid into your connected account.
- Wrong payout currency? Sales settle into the matching currency balance when you have one, so you avoid conversion fees. Otherwise they use your Global Default currency (see the step on checking it).
- Any payment currency is accepted. Stripe converts a payment made in another currency into your connected currency automatically; the only cost is the currency conversion fee. Configure the currencies you sell in most and payments in them arrive with no conversion.
- Listing and invoicing follow your connected currencies. You can only list artwork or send an invoice in a currency configured on your connected account — add one with Add currency on the account detail page, or with + New connection.
- Tap to Pay availability depends on currency and device. The page states CAD (iPhone) and EUR (iPhone, Android).
- Add Currency asks you to sign in again. That prompt comes from Stripe, not Cohart. Complete it only when you are ready.
Troubleshooting
- Transactions table is empty → you have no sales on that account yet → use the Status filter to check for pending items.
- “Action Required” on a card → the connection is pending Stripe verification → click Verify on that account and complete the Stripe verification steps.
- The page shows Setup not finished → the chosen Global default currency does not match the Stripe account’s default currency → click Finish setup; until then, payments in currencies without a payout account convert to Stripe’s default currency instead of your Global default.
- The currency you want is missing when you list an artwork or create an invoice → only the currencies configured on your connected account can be used → add it with Add currency on the account detail page, or connect an account in that currency with + New connection.
- A payment settled for less than the sale amount → the buyer paid in a currency other than your connected currency, so Stripe converted it and charged a currency conversion fee → configure that currency on your connected account to be paid in it directly.
- Tap to Pay is not available for a sale → Tap to Pay only works in a supported connected currency and on a supported device → check the currency and device pills on the account card (for example CAD (iPhone), EUR (iPhone, Android)).
- A notice says your old connected account was disabled → connections created before June 8, 2026 can no longer process payments → create a new connection with + New connection.