How to Share and Engage with Moments
Overview
Moments are short posts — text, photos, or video — that you share with your fans and the wider community.
- Who it’s for — any Cohart member who wants to connect with followers and the broader community, not just artists.
- Where it happens — your profile’s MOMENTS tab for posting and managing your own Moments, and the MOMENTS tab under Discover for browsing everyone else’s.
- What posting does — publishes your text, photo, or video Moment immediately to the community feed and your profile.
- What engaging does — liking, commenting on, reposting, or sharing a Moment updates its counts right away and notifies the poster.
- What you end up with — a published Moment, the ability to like, comment on, reshare, and share other members’ Moments, and full control (edit or delete) over the Moments you post.
Before you start
- A Cohart account you’re signed in to. Moments are tied to your profile, so you need to be logged in before you can post or manage one.
- Review the Community Guidelines. Moments are visible to the whole community, so keep your content respectful and on-topic before posting.
Steps
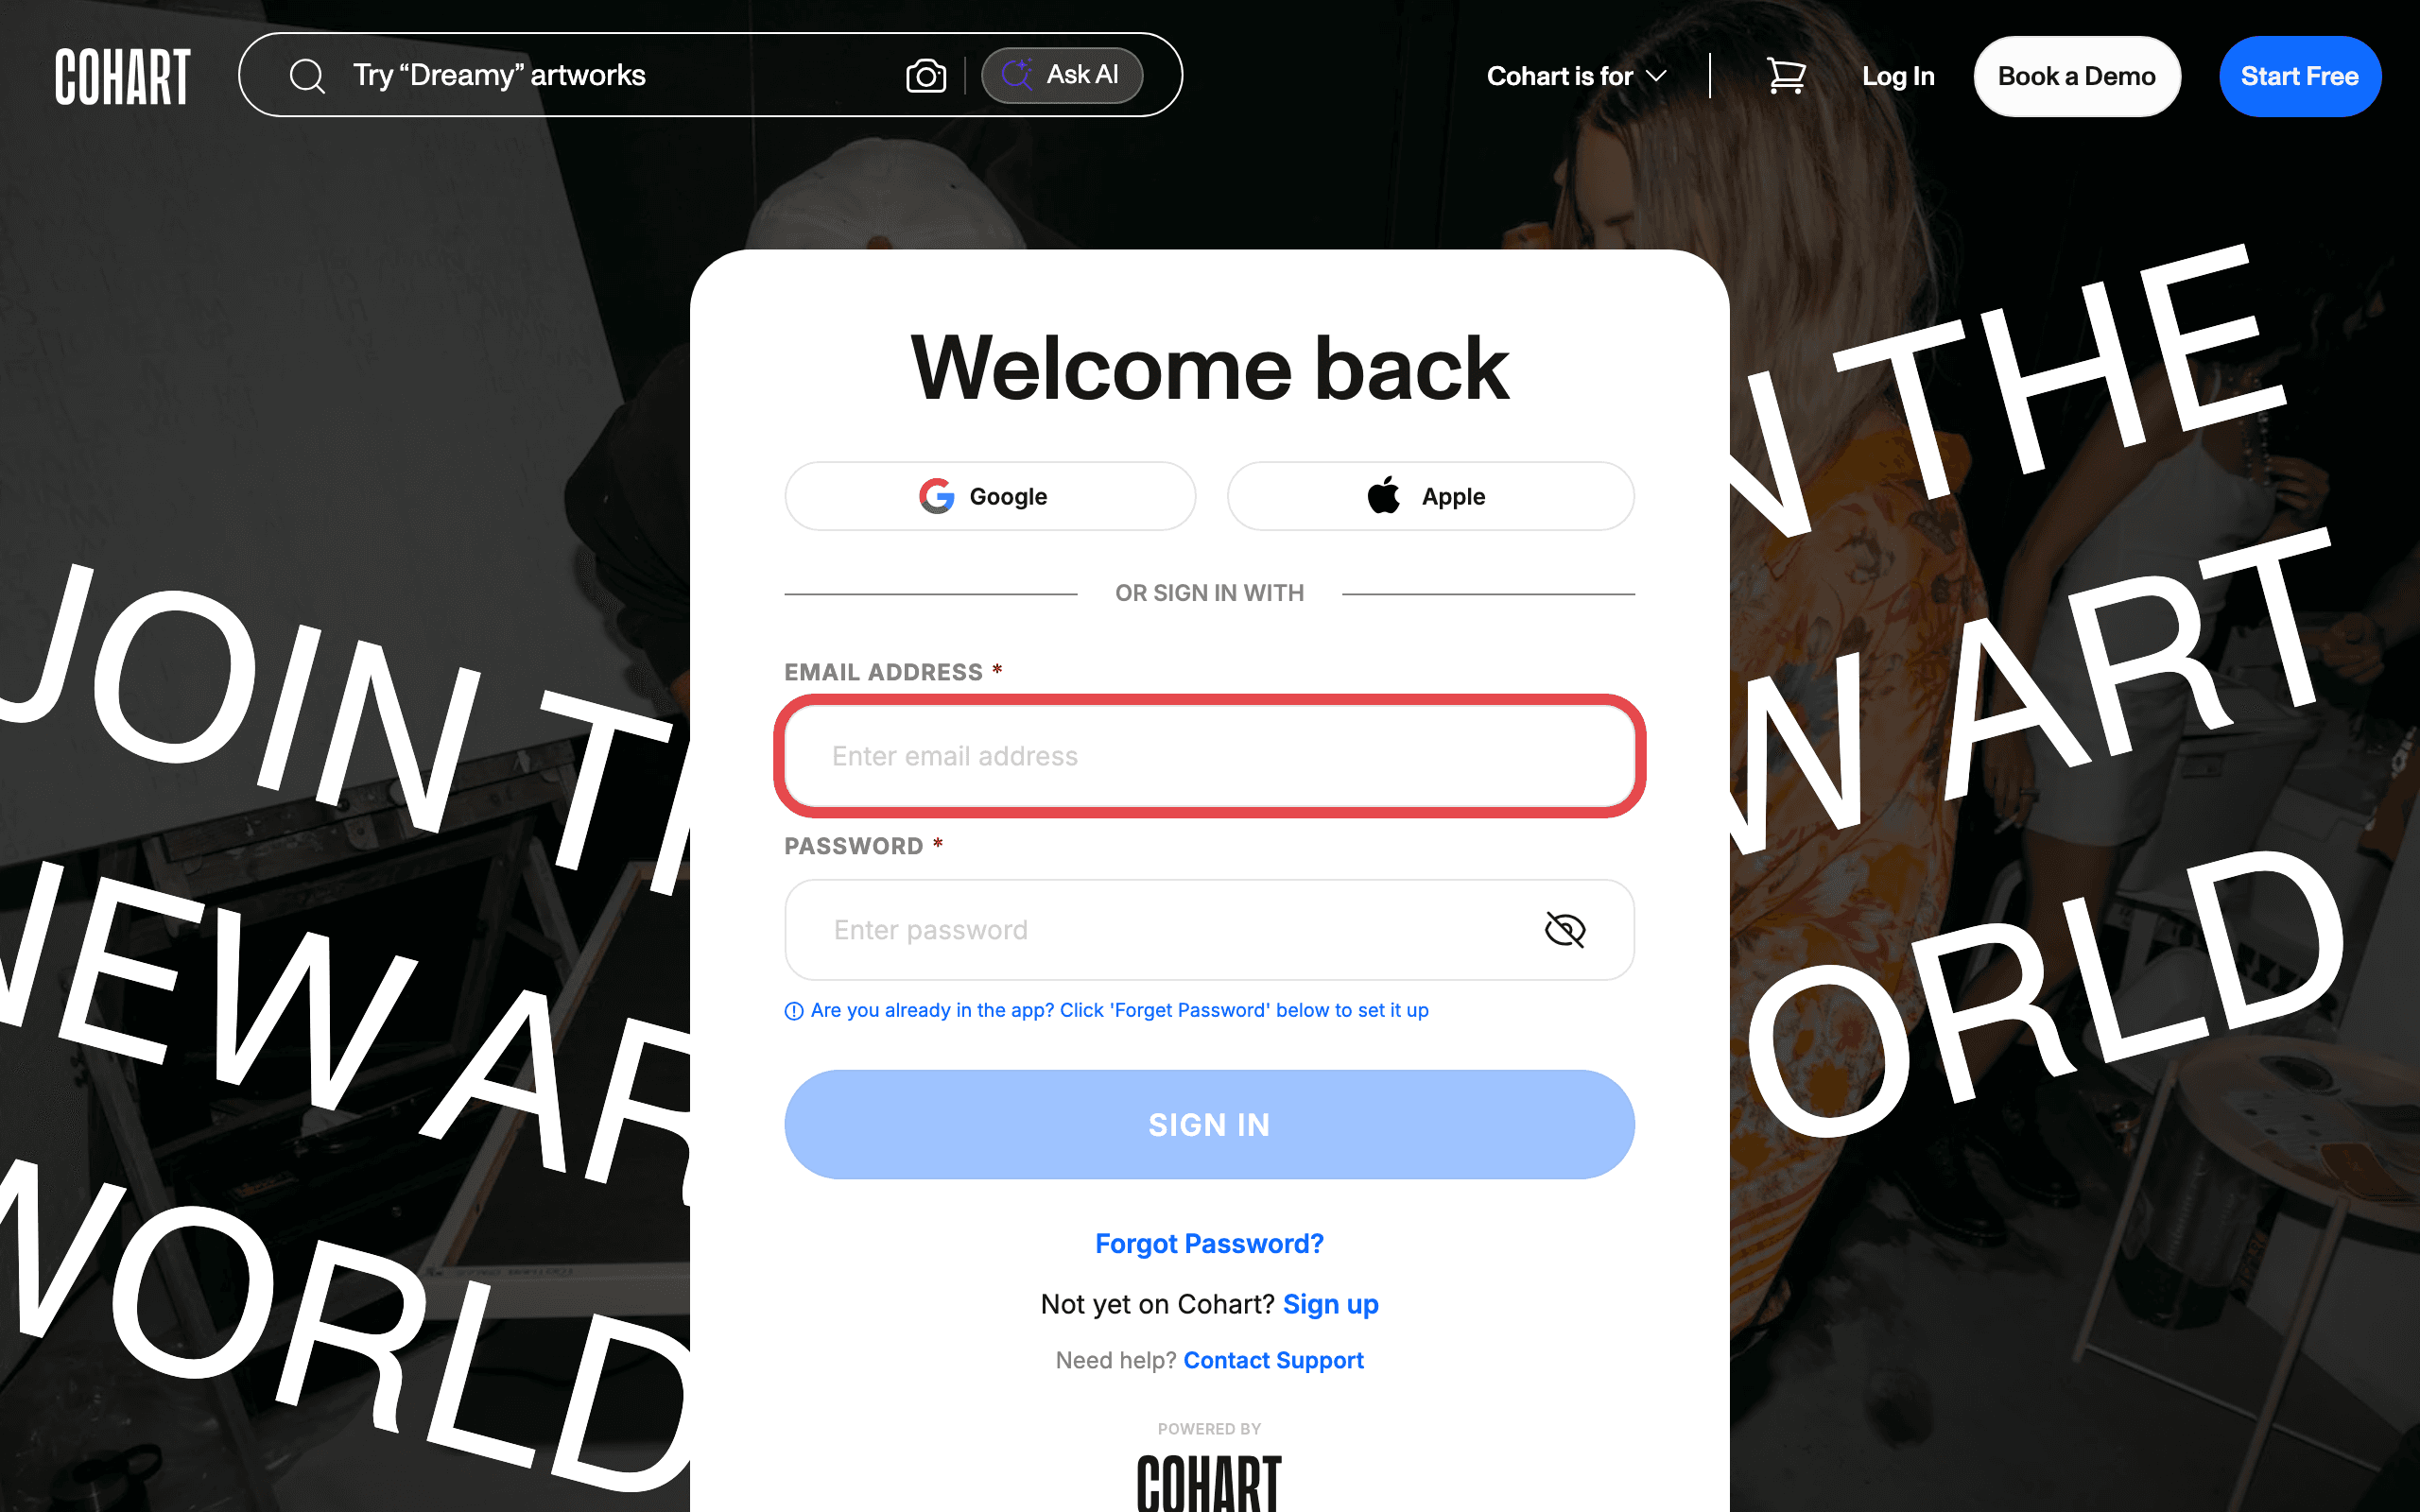
1. Sign in to Cohart
Sign in with your email address and password, or use Google or Apple.
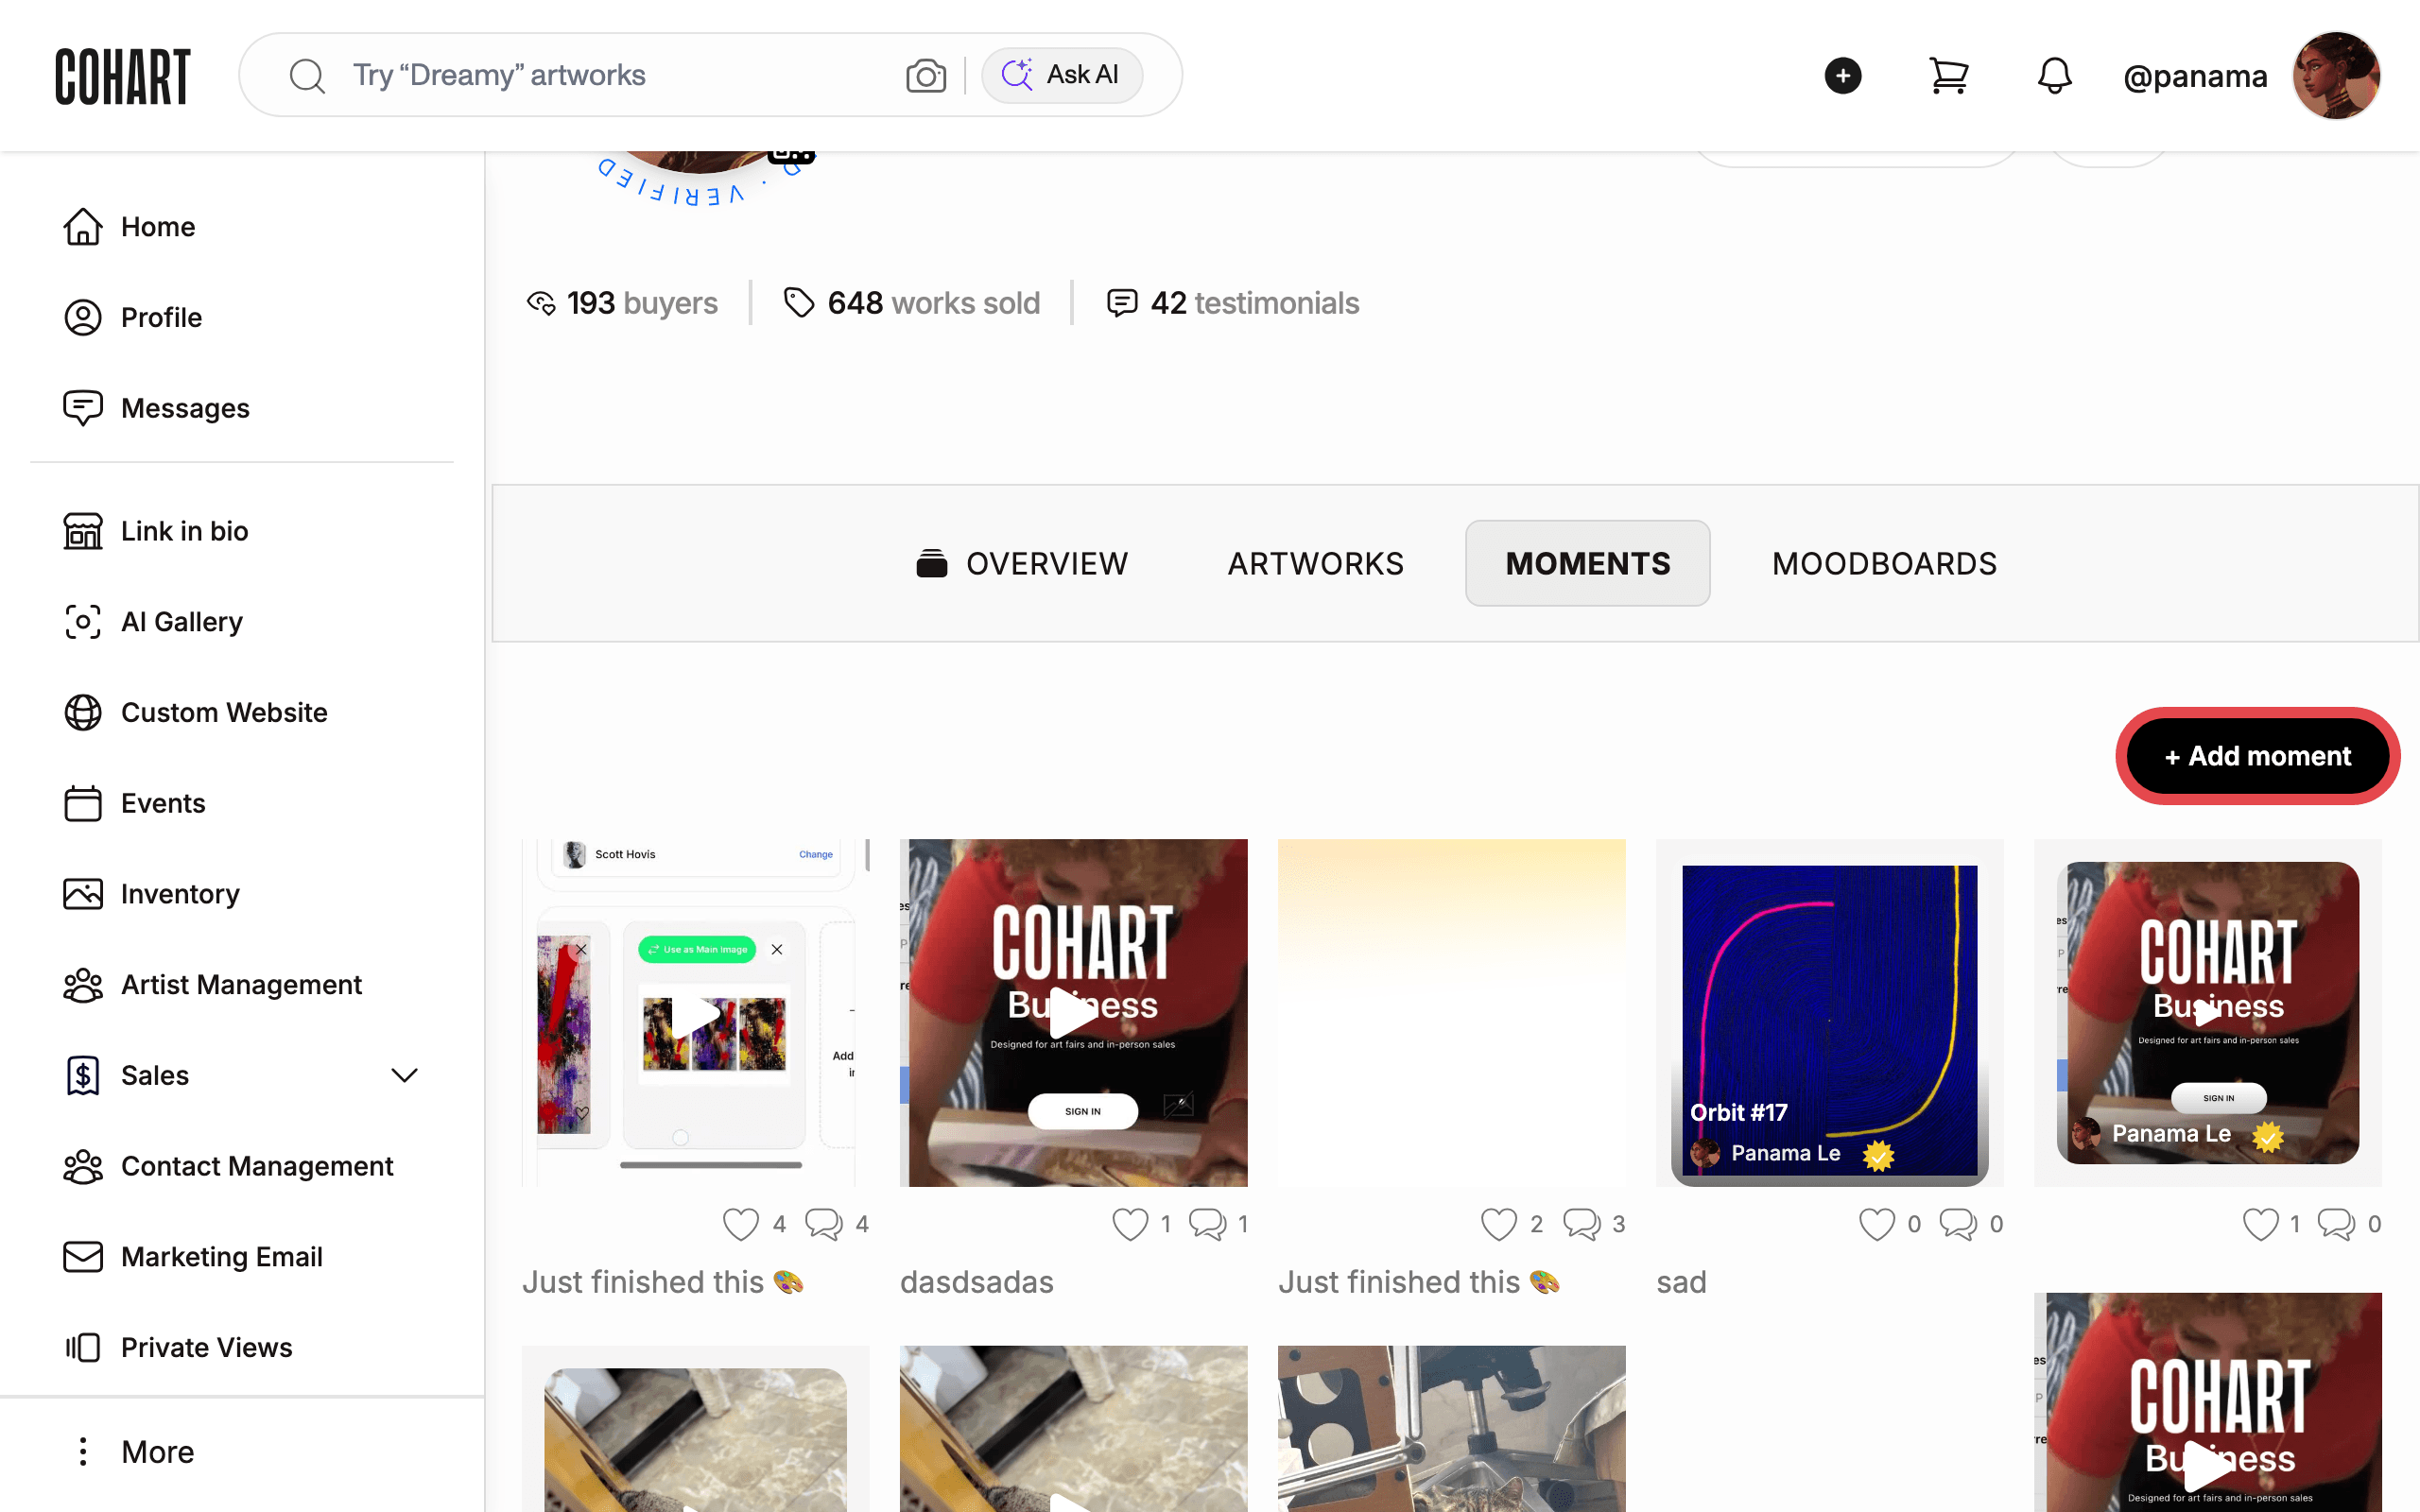
2. Open your Moments tab
After signing in, go to your profile and click the MOMENTS tab. This tab lists every Moment you’ve posted, with like and comment counts on each card, and an + Add moment button.
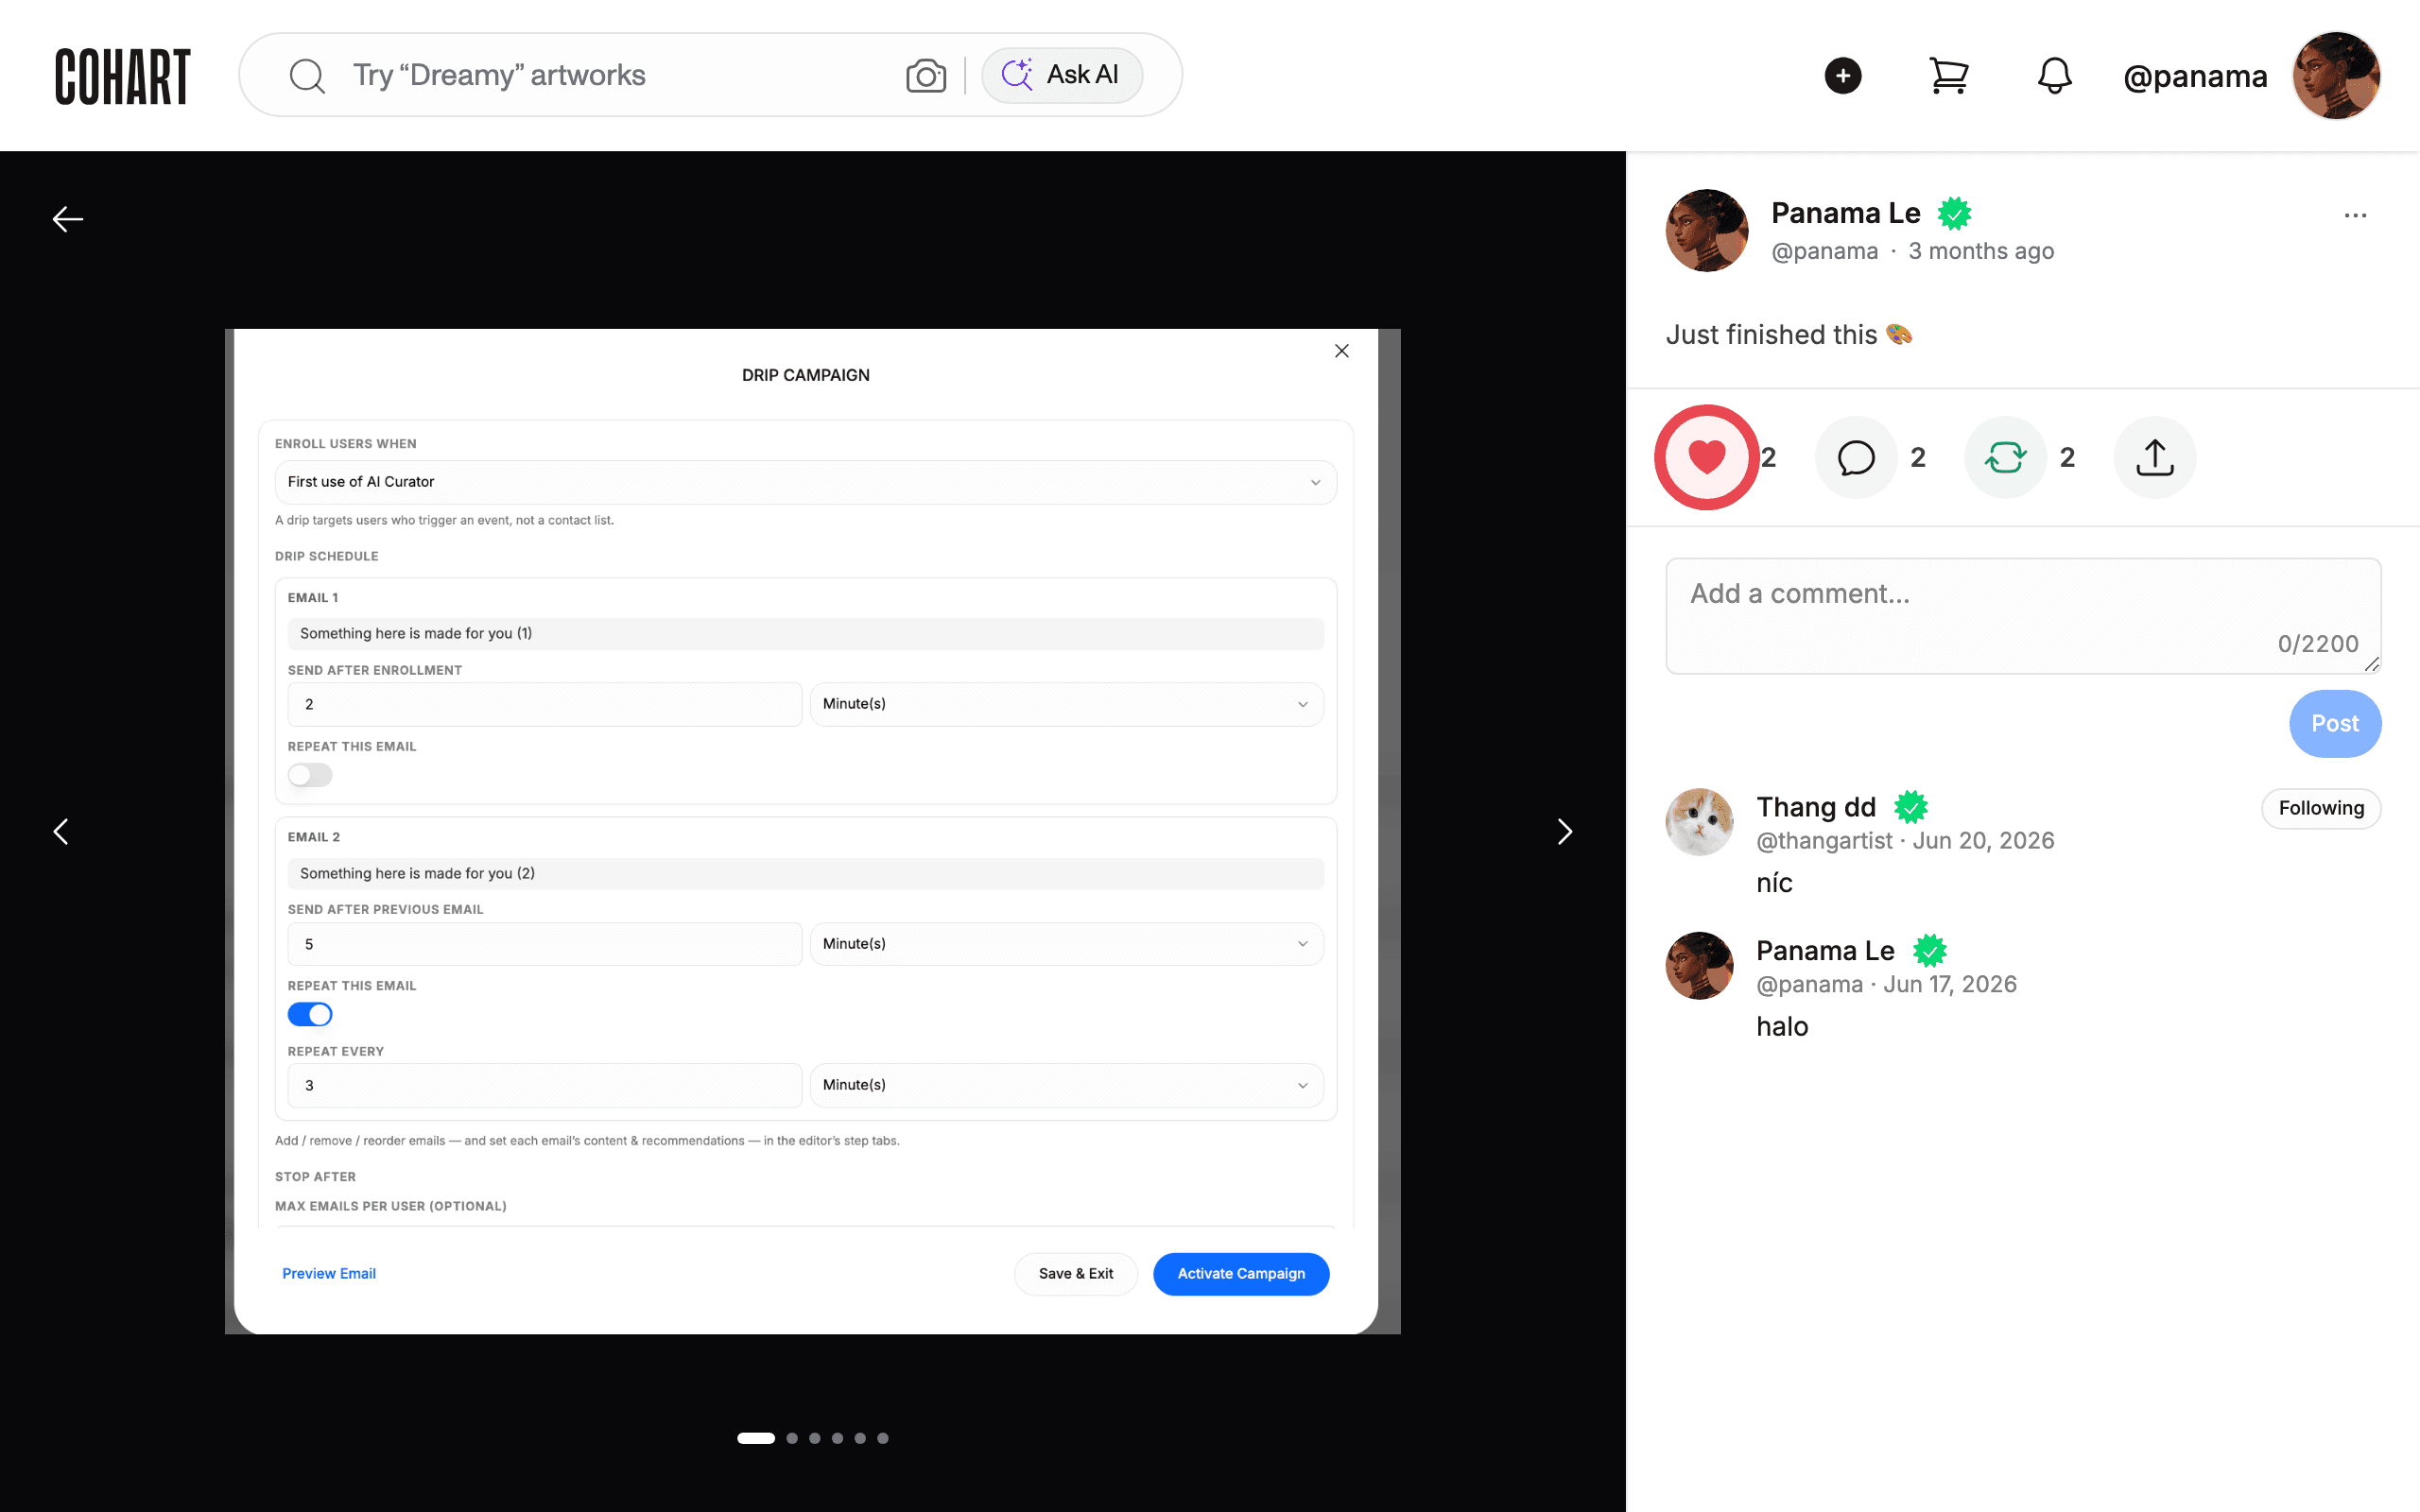
3. Open a Moment’s detail page
Click any Moment card to open its detail page. This is where you see the full post alongside Like, View like list, Comment, Reshare, View reshare list, and Share controls, plus the comment box.
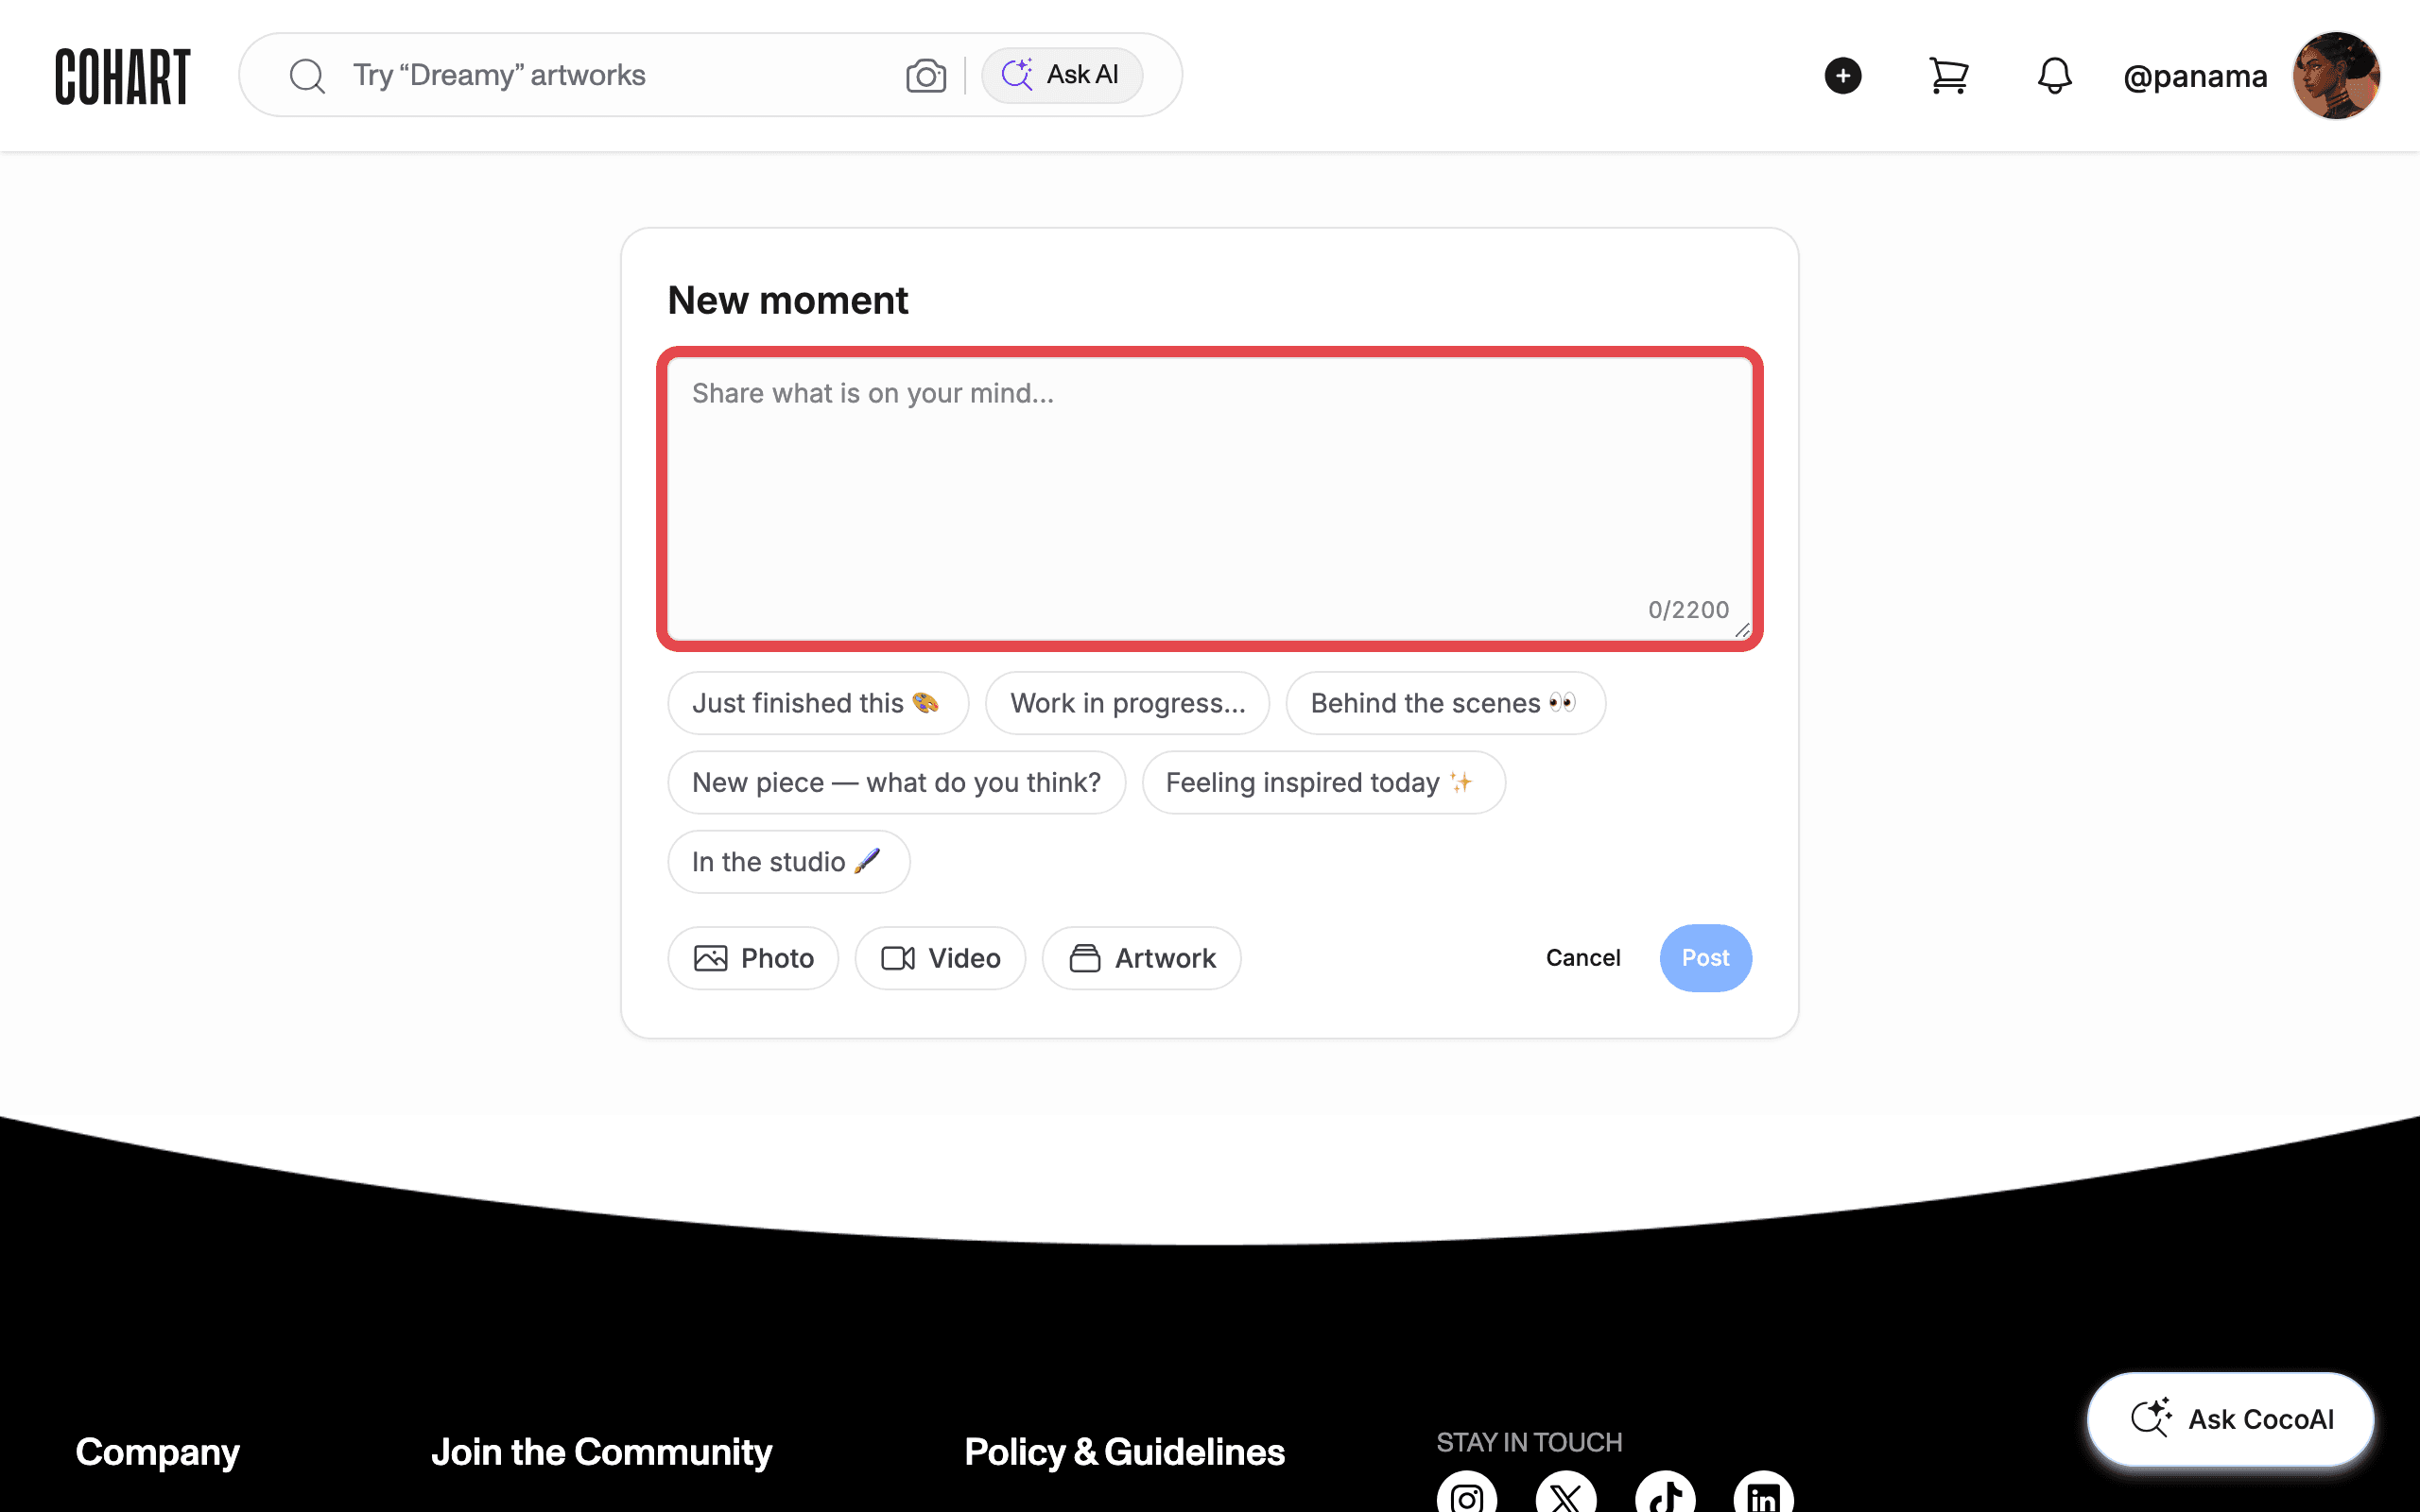
4. Start a new Moment
From the MOMENTS tab, click + Add moment. In the composer that opens, type your message in the Share what is on your mind… box (up to 2,200 characters), or tap one of the suggested prompts (for example Just finished this 🎨 or In the studio 🖌️) to start with prefilled text. Attach a Photo, Video, or an Artwork from your inventory using the buttons below the text box, or post text on its own.
5. Write your Moment and post it
Finish your caption, then click Post. Your Moment publishes immediately and opens on its own detail page with a Moment posted confirmation.
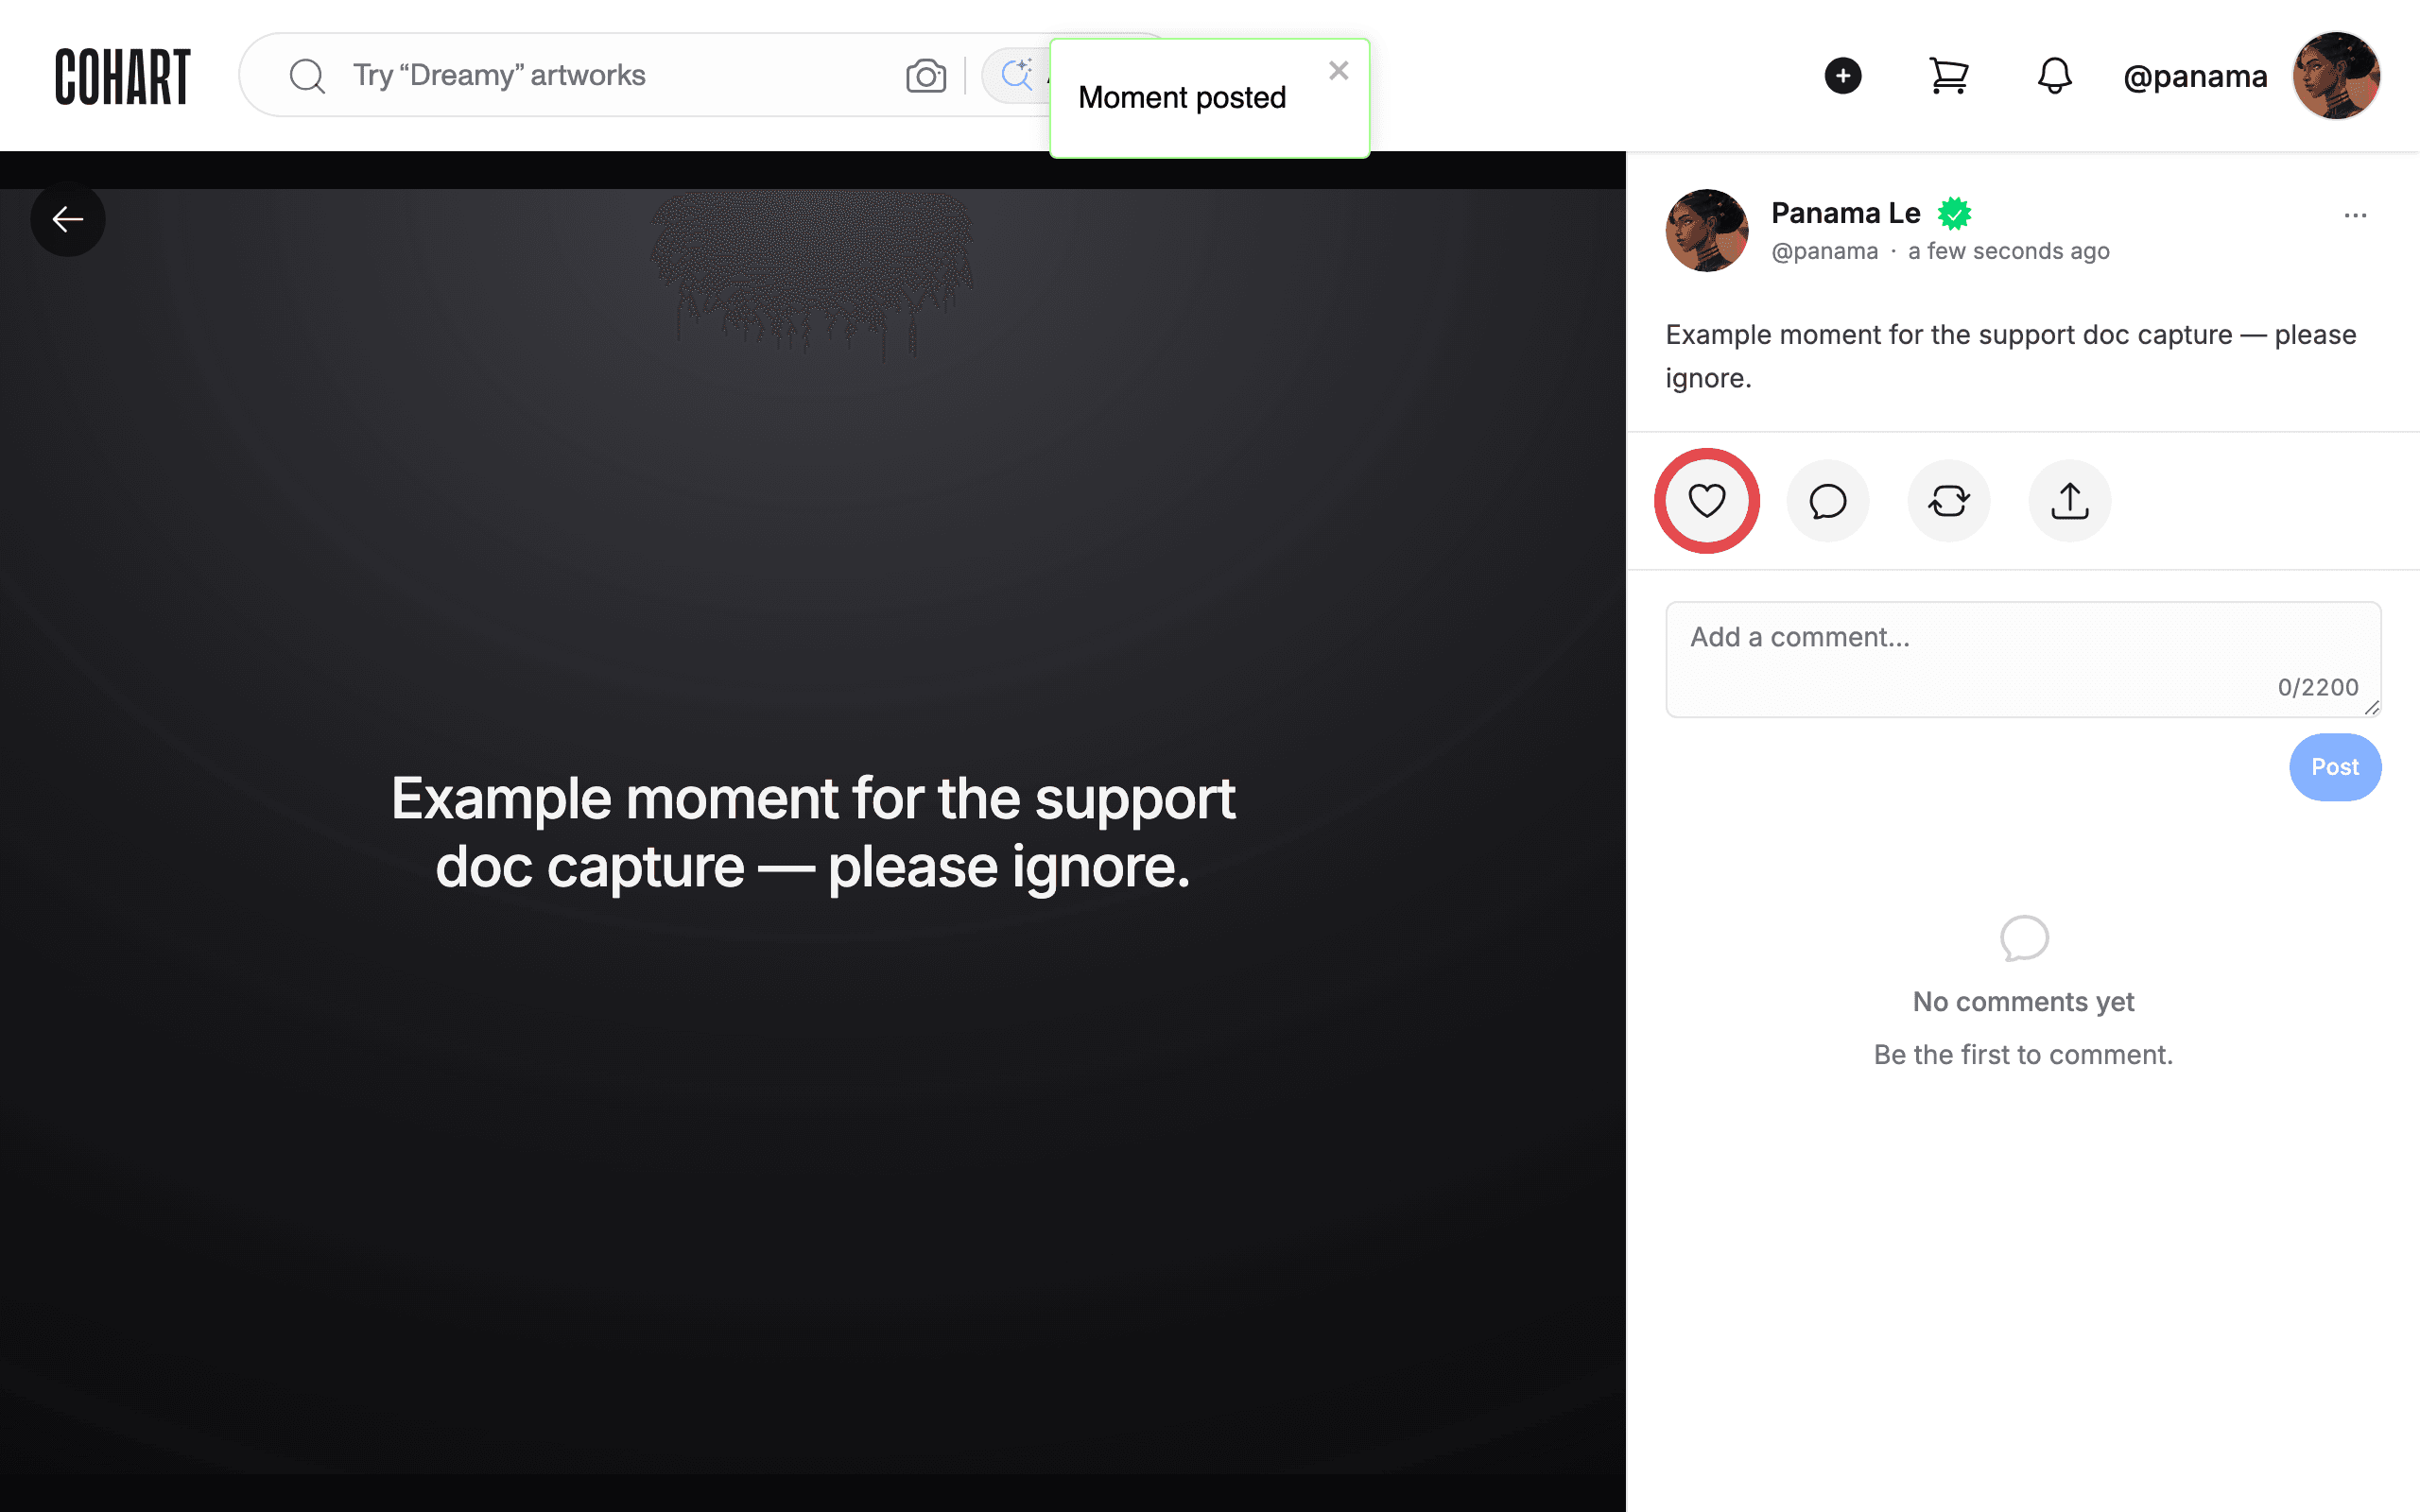
6. Like a Moment
On any Moment’s detail page, click the heart-shaped Like button to give it a like. The count next to the button updates right away. Click View like list to see who has liked the Moment.
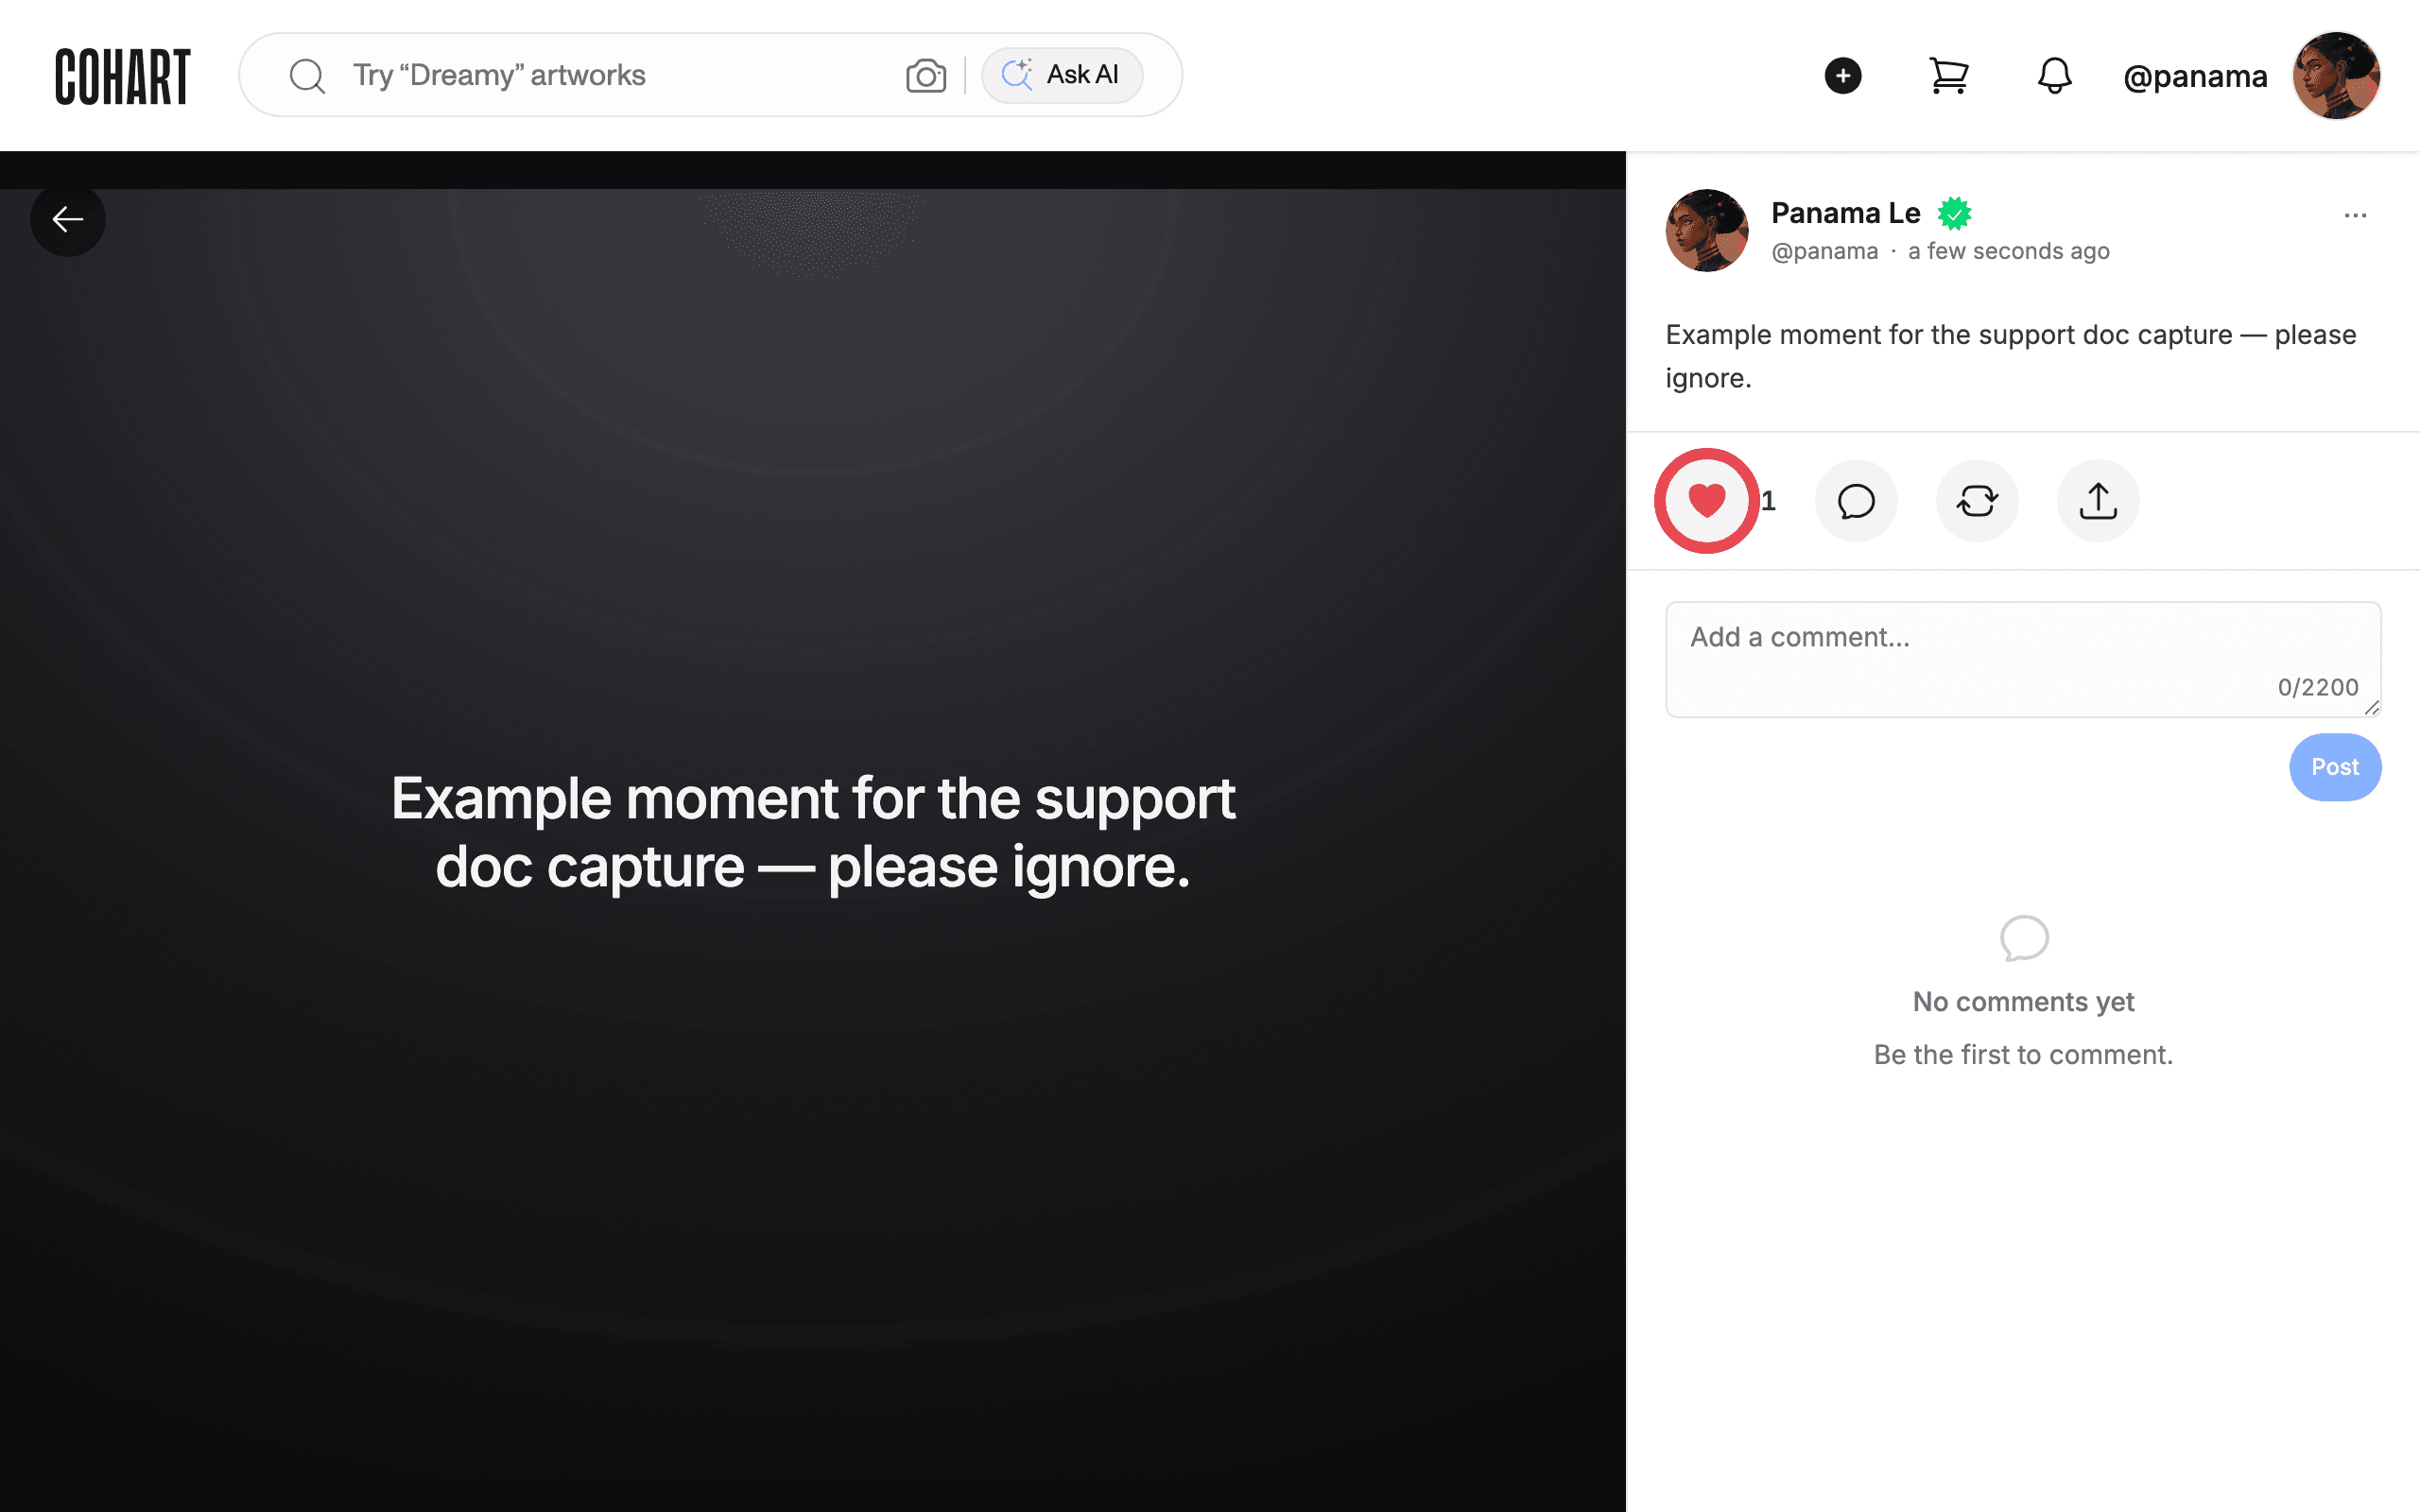
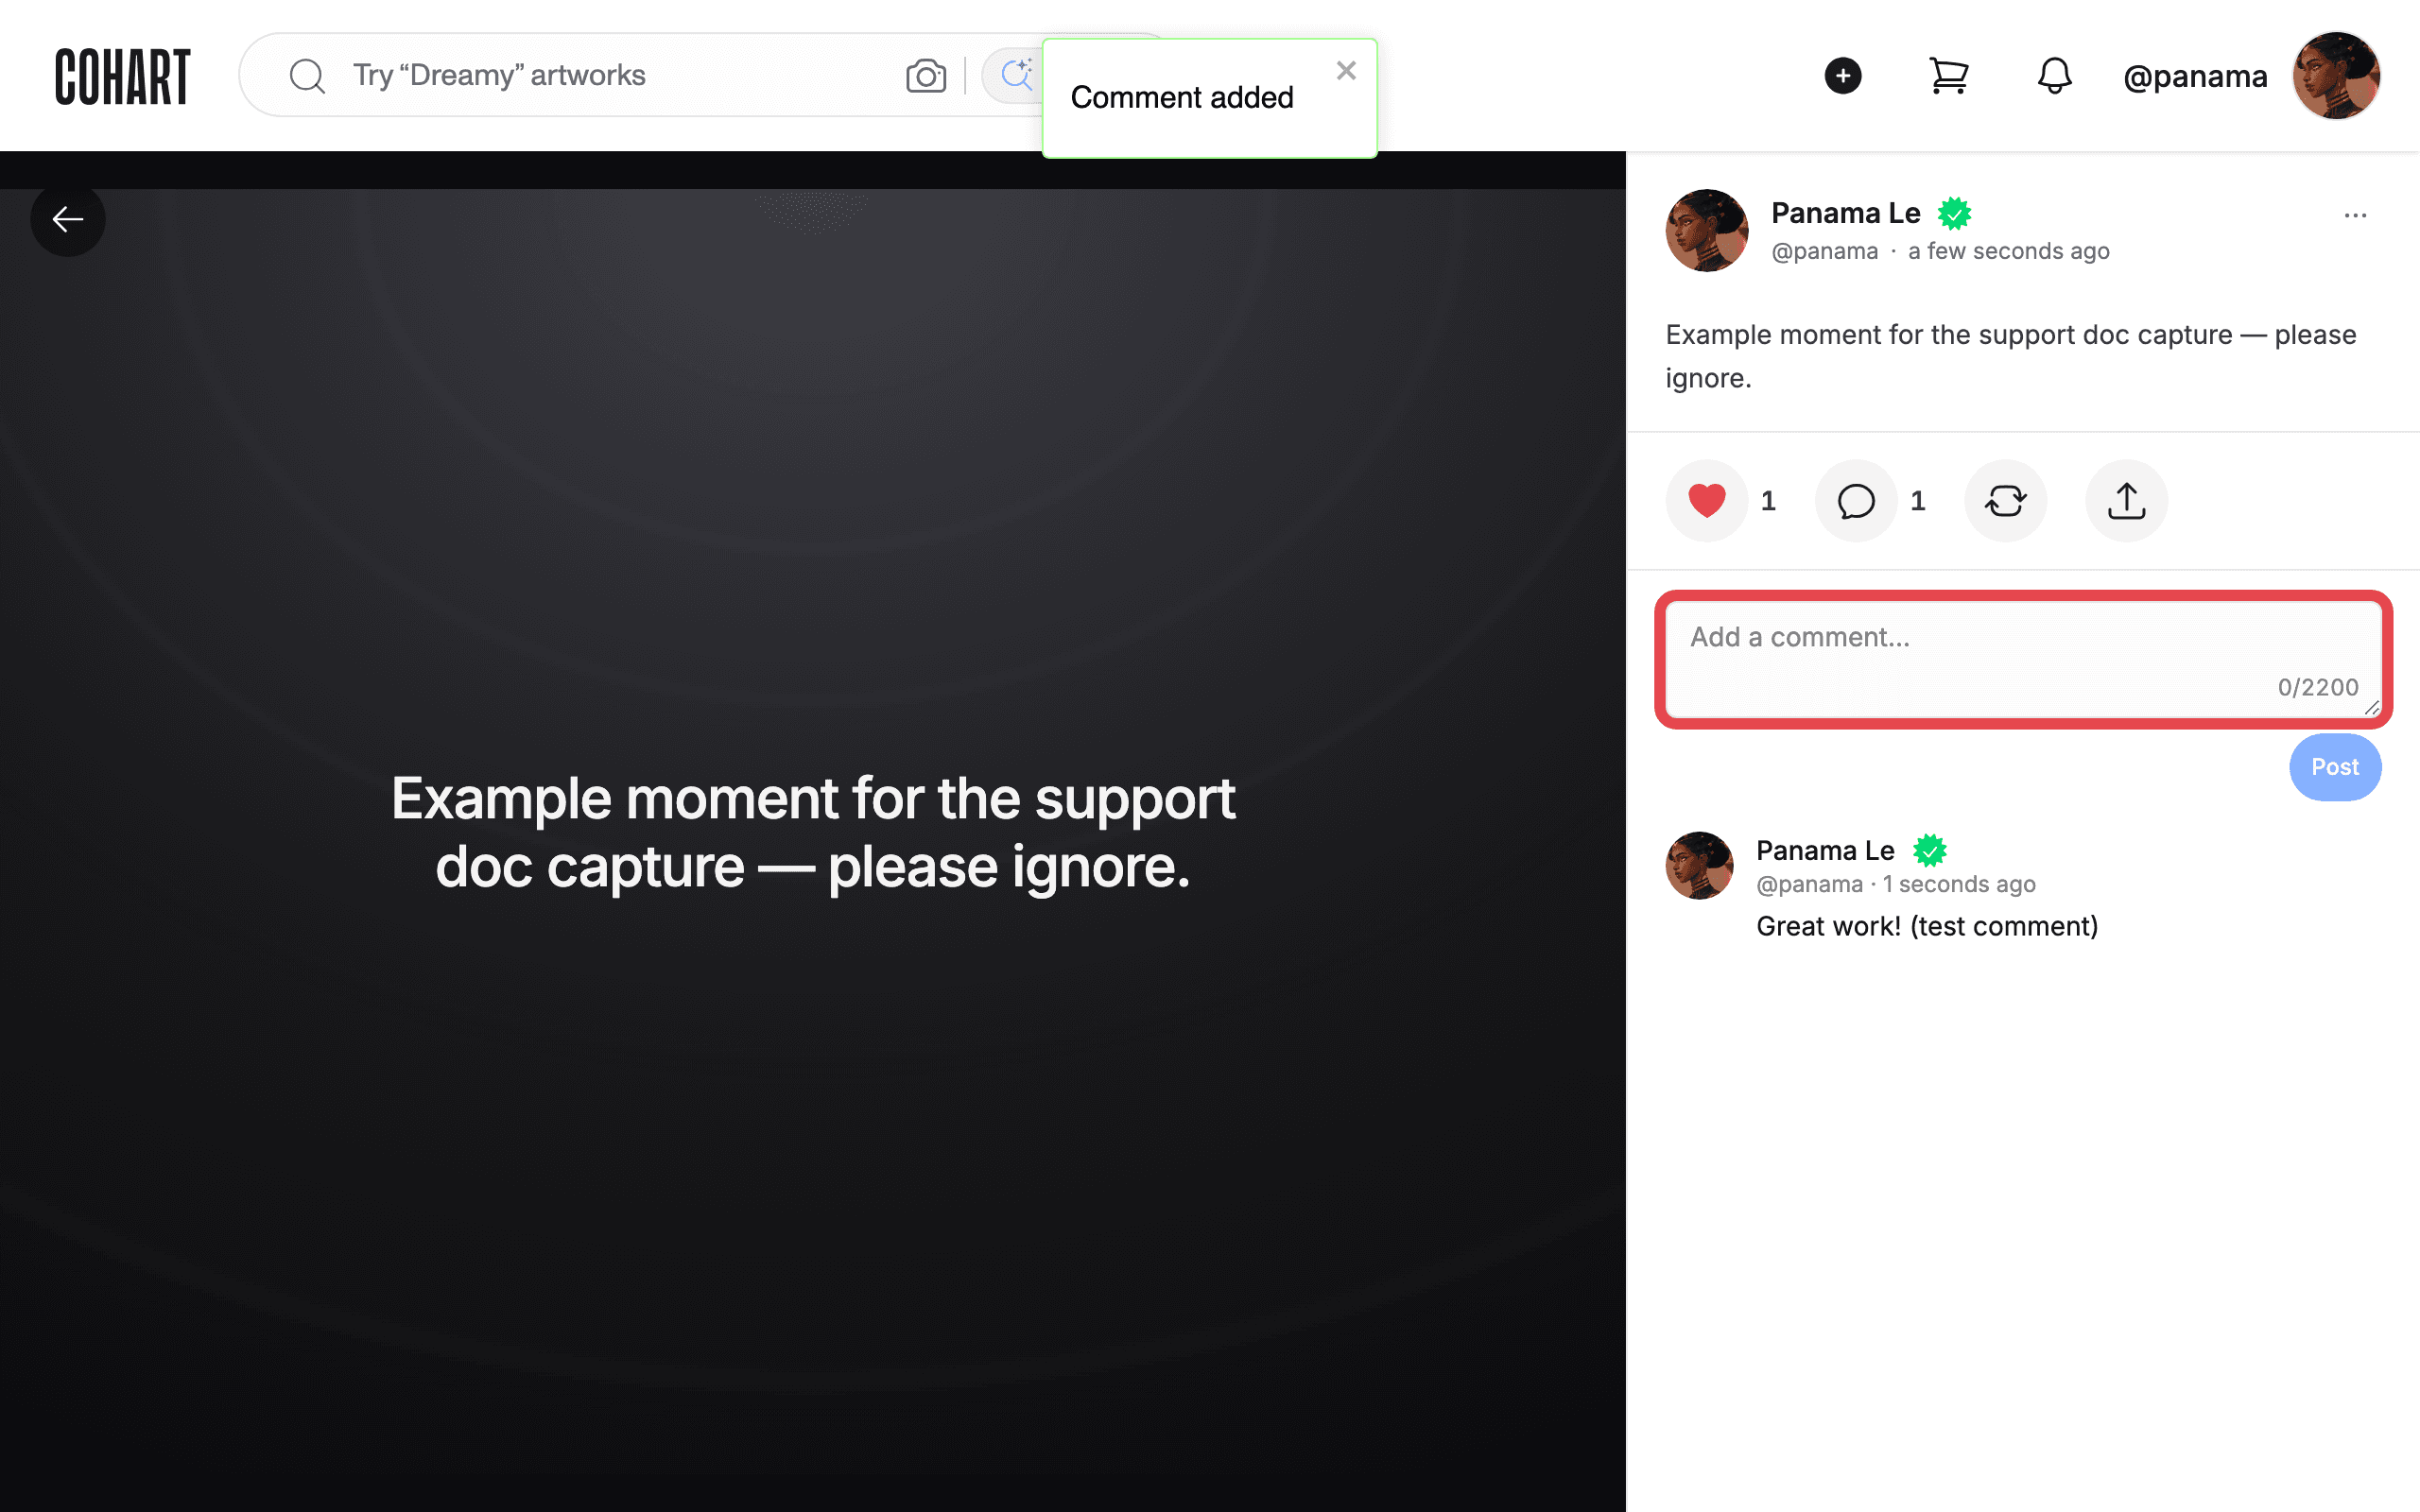
7. Comment on a Moment
Click inside the Add a comment… box below the like/comment/reshare/share row, type your message, and click Post. Your comment appears in the list underneath with a Comment added confirmation. If someone comments on your own Moment, you’ll see it the next time you open the Moment or check your notifications.
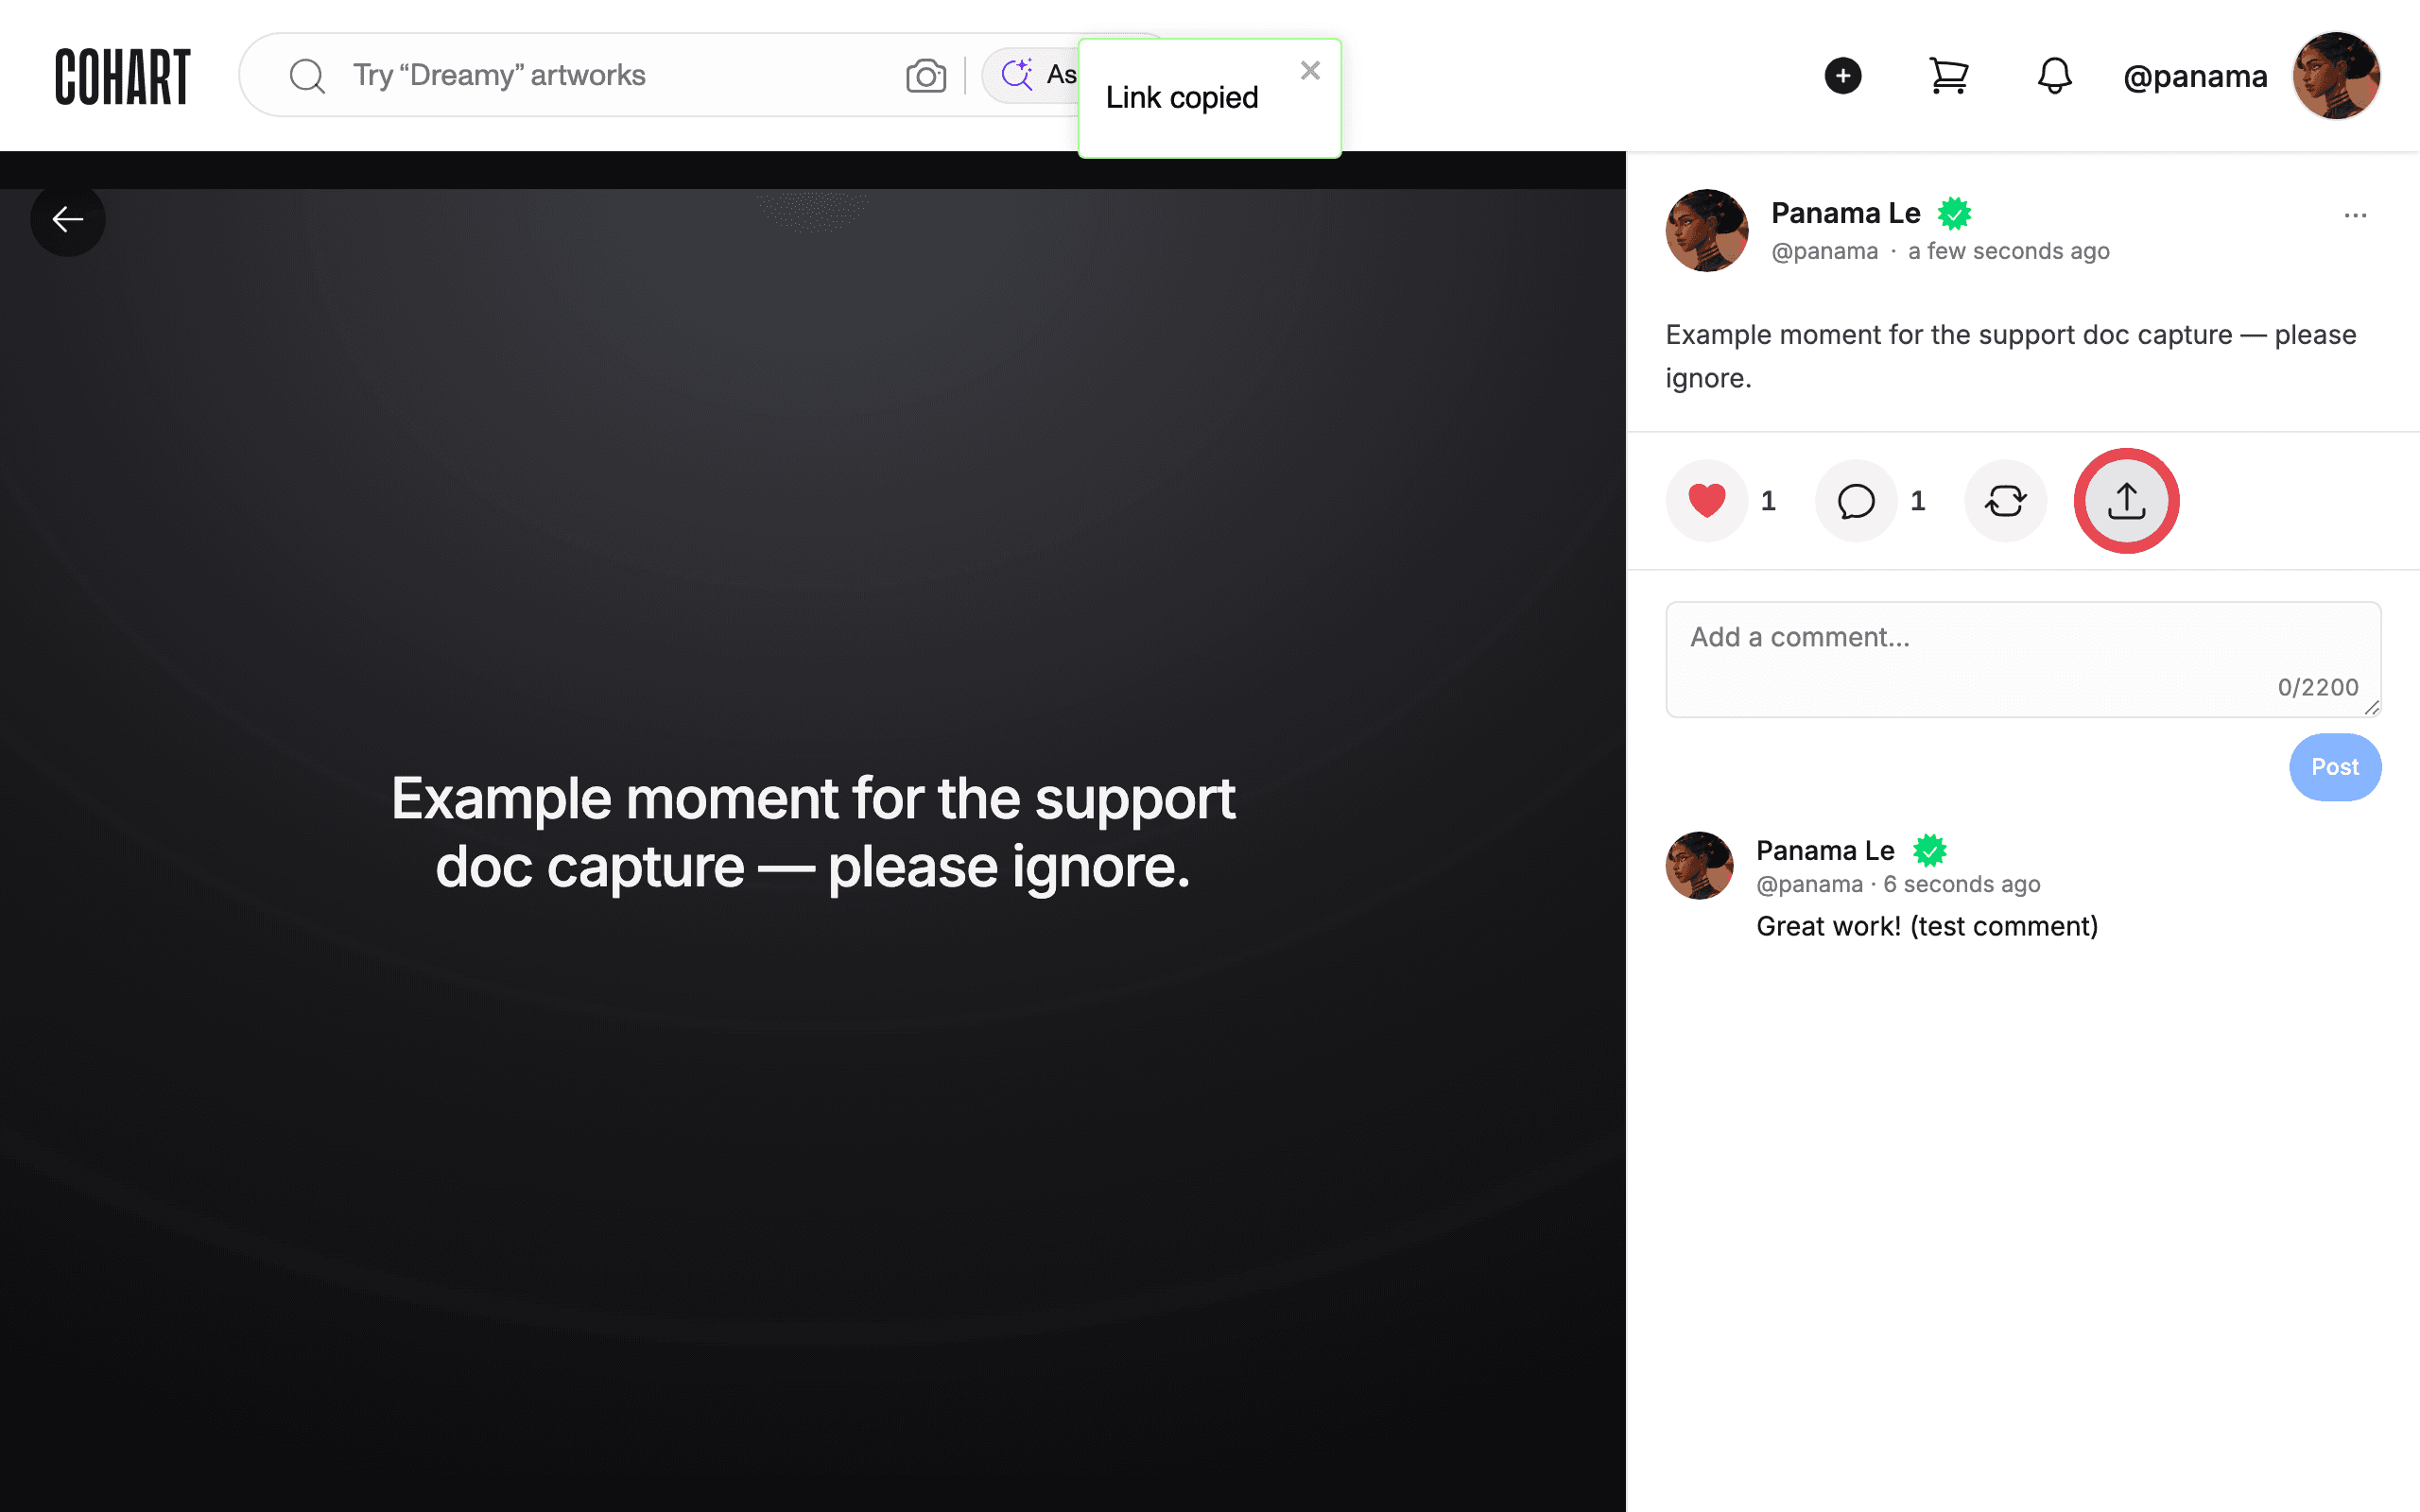
8. Share a Moment
Click the Share button (the upload-arrow icon) to copy a link to the Moment. A Link copied confirmation appears, and you can paste that link anywhere — a message, an email, or another platform — to share the Moment outside Cohart. Use Reshare instead if you want to repost someone else’s Moment to your own profile.
9. Open the menu on your own Moment
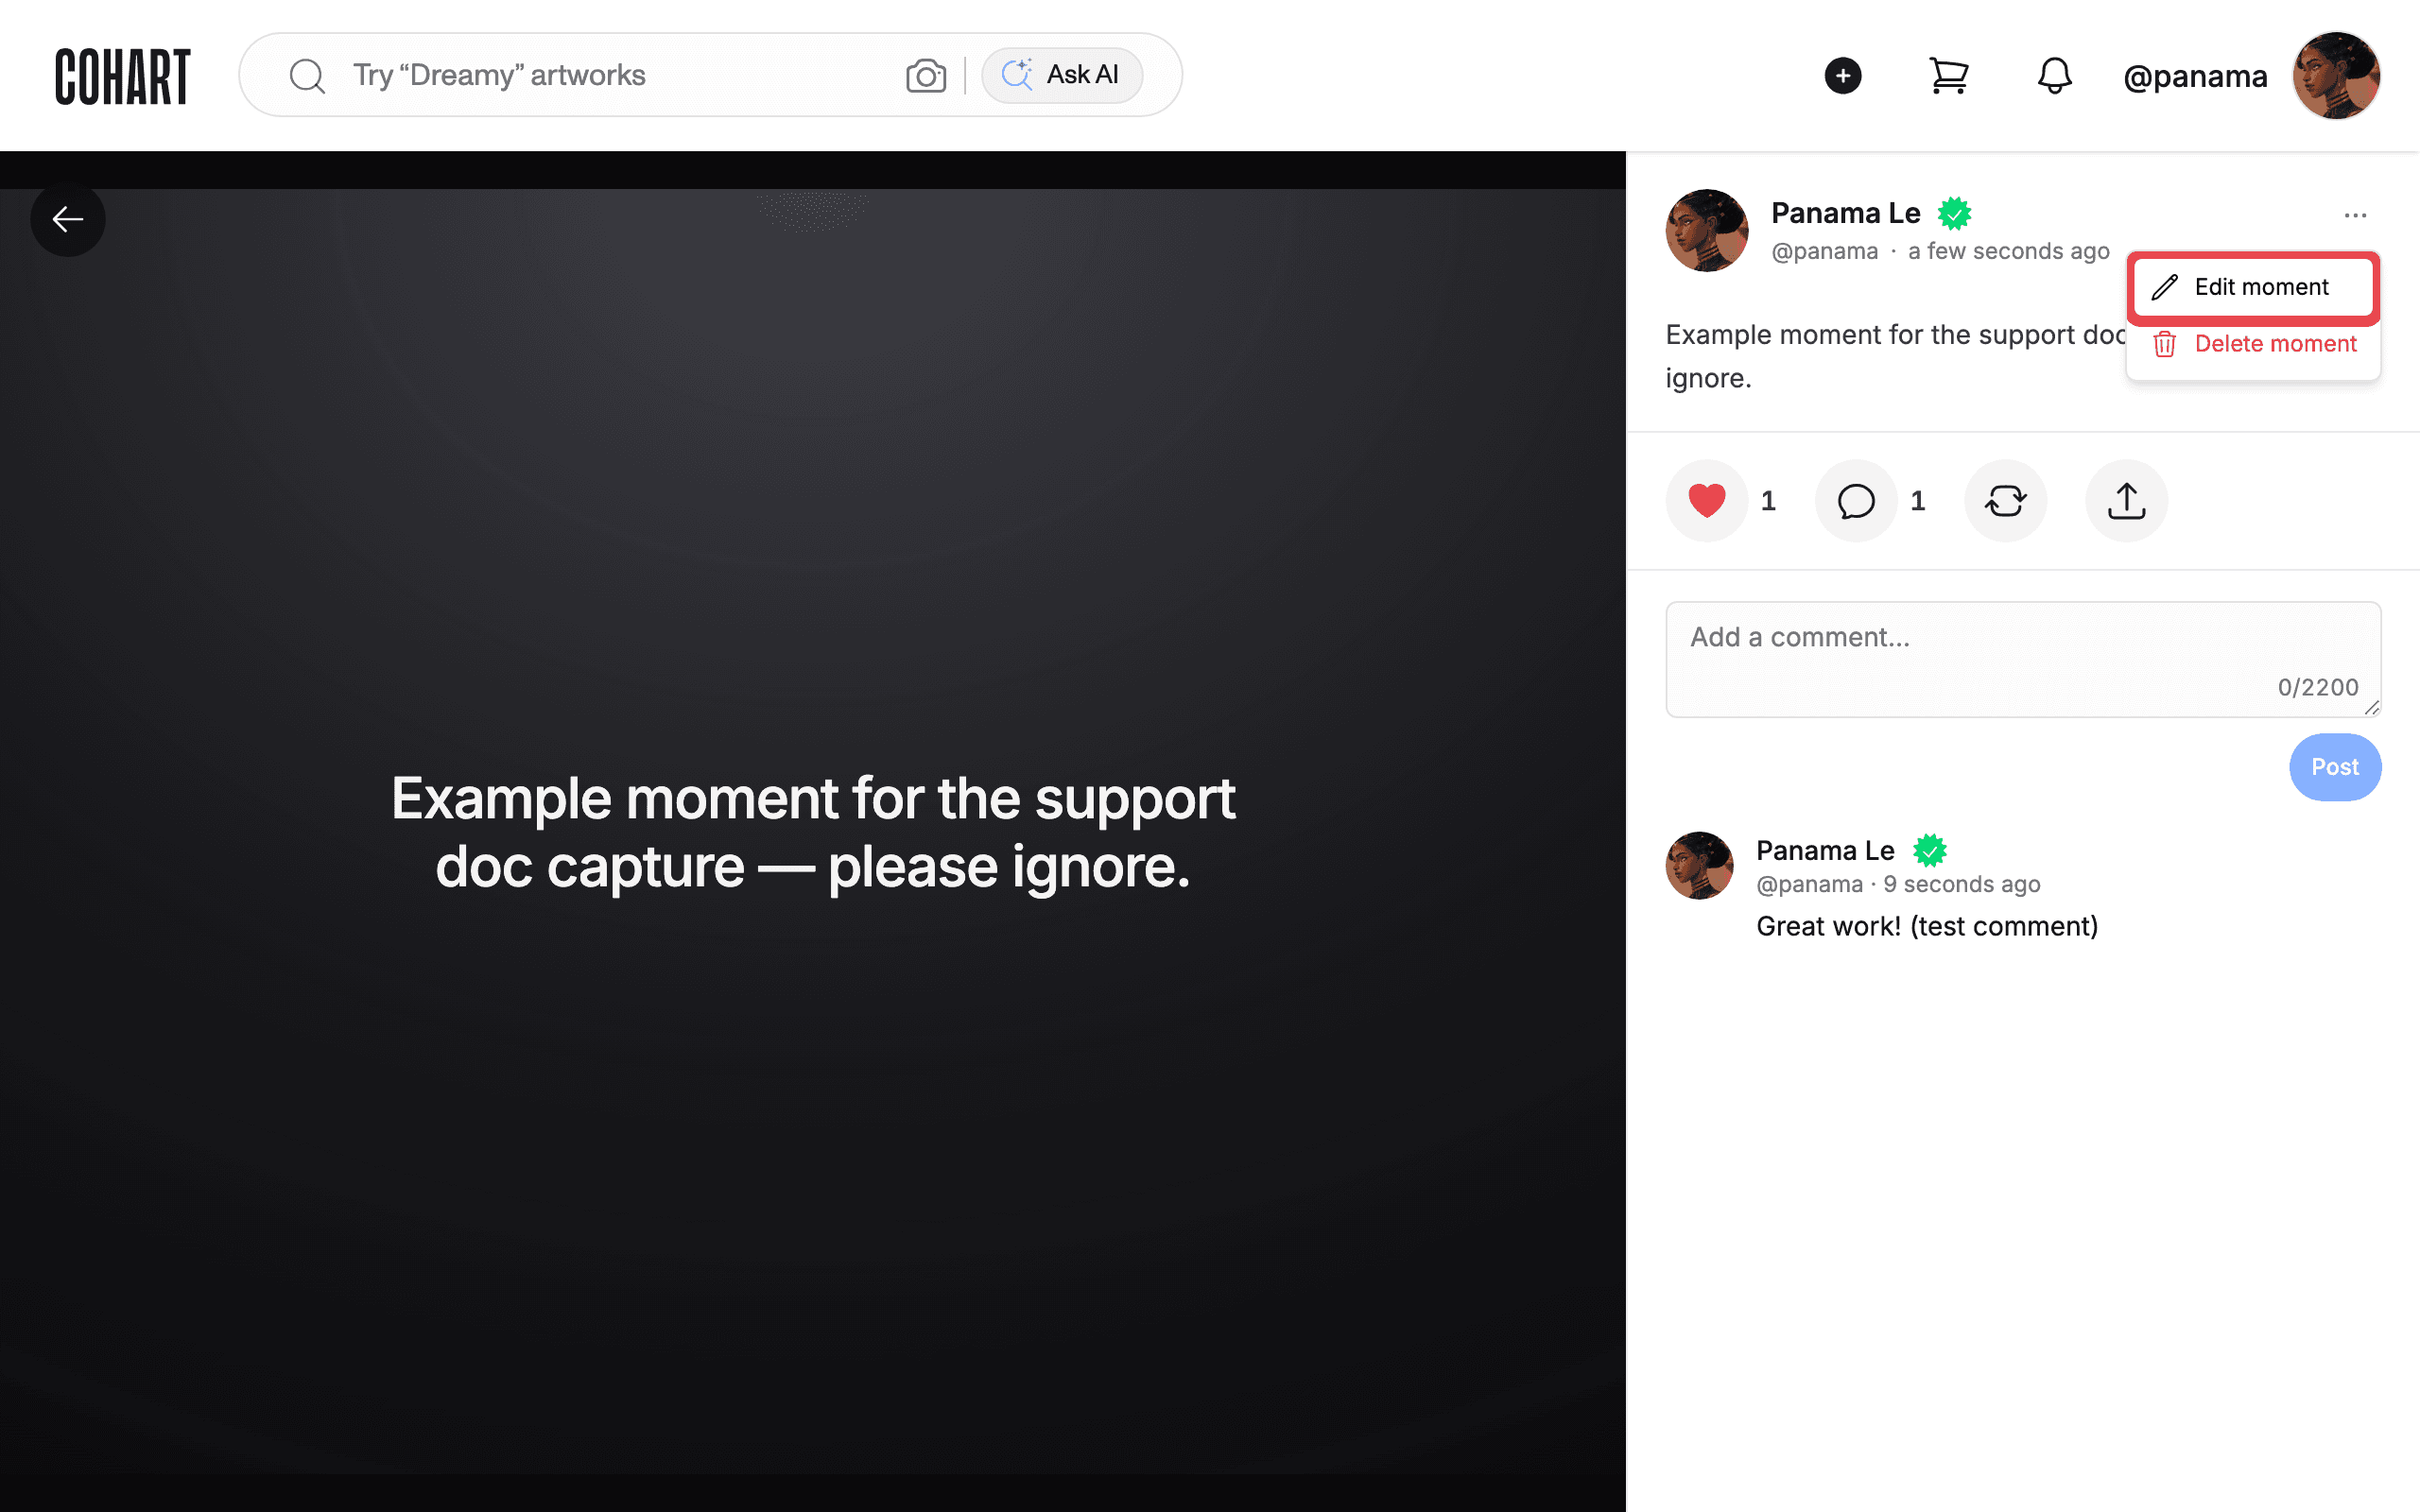
On a Moment you posted, click the More options (···) button in the top-right corner of the post. This opens a menu with Edit moment and Delete moment — only the Moment’s owner sees these options.
10. Edit your own Moment
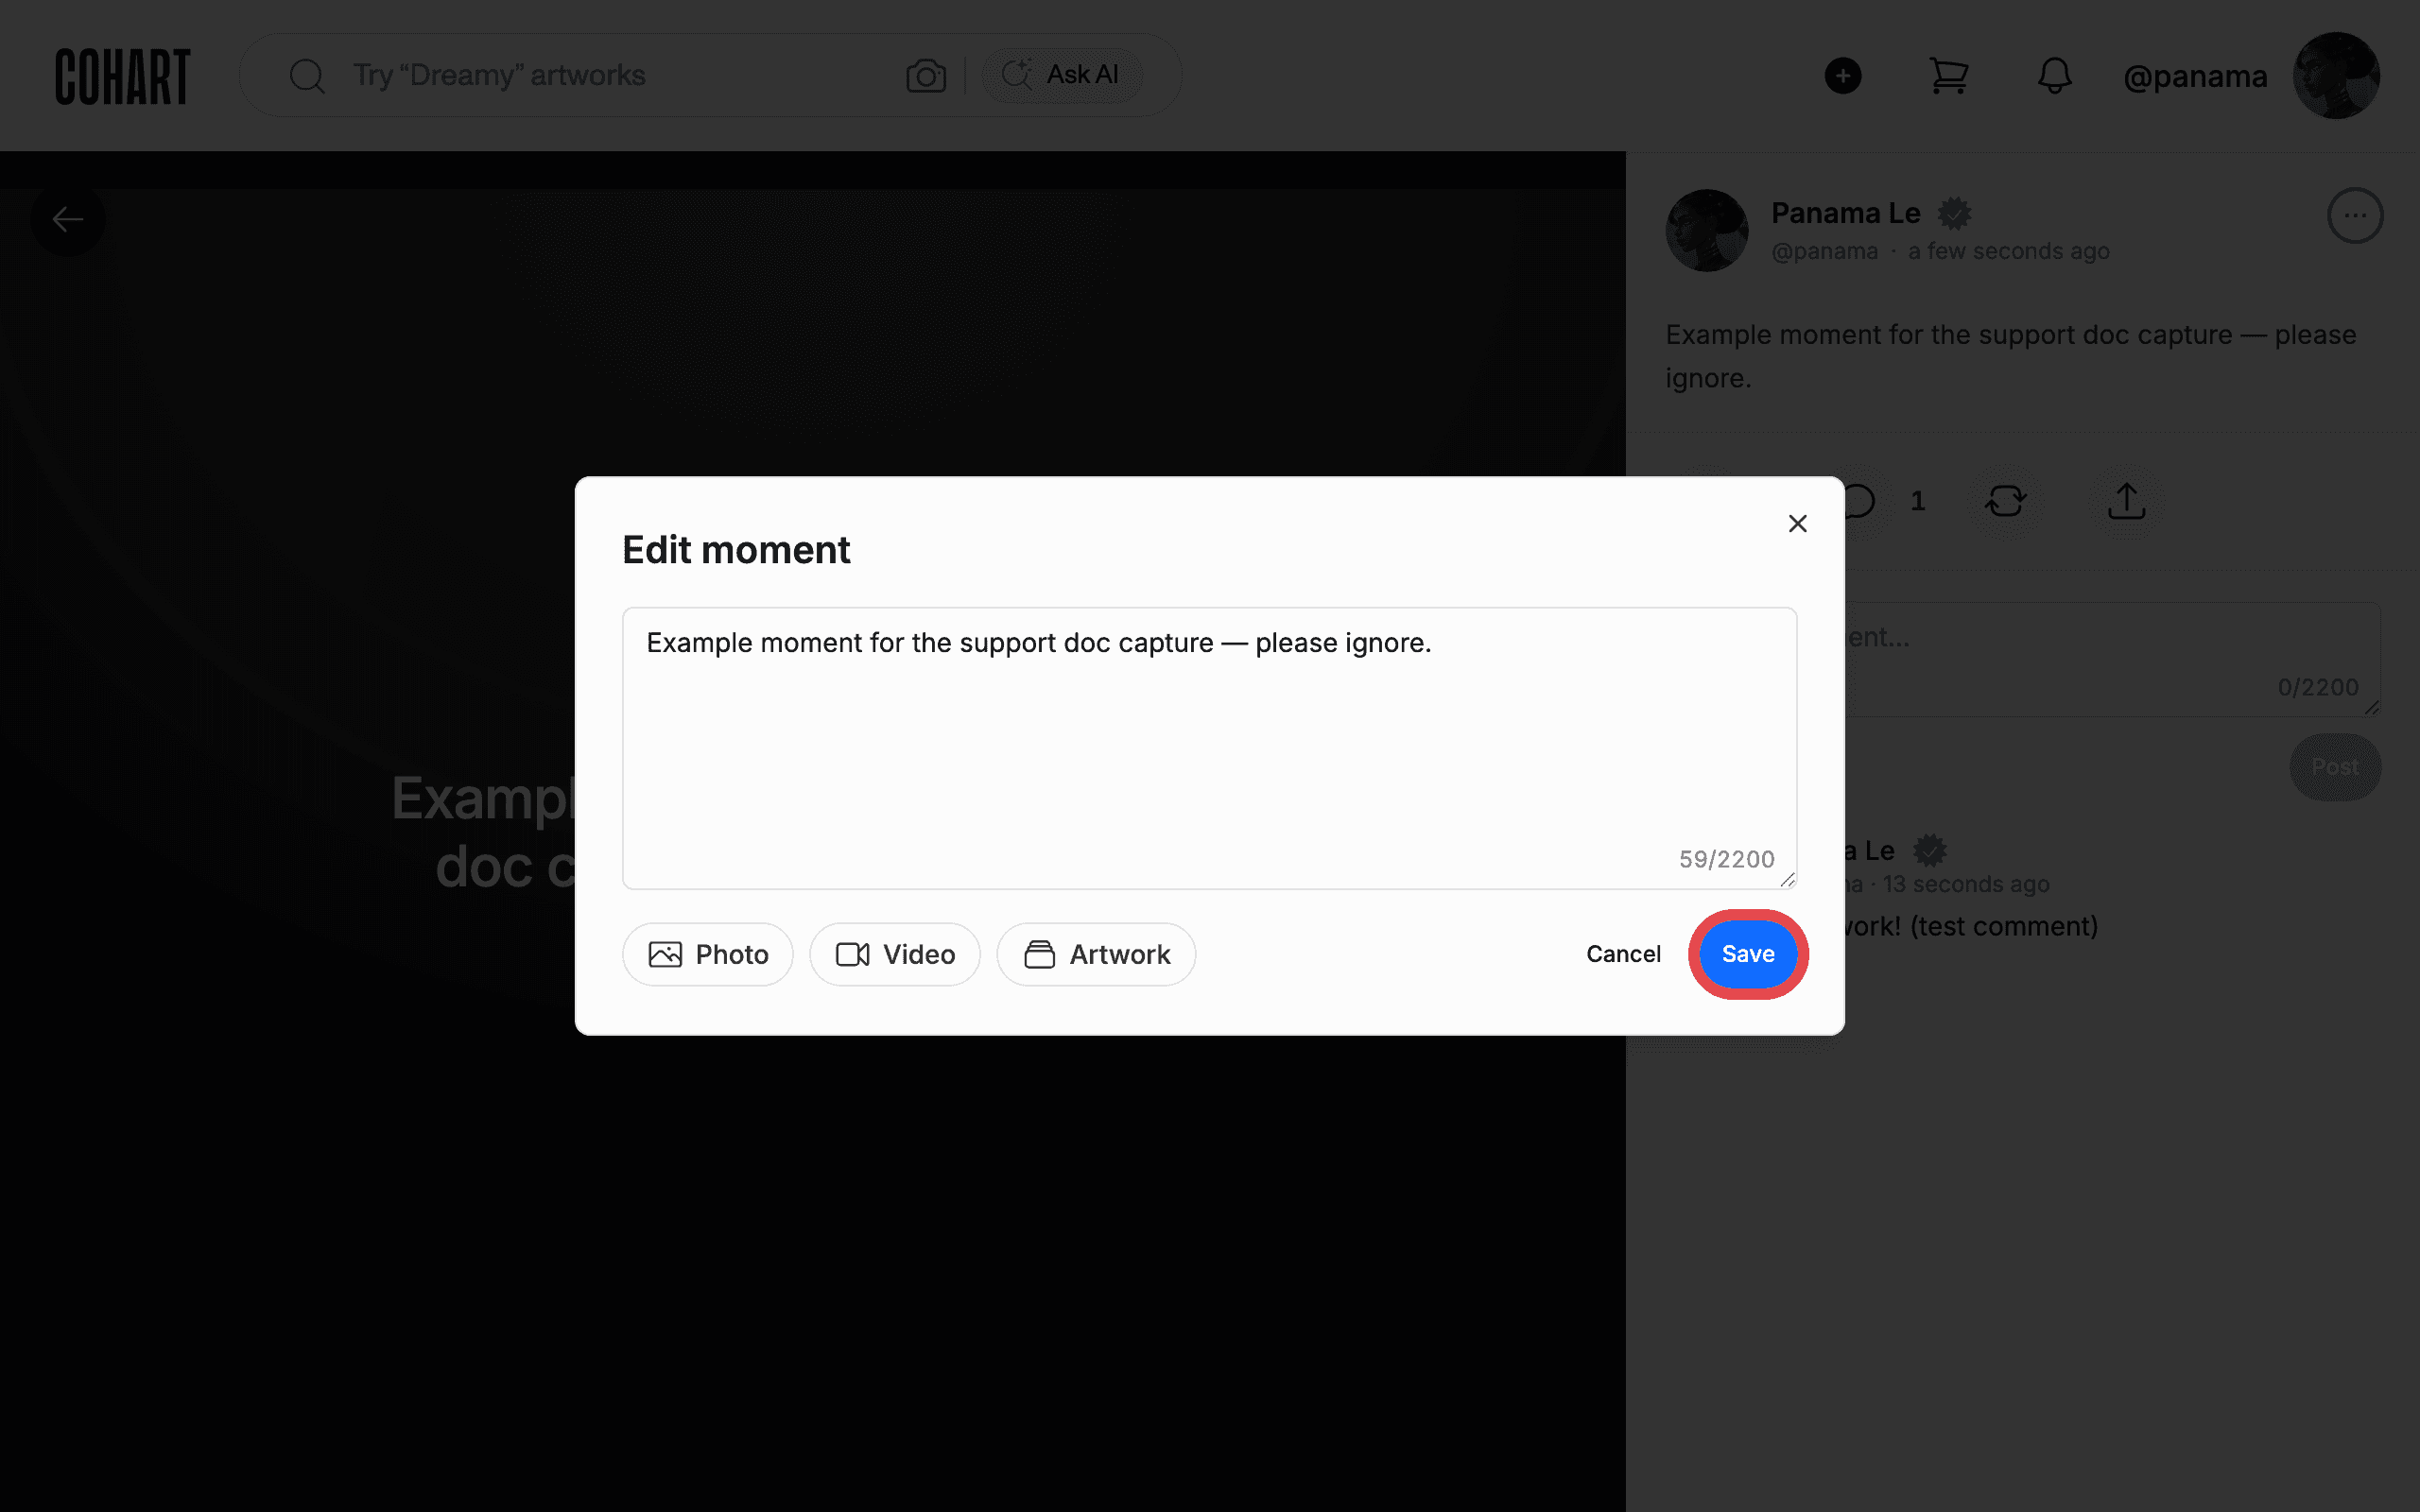
From the More options menu, click Edit moment. Update the text, or add or change a Photo, Video, or Artwork attachment, then click Save to publish your changes, or Cancel to discard them.
11. Delete your own Moment
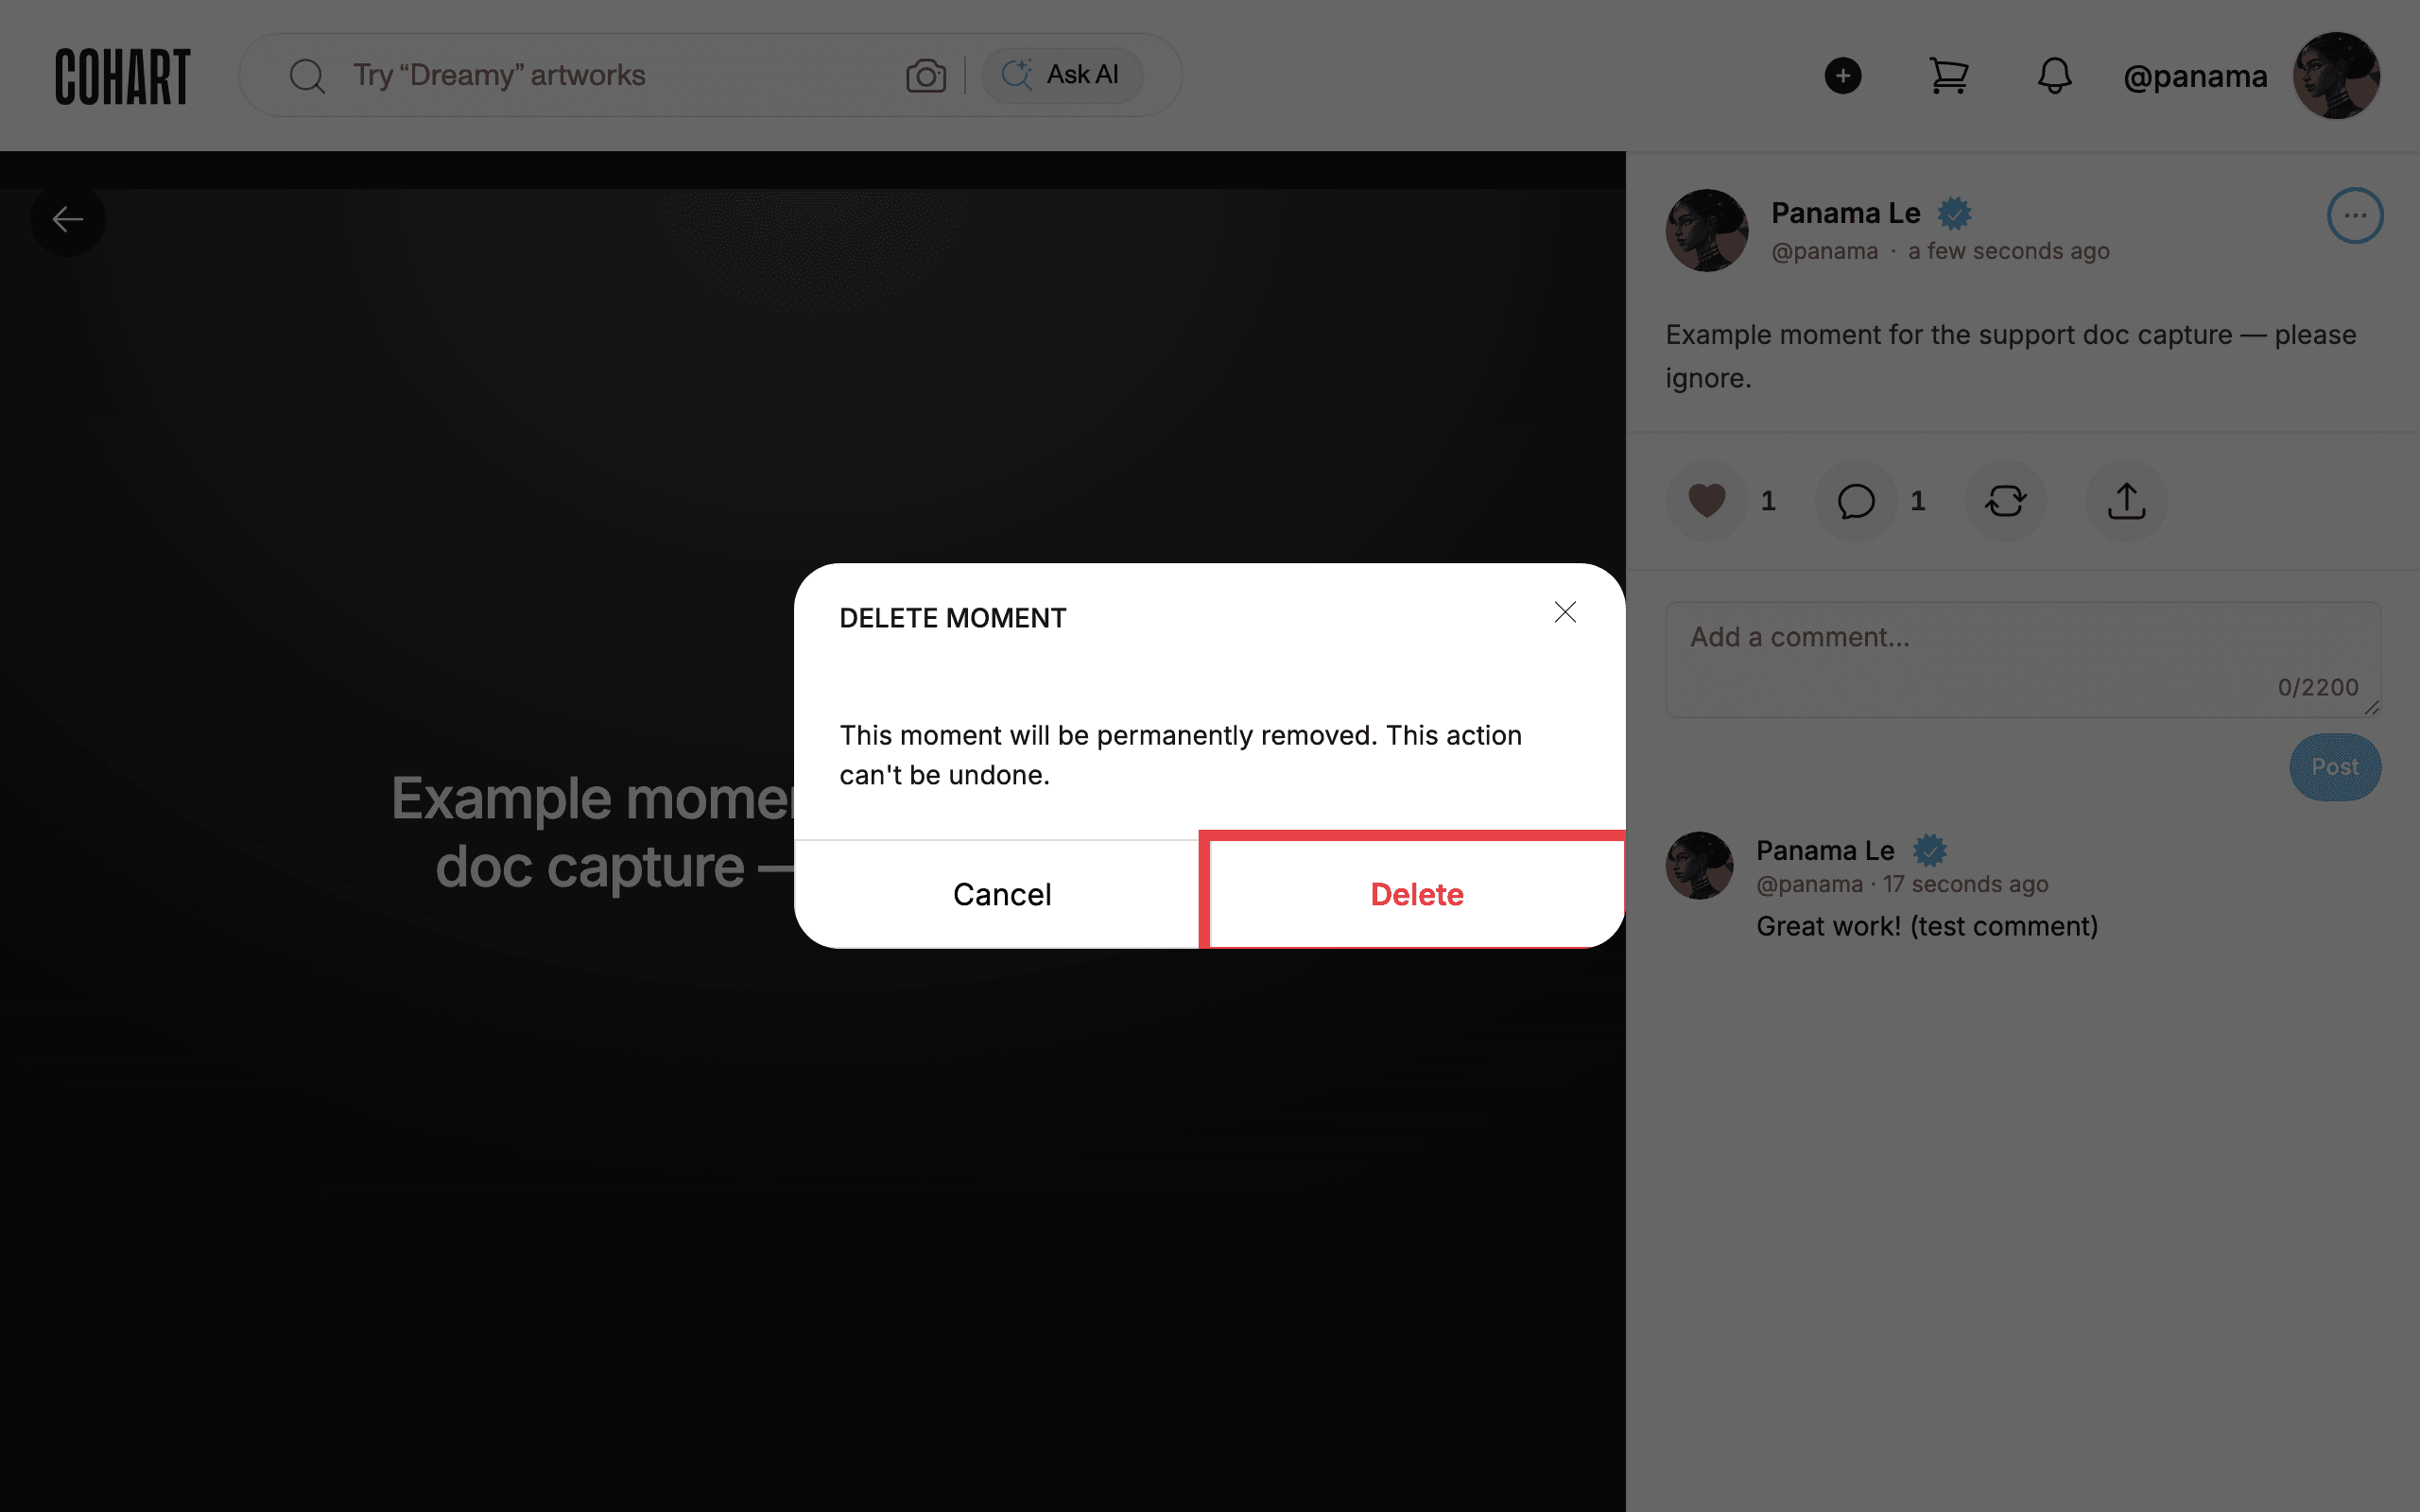
From the More options menu, click Delete moment. A confirmation appears warning that “This moment will be permanently removed. This action can’t be undone.” Click Delete to remove it for good, or Cancel to keep it.
12. Browse Moments on Discover
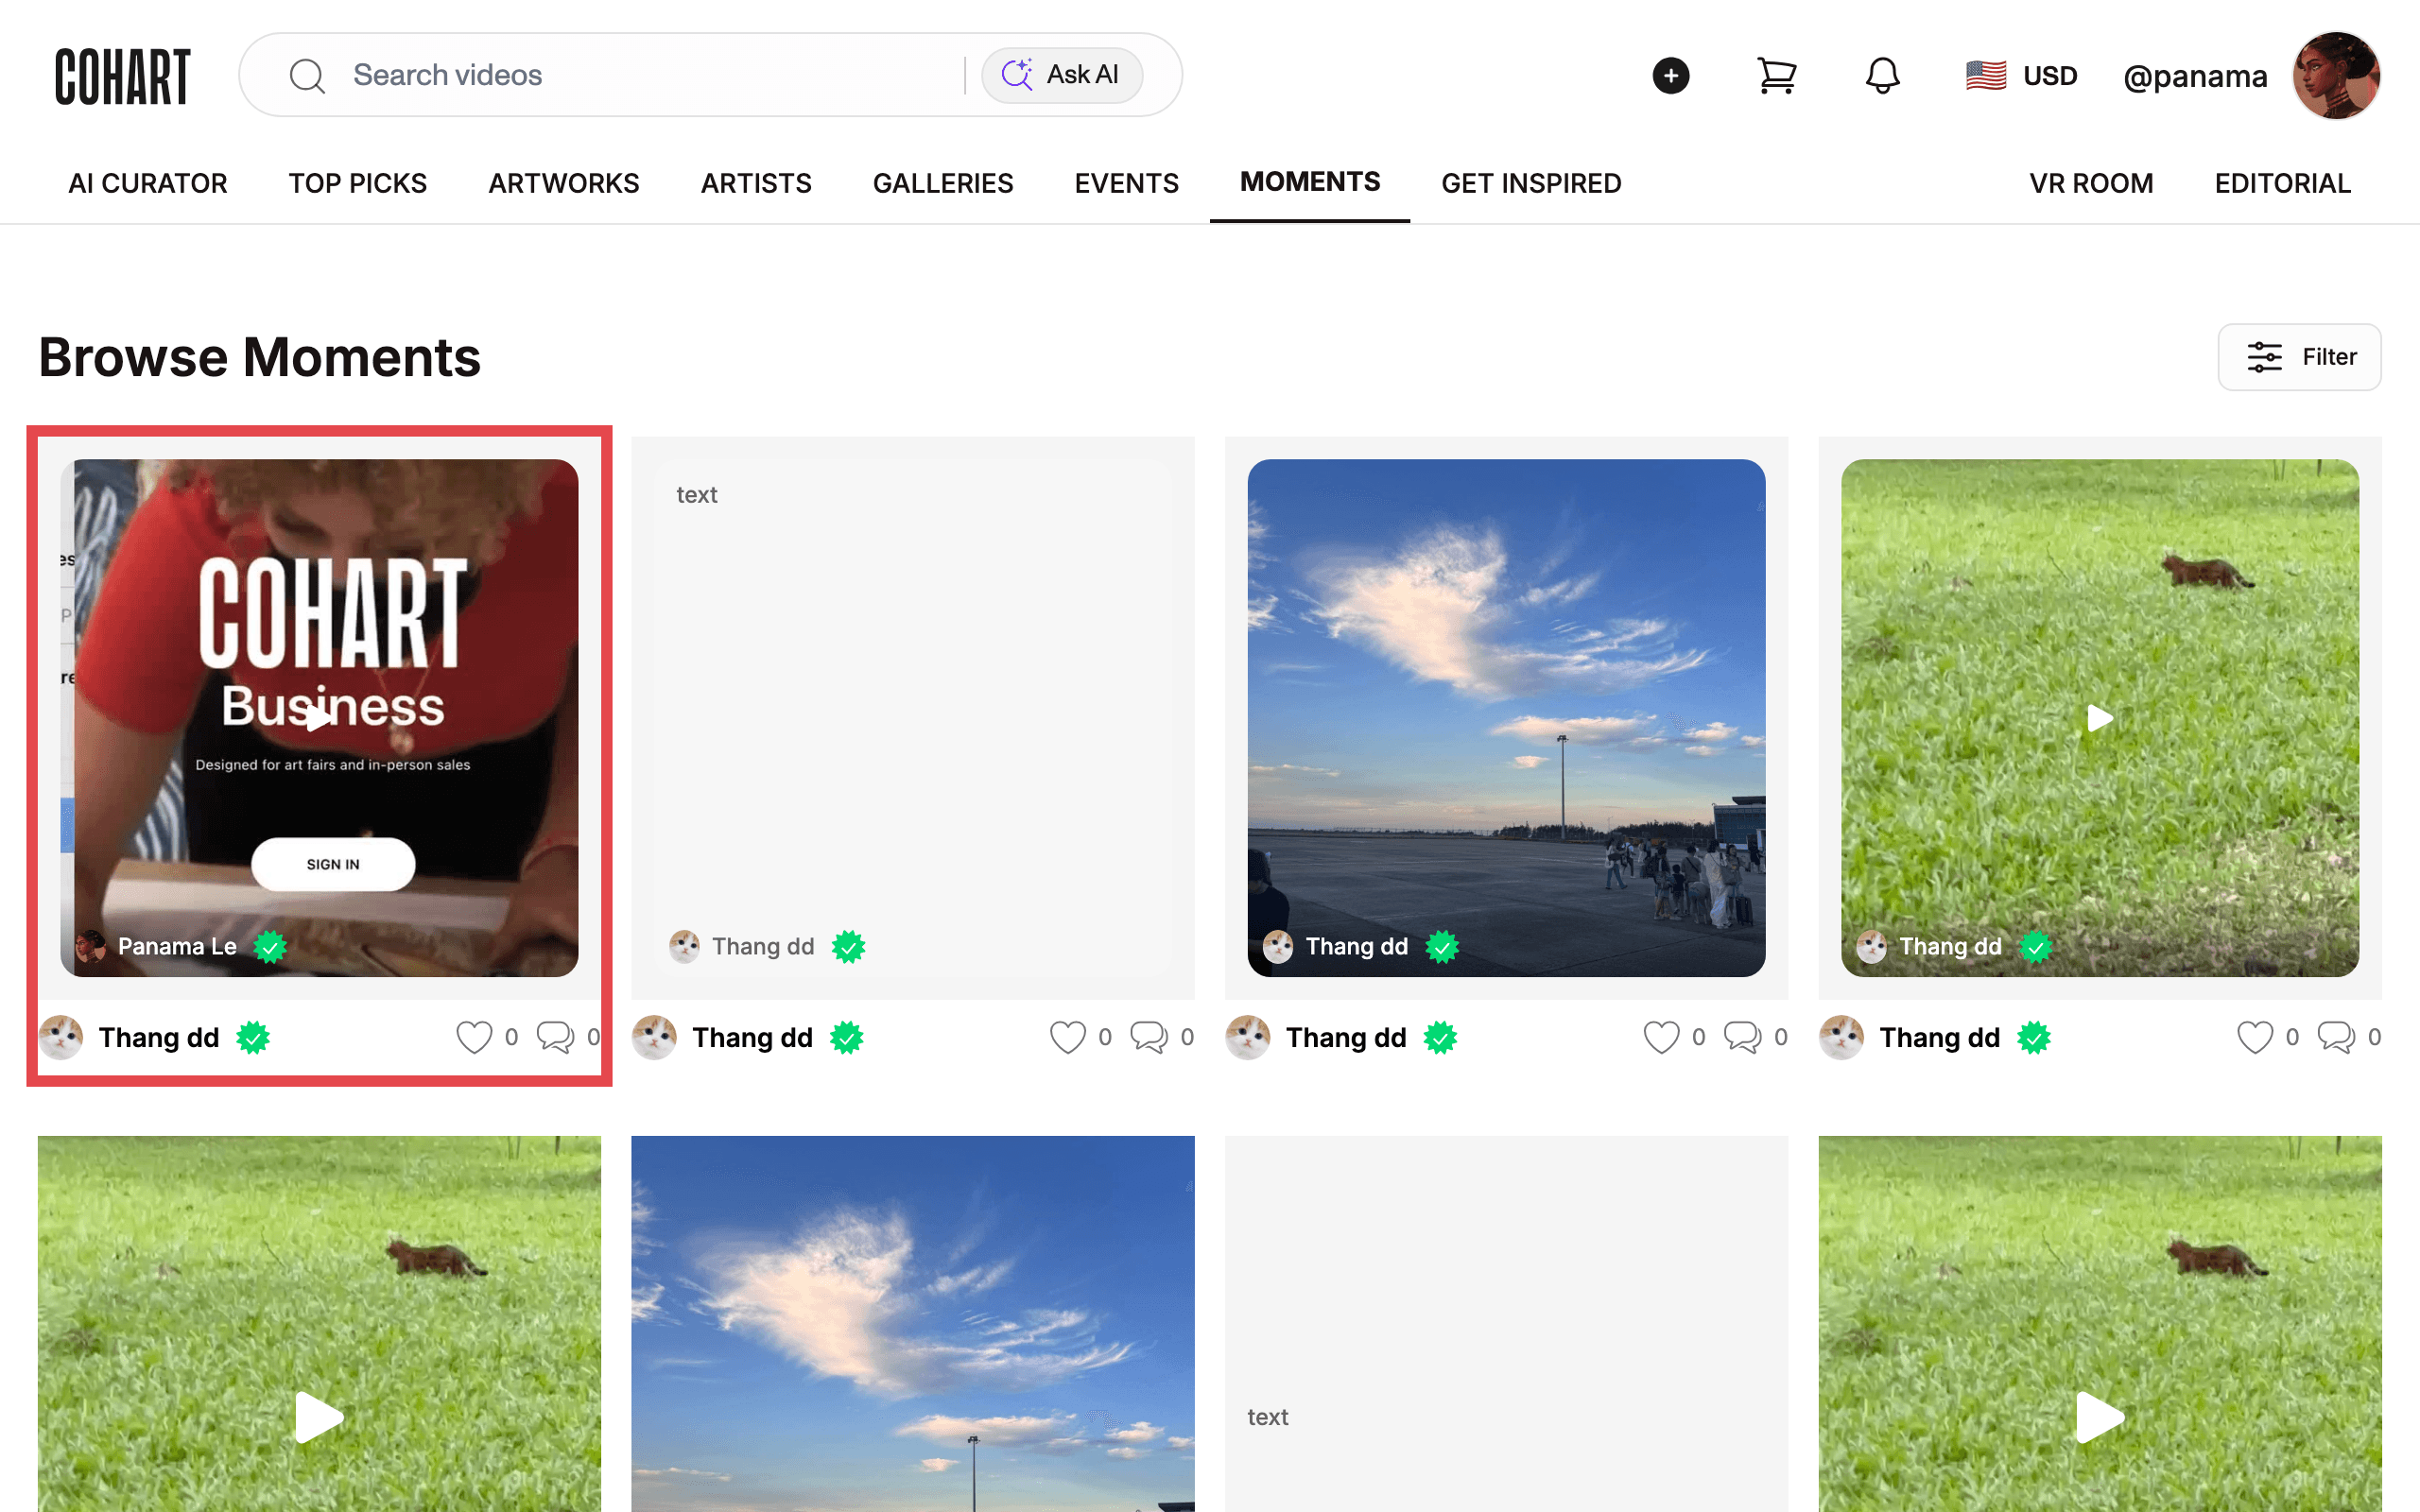
Go to the MOMENTS tab under Discover to browse Moments from across the whole community. Each card shows the poster’s name, a caption preview, and its like and comment counts. Use Filter to narrow the results, or click Load More to see additional Moments.
Tips
- Replying to comments on your own Moments builds trust with your audience — check your notifications regularly so you don’t miss one.
- A caption can run up to 2,200 characters, so use it to give context: what you’re working on, an announcement, or a question for the community.
- Commenting on other members’ Moments is one of the fastest ways to get noticed and grow your own following.
- Reshare a Moment you like to introduce it to your own followers without editing or duplicating it.
Troubleshooting
- Can’t find Edit moment or Delete moment on a post → you don’t own that Moment → only the original poster sees these options; ask them to make the change, or report the post if it violates the Community Guidelines.
- Post button stays disabled in the composer → the text box is empty → type a caption, attach a photo, video, or artwork, or both, before posting.
- A comment doesn’t appear after clicking Post → the comment box was empty or the click didn’t register → confirm you typed text into Add a comment… and try again.
- Deleted a Moment by mistake → deletion is permanent and can’t be undone → you’ll need to recreate the Moment from scratch.