How to Buy an Event Ticket on Cohart
Buy tickets for an event on Cohart so you can attend. This guide walks you through signing in, finding an event, choosing tickets, and completing your purchase.
Step 1: Go to the sign-in page
Open your browser and go to staging.cohdev.co/auth/login . Enter your email address and password, then click Sign In.
Alternative sign-in options: You can also sign in with Google or Apple using the buttons on the login page. New to Cohart? Click Sign up to create an account. Forgot your password? Click Forgot Password?.
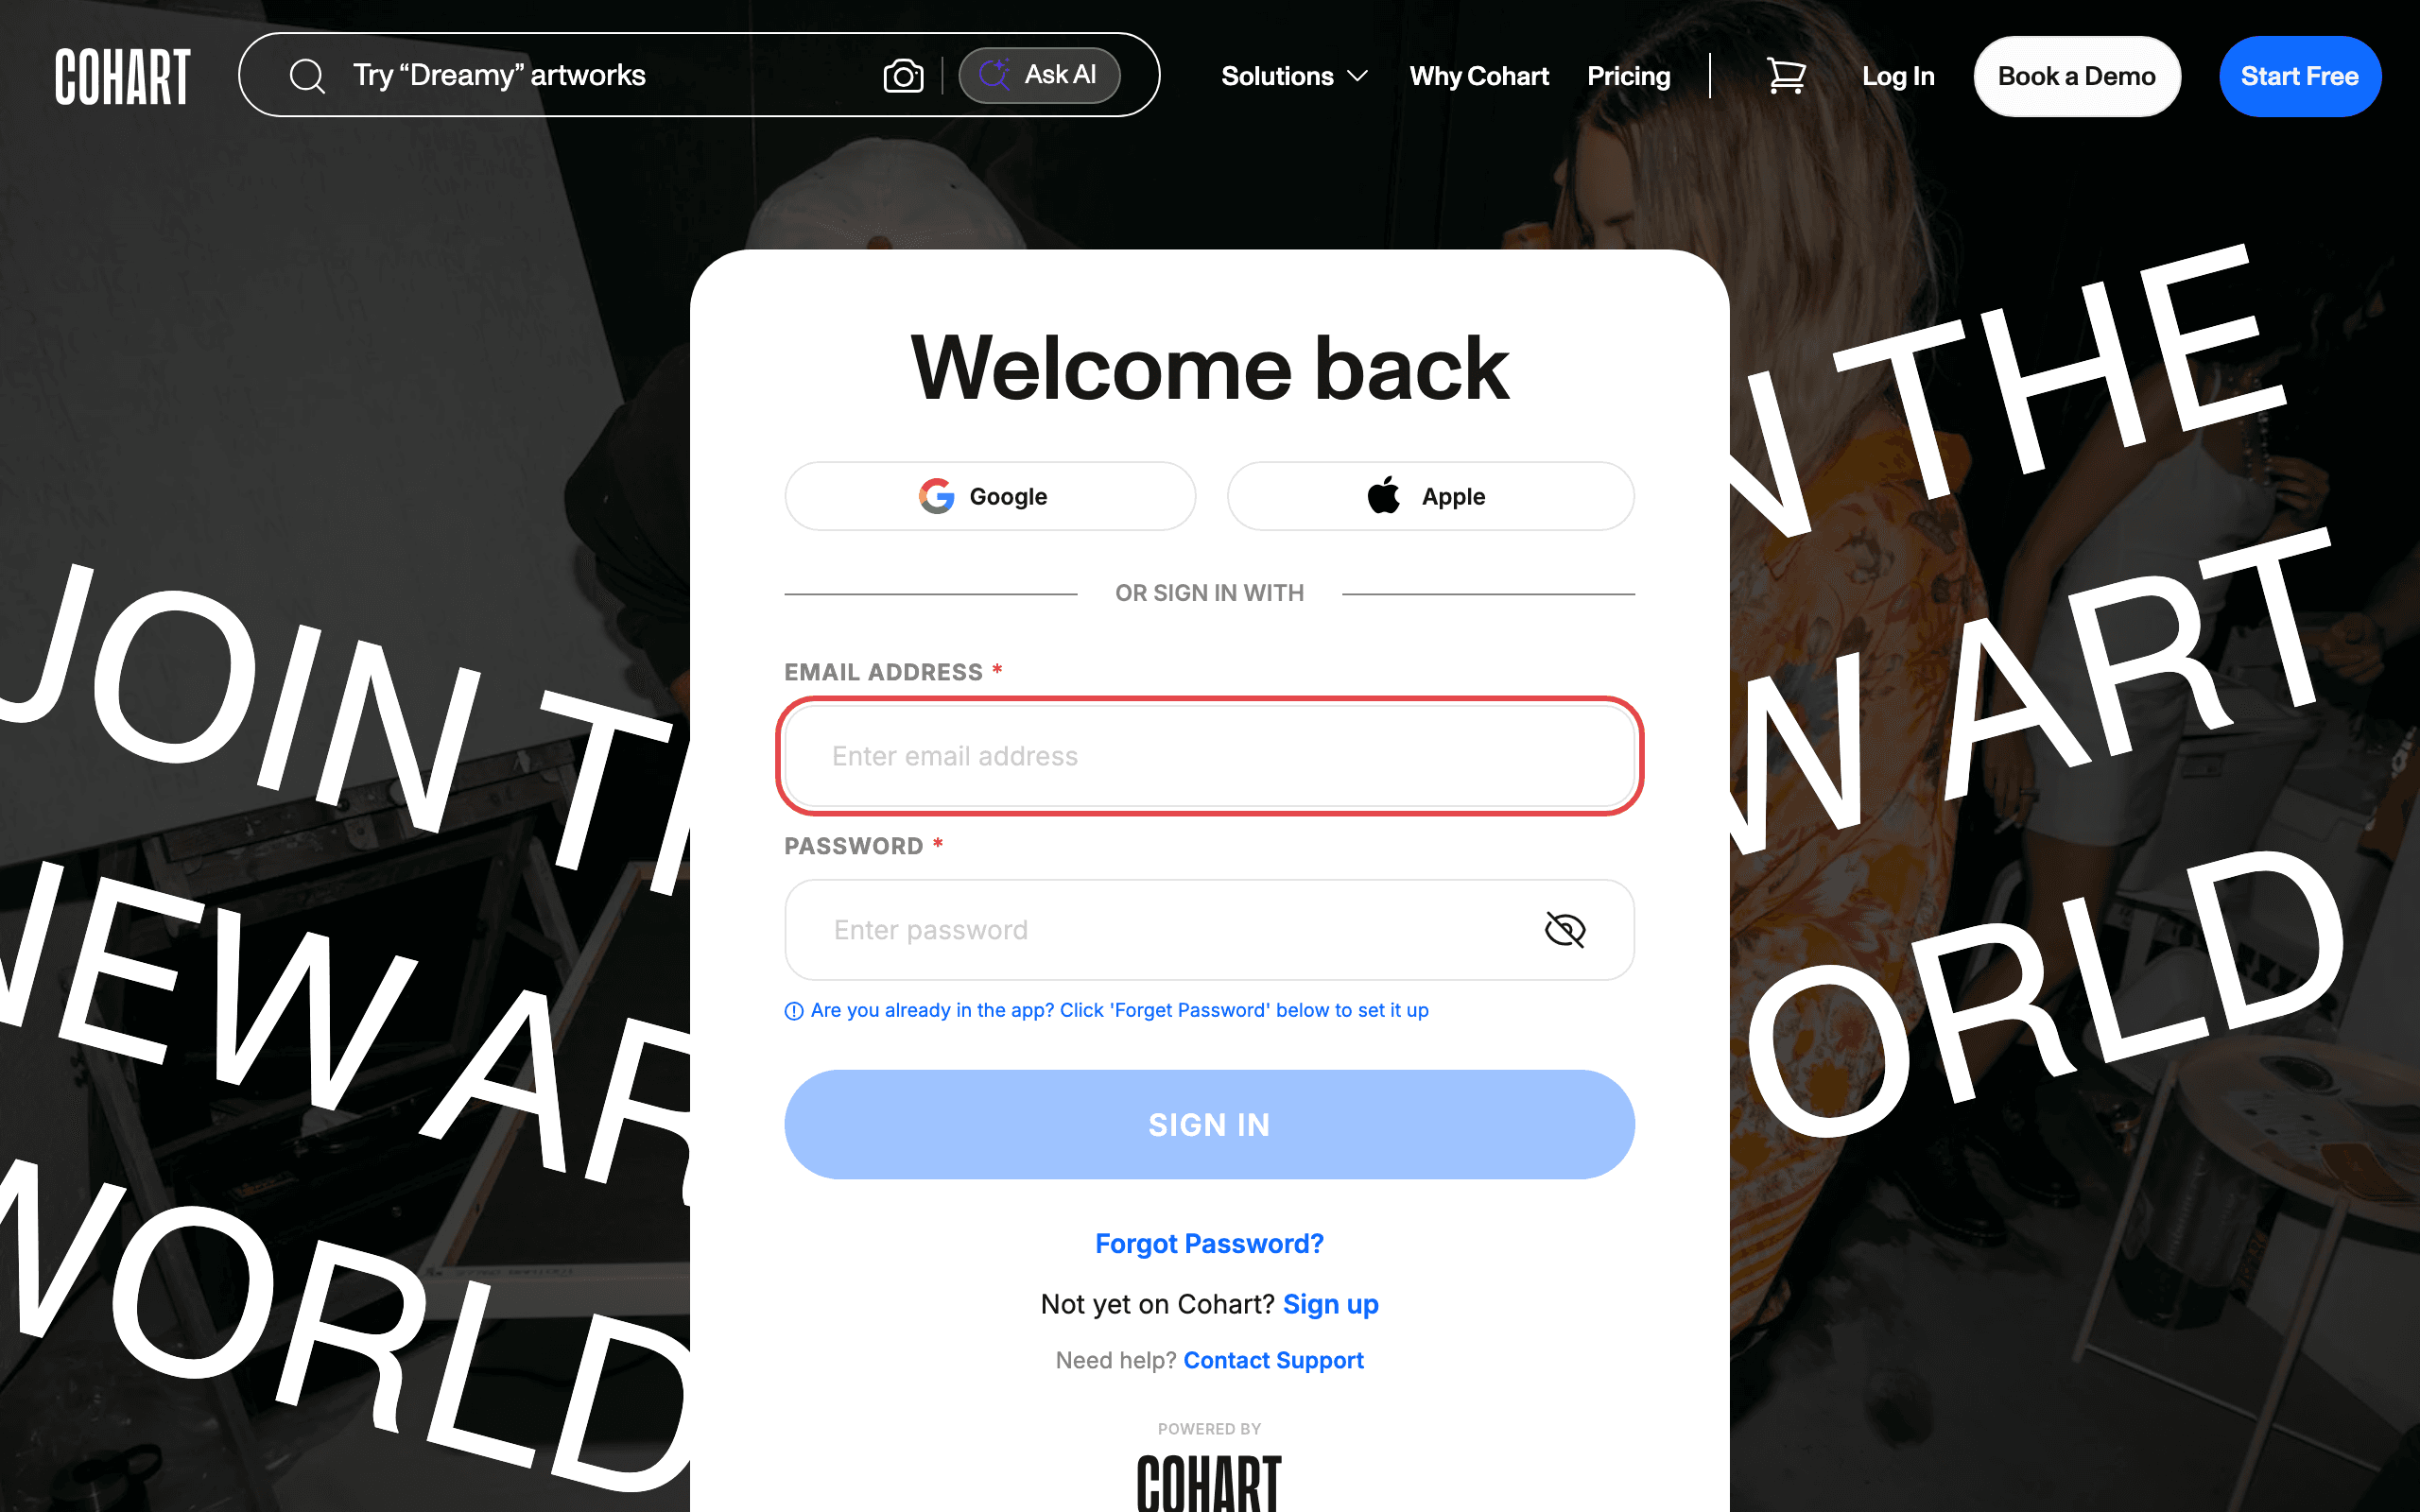
Step 2: Enter your email address
Click the email field and type the email address you use for Cohart.
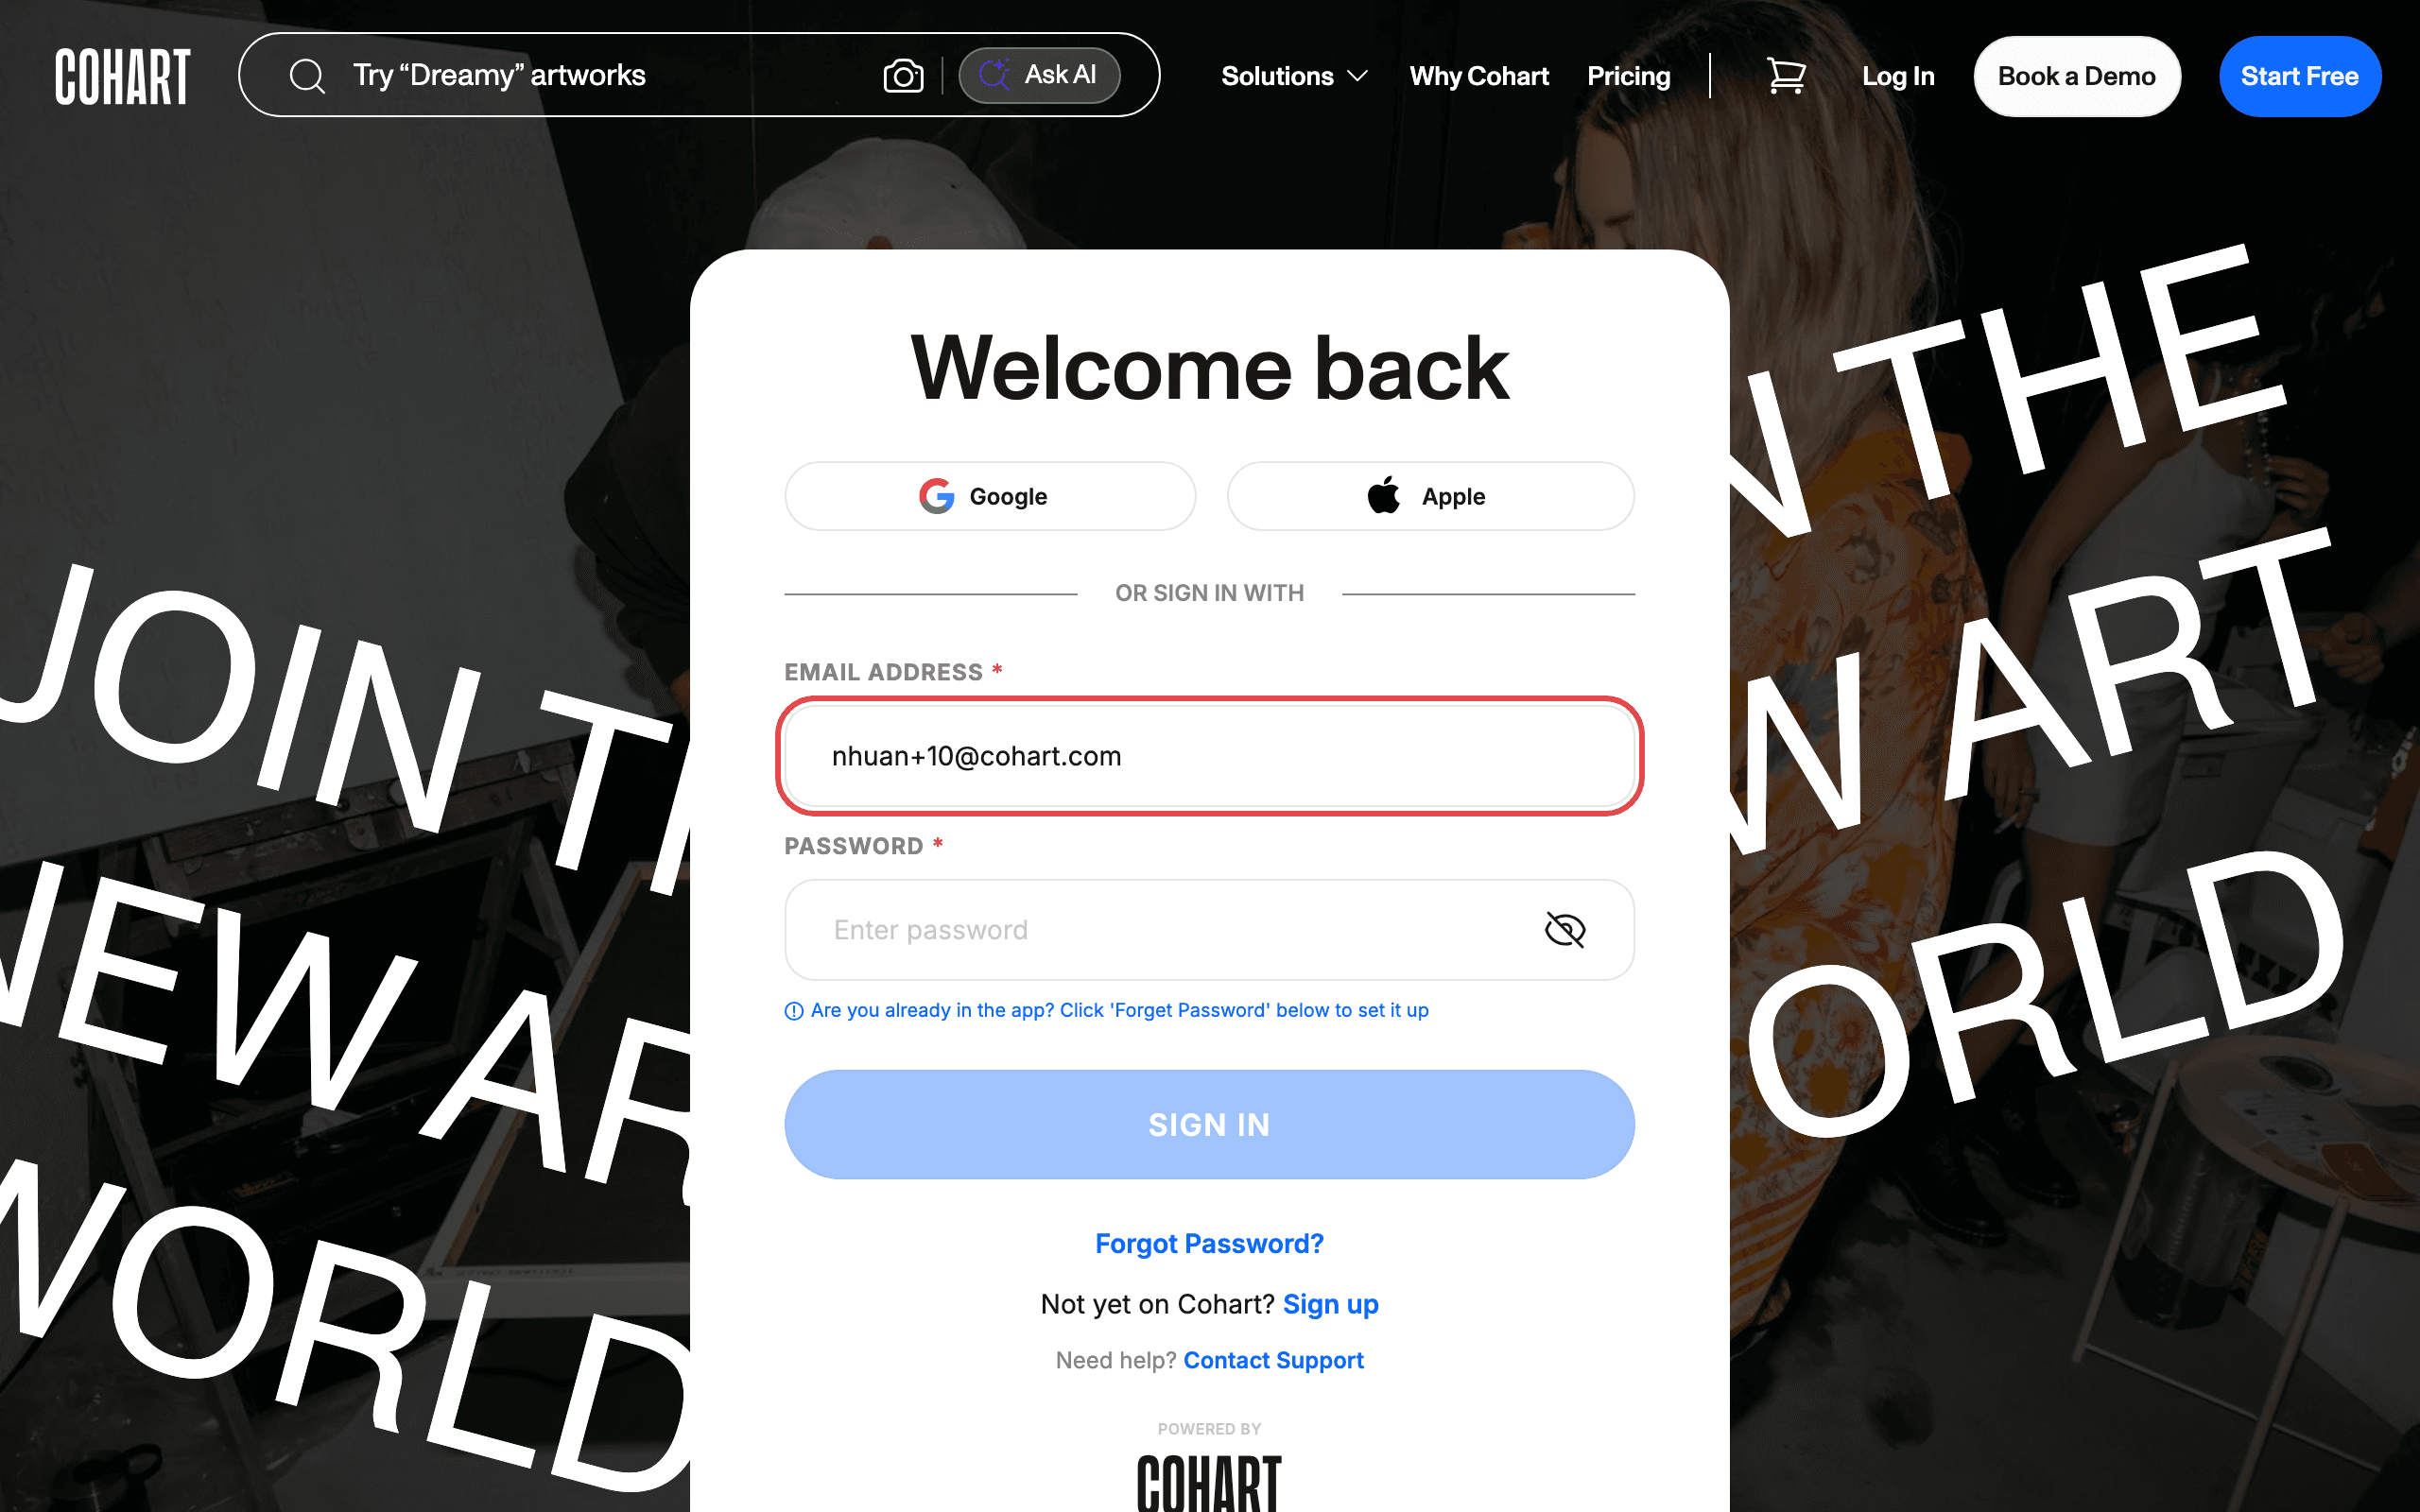
Step 3: Enter your password
Click the password field and type your password.
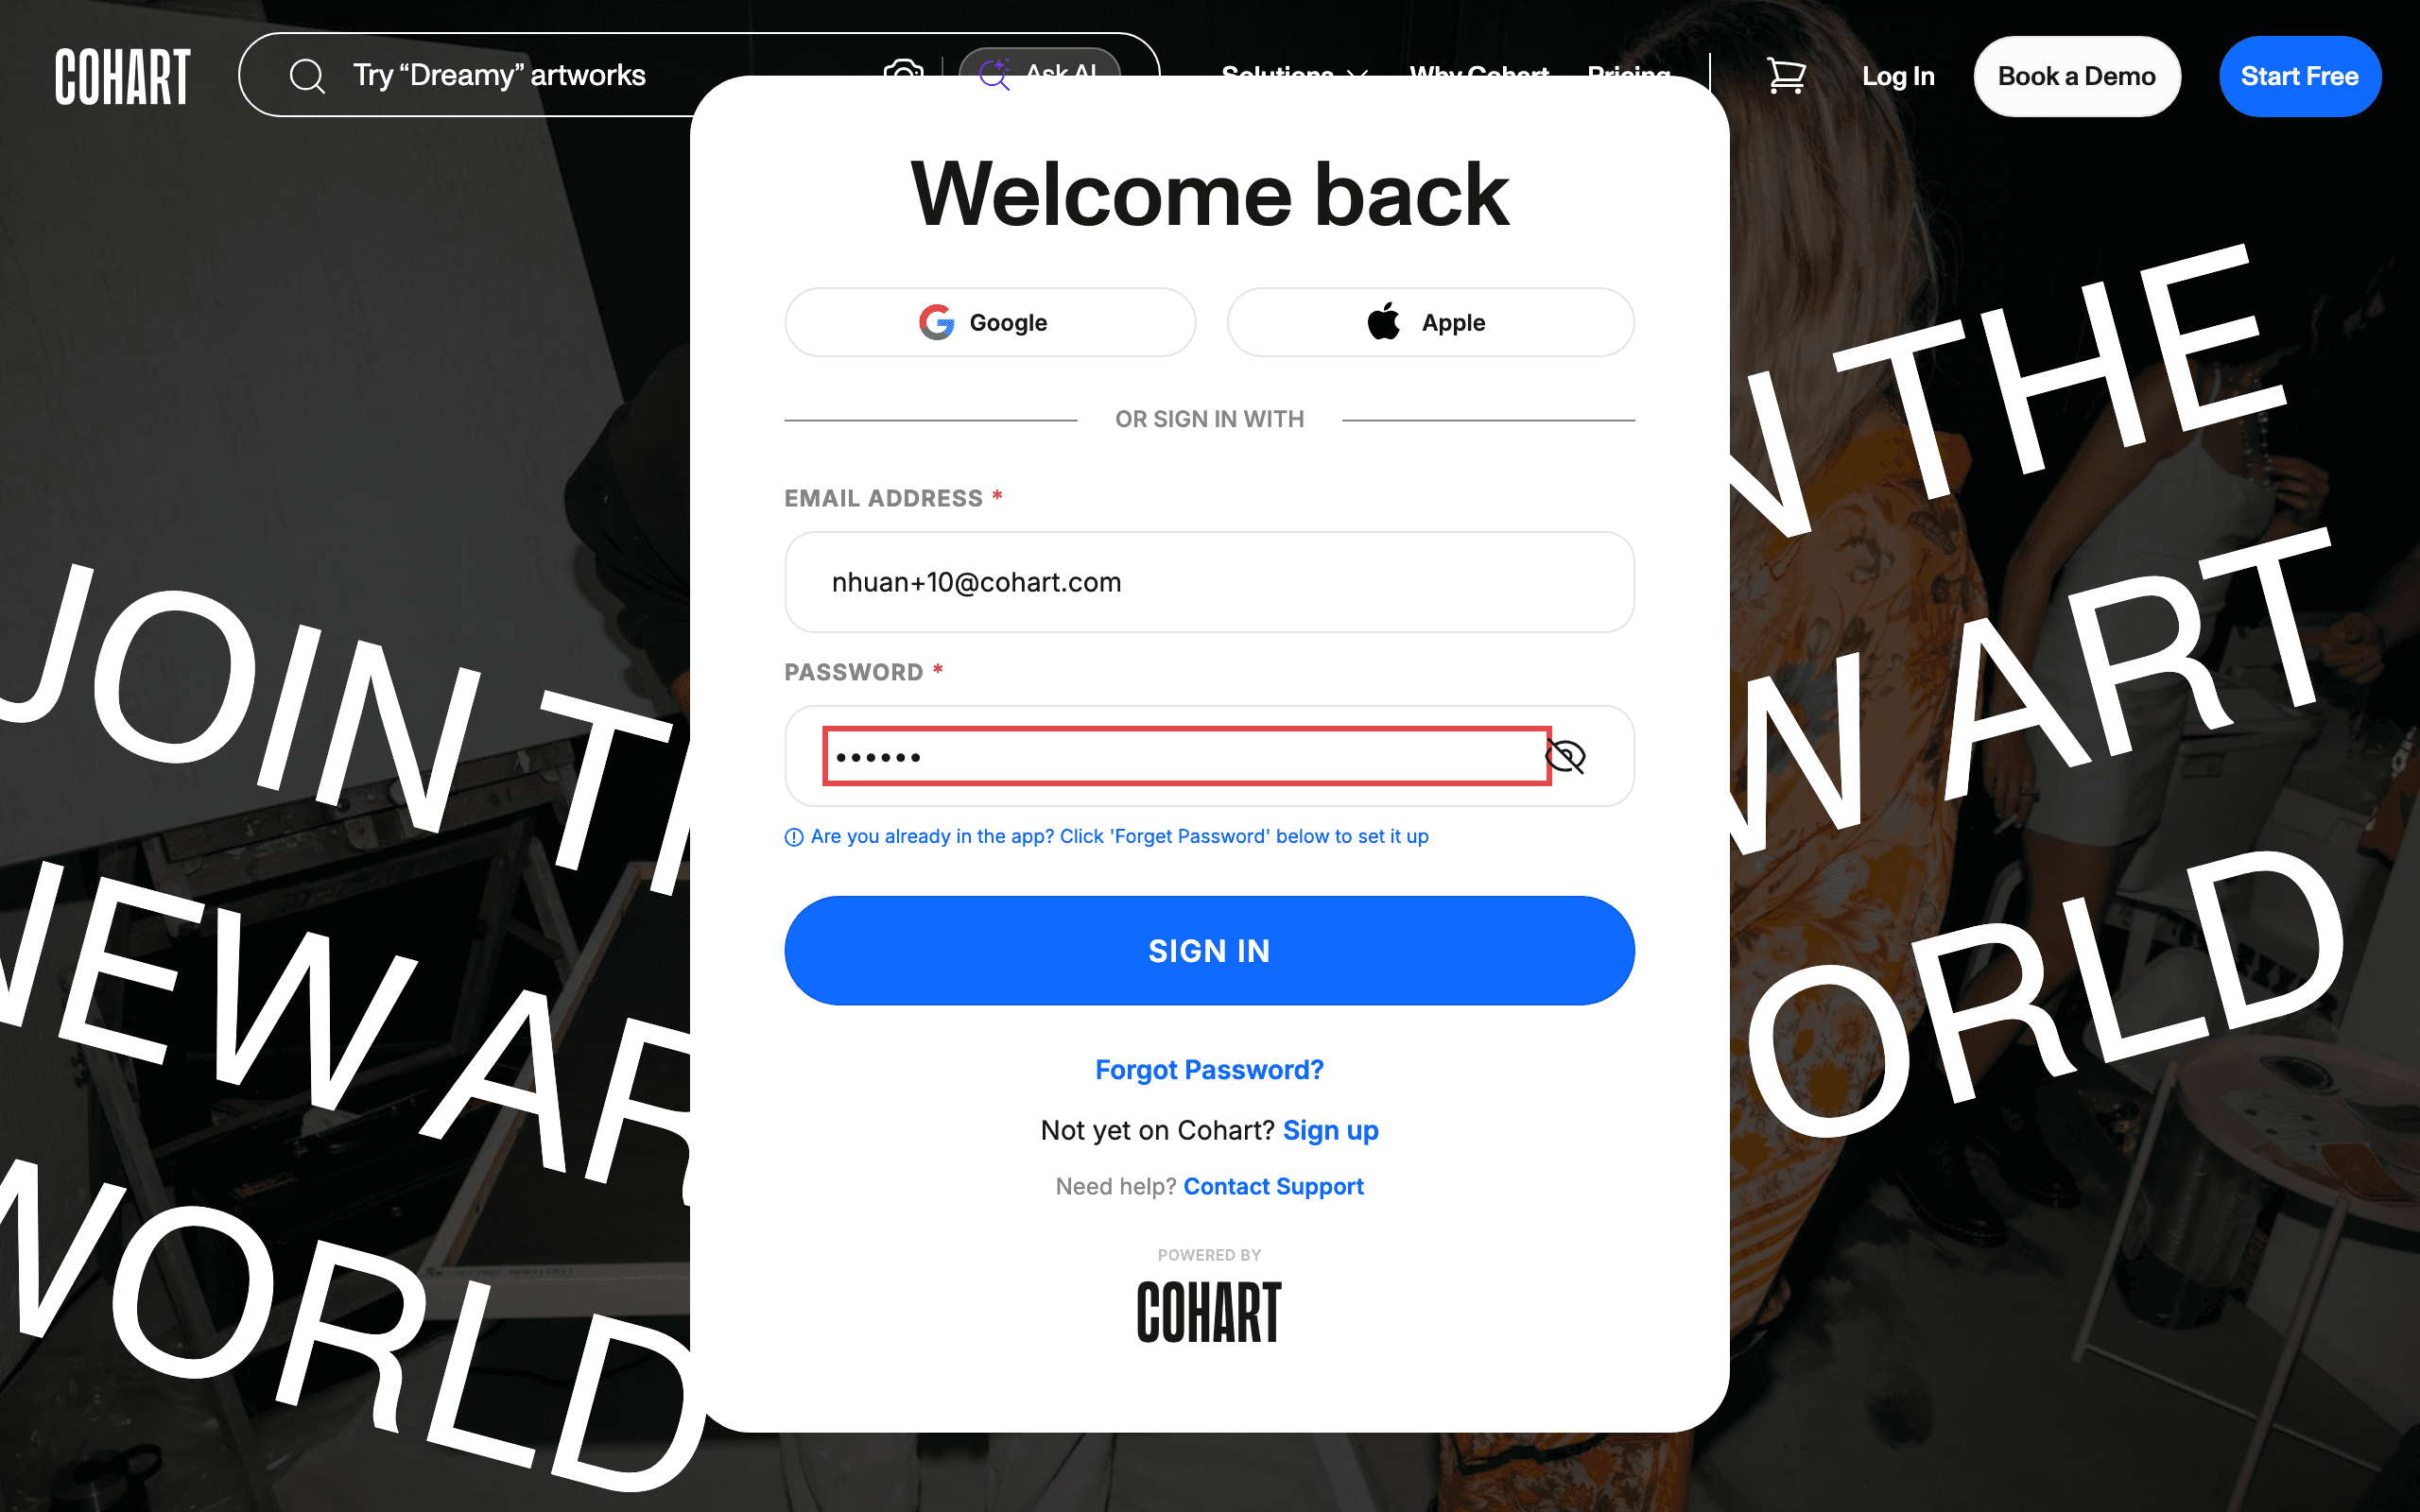
Step 4: Click Sign In
Click Sign In to log in. You will land on your dashboard.
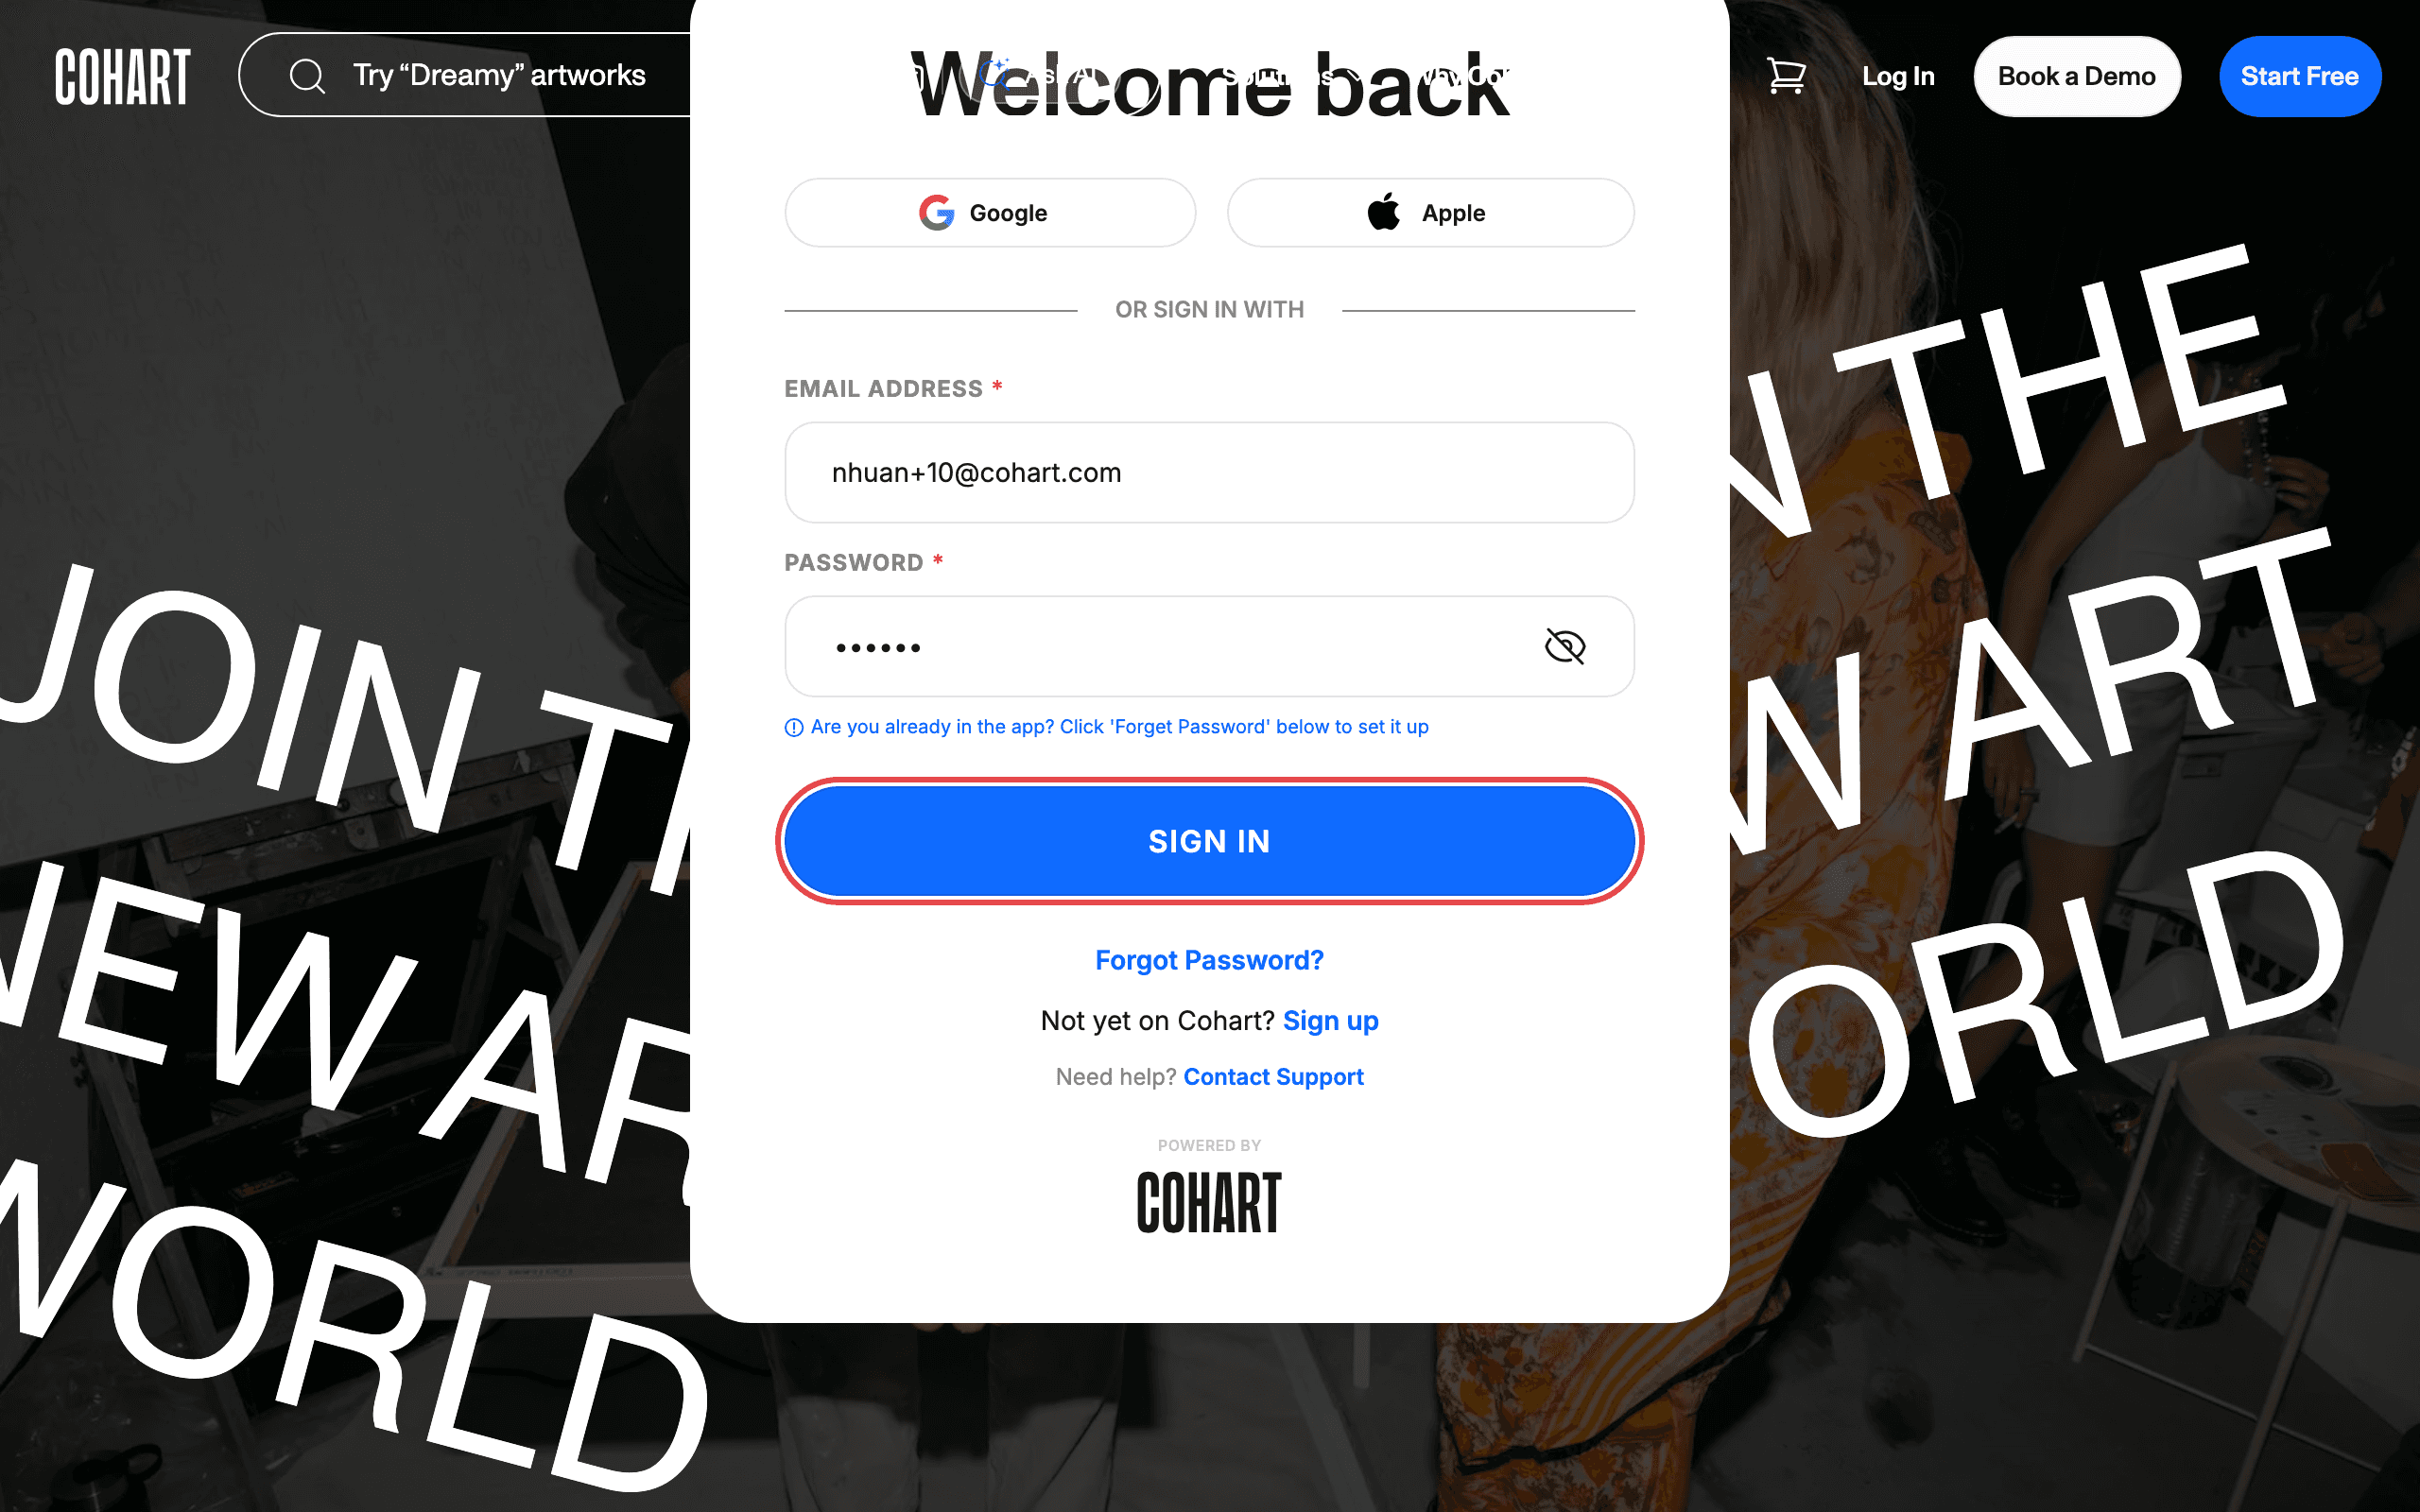
Step 5: Open the Events tab
Go to staging.cohdev.co/discover/events , or click Events in the Discover menu at the top of the page. The Events tab shows available events as cards. Use the search field (placeholder “Search events”) or the Filter categories — All, Exhibition, Art Fair, Gallery Opening, Workshop, Panel Talk, Studio Visit, Museum Show, or Other — to narrow the list.
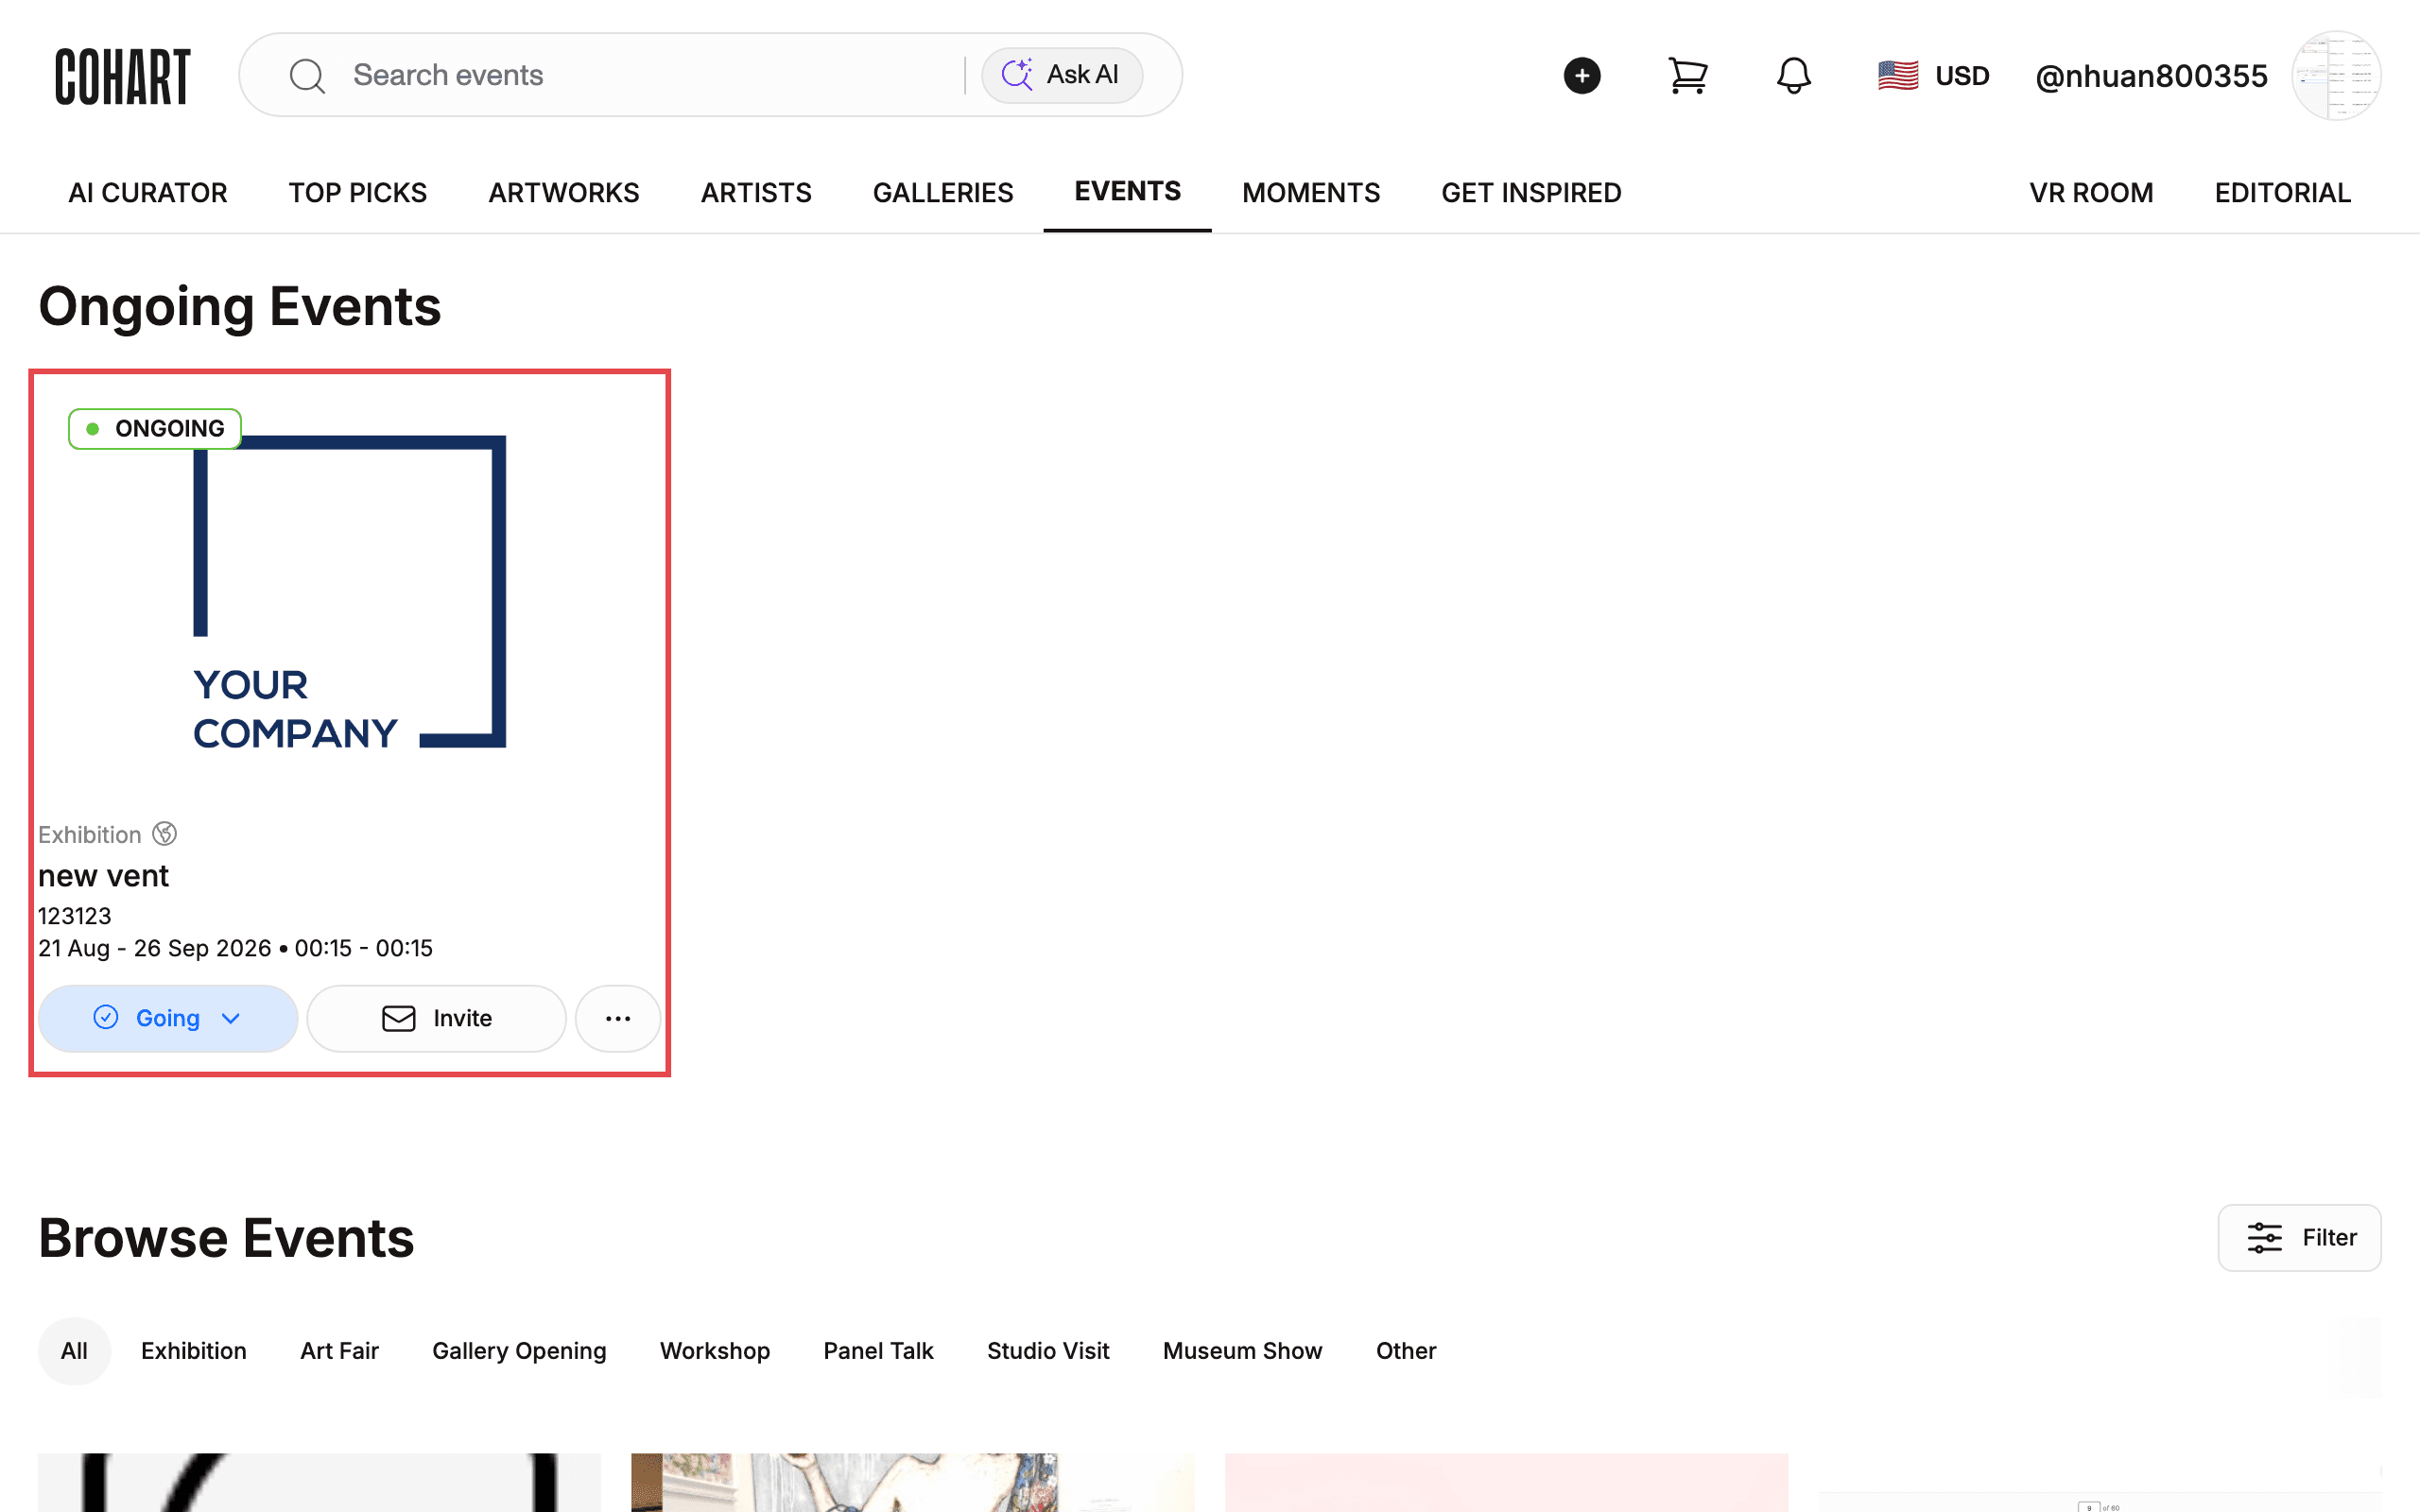
Step 6: Open an event
Click an event card to open its page. On the event page you will see event details on the left and a Tickets box on the right. Event organizers can also use the Going and Invite buttons to RSVP or invite others.
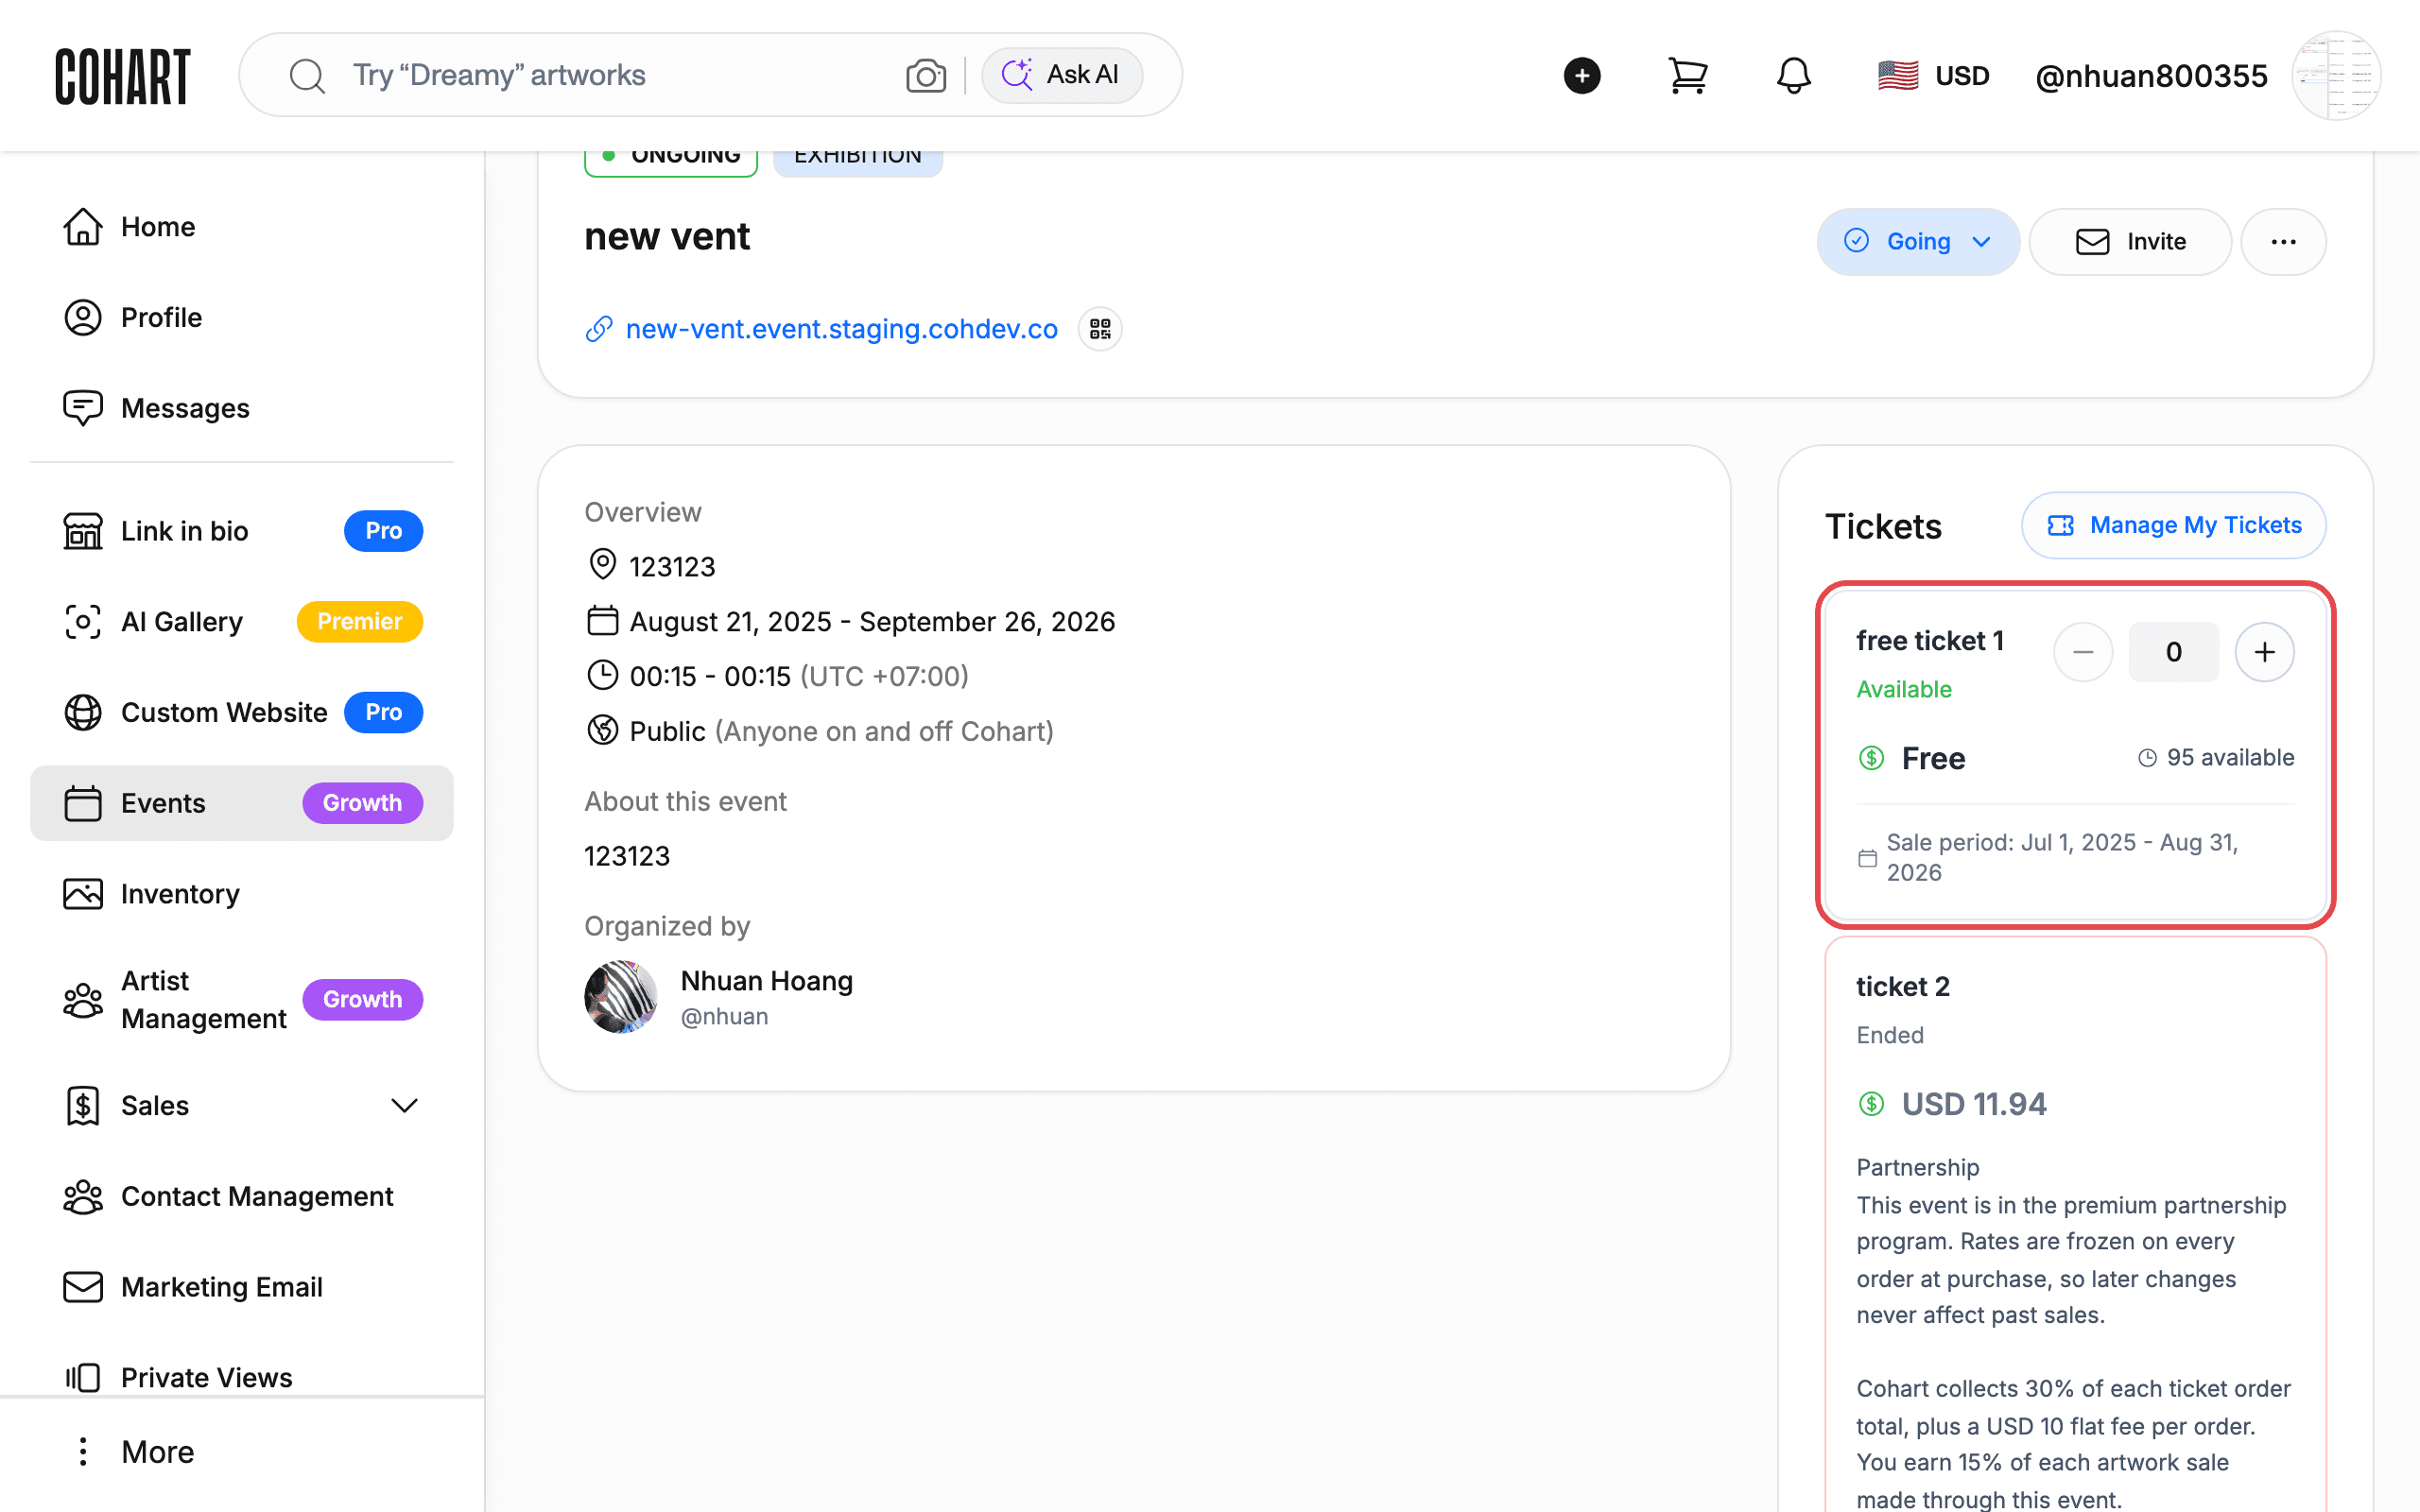
Step 7: Choose how many tickets you want
In the Tickets box, each available ticket tier shows a quantity stepper. Click the + and − buttons to set how many tickets you want. The tier shows its price (for example, Free), how many tickets are left (for example, “97 available”), and its sale period (for example, “Sale period: Jul 1, 2025 - Aug 31, 2026”).
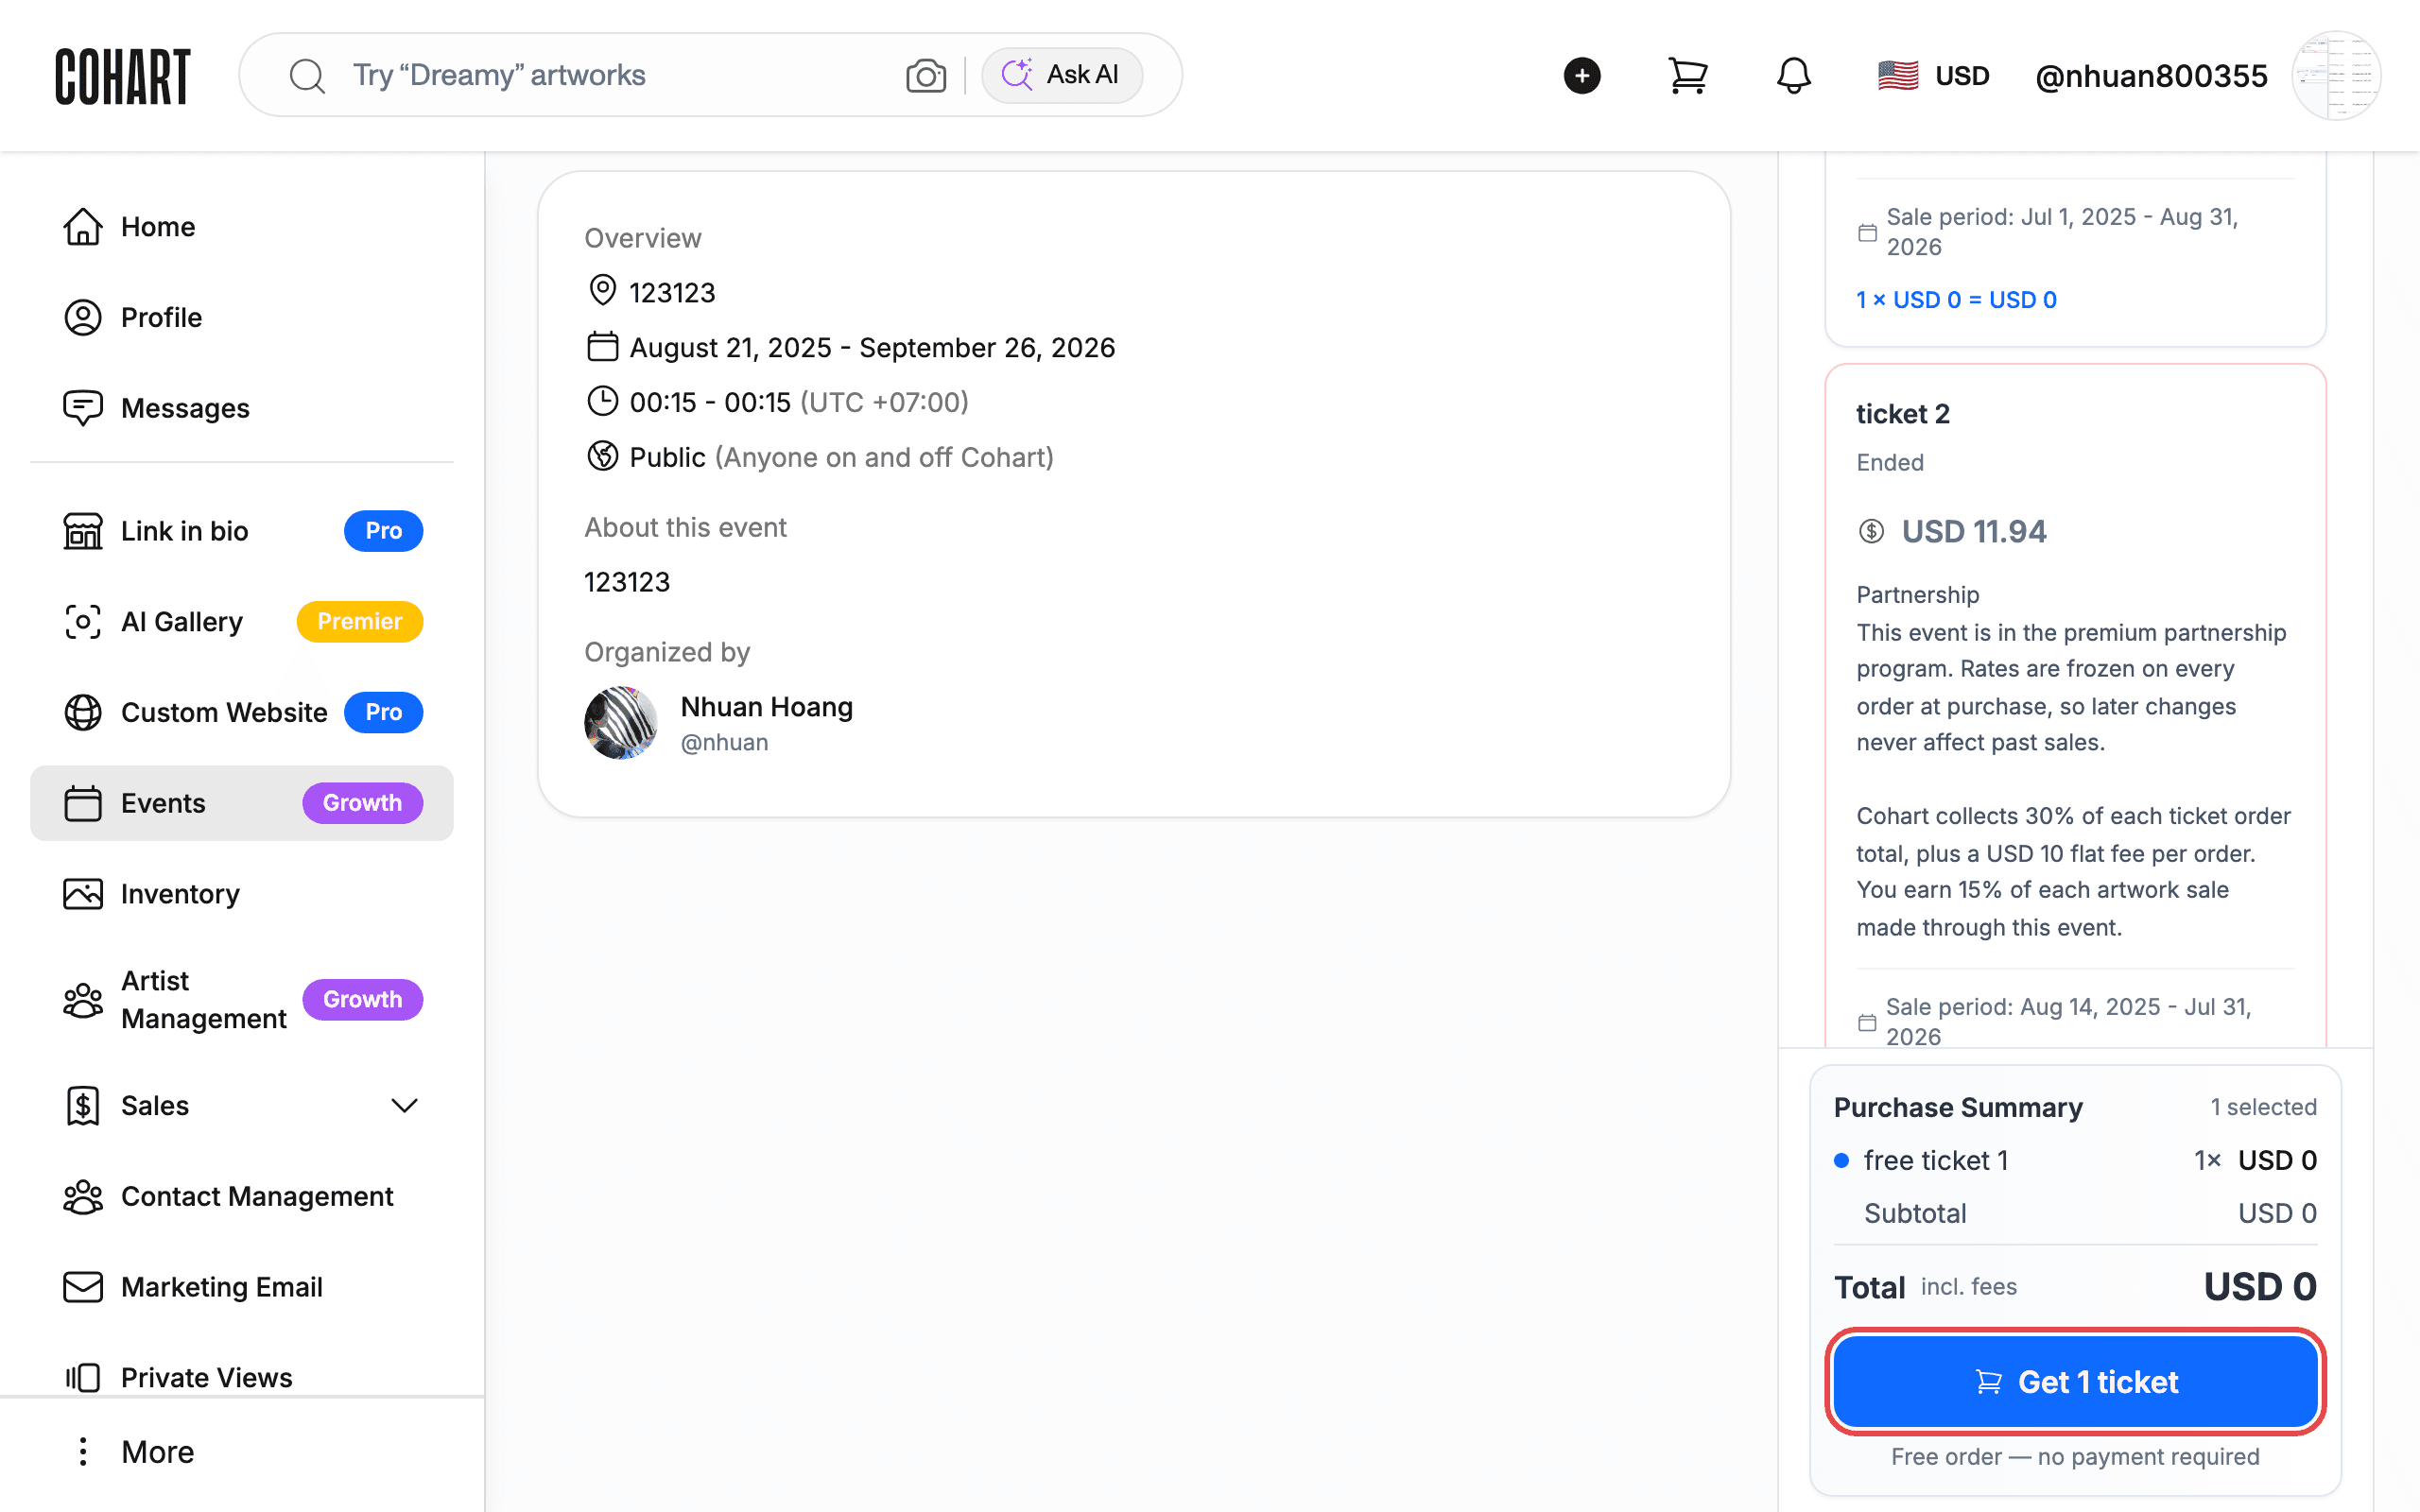
Step 8: Review your Purchase Summary
A Purchase Summary appears showing your selection, the Subtotal, and the Total incl. fees. For a free order, the total is USD 0 and the note reads “Free order — no payment required.”
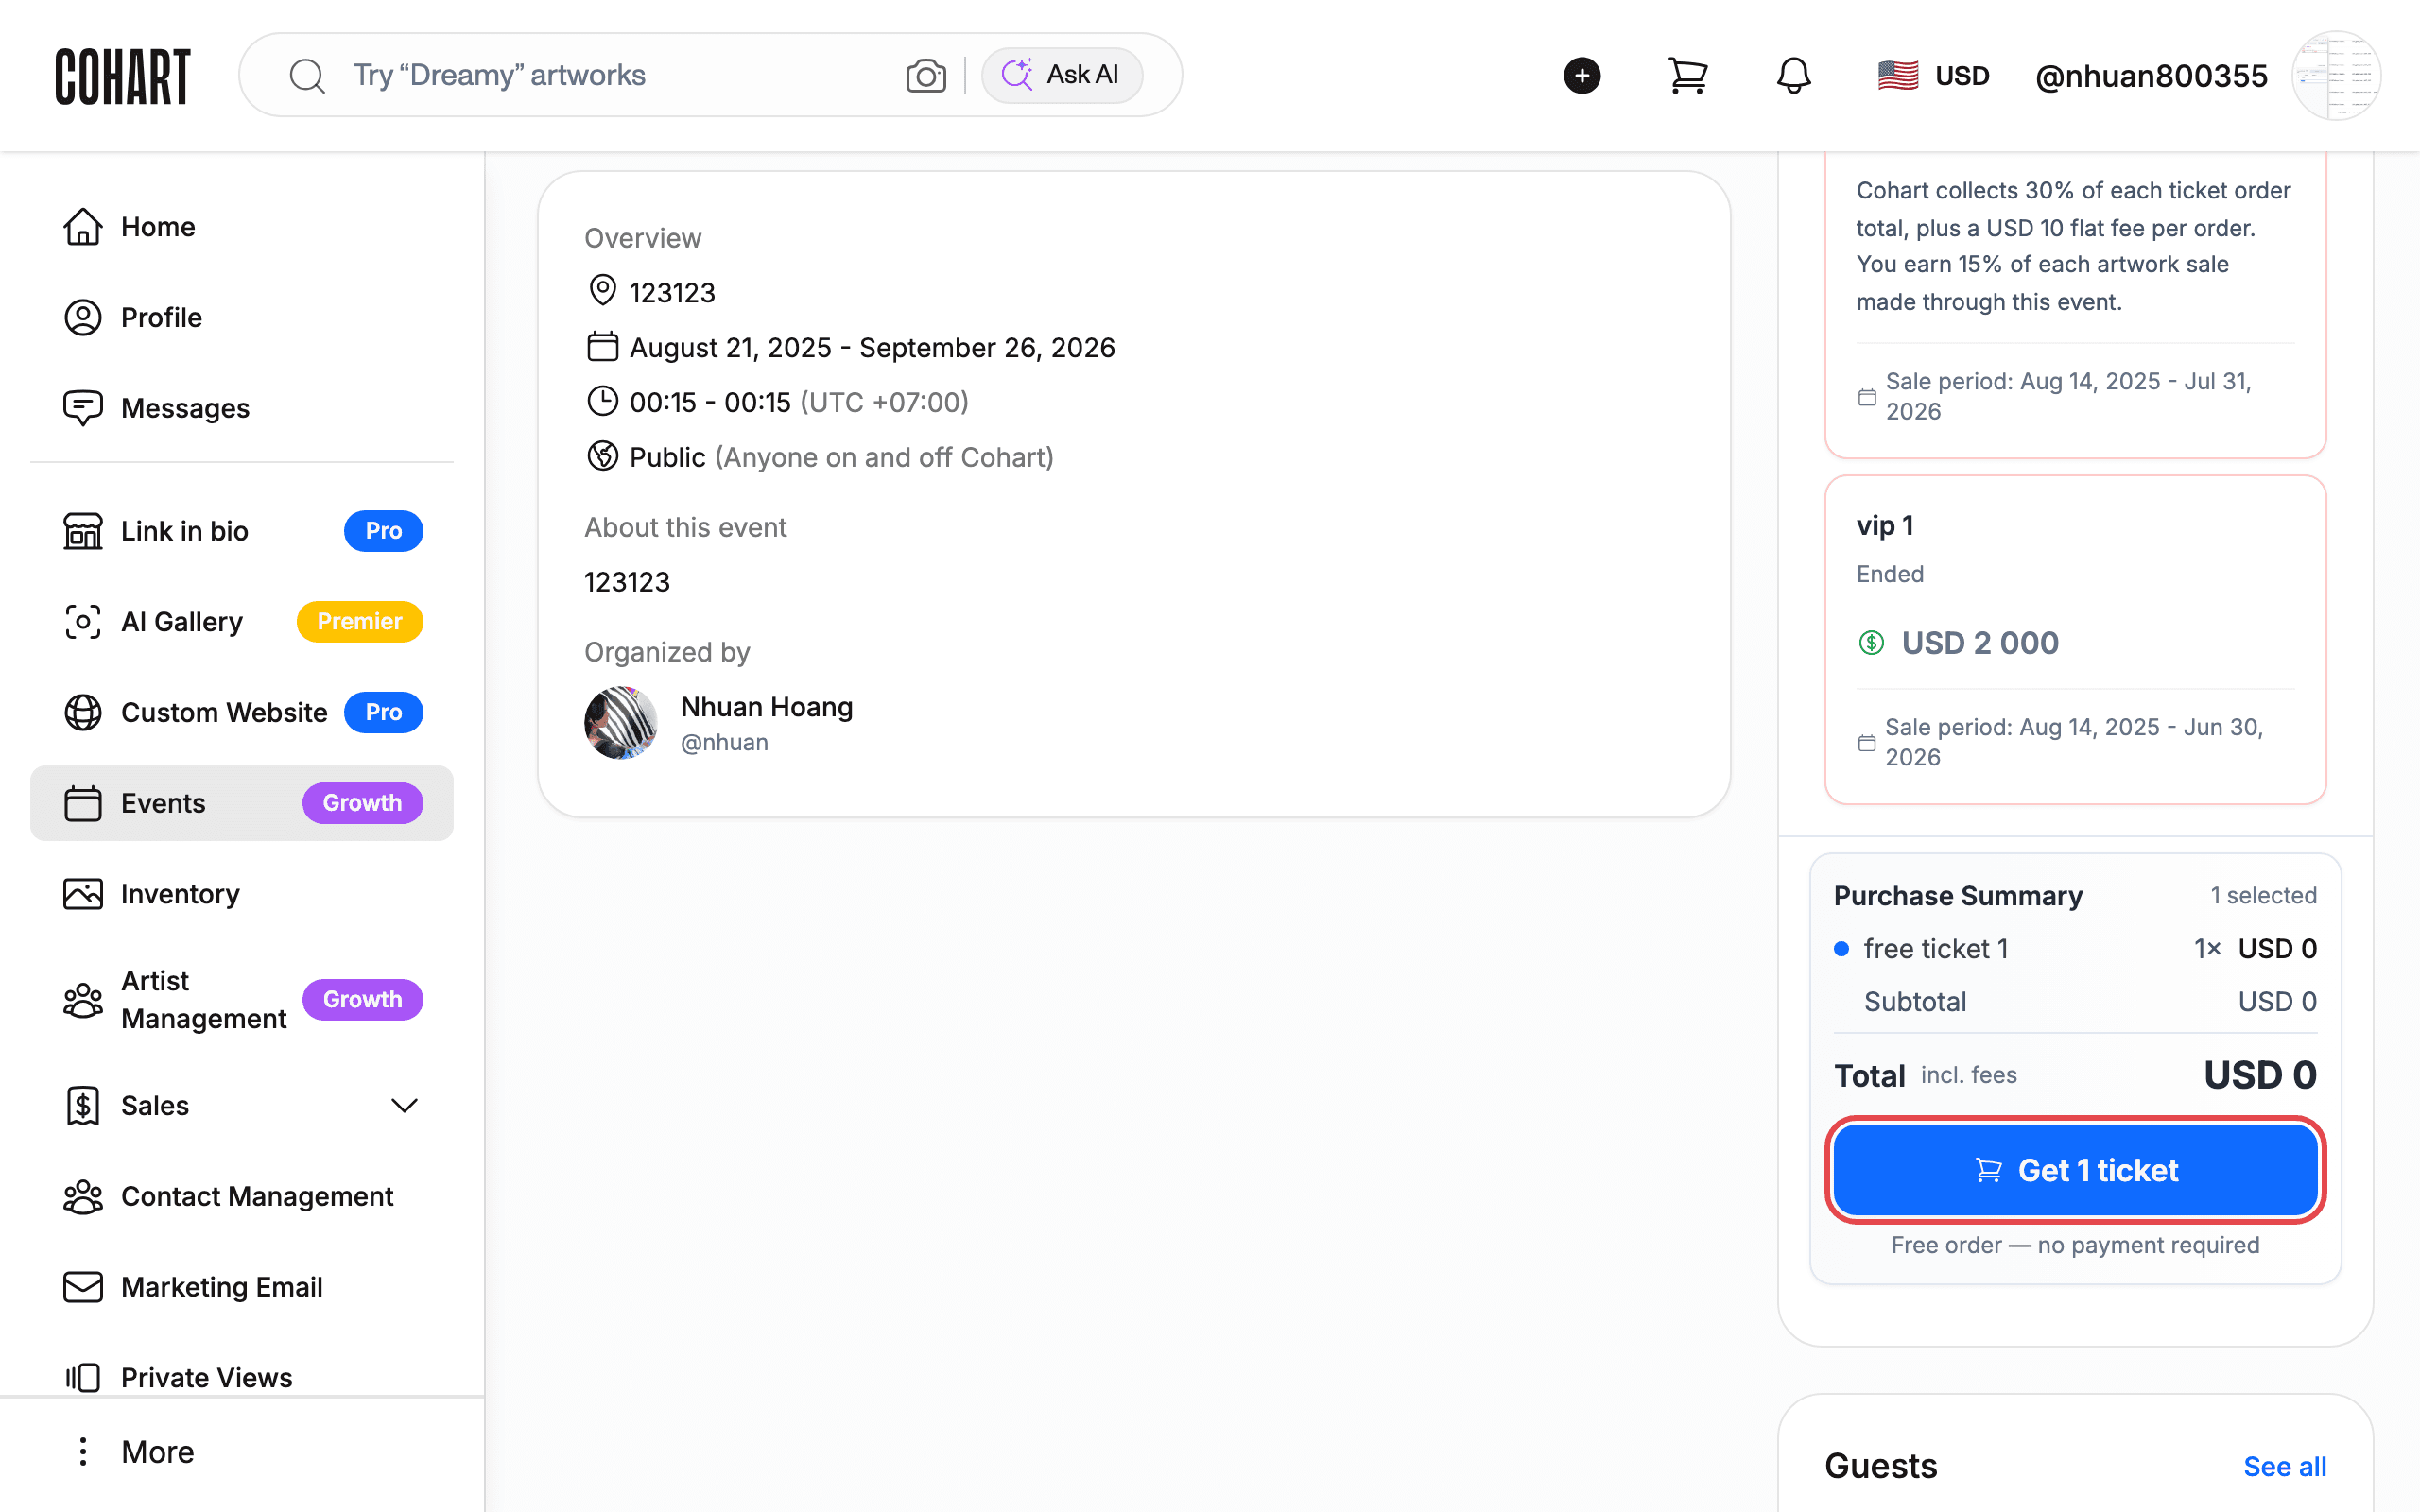
Step 9: Get your ticket
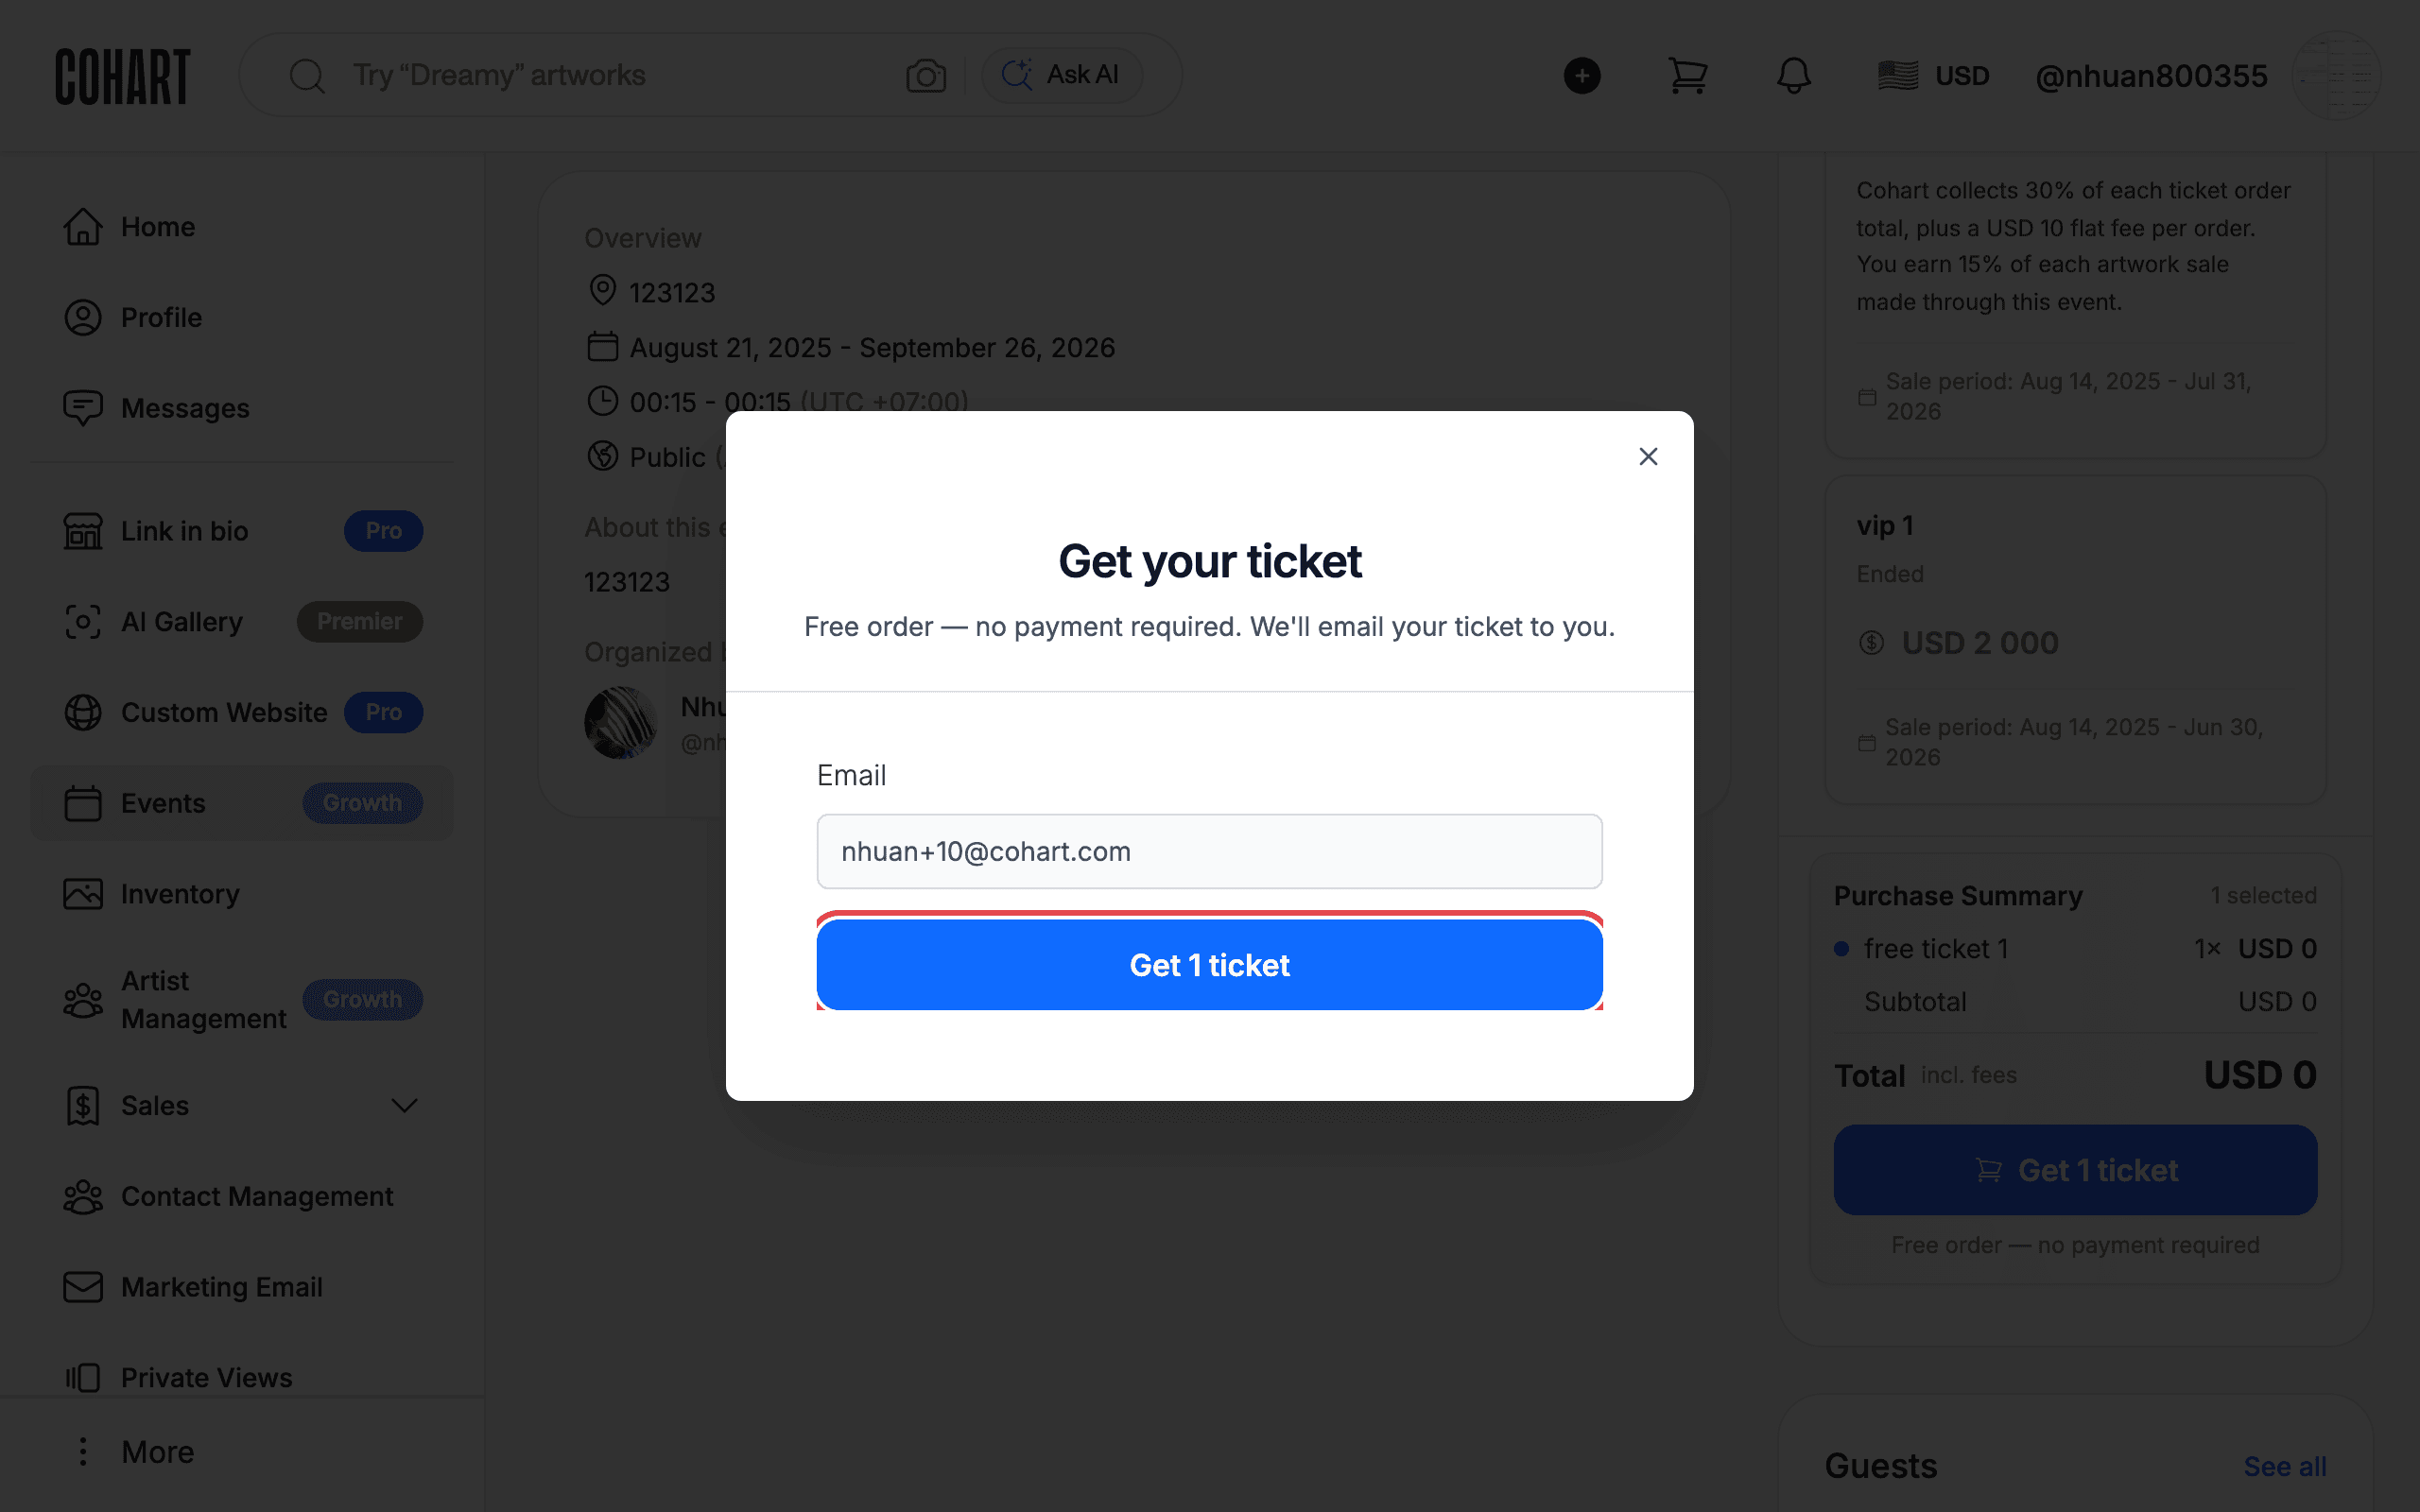
Click Get 1 ticket (or Get N tickets for larger orders). A Get your ticket dialog opens showing the email your ticket will be sent to. For free orders it reads “Free order — no payment required. We’ll email your ticket to you.” Click Get 1 ticket to confirm.
Step 10: Paid tickets — pick an amount
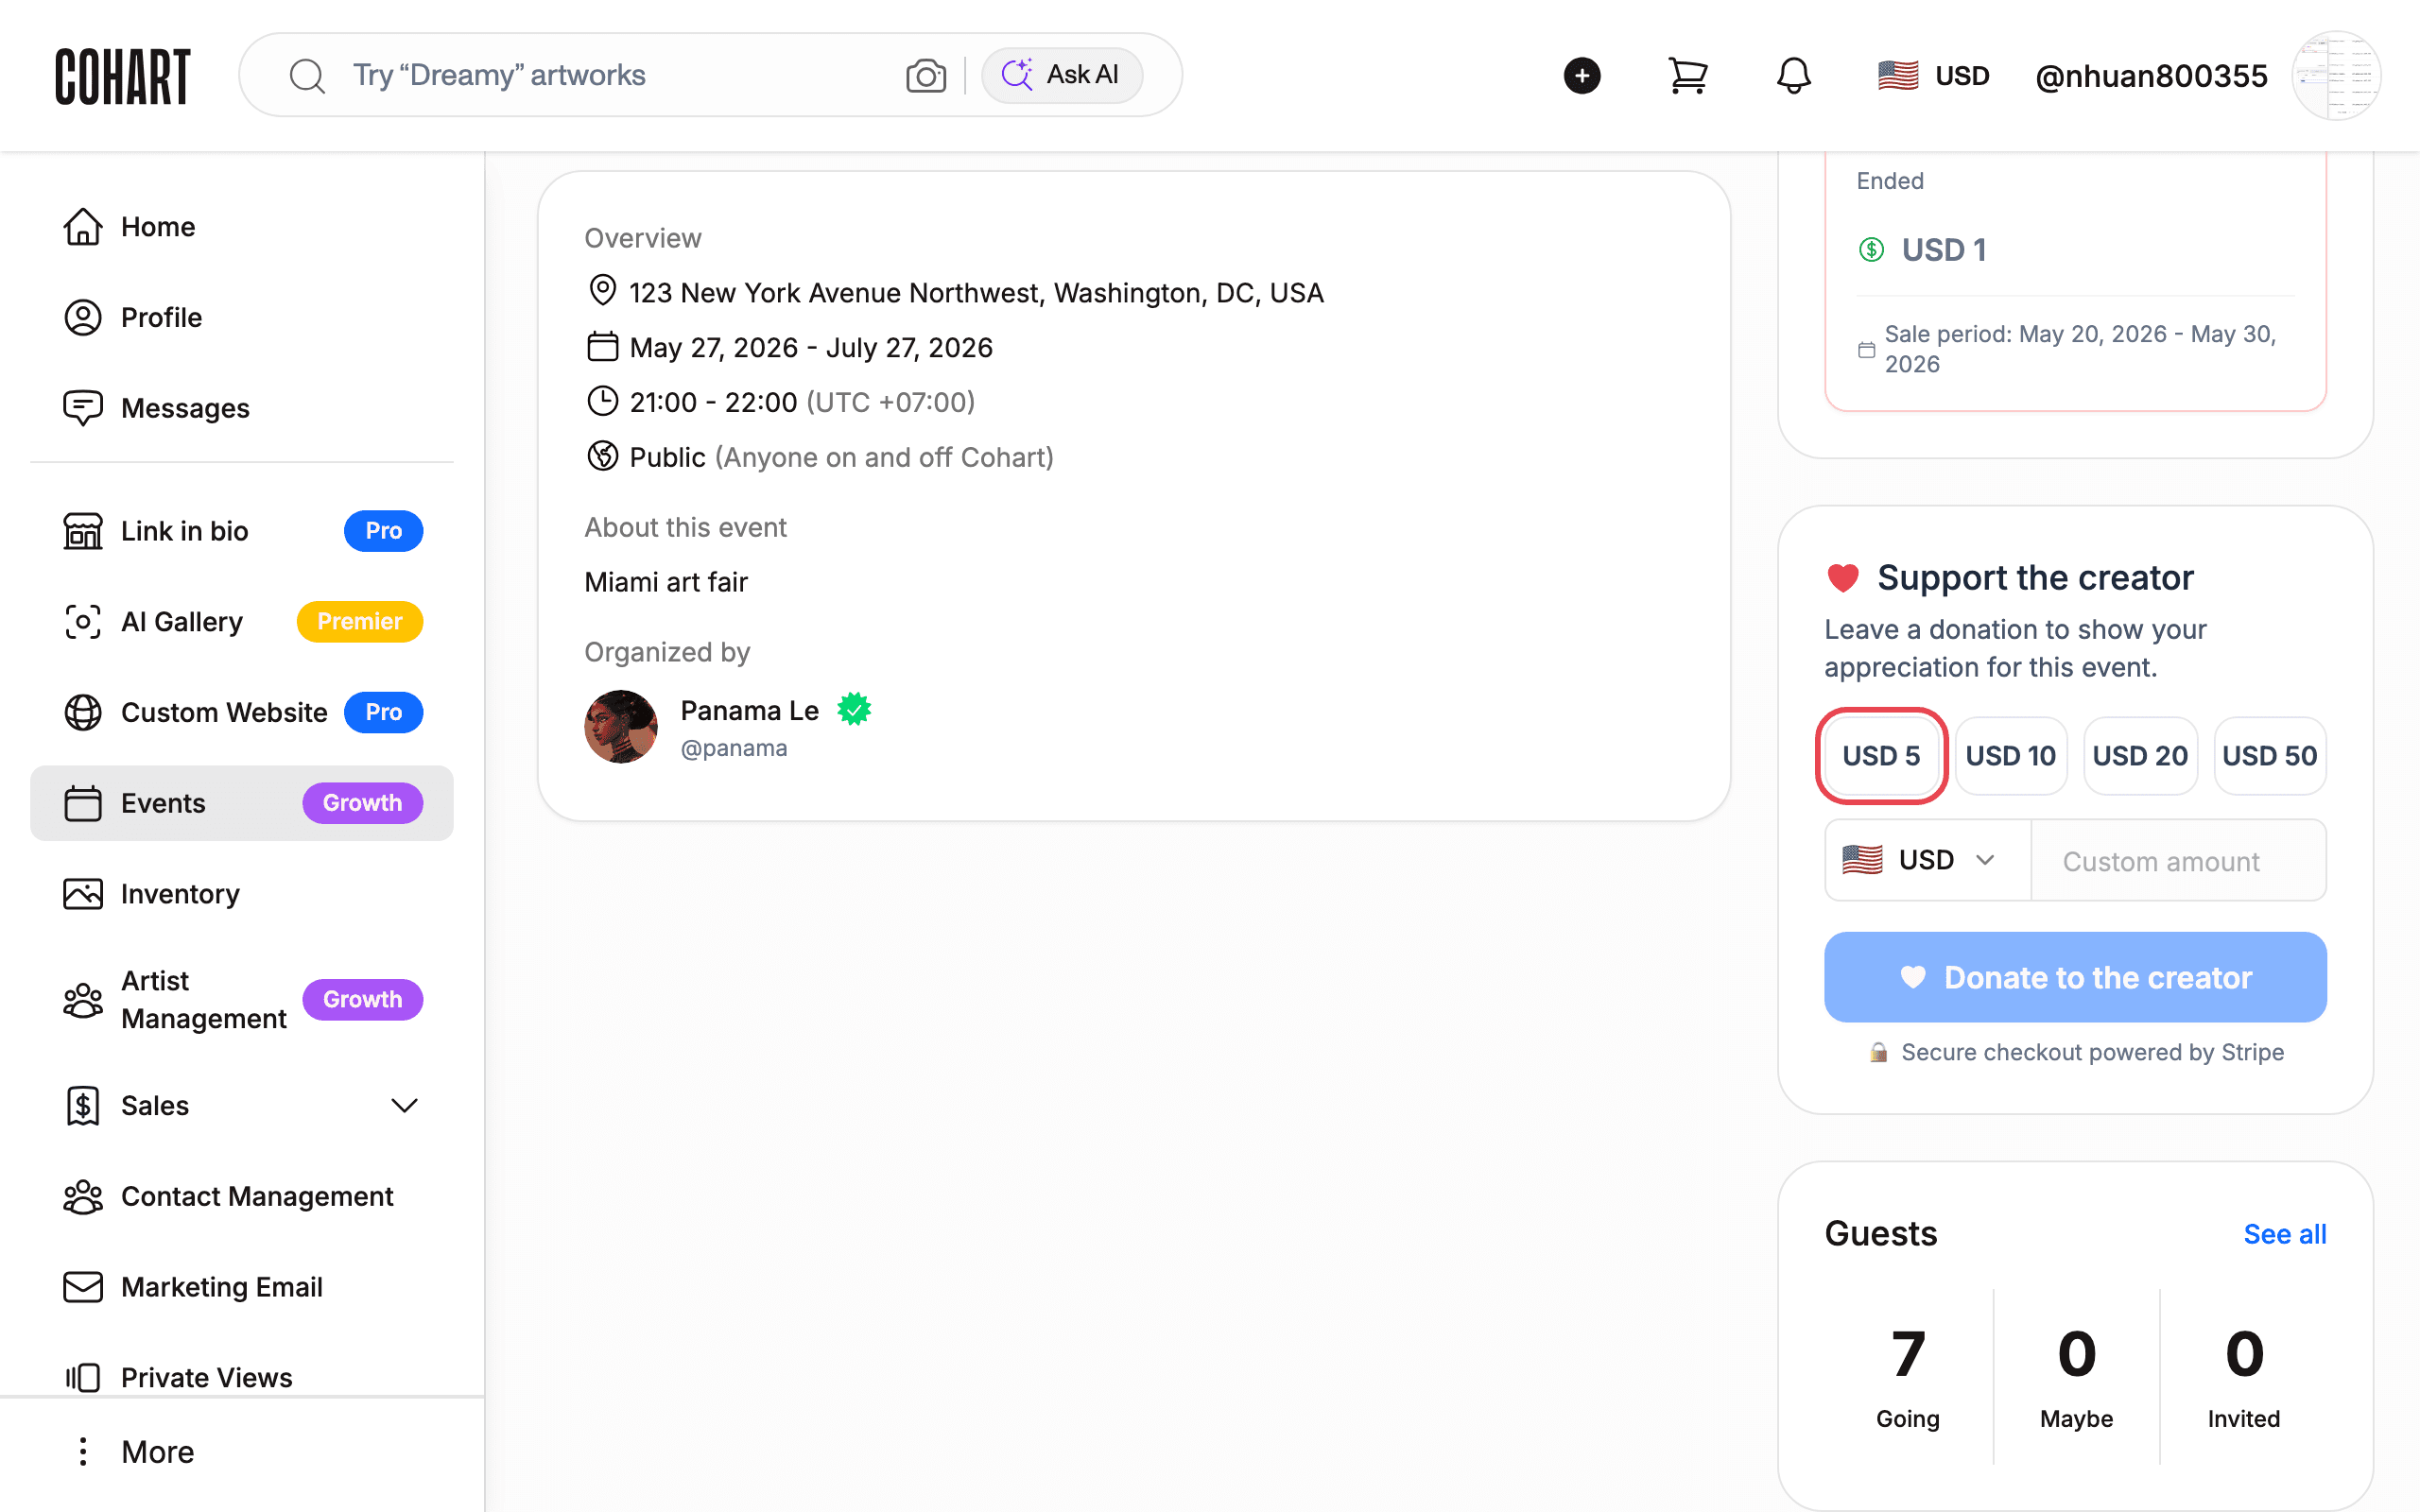
For paid events, choose the amount you want to pay. Preset amounts (for example USD 5, USD 10, USD 20, USD 50) appear as buttons, and you can enter a Custom amount. Some event pages also show a Donate to the creator option to support the organizer.
Step 11: Complete your purchase with Stripe
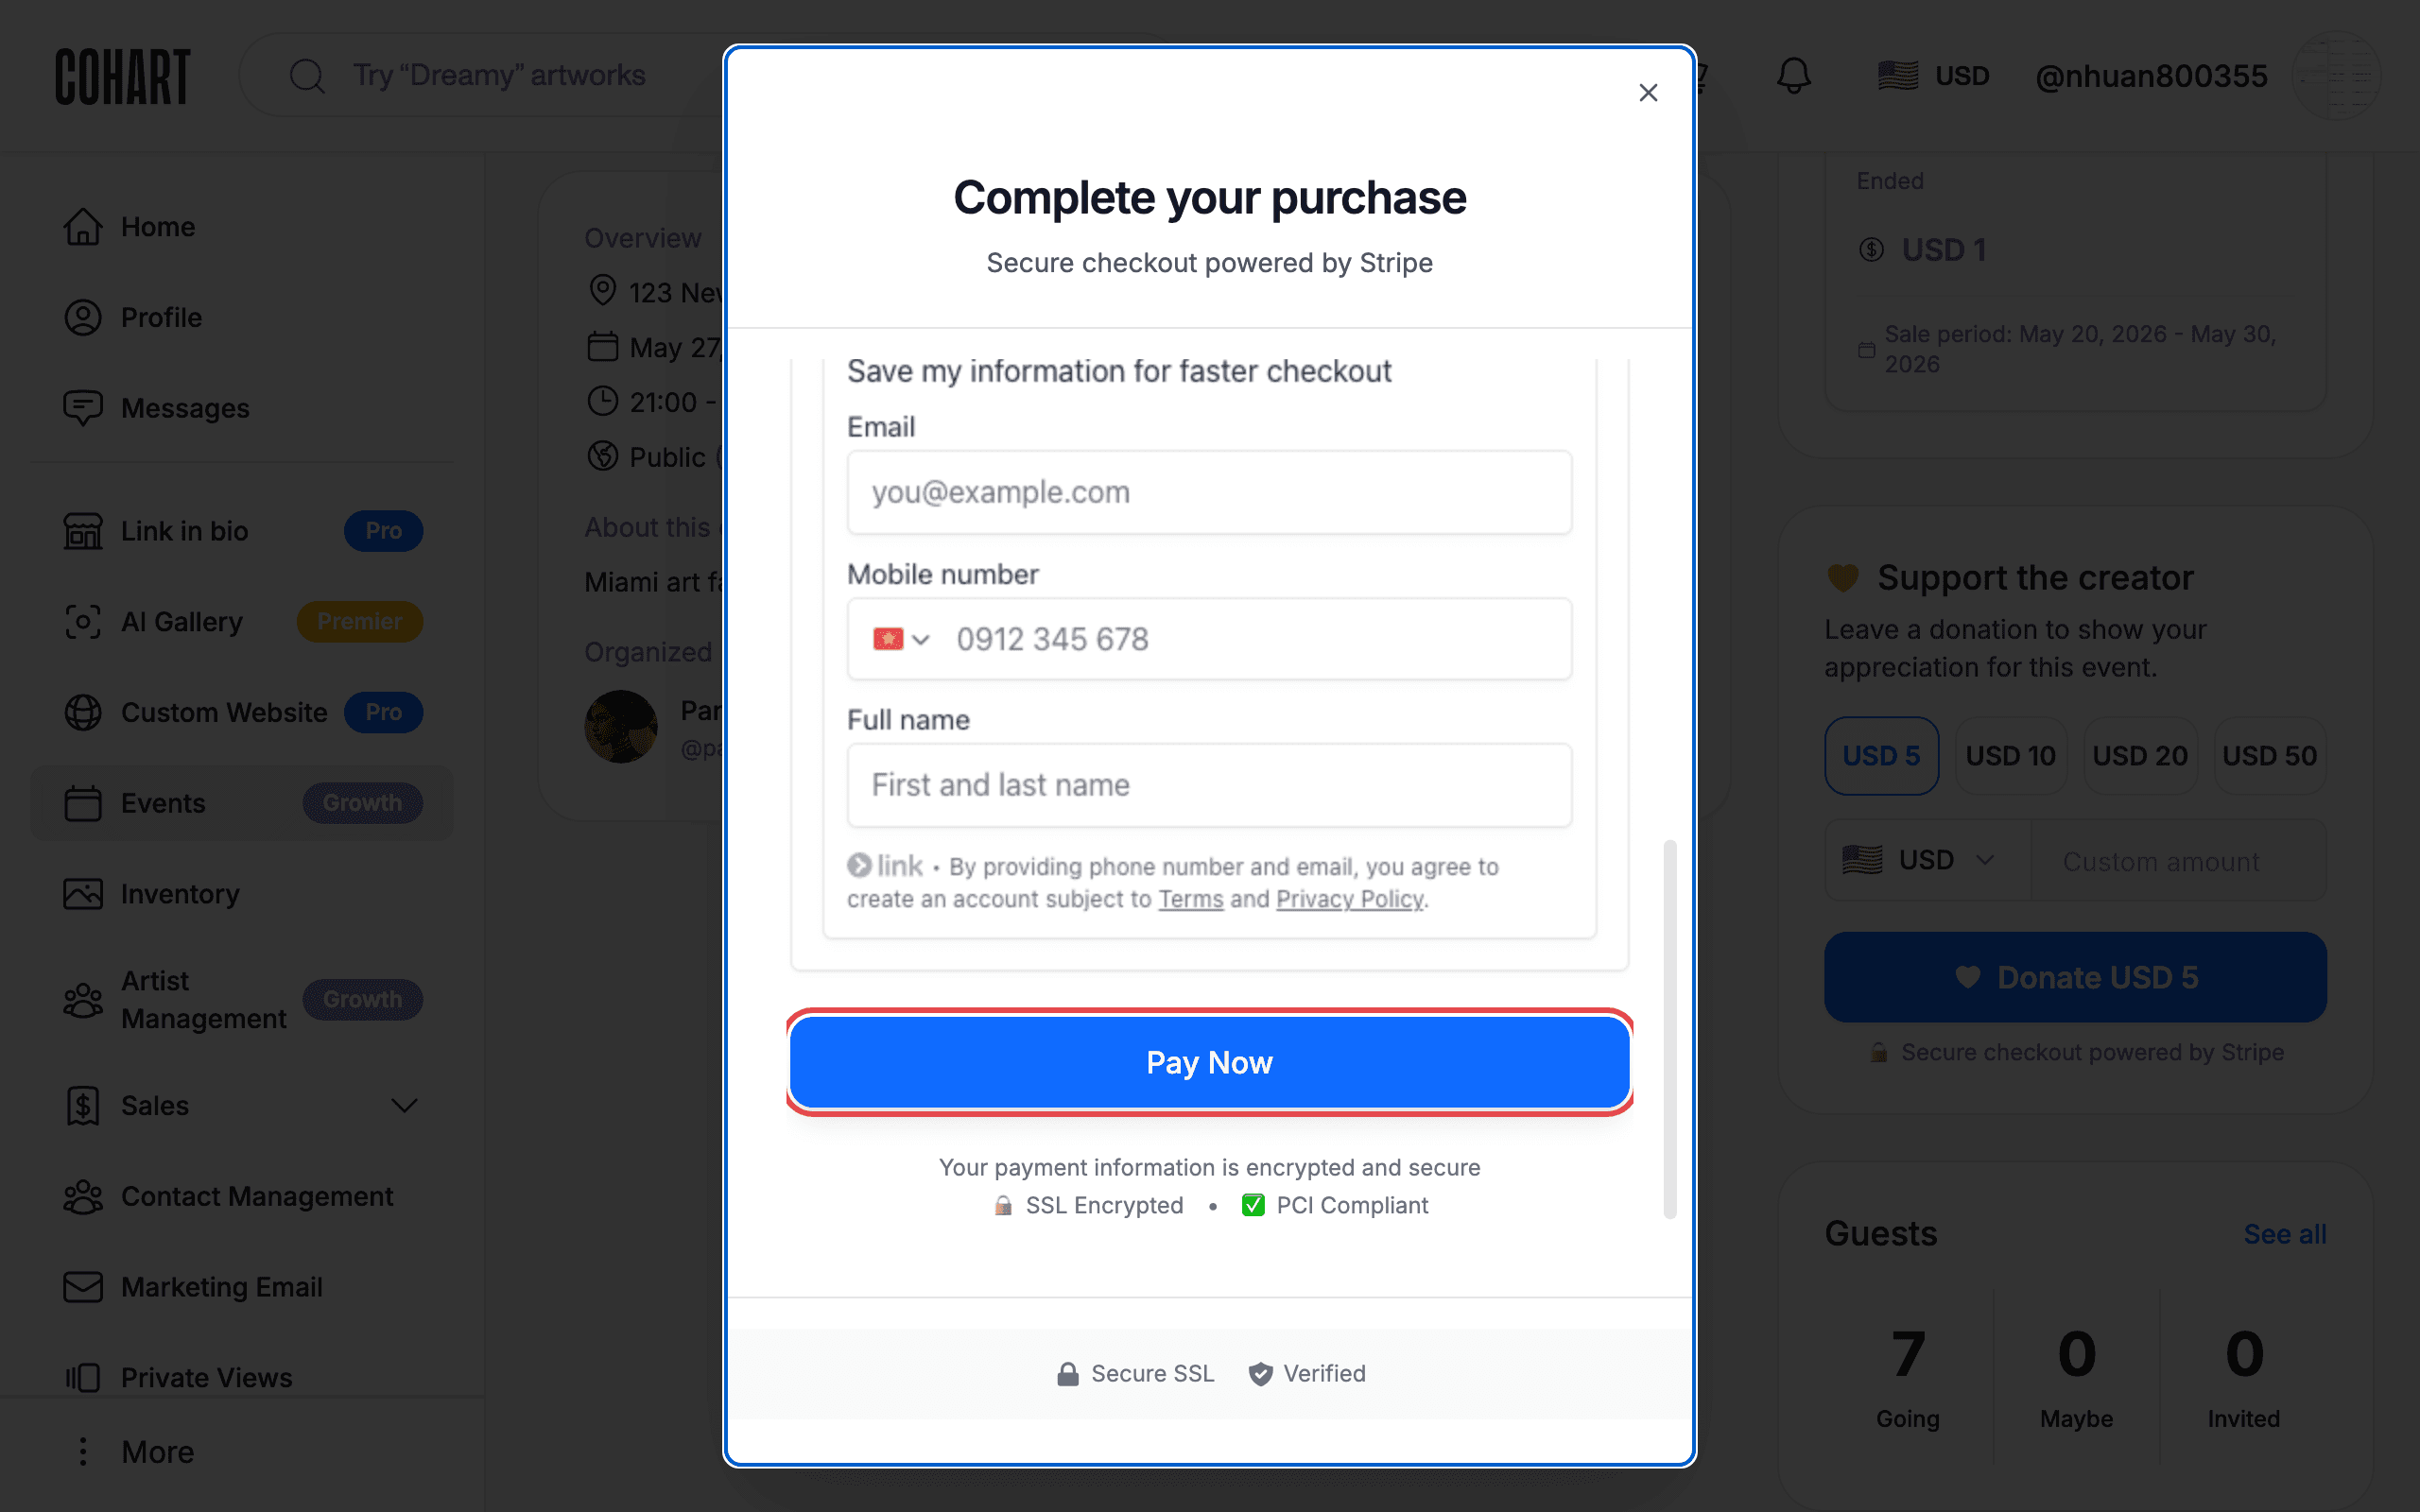
After selecting an amount, click the amount button (for example Donate USD 5) and the Complete your purchase dialog opens. The dialog is labeled “Secure checkout powered by Stripe” and shows the Order Total. It displays your account email and a card payment form. Click Pay Now to finish. The dialog confirms your payment is protected: “Your payment information is encrypted and secure”, with SSL Encrypted and PCI Compliant badges.
Step 12: Find your tickets anytime
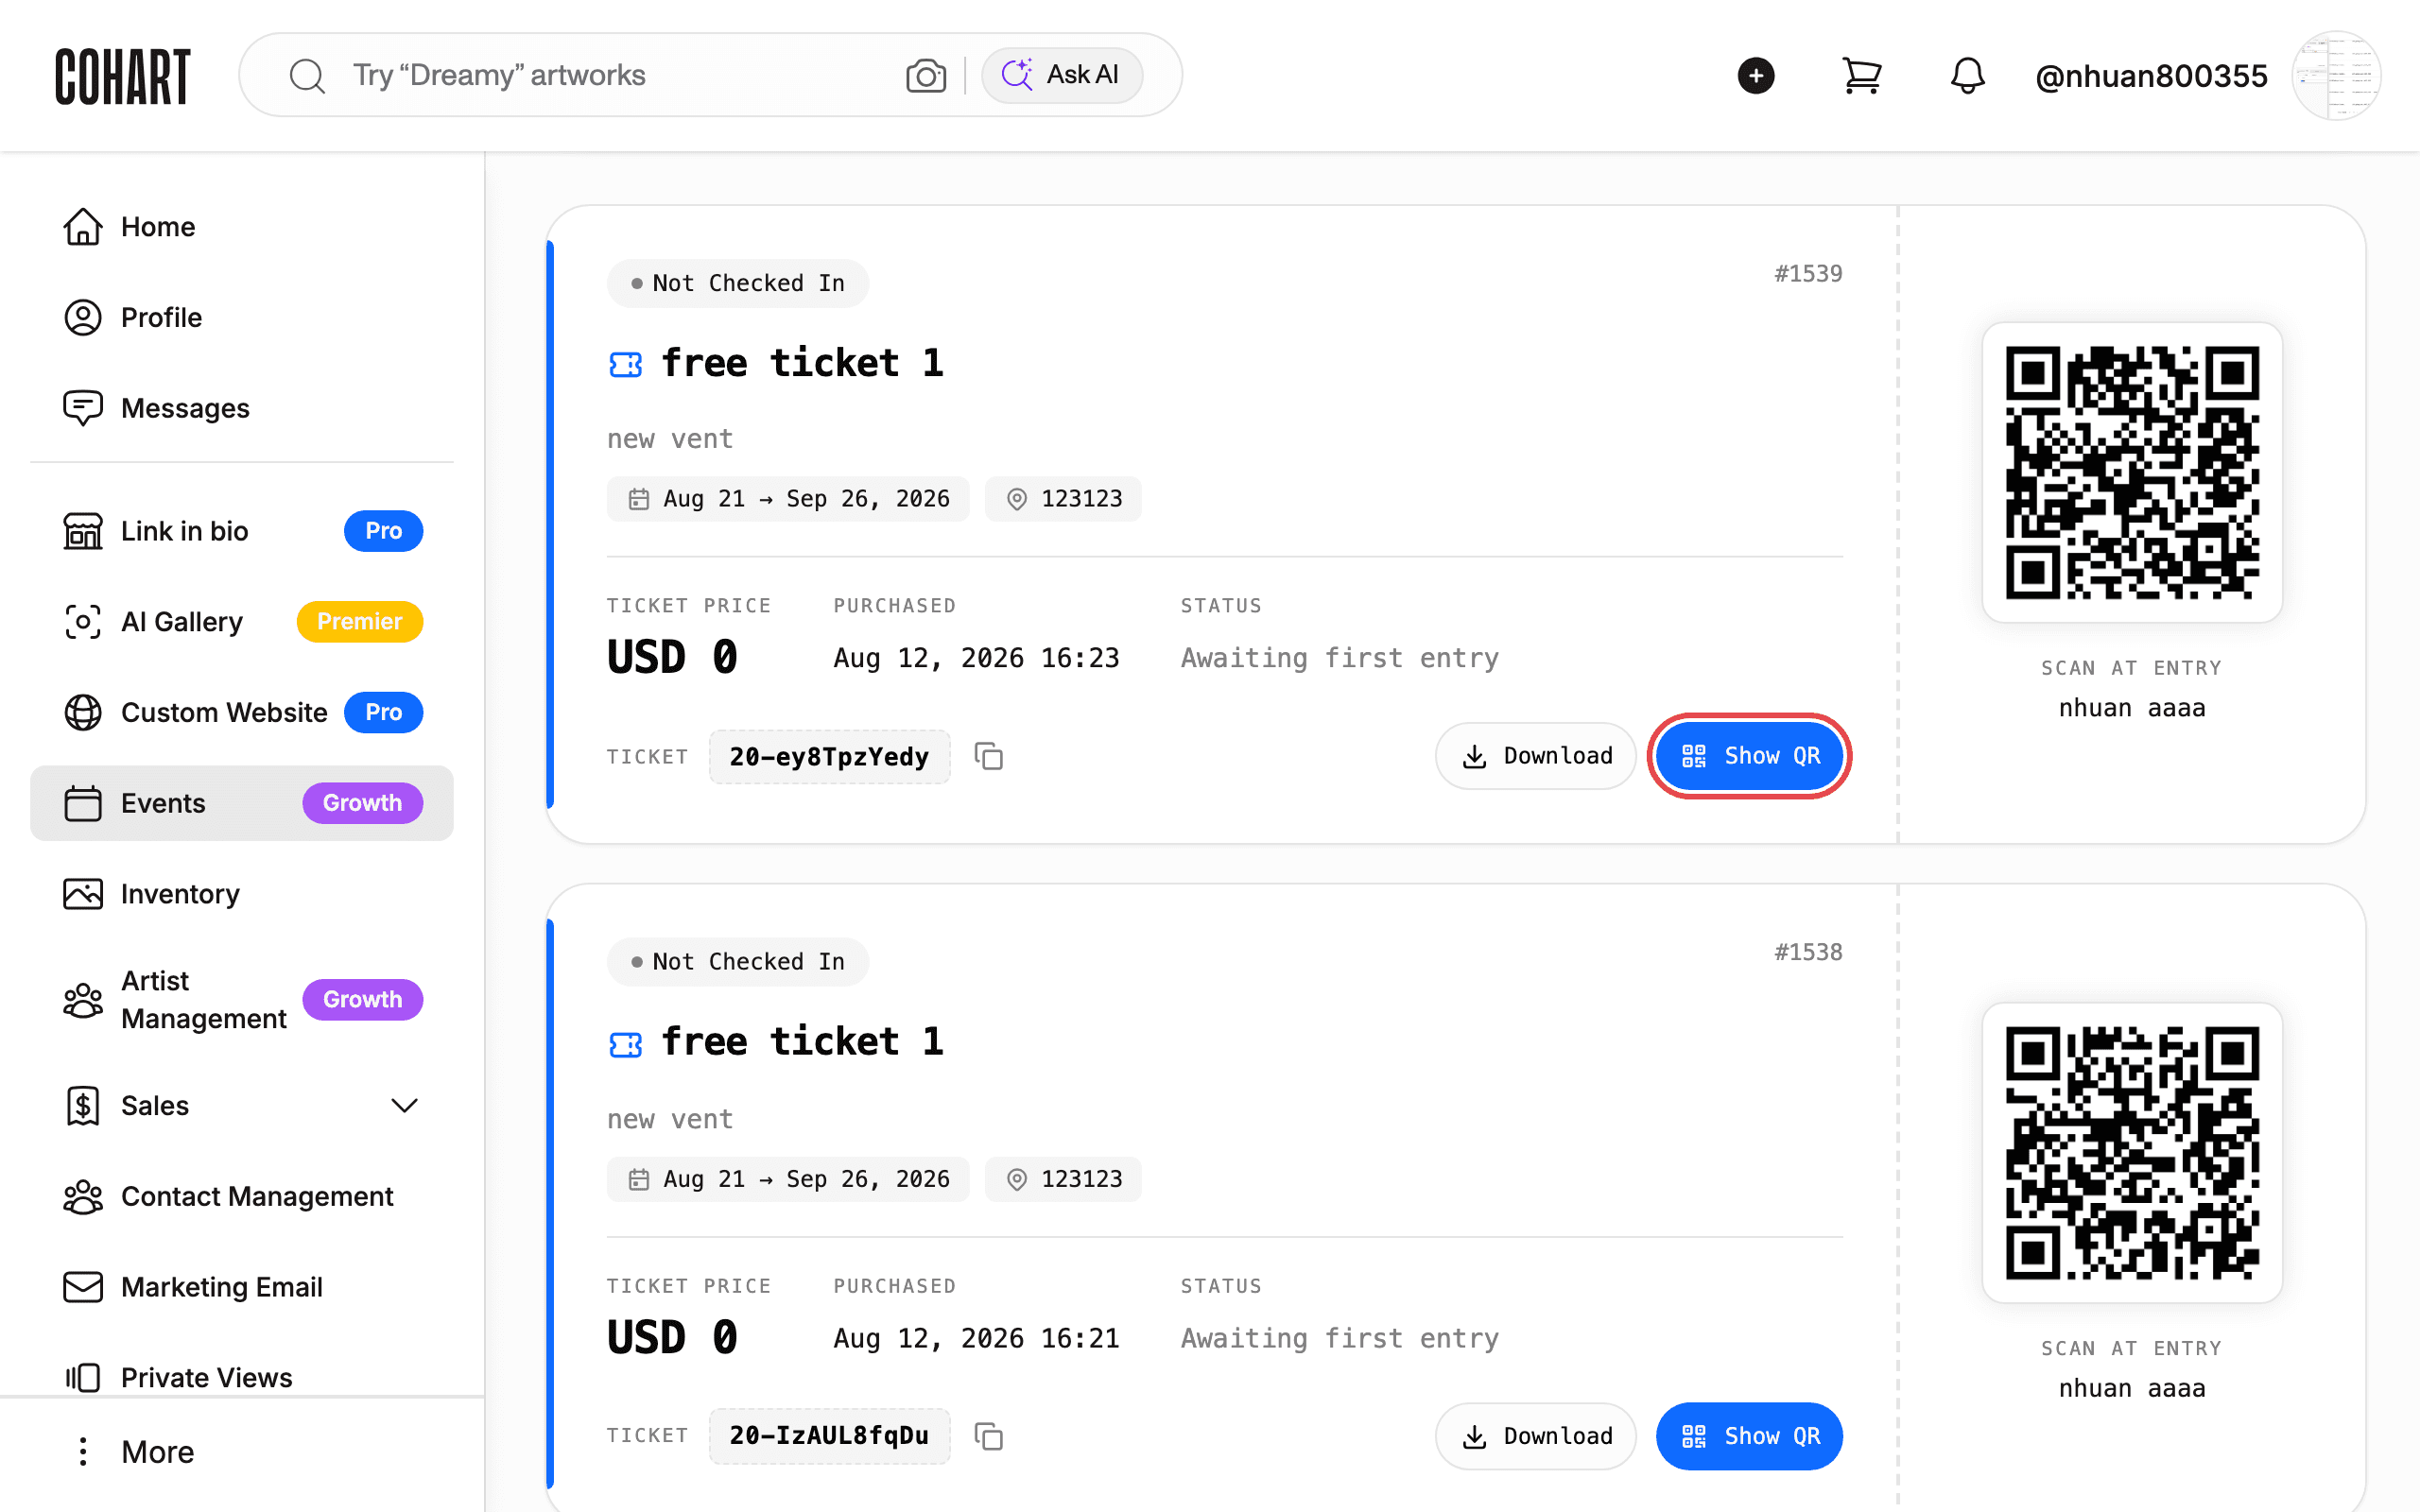
After you buy, your tickets are stored under Manage My Tickets. Open it from the event page (the Manage My Tickets button) to see each ticket with Download, Show QR, and Copy to clipboard options, so you can show your ticket when you arrive.
Tips
- Signed in required: You must be signed in to buy tickets. If you are not signed in, the site takes you to the login page first.
- Ticket availability: Each tier shows how many tickets remain (for example “97 available”). The stepper is limited to the number still on sale.
- Sale periods: Tickets are only sold during their Sale period. When the sale ends, the tier shows Ended and can no longer be purchased.
- Past events: Events that are over show a “This event has ended” badge, and their ticket buttons are removed.
- Free events: Free tickets require no payment card — the order completes without any charge.
- Paid events: Payment runs through Stripe. You will need a card to complete a paid order.
- RSVP vs. tickets: Some events offer Going / Maybe RSVP buttons alongside tickets. Buying a ticket also records your attendance; RSVP alone does not buy a ticket.
Screenshots are regenerated automatically from the live site. Last captured: August 12, 2026.