How to Join an Event on Cohart
Join an event on Cohart to let the organizer know you plan to attend, change your RSVP anytime, and invite friends along.
Step 1: Go to the sign-in page
Open your browser and go to staging.cohdev.co/auth/login . You must be signed in to join an event.
Alternative sign-in options: You can also sign in with Google or Apple using the buttons on the login page. New to Cohart? Click Sign up to create an account. Forgot your password? Click Forgot Password?.
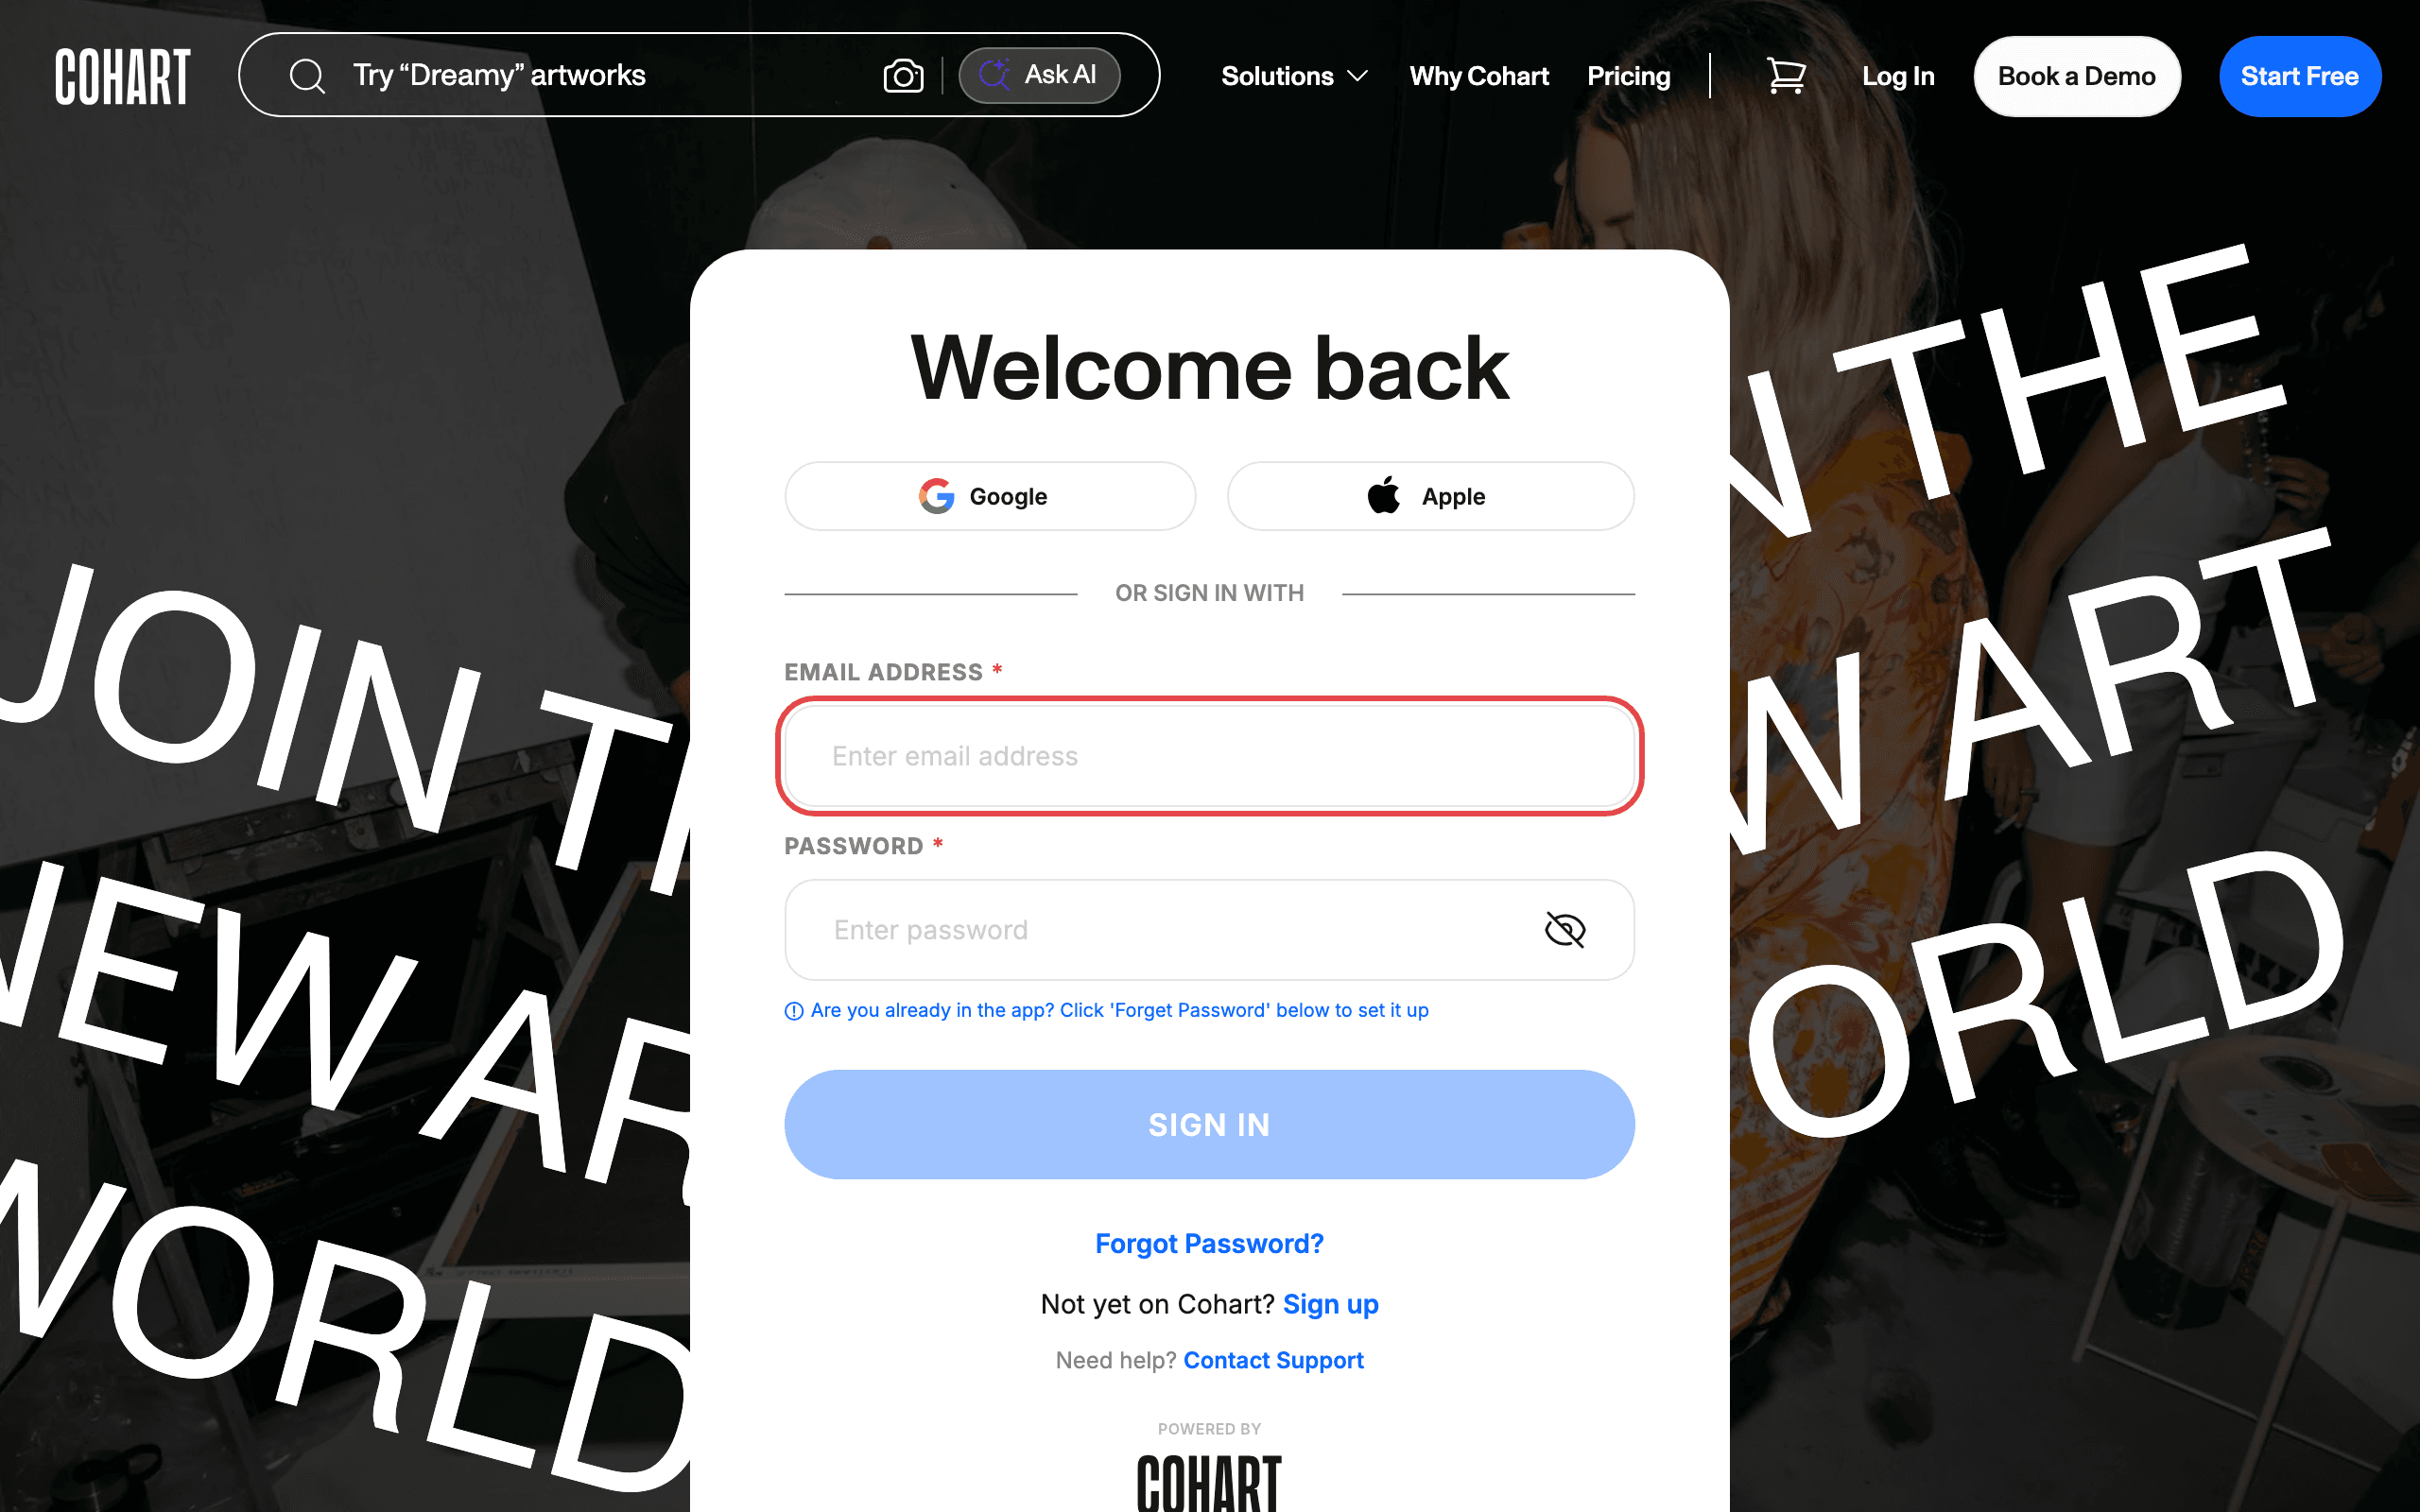
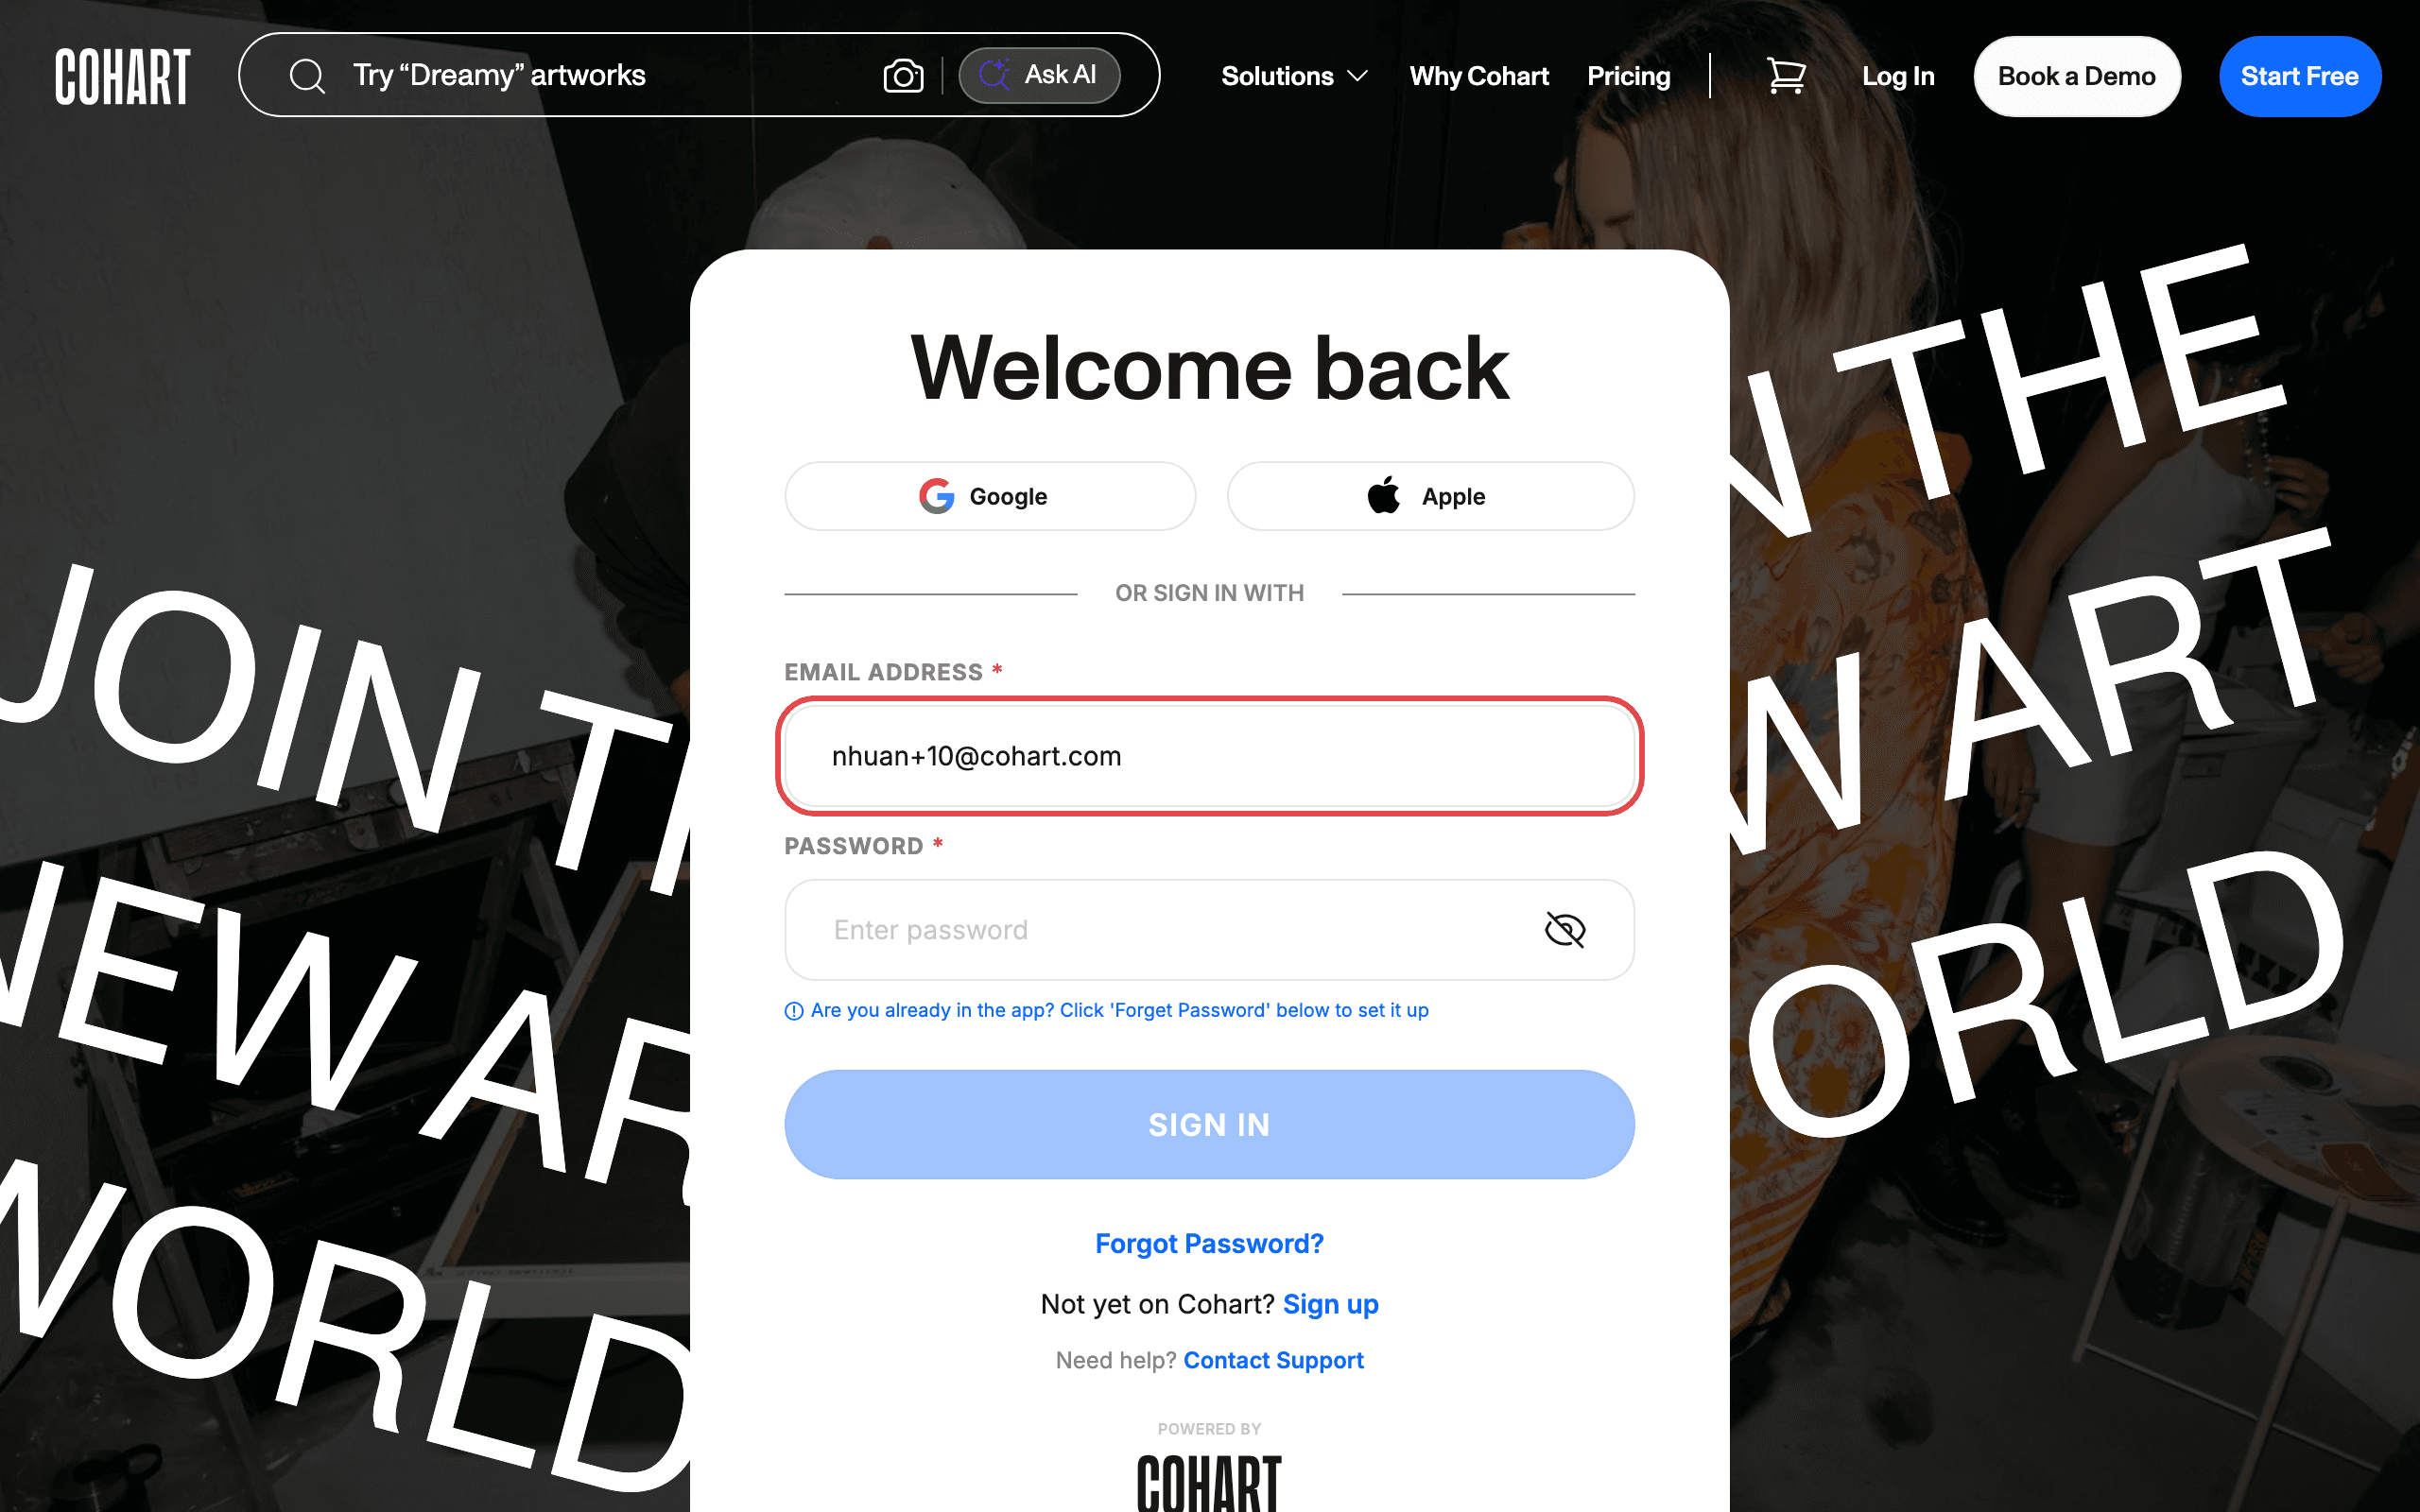
Step 2: Enter your email address
Click the email field and type the email address you use for Cohart.
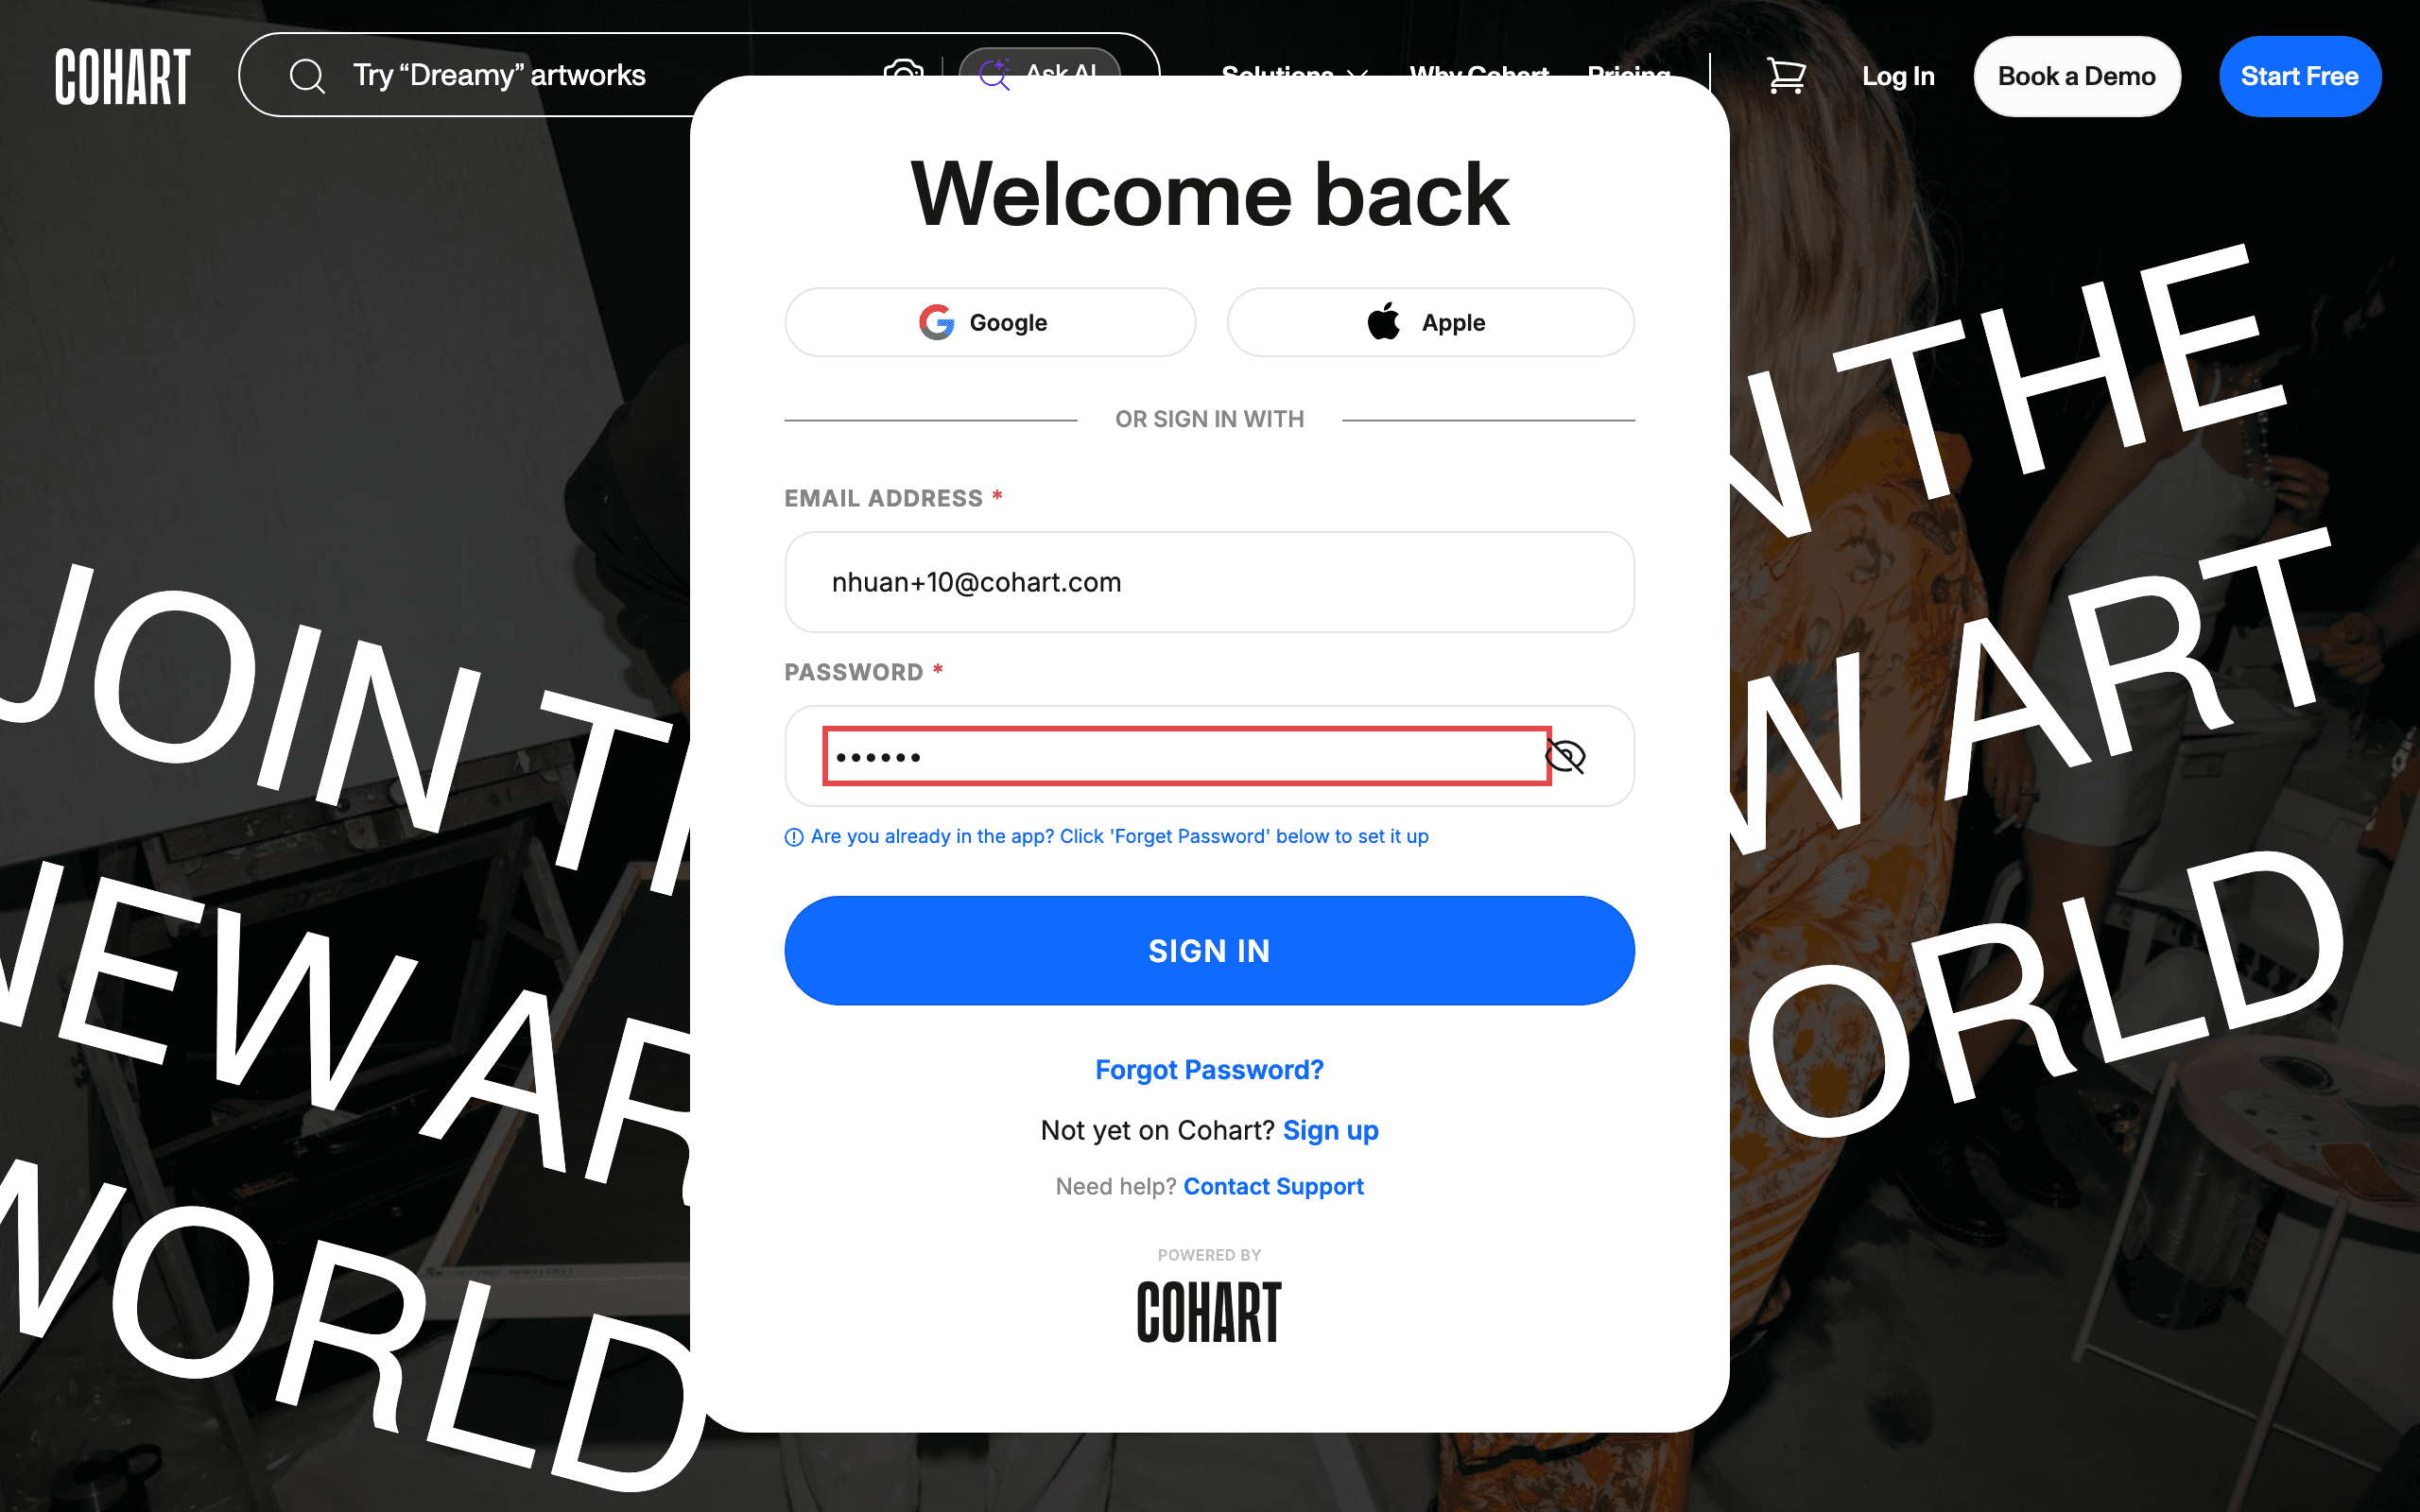
Step 3: Enter your password
Click the password field and type your password.
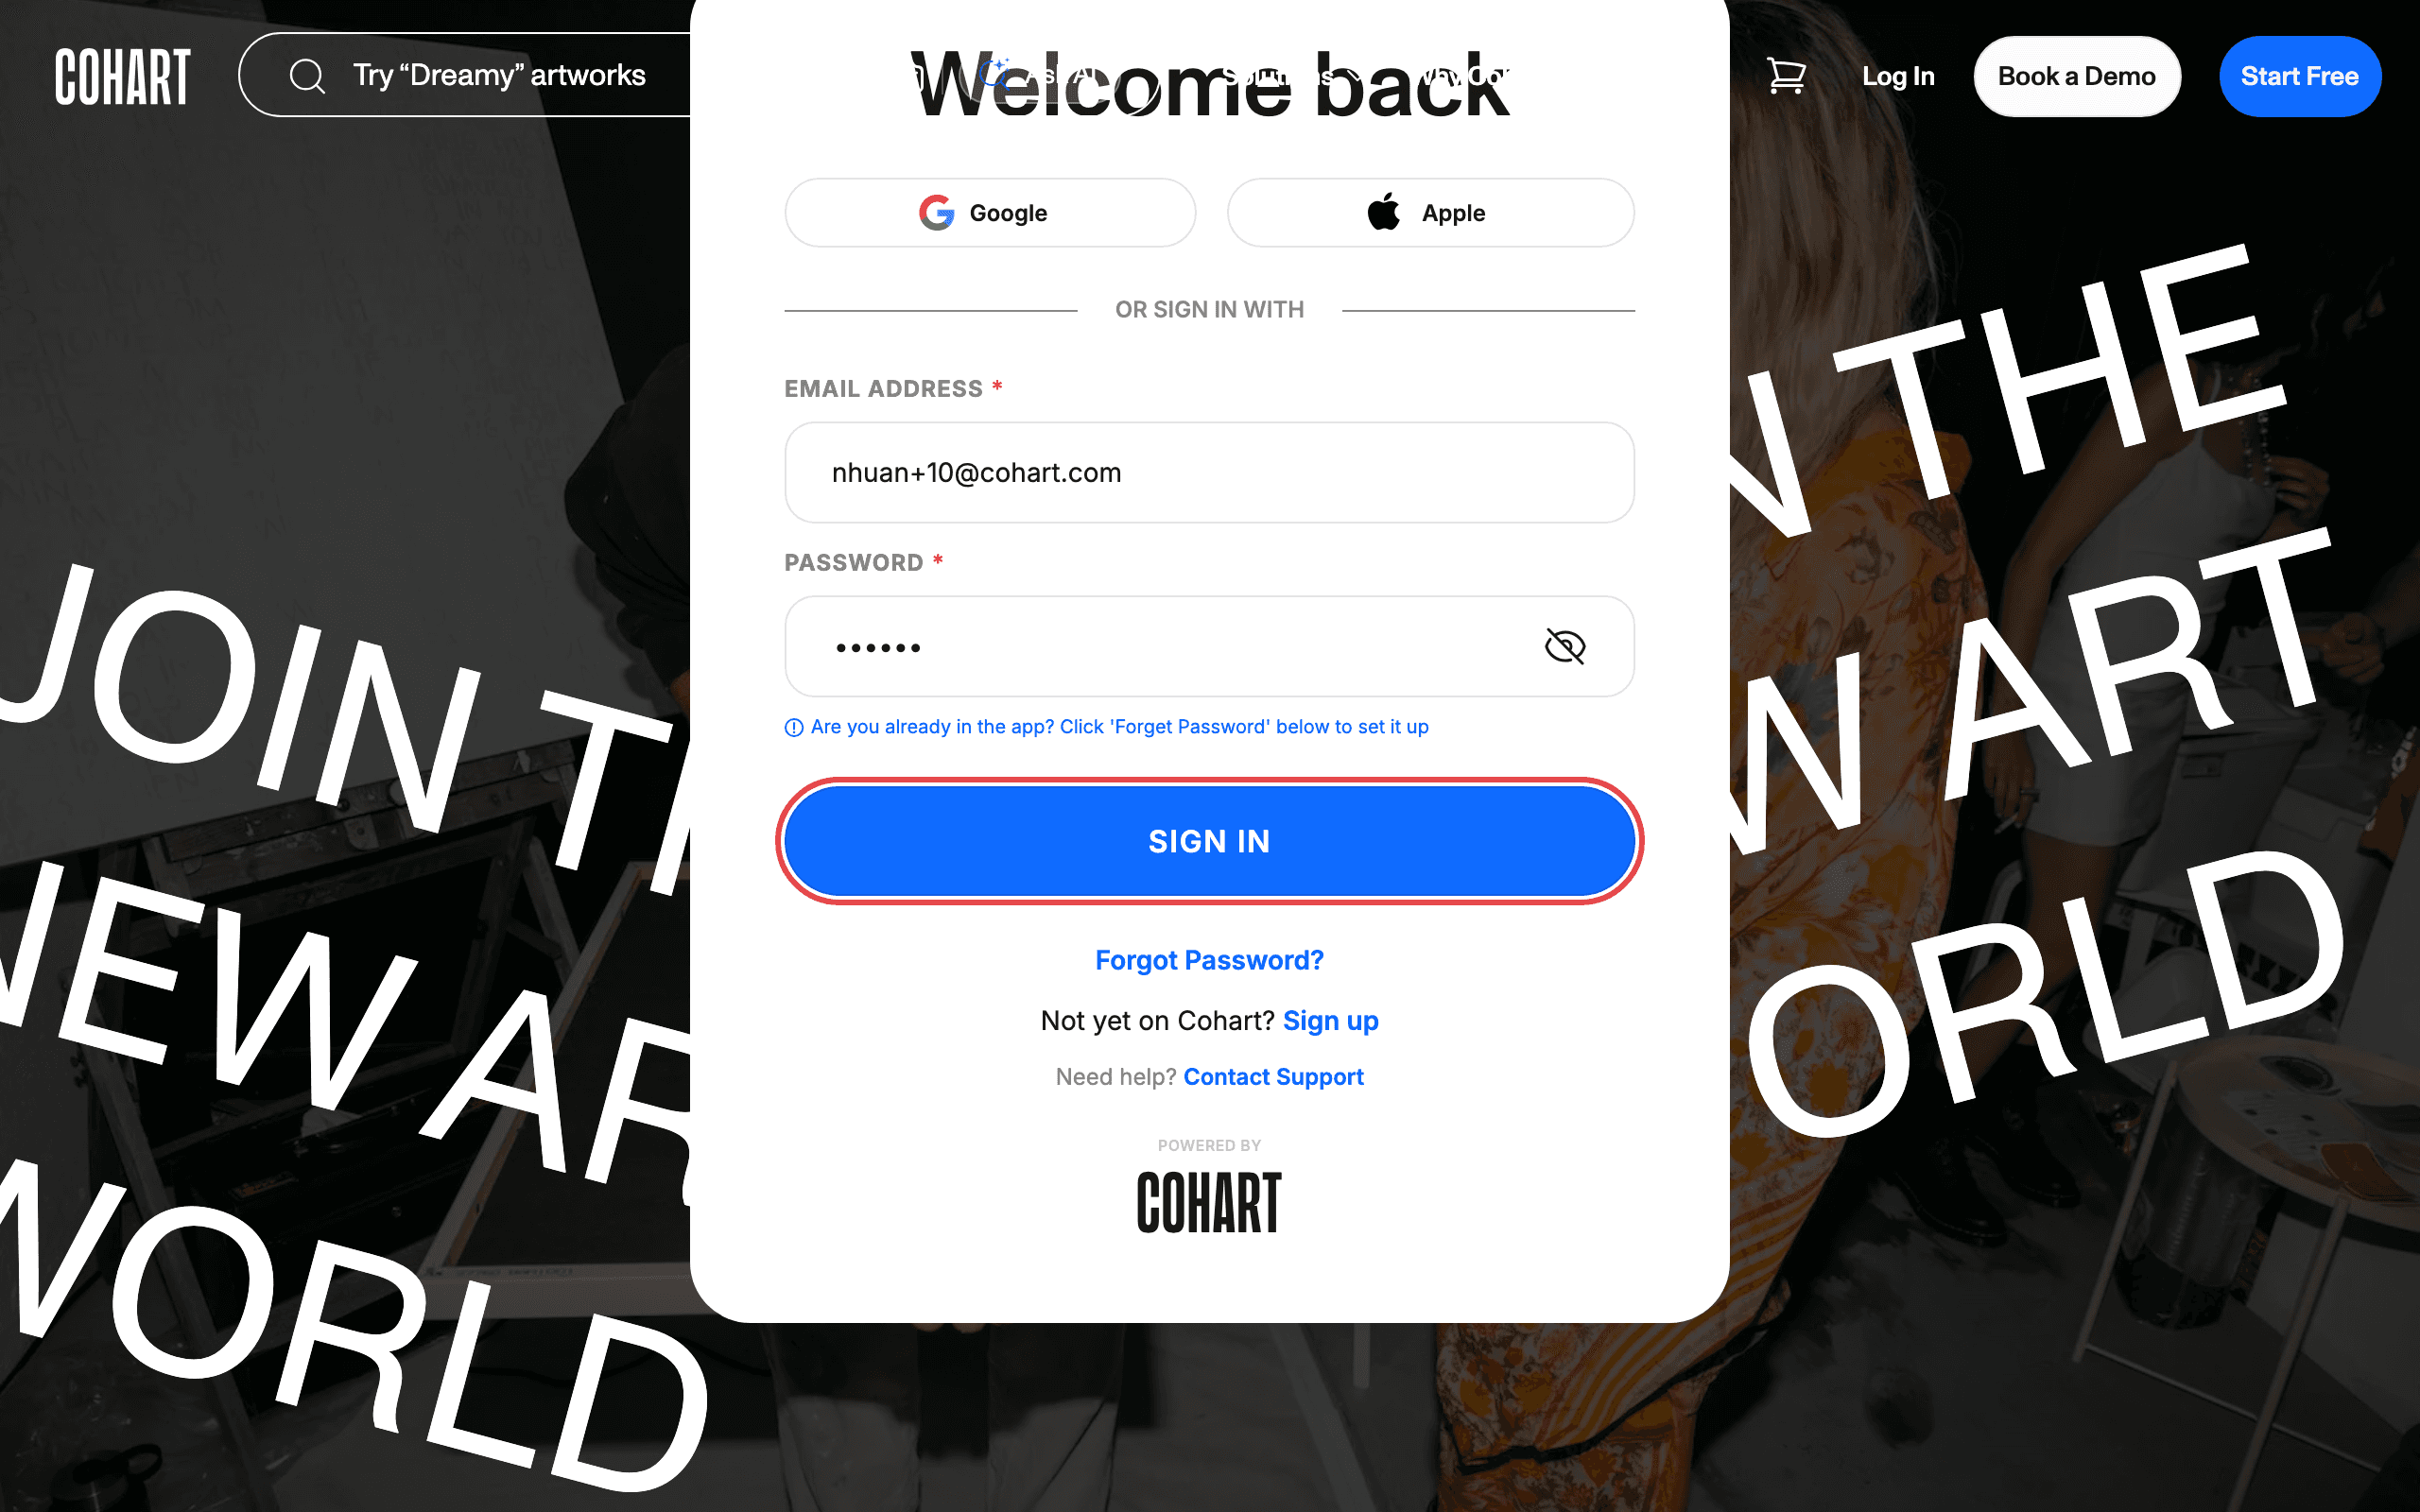
Step 4: Click Sign In
Click Sign In to log in.
Step 5: Find your dashboard
After signing in you land on your dashboard. From here you can navigate to the Events page.
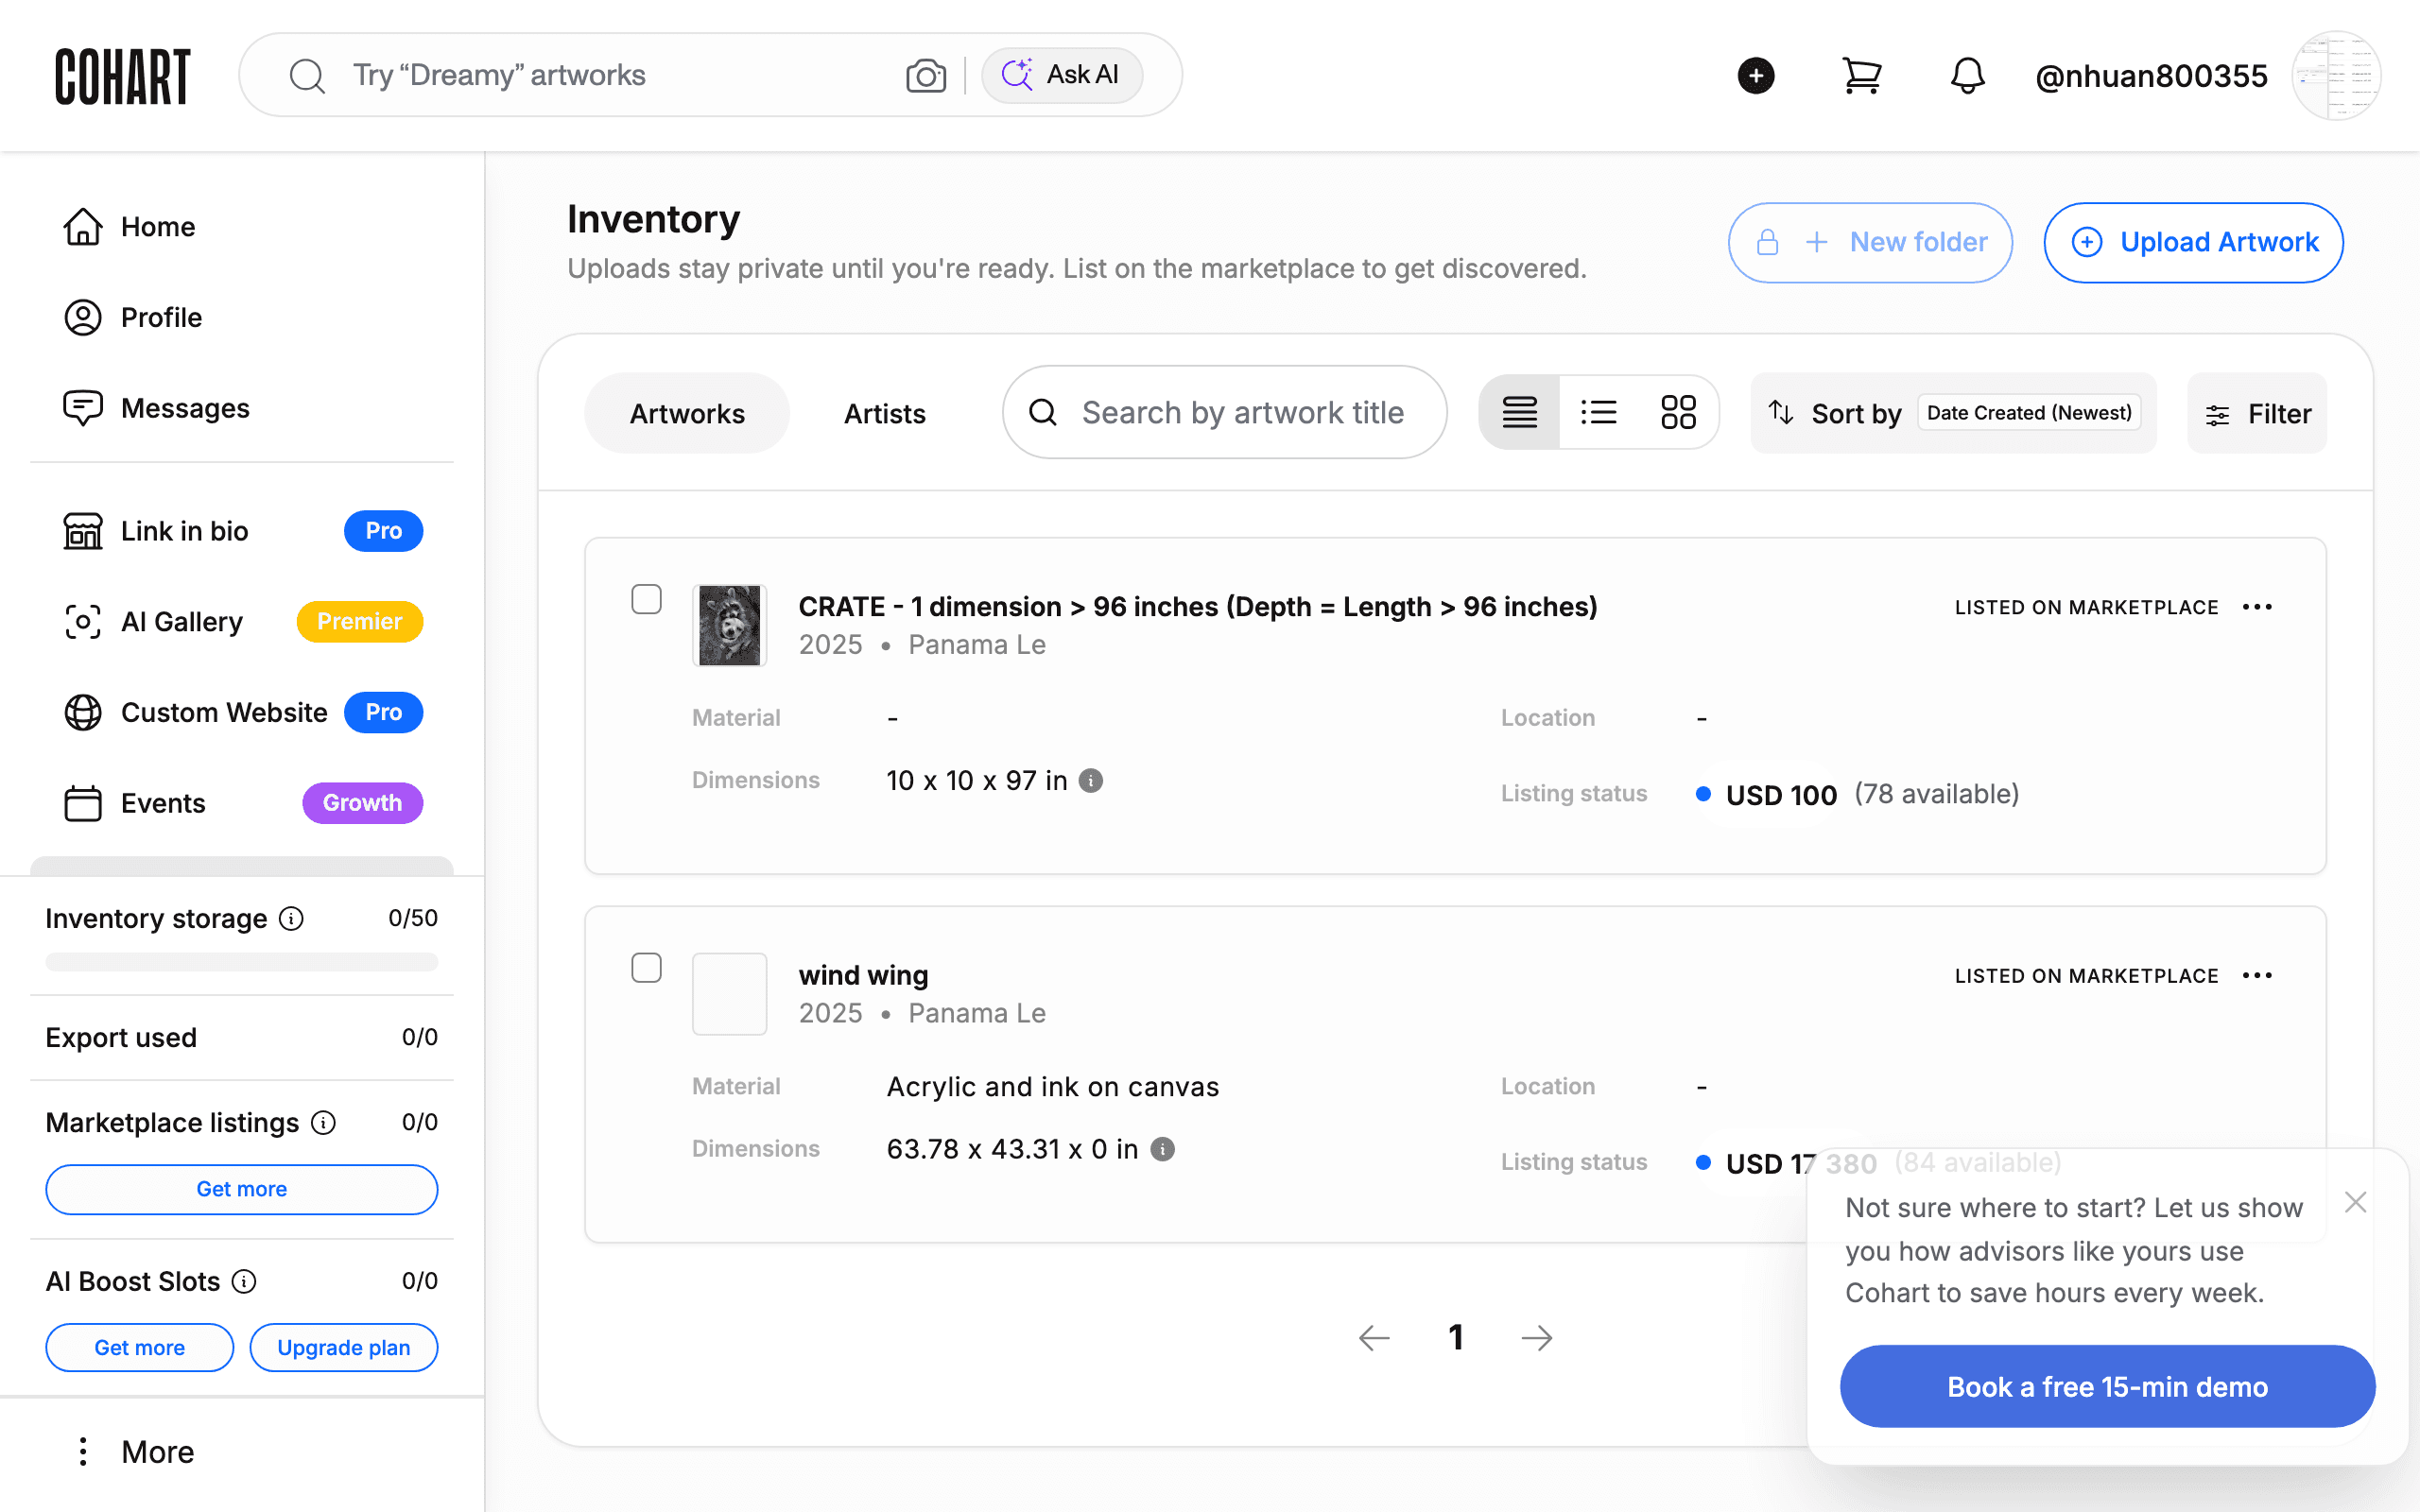
Step 6: Open the Events tab
Go to staging.cohdev.co/discover/events , or click Events in the Discover menu at the top of the page (AI Curator, Top Picks, Artworks, Artists, Galleries, Events, Moments, Get Inspired, VR room, Editorial).
The Events tab shows upcoming events as cards. Each card shows a status badge (for example ONGOING), the event category (for example Exhibition), the event title, its location, and the date range and times. Every card has a Going button and an Invite button so you can RSVP directly from the list.
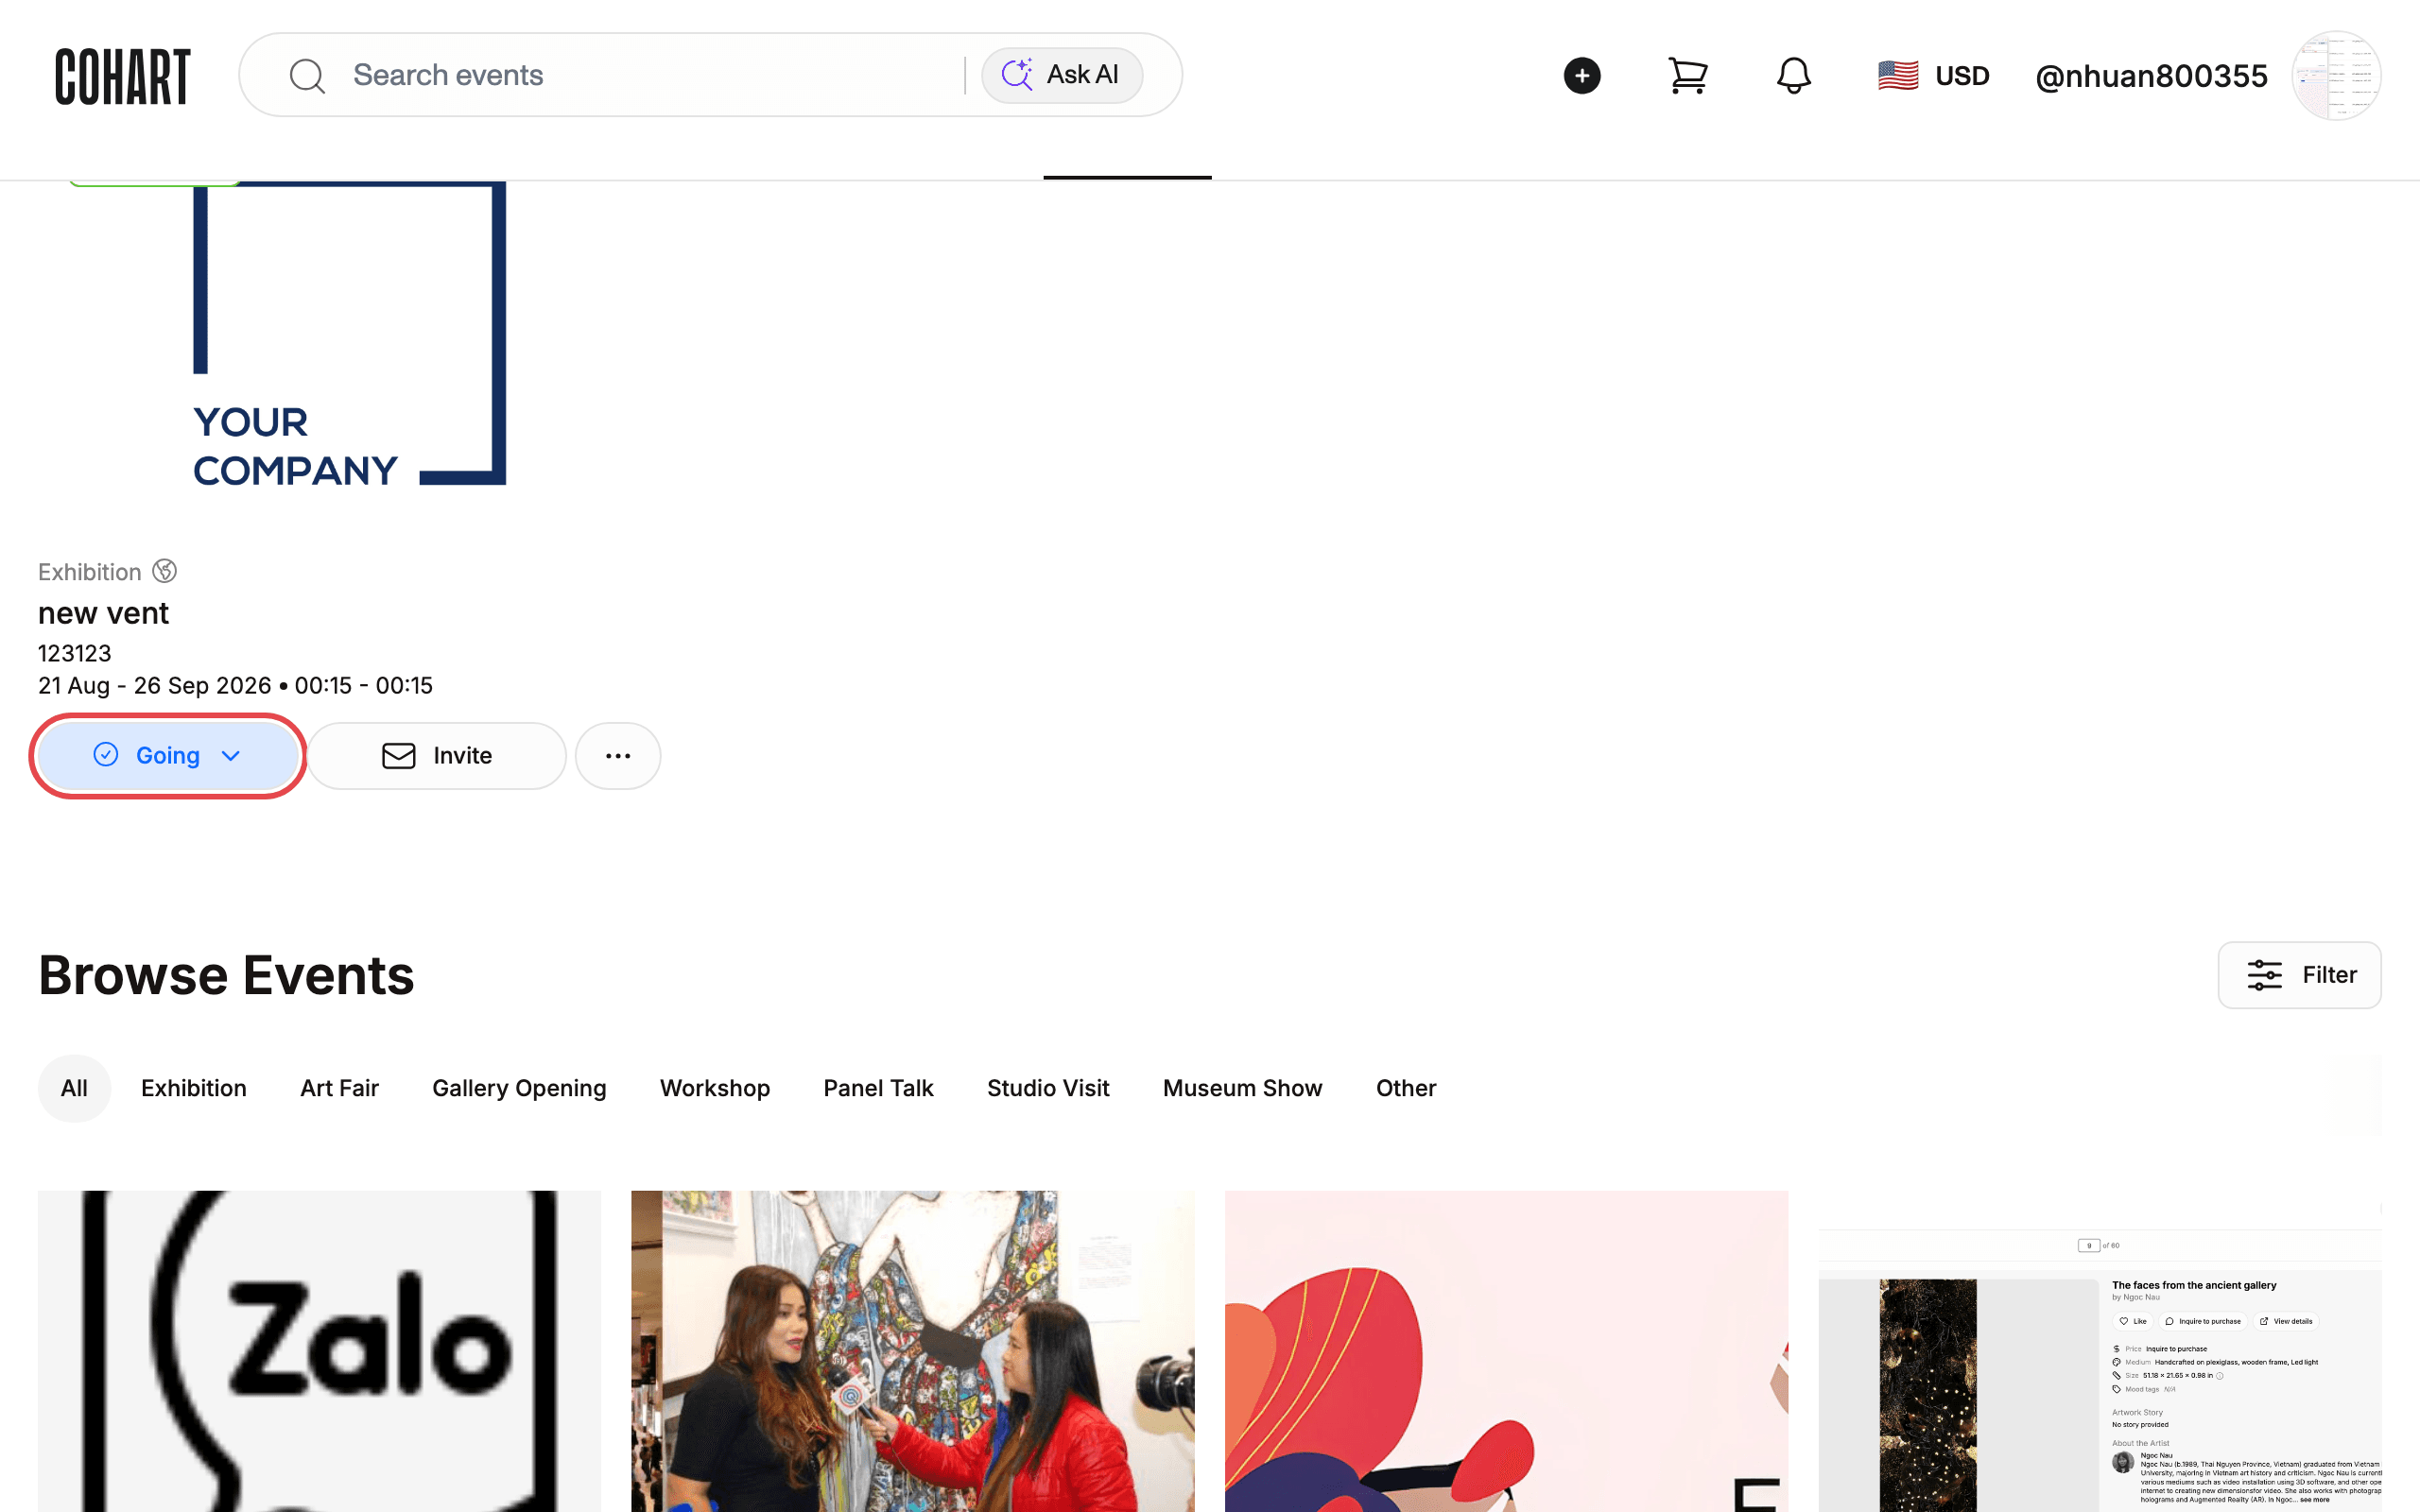
Step 7: Search or filter events
To find a specific event, type in the search field (placeholder “Search events”). You can also narrow the list with the Filter button and its categories: All, Exhibition, Art Fair, Gallery Opening, Workshop, Panel Talk, Studio Visit, Museum Show, or Other.
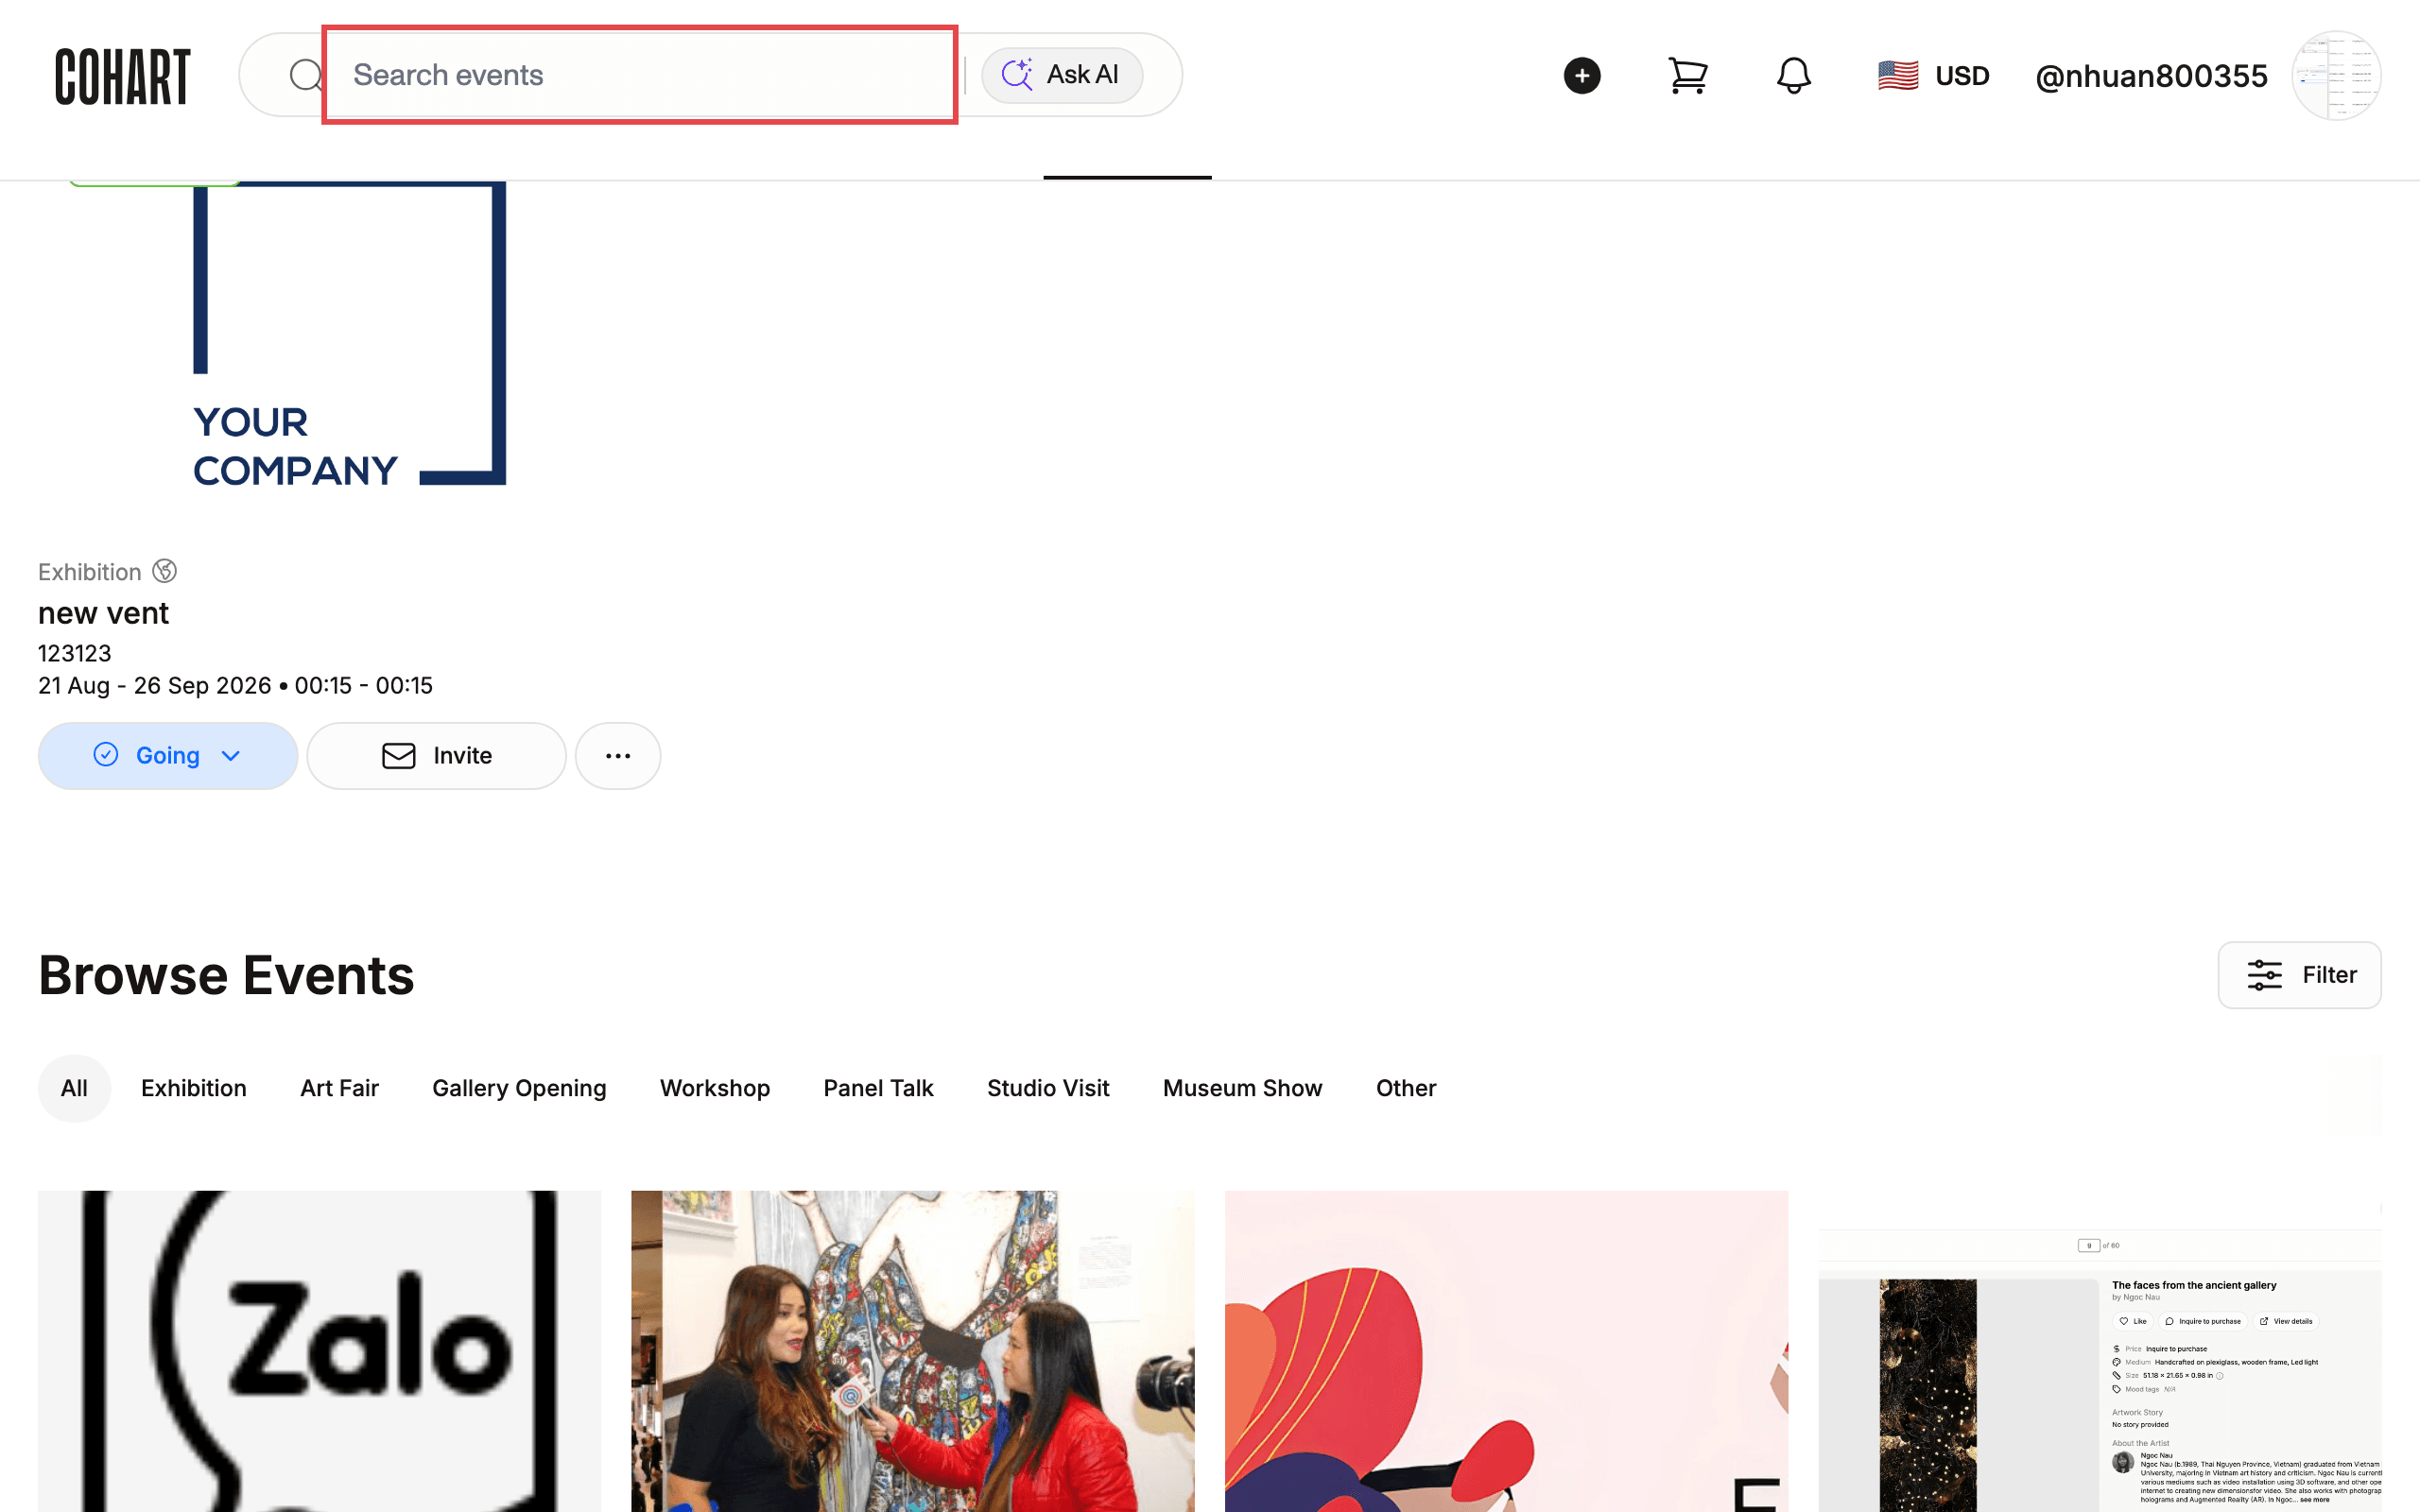
Step 8: Open an event
Click an event card to open its page. On the event page you will see the event details plus the Going and Invite buttons in the header. The page also has tabs for Exhibitors, Artworks, Feed, Map & Directory, and Sponsors. If the event sells tickets, a Manage My Tickets button is available too (see the guide on buying event tickets for that flow).
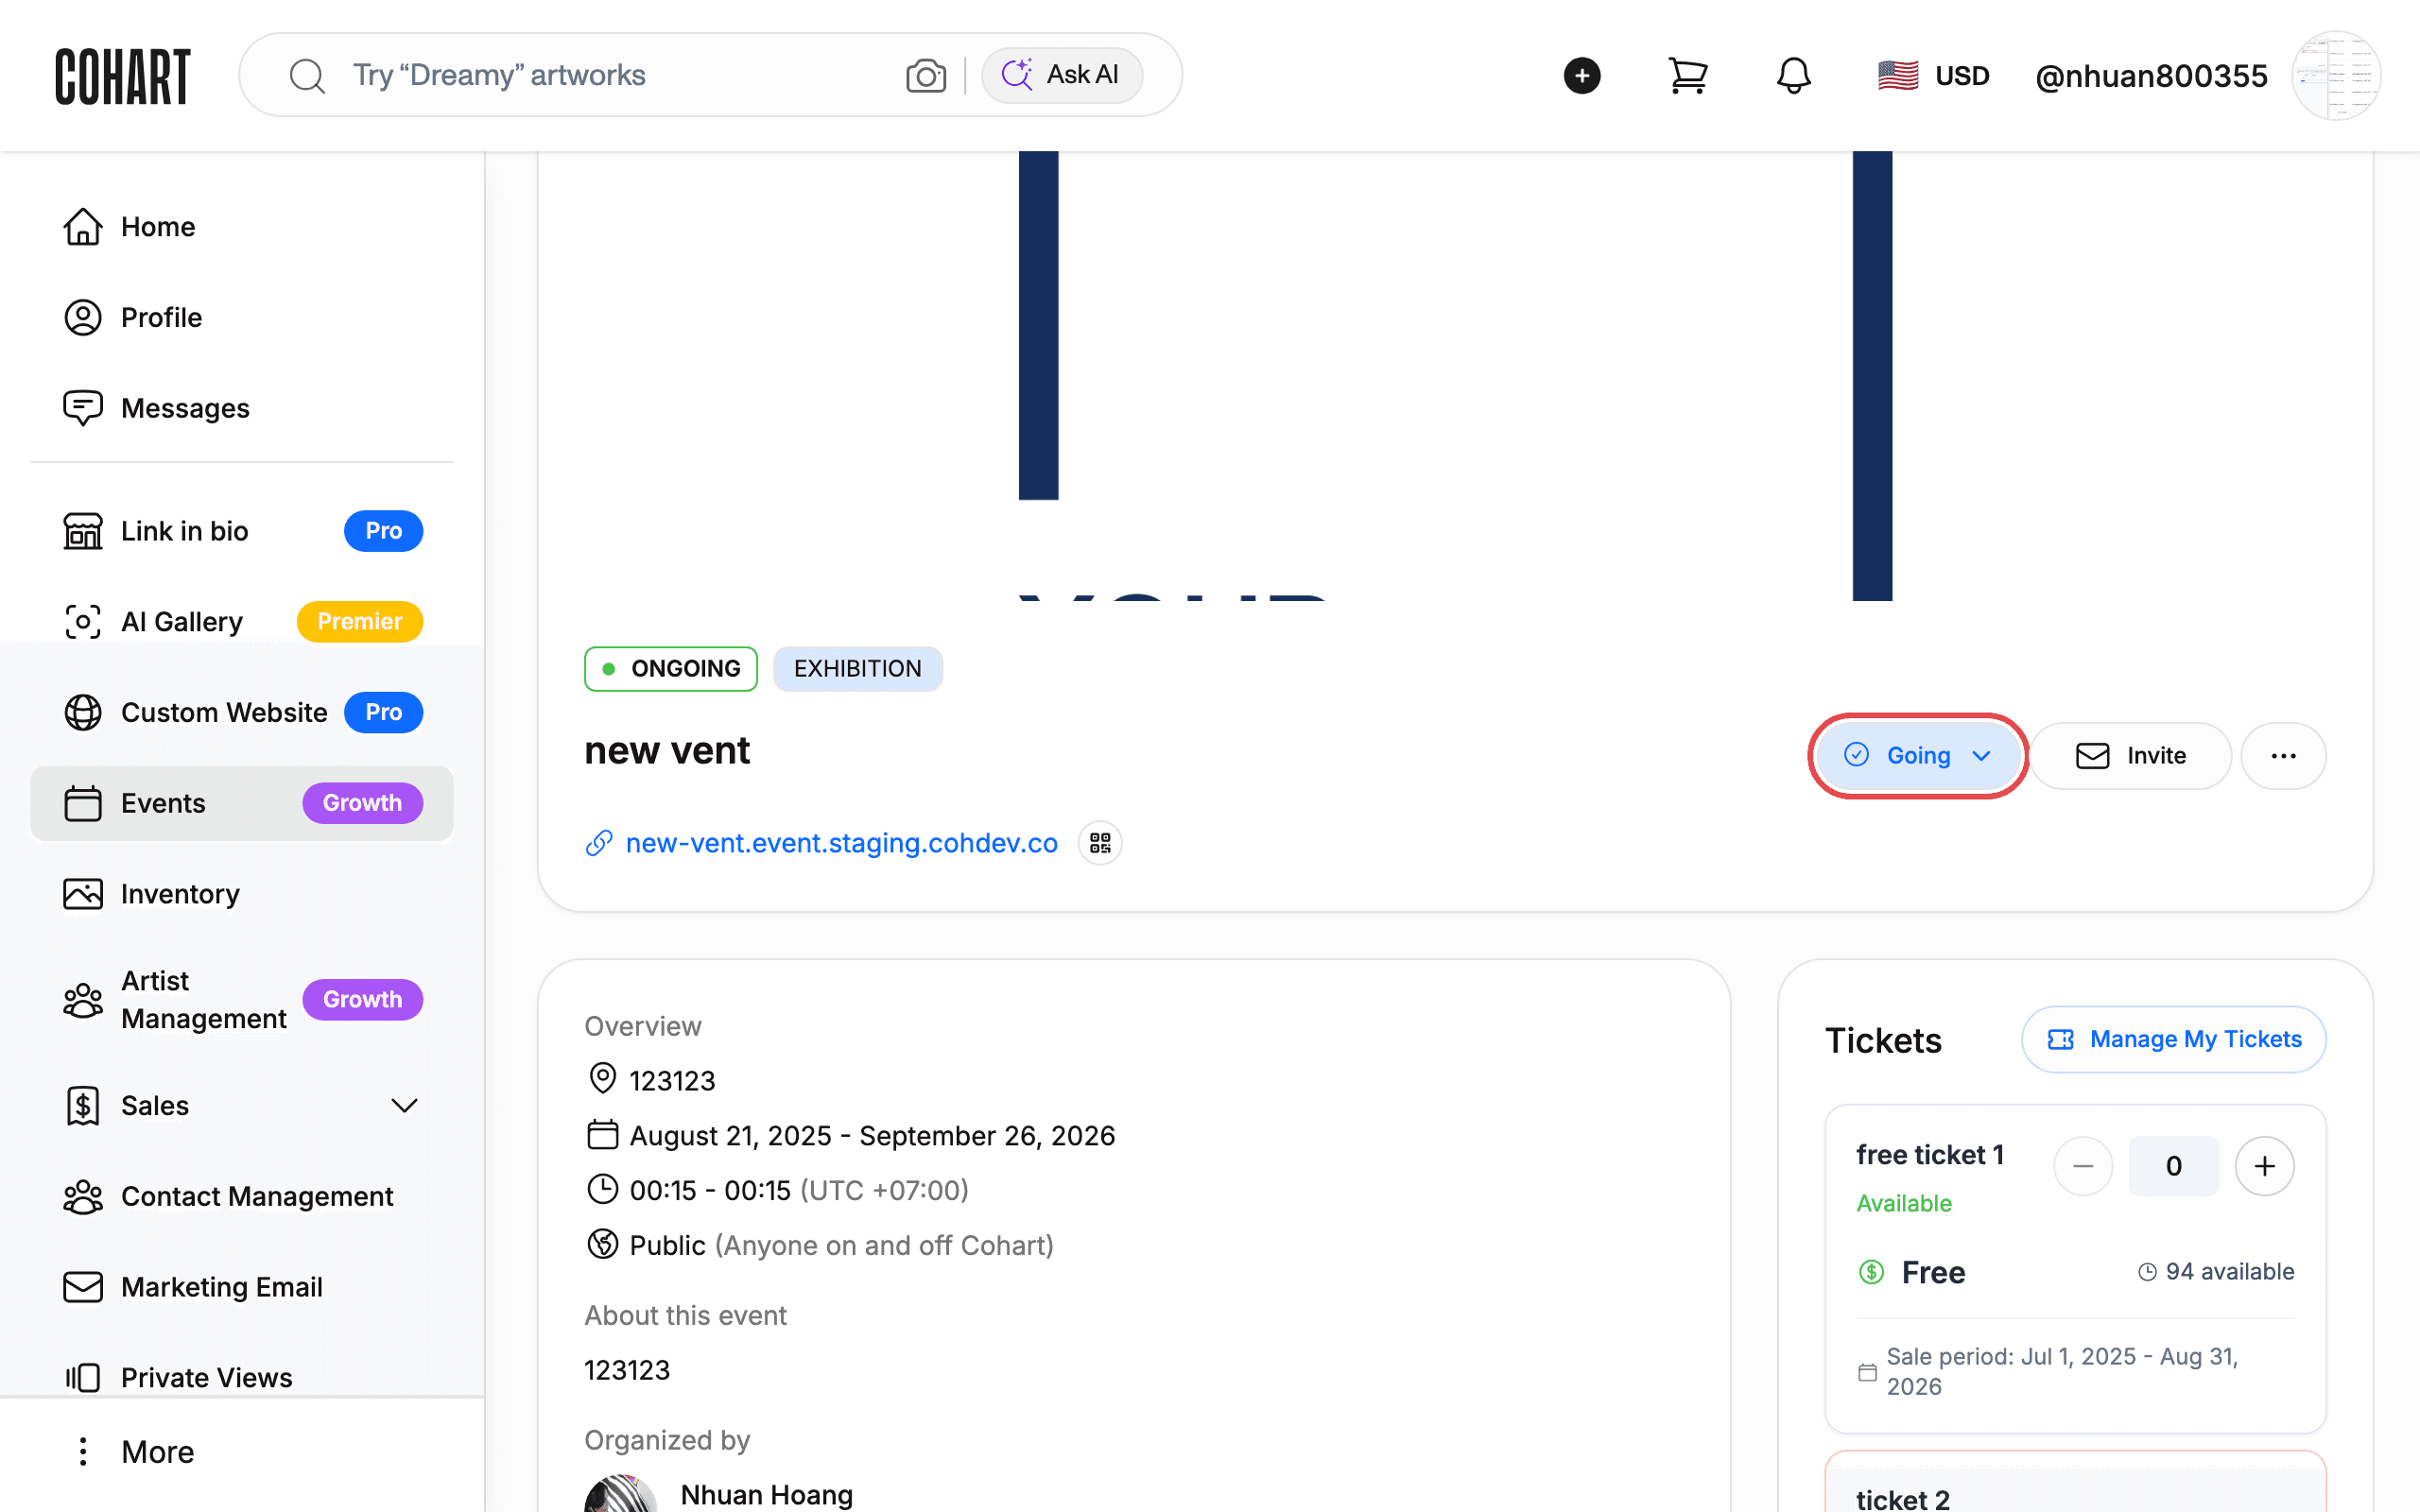
Step 9: Click Going and choose your status
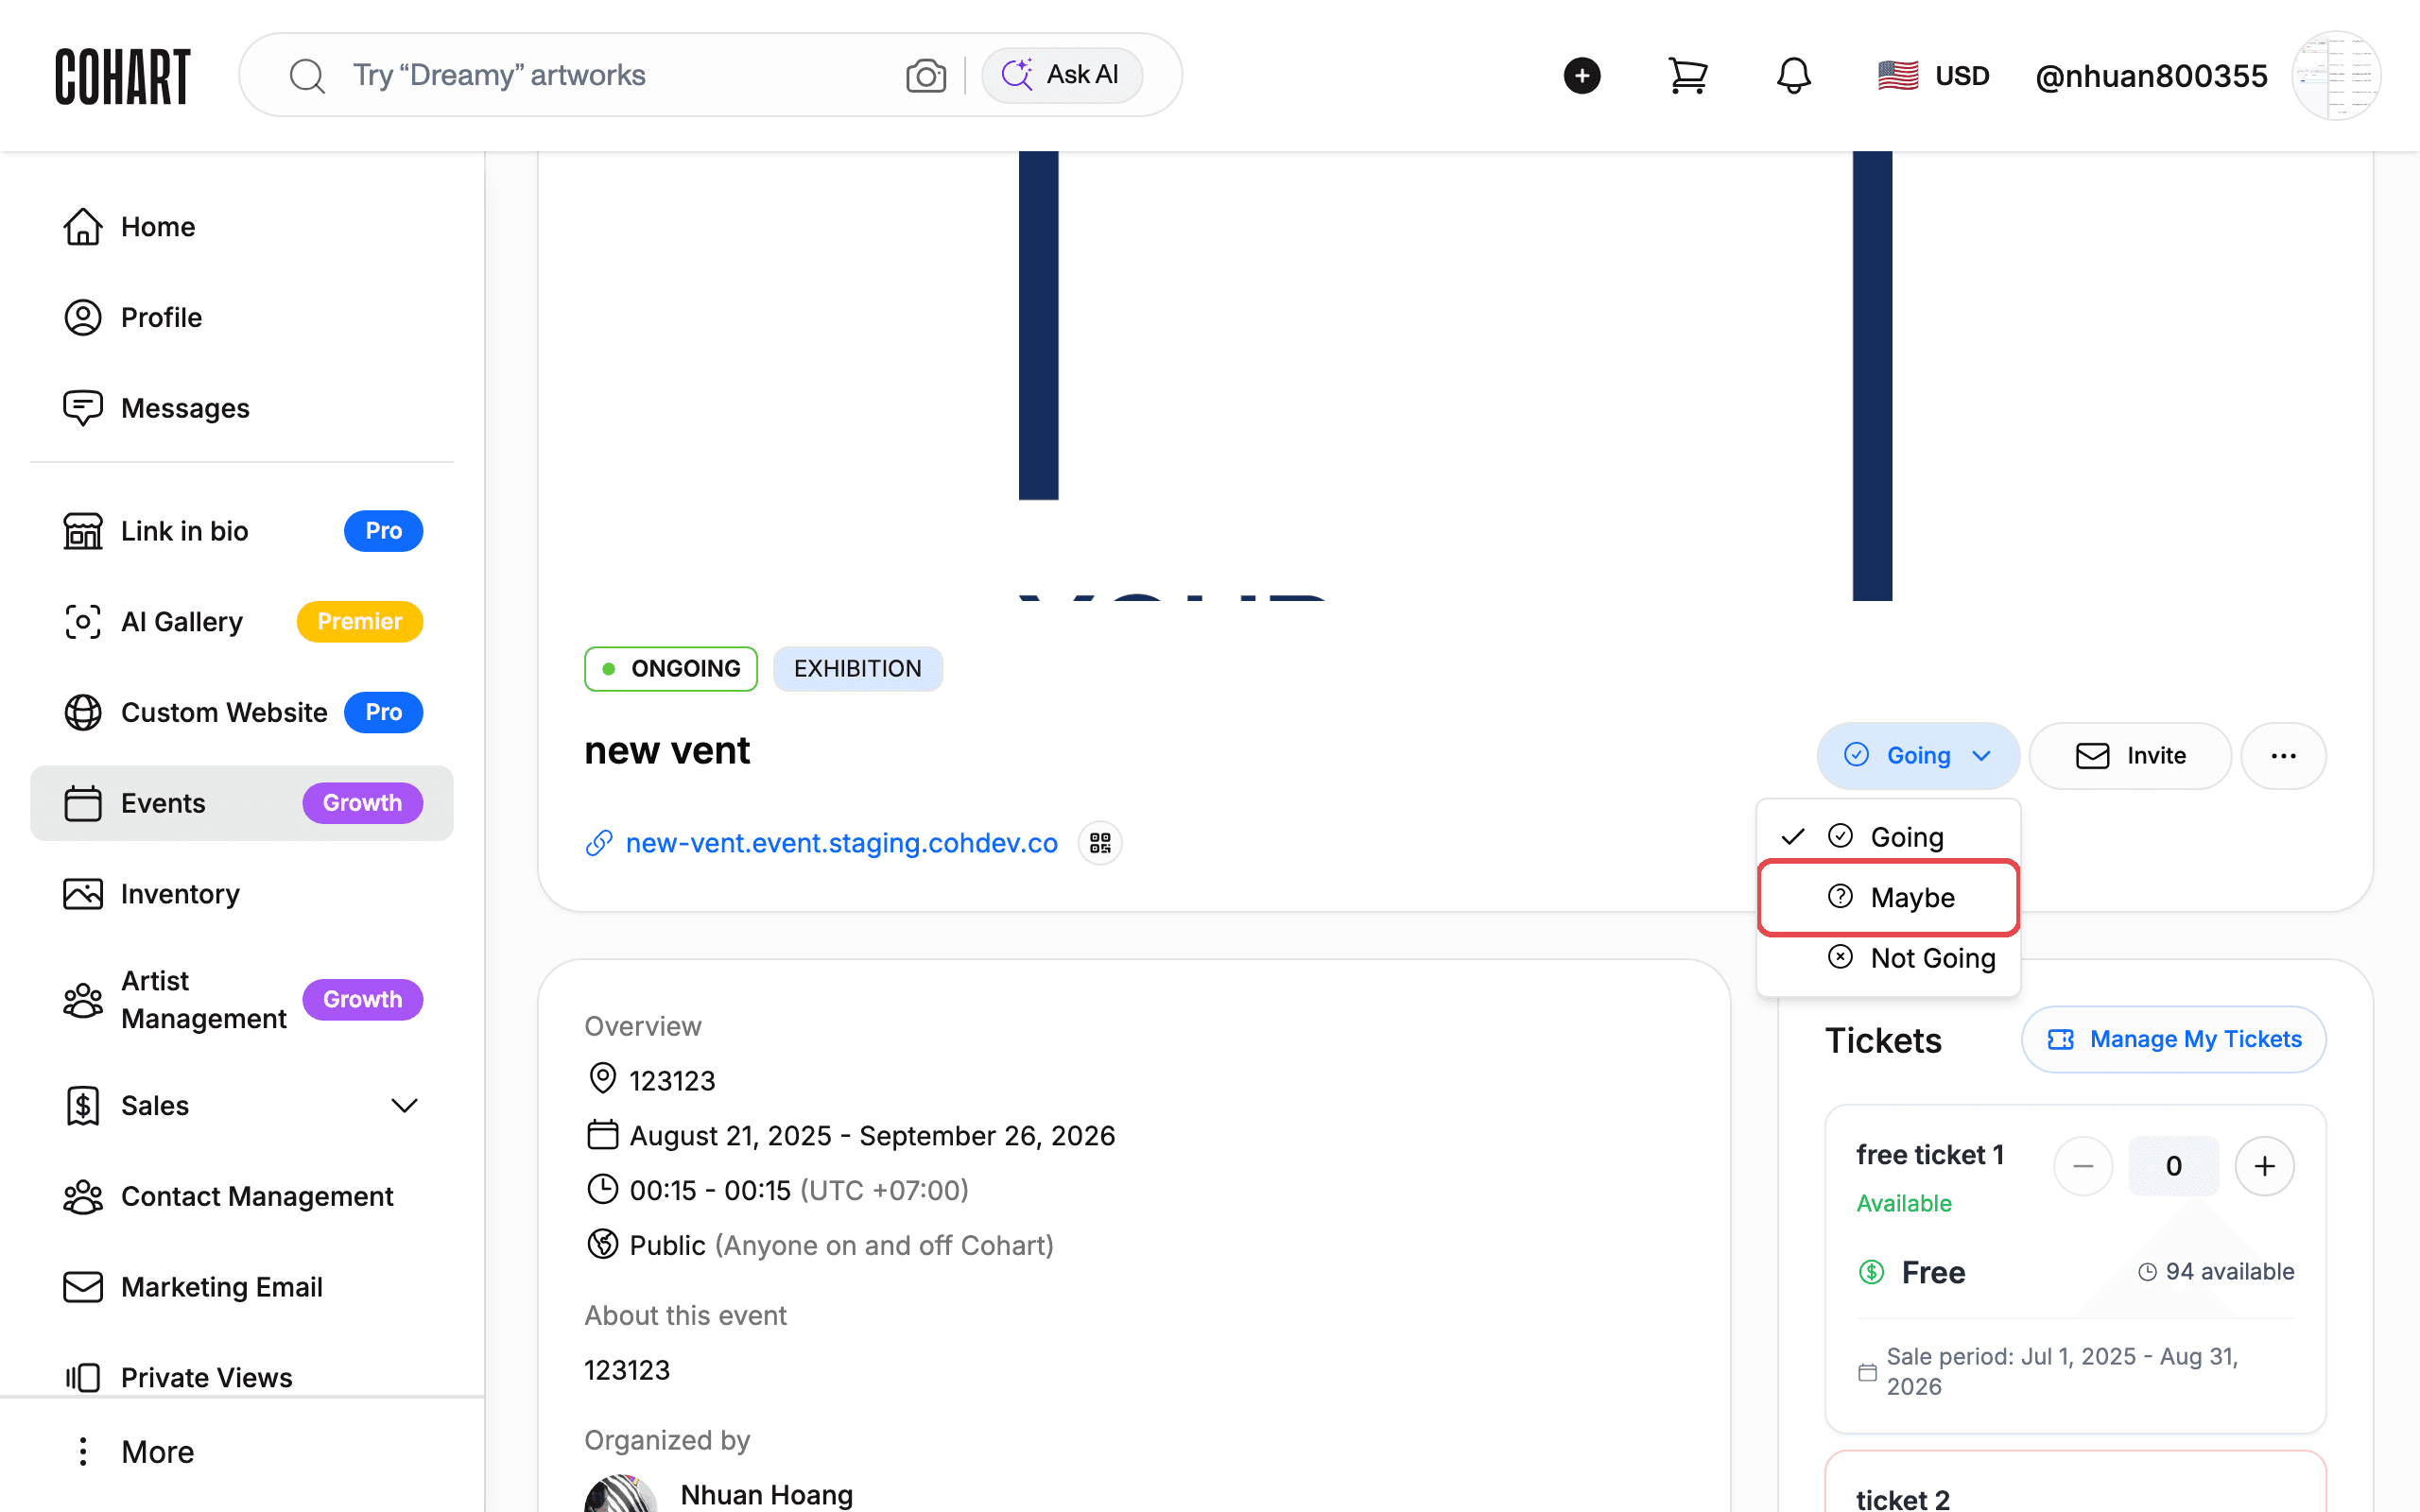
Click the Going button. A menu opens with three options:
- Going — you plan to attend
- Maybe — you are interested but not confirmed
- Not Going — you will not attend
Click the option that matches you.
Step 10: Confirm your RSVP
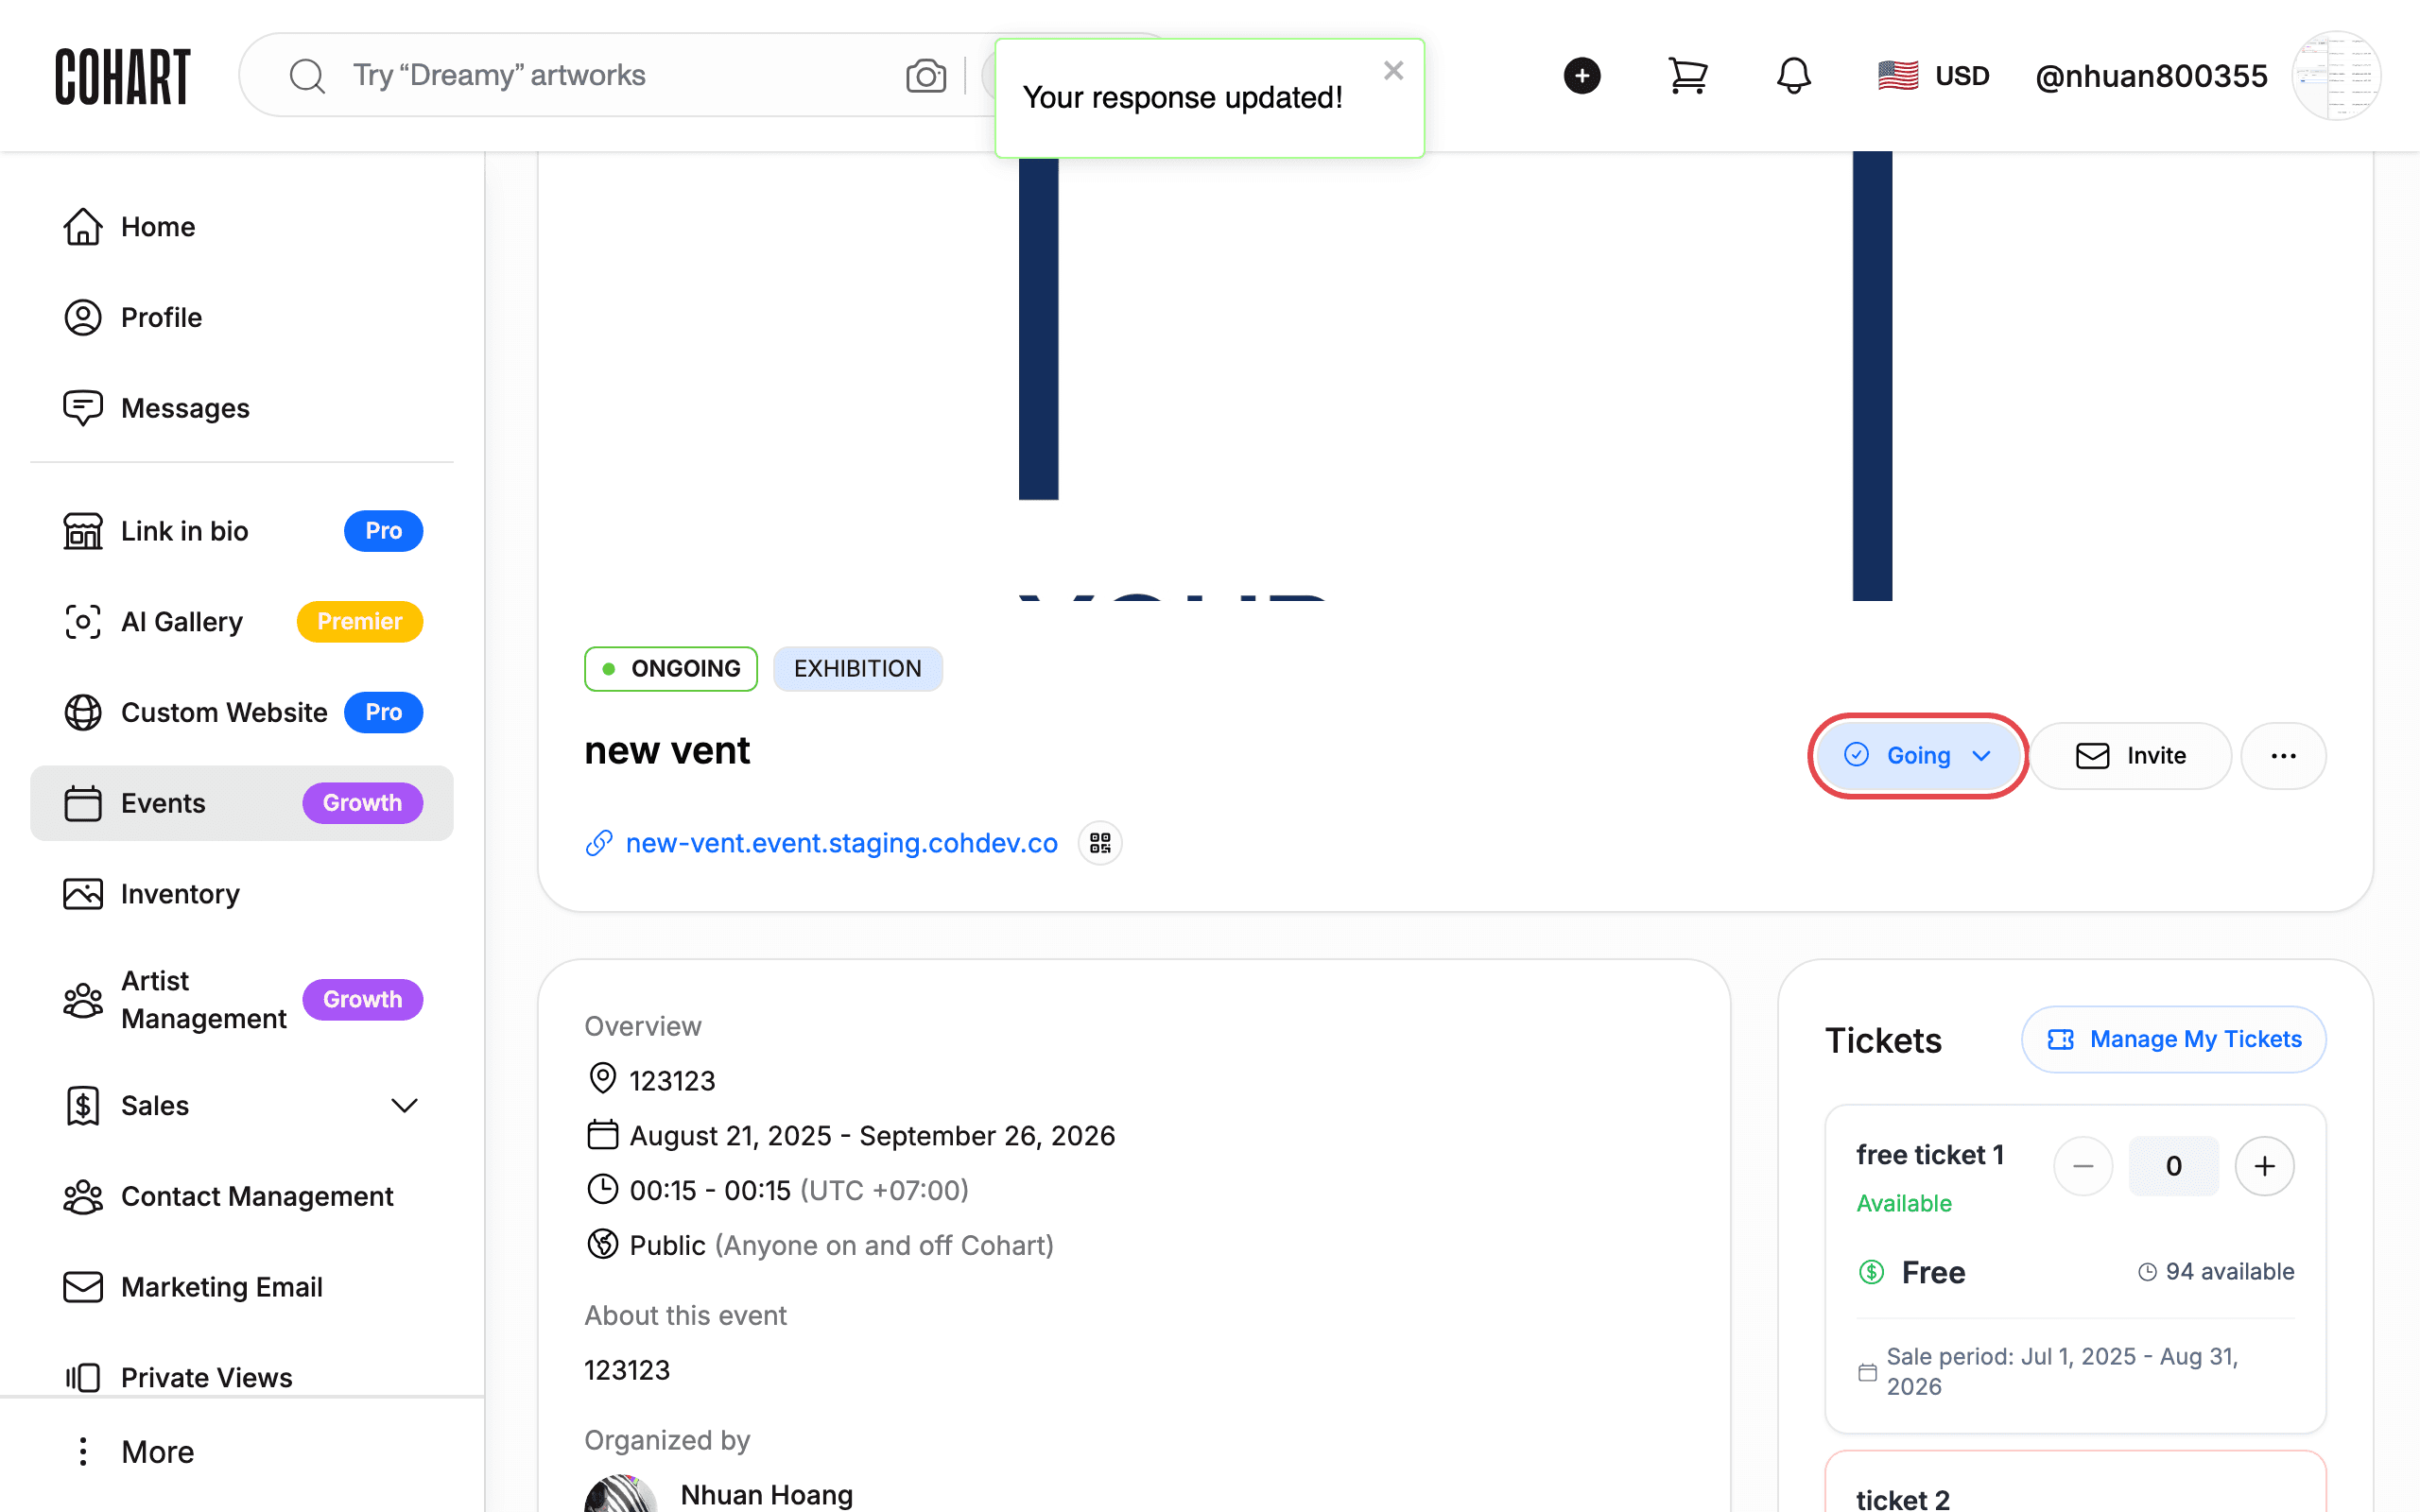
Select Going. Your RSVP is saved immediately and the button keeps the label Going. Your status is stored, so it stays the same if you refresh the page or come back later.
Step 11: Change your RSVP anytime
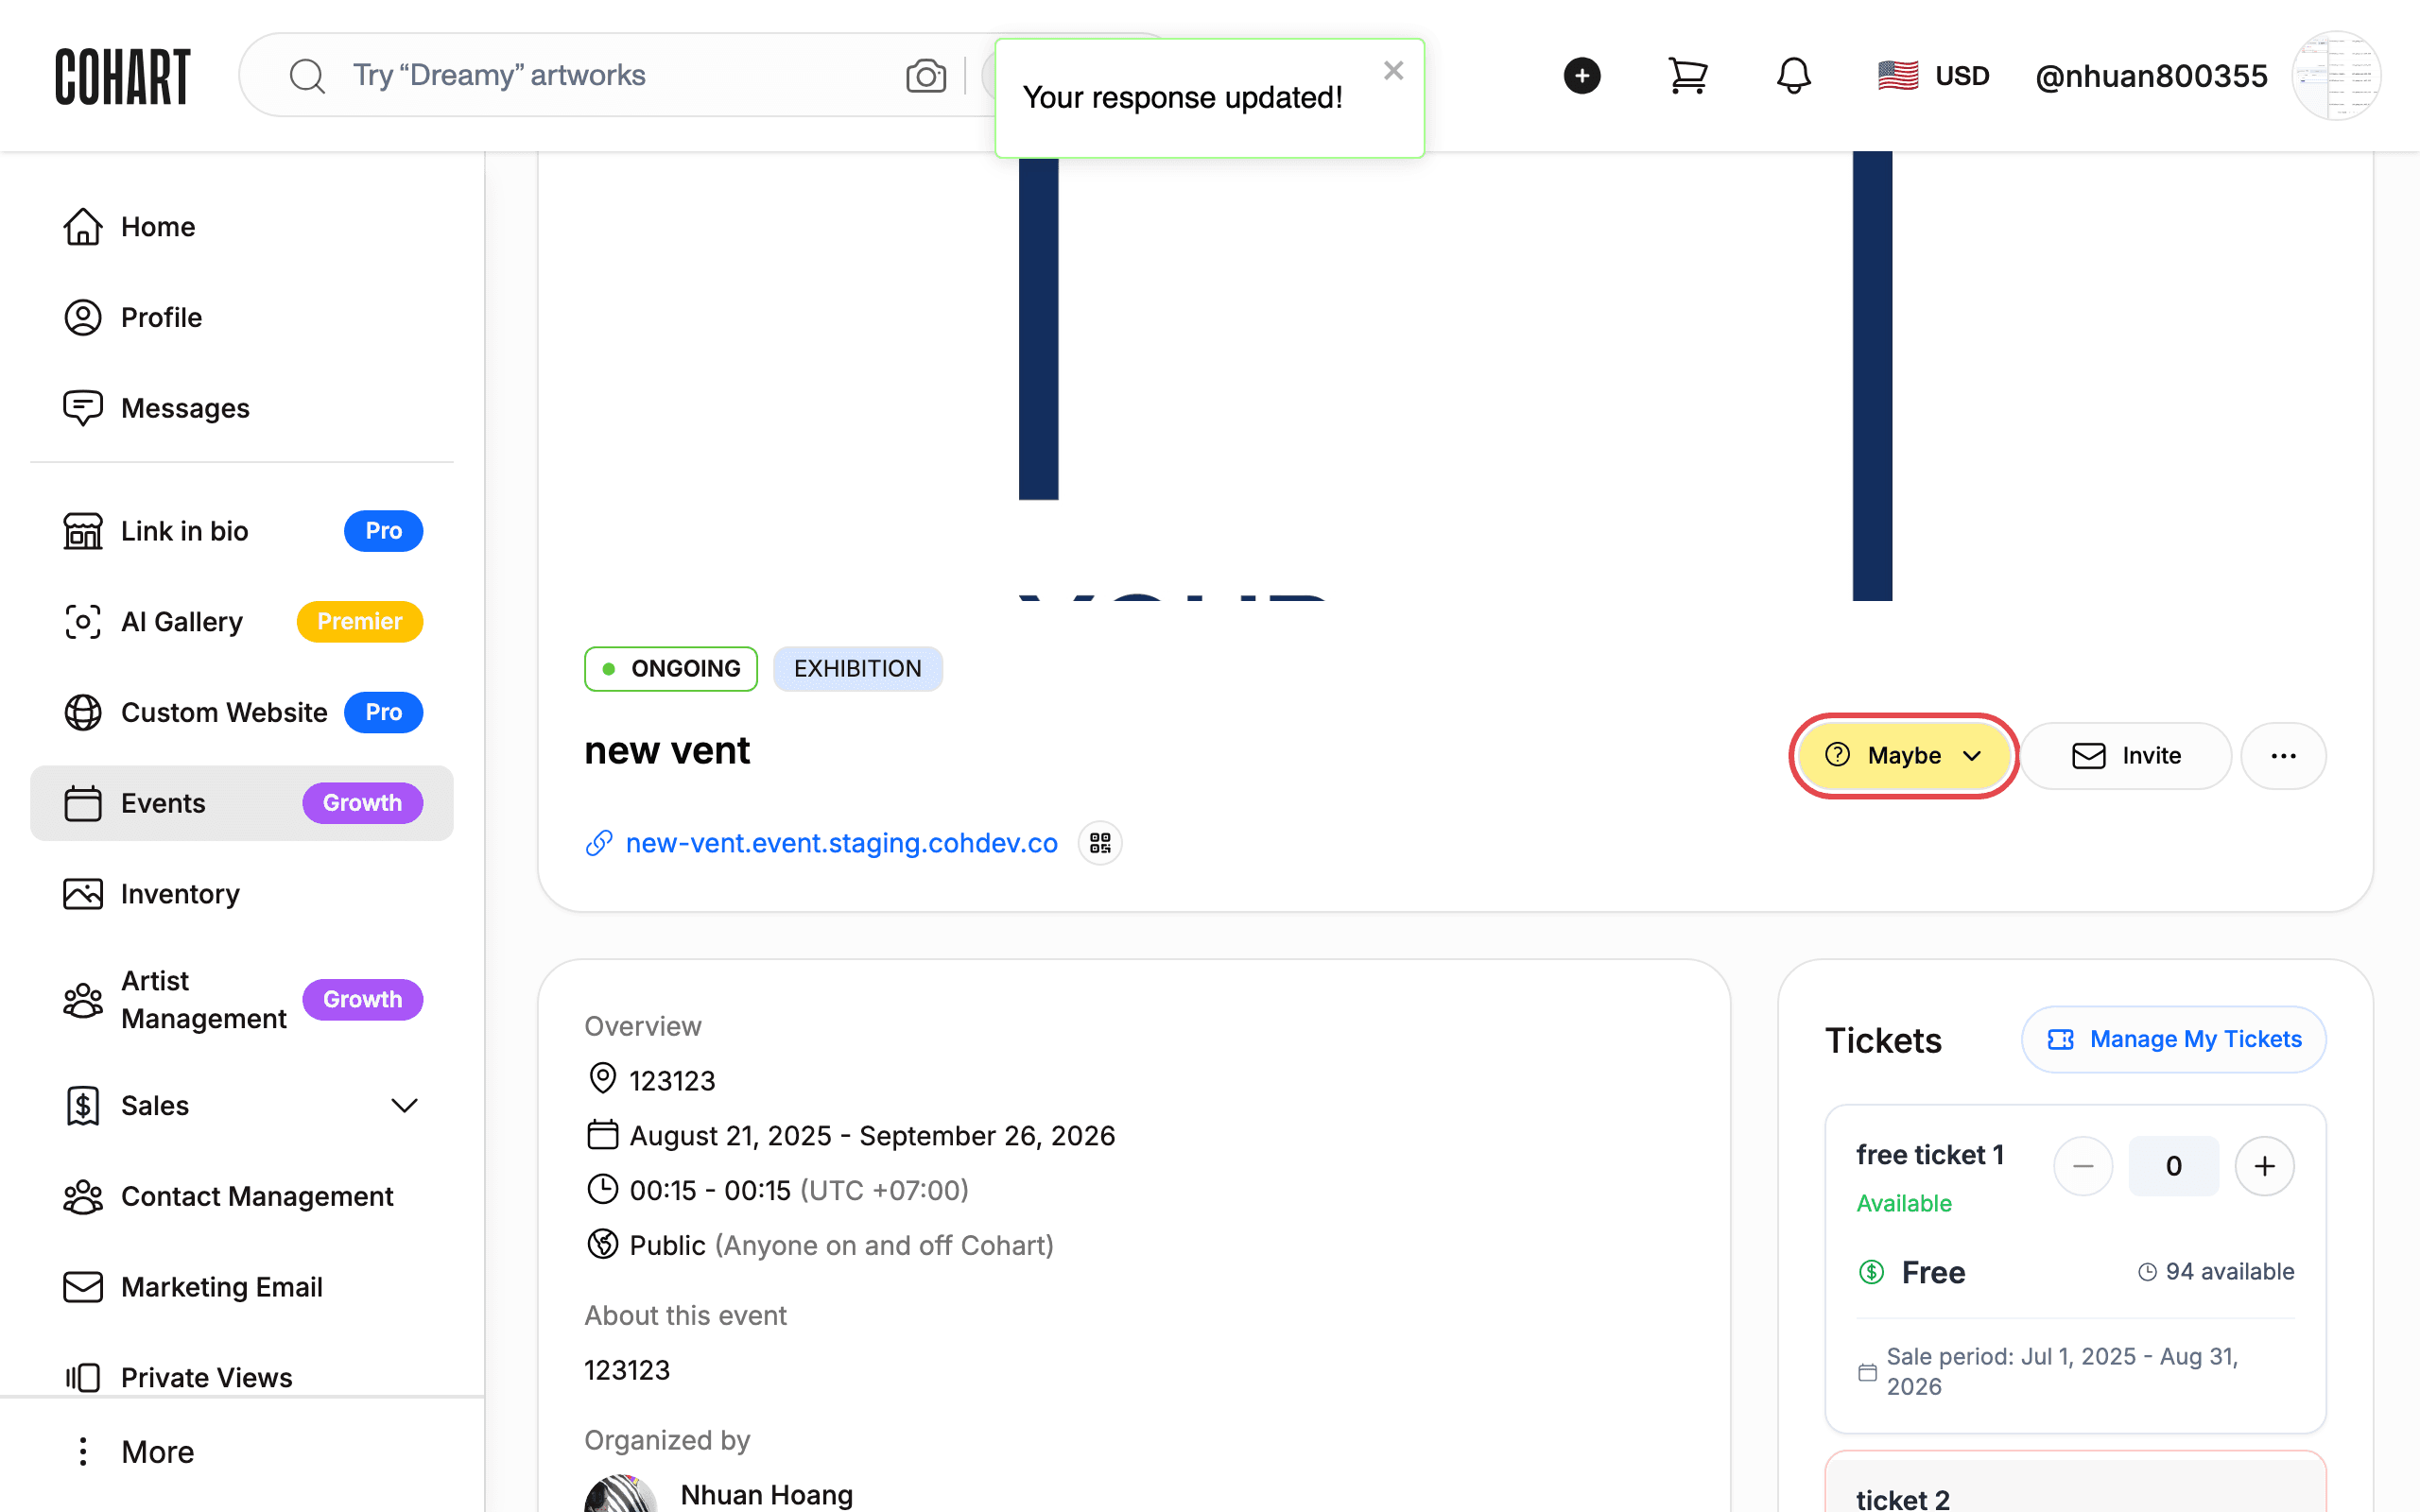
You can change your status at any time. Click the RSVP button again and pick another option. For example, selecting Maybe changes the button label to Maybe (shown in yellow).
Step 12: Invite others (optional)
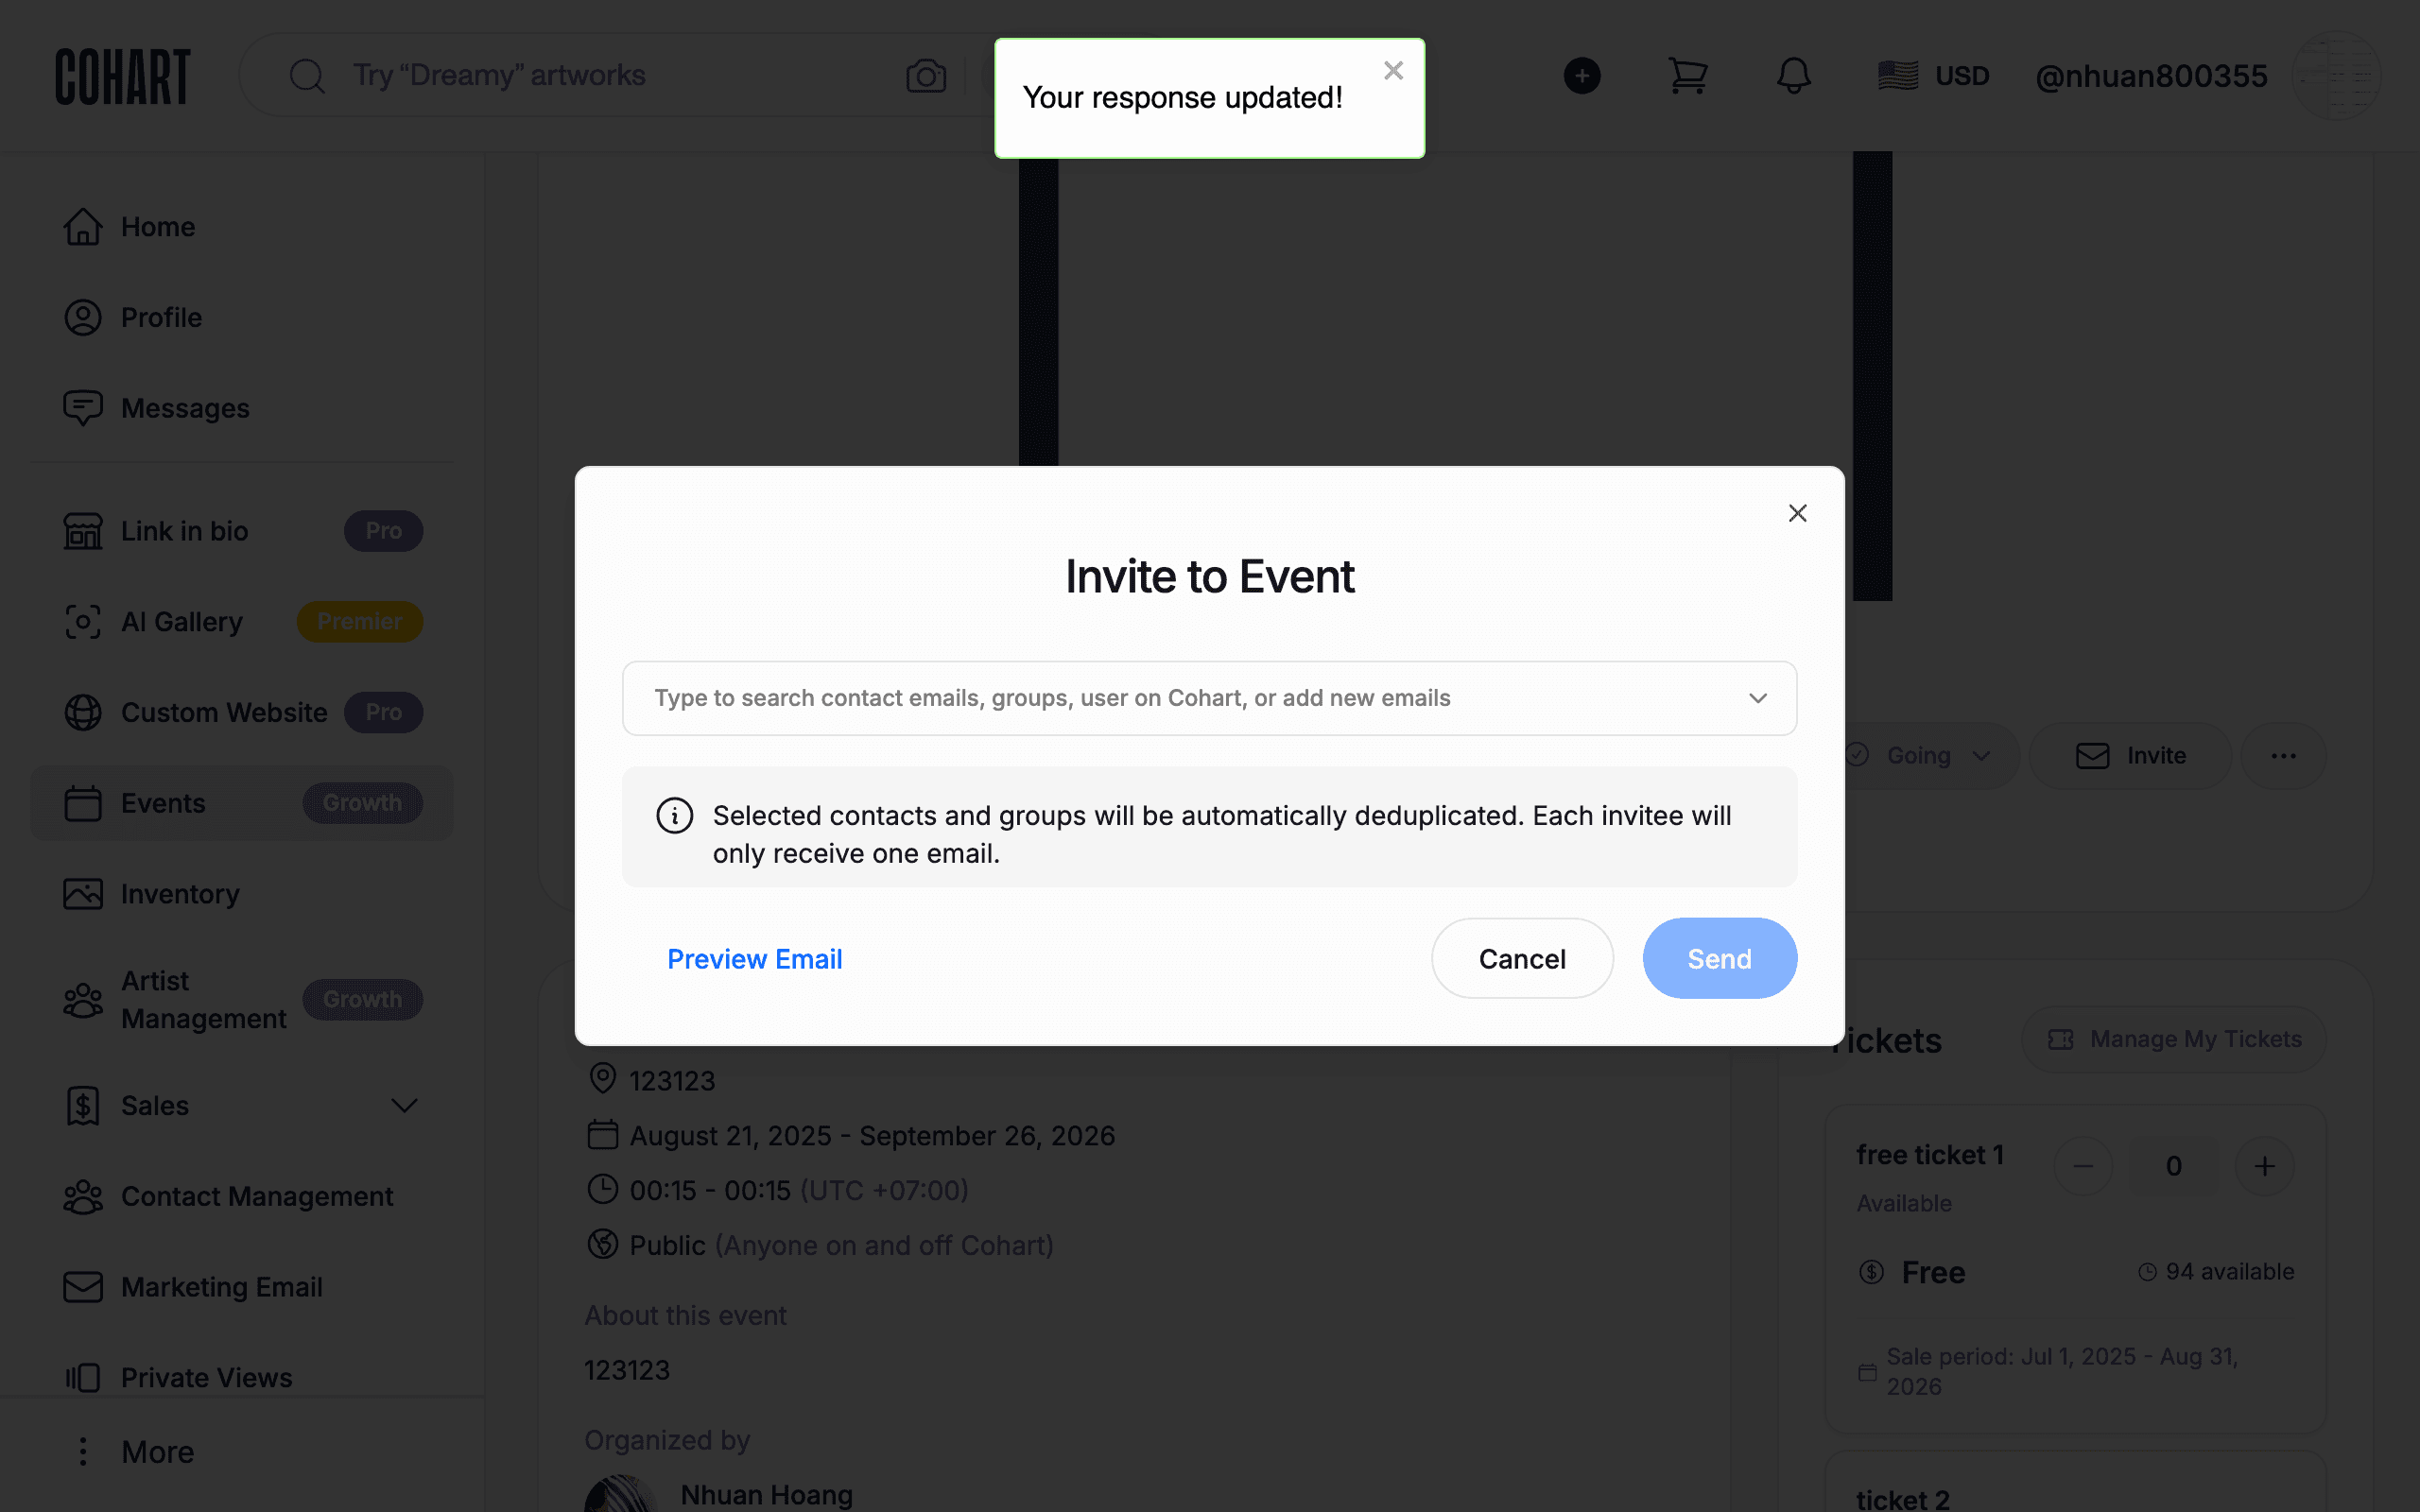
To invite people to the event, click Invite. The Invite to Event dialog opens. Type to search contact emails, groups, users on Cohart, or add new emails. The dialog notes that selected contacts and groups are automatically deduplicated and each invitee receives only one email. Use Preview Email to check the invitation, then click Send. Use Cancel to close the dialog without sending.
Tips
- Signed in required: You must be signed in to RSVP. If you are not signed in, you will be taken to the login page first.
- Your status persists: Once you choose Going, Maybe, or Not Going, the choice is saved on your account and stays after you refresh.
- Ended events: Events that are over show “This event has ended.” on their card and can no longer be RSVP’d to.
- Ticket events: RSVP is separate from tickets. If an event sells tickets, buy them with the Manage My Tickets button or the Tickets box on the event page.
- Organizers see different controls: If you are the event organizer (or an admin), you may see organizer tools such as Manage, Check-In, and Ticket Report instead of the RSVP menu.
Screenshots are regenerated automatically from the live site. Last captured: August 12, 2026.